

Getting Started with Journeys
Last updated November 4, 2025
Journeys are automated sequences with emails and various actions that are strategically designed to guide individuals through a series of personalized interactions, aiming to achieve specific business objectives.
The goal is to deliver tailored content and communication based on individual behaviors, preferences, or responses, thereby enhancing customer engagement and driving desired outcomes for both the customer and the business.
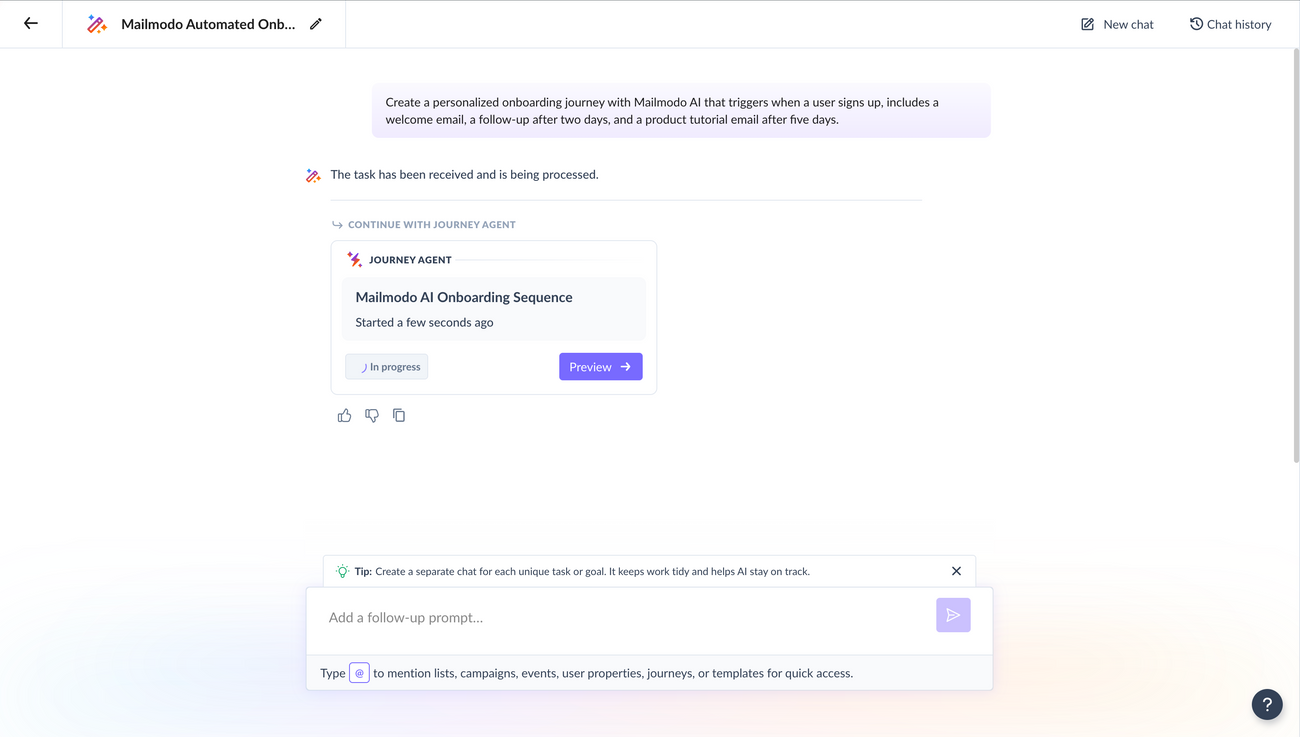
✨ Powered by Mailmodo AI — Try it out today Mailmodo AI helps you create optimized journey flows faster by suggesting the best triggers, conditions, and delays based on your goals and audience behavior. It enables you to design high-performing, personalized journeys with minimal manual setup.
Mailmodo journey builder helps you to do just that. Choose different trigger events, actions, conditions, and delays to design the journey.
You can build journeys such as:
- Welcome Series: Introduce new subscribers to your brand, products, and values. Start with a warm welcome email and follow up with more detailed information.
- Onboarding: Guide new customers through the first steps of using your product or service. Provide tutorials, tips, and resources to help them get started.
- Abandoned Cart: Remind customers about items they left in their shopping cart. Offer incentives like discounts or free shipping to encourage them to complete their purchase.
- Re-engagement: Reach out to inactive subscribers or customers. Send personalized messages to win them back, such as special offers or updates on new products.
- Product Recommendations: Use customer behavior and preferences to suggest products they might like. This can increase sales and enhance customer satisfaction.
- Event Promotion: Promote upcoming events, webinars, or sales. Send a series of emails to build excitement and provide all necessary details.
- Birthday/Anniversary: Send personalized emails to celebrate customers' birthdays or anniversaries with your brand. Include special offers or discounts as a gift.
- Post-Purchase Follow-Up: Thank customers for their purchase, ask for feedback, and suggest related products. This helps in building a lasting relationship.
- Seasonal Campaigns: Run campaigns based on seasons or holidays, like Christmas or summer sales. Tailor your messages to fit the seasonal theme.
- Lead Nurturing: Educate and engage potential customers who are not yet ready to buy. Provide valuable content that addresses their needs and interests, guiding them towards a purchase.
And more!
Create you first journey
Sign in to Mailmodo and go to "Journeys" section
- Click on "Create Journey" button.
- You can either "Start from Scratch" or Choose from one of the Pre-built journeys .
- Choose a trigger based on your use case. We have create a list of triggers for you.
- Create the journey by adding action blocks, condition blocks and more in the journey builder. The nodes are divided into : Action , Delay and Condition .
- Review and Test the journey once created.
Read " Creating and editing a journey " to learn more about the journey builder.
Prebuilt Journeys
Using pre-built journeys in an email automation platform can make your marketing easier and more effective. These ready-made templates save you time by providing a quick start, so you don’t have to build campaigns from scratch. They are designed to help you achieve better results like higher open and click rates.
Pre-built journeys also guide you through a structured process, ensuring you send the right messages at the right times. This makes your email campaigns more effective in engaging and converting customers. Plus, they are easy to customize, allowing you to add your personal touch and fit your brand's style.
To learn more about how pre-built journeys check out how to create using prebuilt journeys .
Types of Nodes
Type of Triggers
| Elements | Usage |
| Manual Enrollment | Manually trigger journeys by adding specific contacts in the journey. |
| Contacts added to a list | Trigger journey when a contact gets added to a list. For example - Use this trigger to send communication (such as newsletter subscription) to your contacts whenever he or she get added to a list. |
| Change in contact property | Trigger journey when there is a change in value of a contact’s property.
For example - Use this trigger when your contacts have a property called Billing Plan and the value changed from Free to Paid. |
| Form submission | Trigger journey when there is a submission in the form used in a template. For example - Use this trigger, when you want to run a webinar registration campaign and trigger a series of emails when a contact registers for a webinar by filling up the AMP form inside email |
| Occurrence of an event | Trigger journey when there is an occurrence of an event recorded on your Website, App or other platforms. For example - Use this trigger, whenever you want to send onboarding emails to the customer who has just signed up on the platform. |
| API / Webhook | Use API to trigger journeys from external systems. |
| Zapier | Use Zapier to trigger the journey from external applications. |
| Make | Use Make to trigger the journey from external applications. |
| InfluencerBit | Use InfluencerBit to trigger journeys in Mailmodo. |
| Contacts enter/leave a segment | Trigger journey when contacts enters or leaves a dynamic segment. For example - Use this trigger, when contact has been inactive for few days, and send them specific campaigns. |
| Occurrence of a date | Trigger journey when a certain date occurs only once, every month or every year. For example, you can use this trigger to celebrate birthday of a customer by sending them emails with loyalty rewards, or exclusive offers. |
Type of Actions
| Elements | Usage |
| Send campaign | Use it to send email to contacts. |
| Webhook | Use it to send data through Webhook. |
| Exit journey | Use it to end the journey of a contact. |
| Add contact to a list | Use it to add contact to a list. |
| Update contact property | Use it to update the value of a contact property. |
| Remove contact from a list | Use it to remove a contact from a list |
| Send SMS | Use it to send SMS to contacts. |
| Update subscription status | Use it to unsubscribe or resubscribe a contact from various email types. |
Type of Delays
| Elements | Usage |
| Wait for time period | Use it to add delay for a time period in minutes, hours or days. |
| Wait till specific time | Use it to add delay for a specific time, day or dates. |
| Wait for an event | Use it to split the journey when a specific event occurs. |
Type of Conditions
| Elements | Usage |
| Campaign condition → Opened | Use it to check if the campaign is opened. |
| Campaign condition → Clicked | Use it to check if the URL is clicked. |
| Campaign condition → Submitted | Use it to check if the form is submitted. |
| Contact property | Use it to check if the contact property has some specific value. |
| List/segment membership | Use it to check if the contact belongs to a list/segment. |
| Custom event condition / Shopify activity condition | Use it to qualify contact based on event property. |
To learn more about the nodes and settings, check Understanding different components of journey builder .
Access Journey Analytics and Dashboard
Click on your journey to view the journey dashboard. This shows the overall journey stats (total users in the journey, no. of mails sent, delivered etc.) as well as the stats of individual campaigns in the journey.
‘Activity log’ records the journey activity: date, trigger method used, total users in the journey, users in progress (at any stage within the journey), and no. of steps completed/failed. You can also choose to Cancel or pause the journey by clicking on the buttons on the top right corner.
To learn more about, read Understanding Journey Dashboard .
Understand why you can't change the trigger once the journey is saved to draft
The trigger that you have selected plays a crucial role in configuring various aspects of your journey, such as the available action blocks in your journey, the mapping of personalization parameters, and other various journey settings.
Once you complete the trigger selection and configuration step, other blocks in the journey are generated based on your chosen trigger type, encompassing all relevant settings. Modifying the trigger type post this stage is restricted because it is likely to disrupt subsequent settings and workflow actions specific to the chosen trigger.
If you wish to change triggers, you can duplicate the existing draft or running journey and choose the necessary trigger.