

A Guide to Leveraging AMP Widgets in Mailmodo for Interactive Email Campaigns
Last updated October 14, 2024
Email marketing is an essential tool for businesses and organizations to engage with their audience effectively. One way to take your email campaigns to the next level is by using AMP (Accelerated Mobile Pages) widgets within your emails. Mailmodo offers a variety of AMP widgets that can significantly enhance the interactivity and engagement of your emails.
In this guide, we'll walk you through the process of adding and leveraging these AMP widgets to create more compelling email campaigns.
TABLE OF CONTENTS
Star Rating Widget
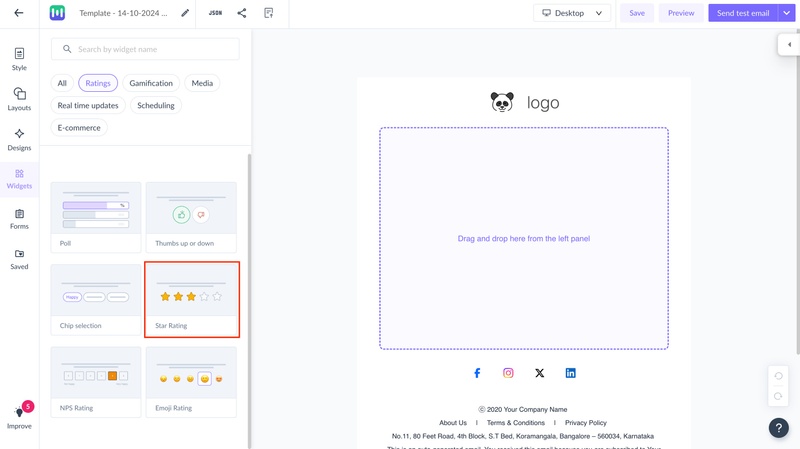
The Star Rating Widget is a powerful tool for collecting feedback, reviews, or opinions from your email recipients. Whether it's post-purchase product feedback, customer support satisfaction, event evaluation, content quality assessment, or user experience feedback, the Star Rating Widget simplifies the process.
How to Add the Star Rating Widget:
- Click on "Templates" to open the template editor.
- Click on click on the Widgets and choose Ratings. Under this, you can drag and drop the star rating widget in the editor.
For detailed instructions, visit here .
NPS Rating Widget
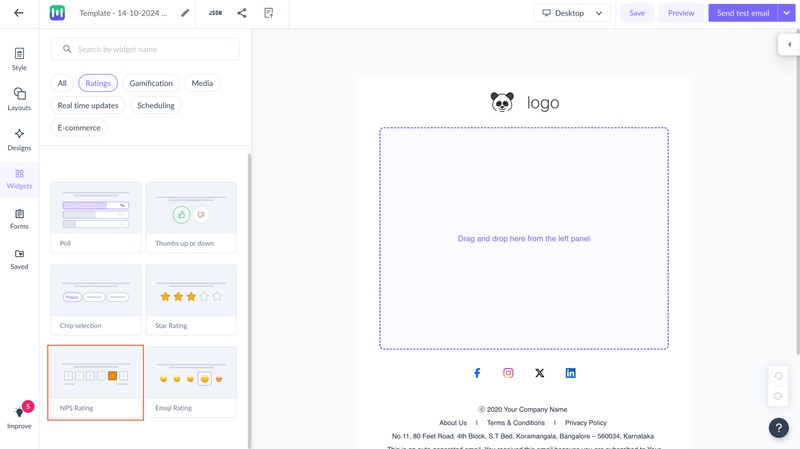
The NPS (Net Promoter Score) Rating Widget helps you measure your customer's likelihood to recommend your product or service to others. It's a valuable tool for assessing customer sentiment and loyalty.
How to Add the NPS Rating Widget:
1. Click on "Templates" to open the template editor.
2. In the editor, click on the Widgets and choose Ratings. Under this, you can drag and drop the NPS Rating widget in the editor.
For detailed setup instructions, visit here .
Thumbs Up or Down Widget
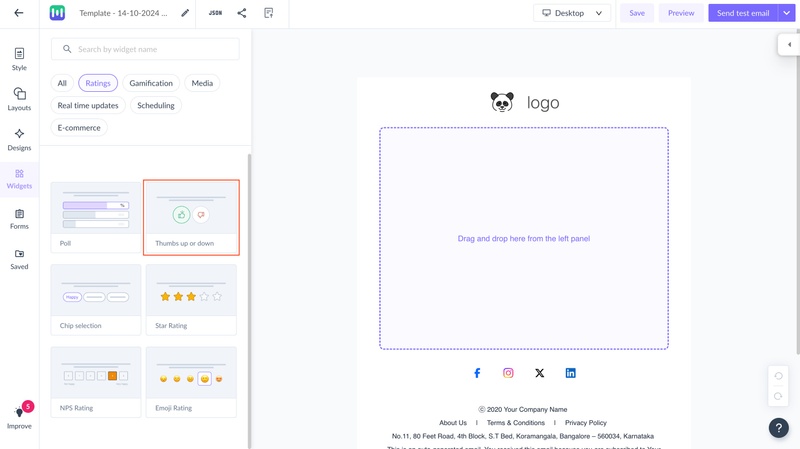
The Thumbs Up or Down Widget is a quick and effective way to collect feedback from your email recipients. With just a click, recipients can provide valuable feedback that can be analyzed to improve your content.
How to Add the Thumbs Up or Down Widget:
1. Click on "Templates" to open the template editor.
2. In the editor, click on the Widgets and choose Ratings. Under this, you can drag and drop the thumbs up or down widget in the editor.
Emoji Rating Widget
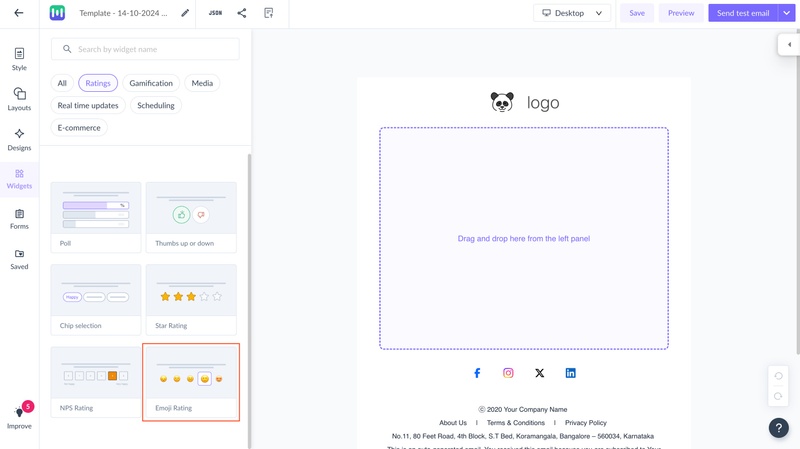
The Emoji Rating Widget is designed to collect customer feedback using emojis. It's a fun and engaging way to gauge satisfaction levels and enhance user engagement.
How to Add the Emoji Rating Widget:
1. Click on "Templates" to open the template editor.
2. In the editor, click on the Widgets and choose Ratings. Under this, you can drag and drop the thumbs up or down widget in the editor.
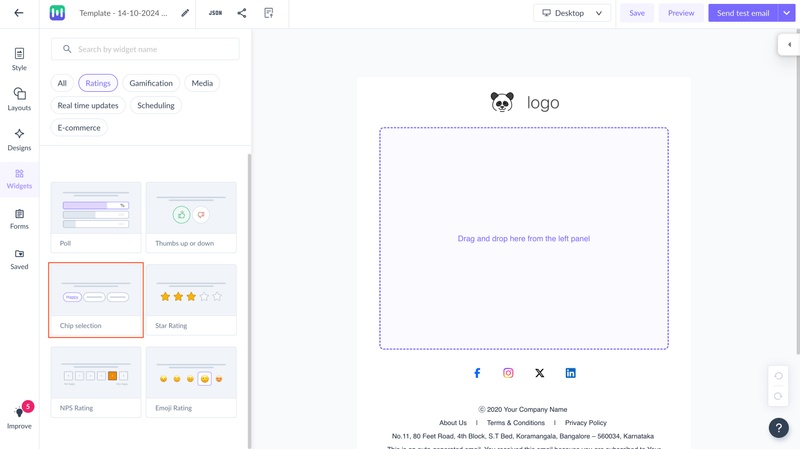
Chip Selection Widget
The Chip Selection Widget is an interactive element that allows recipients to make choices. It's a versatile widget that can be used for various purposes, including surveys and feedback collection.
How to Add the Chip Selection Widget:
1. Start by creating a new template or selecting an existing one.
2. In the editor, click on click on the Widgets and choose Ratings. Under this, you can drag and drop the chip selection widget in the editor.
For detailed setup instructions, visit here .
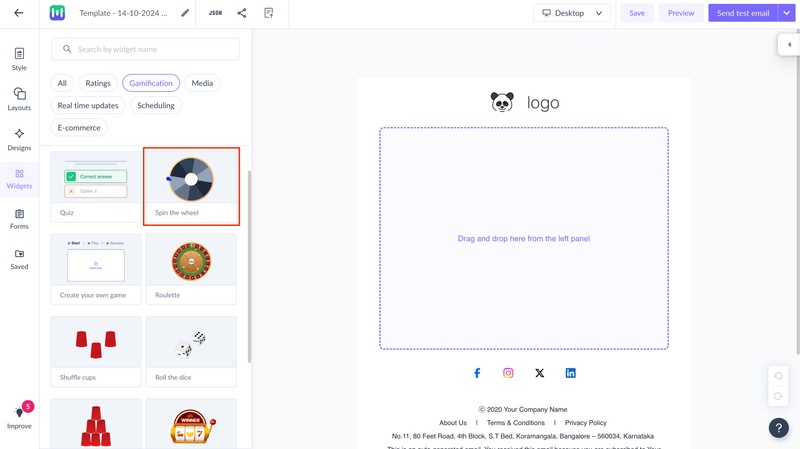
Spin the Wheel Widget
The Spin the Wheel Widget is a gamification tool that can be used for promotions and incentives. It's particularly useful for e-commerce, restaurants, travel, education, fitness, entertainment, and events.
How to Add the Spin the Wheel Widget:
1. In the editor, go to Widgets. Drag and drop the Spin the Wheel widget (under gamification) in the center.
For detailed setup instructions, visit here .
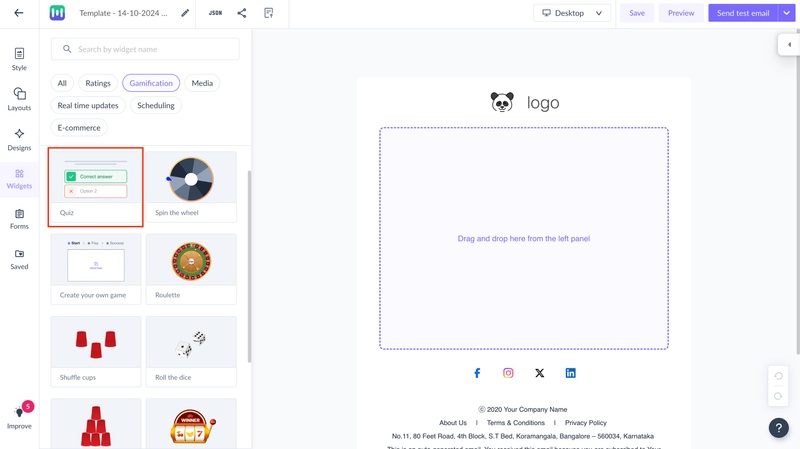
Quiz Widget
The Quiz Widget is a versatile tool that can be used for various purposes, such as interactive lessons, knowledge assessment, product recommendations, style quizzes, and more. It's suitable for education, retail, healthcare, media and entertainment, technology, food and beverage, and nonprofits.
How to Use the Quiz Widget:
1. In the editor, click on the Widgets and choose Gamification. Under this, you can drag and drop the quiz widget in editor.
2. To begin your email with a Quiz block, click on Building Blocks and select Interactive Widgets. Select on Quiz. Then click on Create new template.
3. The Scored Quiz includes default elements: Cover Page, Questions, and Result Page. Customize the Cover Page layout, including image or no image, quiz title, description, and button text from the right panel. You can delete or add the cover page as needed.
4. Select the question layout (with or without an image) and modify the question text. Add new questions as desired.
5. Choose the answer layout (list or grid format) and edit the answer text. You can delete or add answer options as needed. Set the correct answer.
6. Customize button and block colors as desired.
7. Configure the result page layout, optional text, and button text. Add a URL to the CTA button.
8. Set up the HTML version as a fallback in case the AMP version fails to render.
9. Preview how the email will appear and test the quiz in preview mode.
10. Review quiz responses in the Submissions and Insights tab of your campaign.
For detailed setup instructions, visit here .
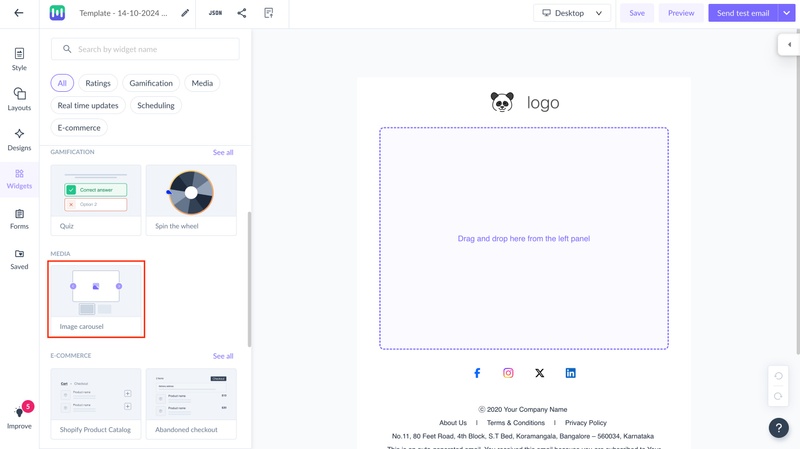
Image Carousel Widget
The Image Carousel Widget allows you to showcase multiple images in a single space, making your emails more engaging and visually appealing. It's perfect for displaying products, services, or event photos.
How to Add the Image Carousel Widget:
In the editor, click on the Widgets, under this, you can drag and drop the image carousel widget in editor.
For detailed setup instructions, visit here .
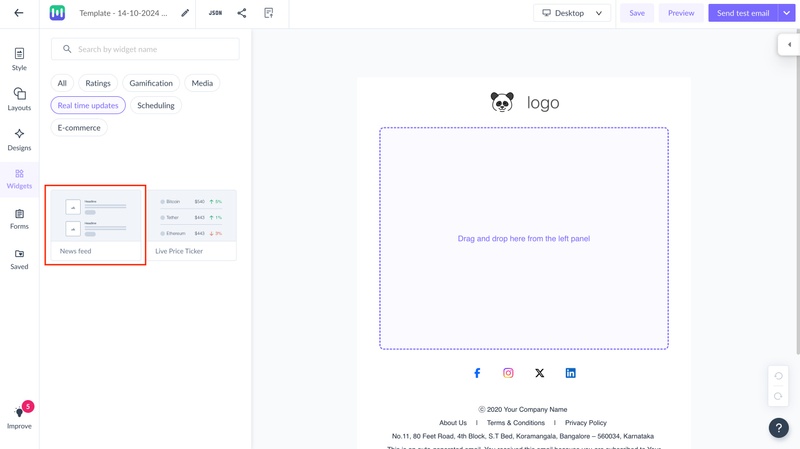
Live News Widget
Adding a news feed widget to your email can be a fantastic way to keep your visitors informed and engaged with the latest news and updates. This guide will walk you through the steps to add a news feed widget to your template.
How to Add the Live News Widget:
Incorporating AMP widgets into your email campaigns can significantly enhance engagement, user interactivity, and the overall effectiveness of your email marketing efforts. Whether you want to collect feedback, run promotions, or provide interactive content, Mailmodo's AMP widgets have you covered. Start leveraging these widgets today to create more dynamic and engaging email campaigns.
Click on the Widgets and choose Real-time updates. Under this, you can drag and drop the New Feed widget in the editor.
Learn more about the News feed widget .
Use the search bar in our Help Center to find quick guides and walkthroughs. If you have any queries, then reach out to us at Mailmodo Support or share your thoughts at Mailmodo Product Feedback.