

How to use NPS Rating Widget in your template?
Last updated April 25, 2025
You can use the NPS rating widget to gather feedback for products and services. Recipients can submit responses right inside their mailbox.
In this article we will learn how to setup and configure the NPS widget in your email template.
Step 1: Click on Templates to open the template editor.
Step 2: In the editor, click on click on the Widgets and choose Ratings. Under this, you can drag and drop the NPS Rating widget in editor.
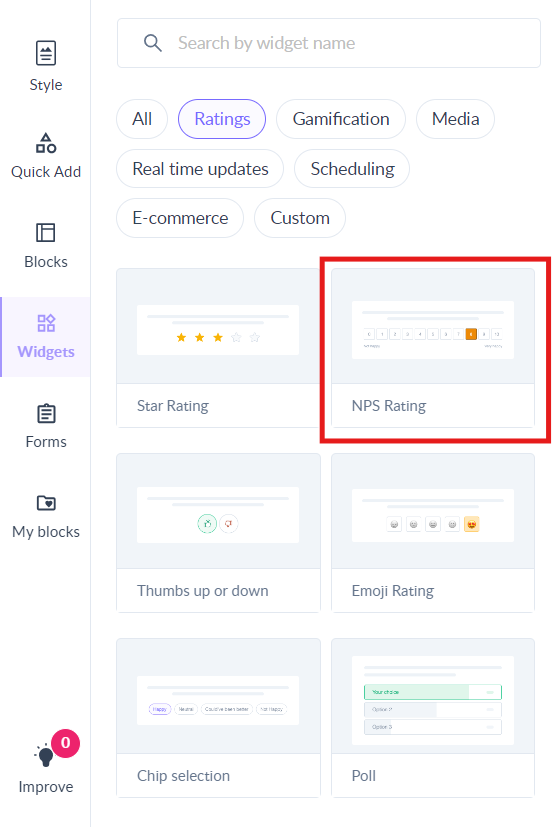
NPS rating widget is added to your template. You can customize the design as per your requirements.
How to customize the design of the widget?
Step 1: Click on the text to edit it. Use the text editor to customize the text.
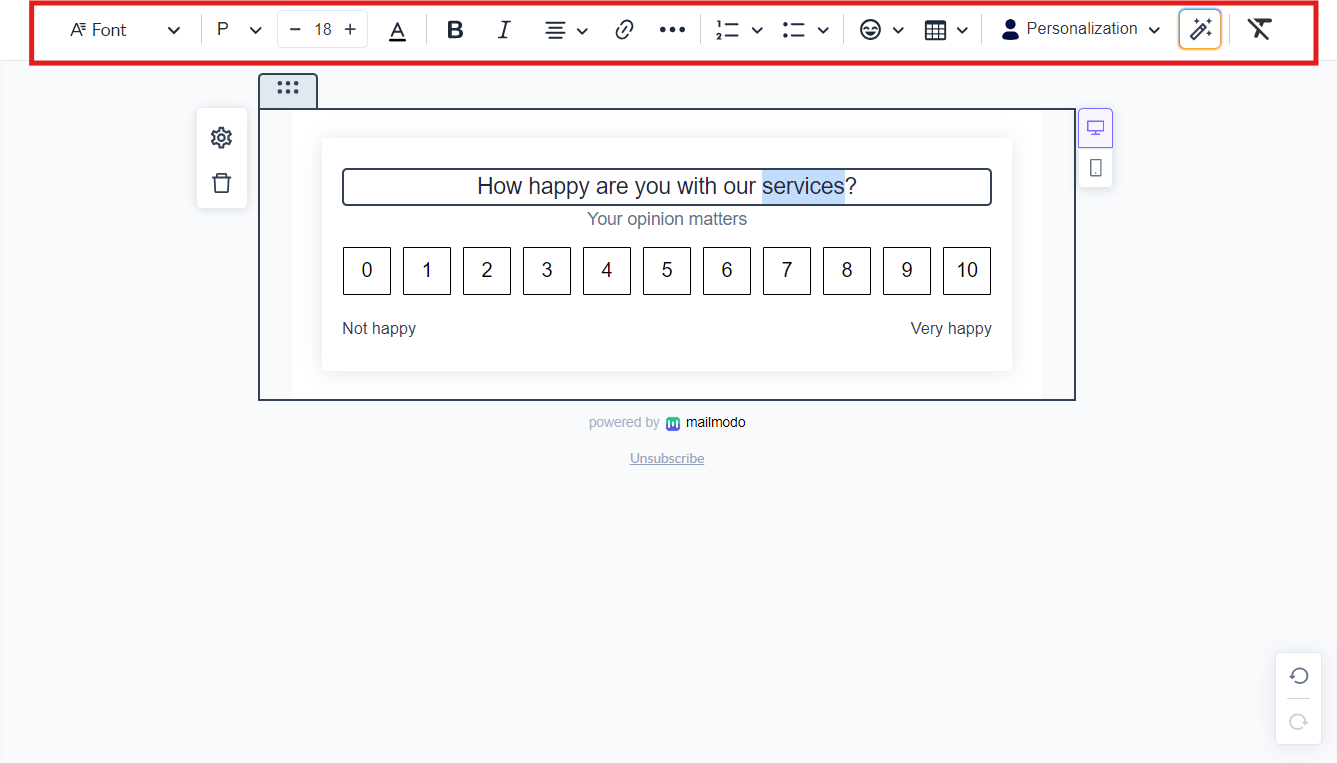
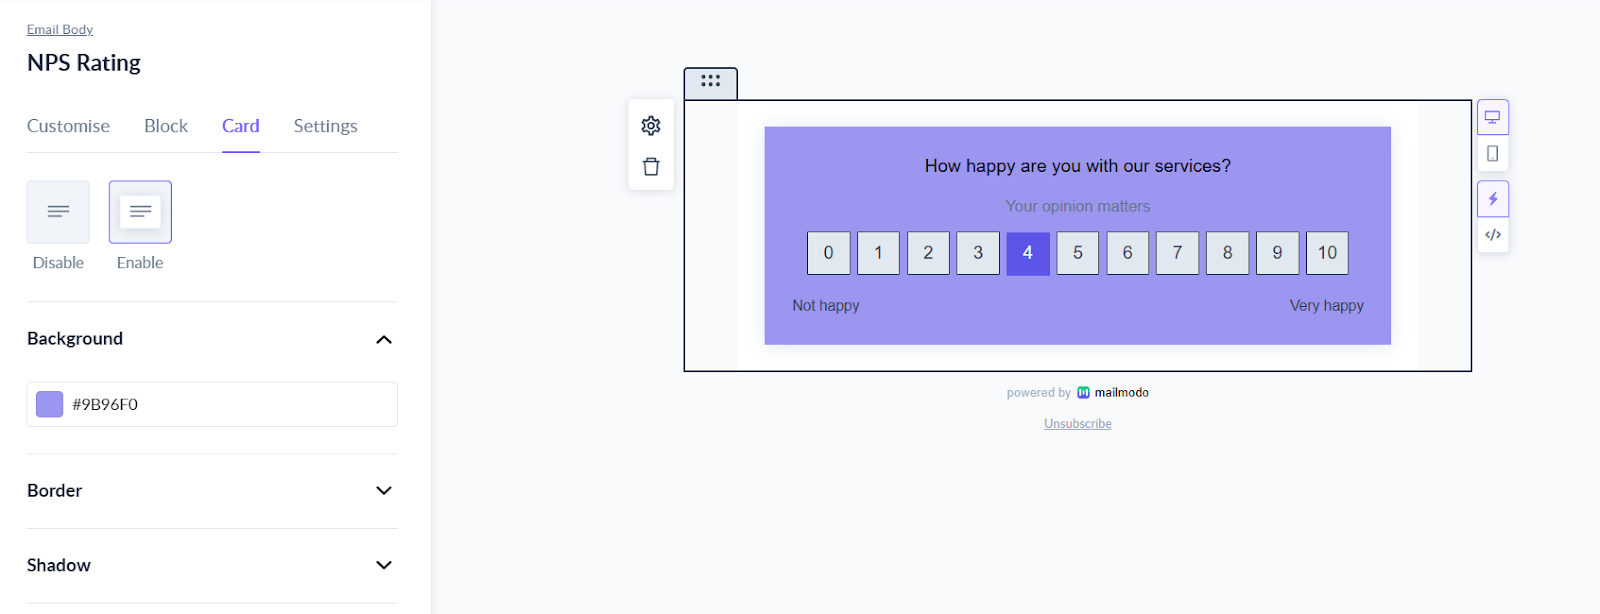
Step 2: Select the block to see the customization options in the left menu.
It is upto you to decide whether you want the card or not and you switch it on/off anytime you want.
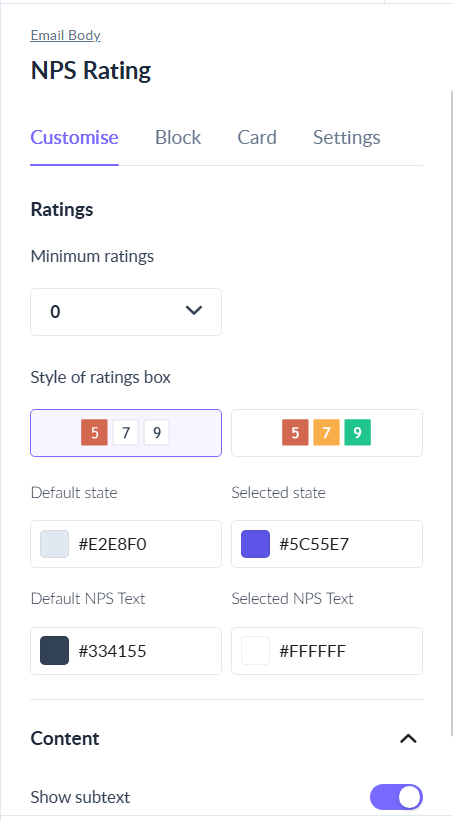
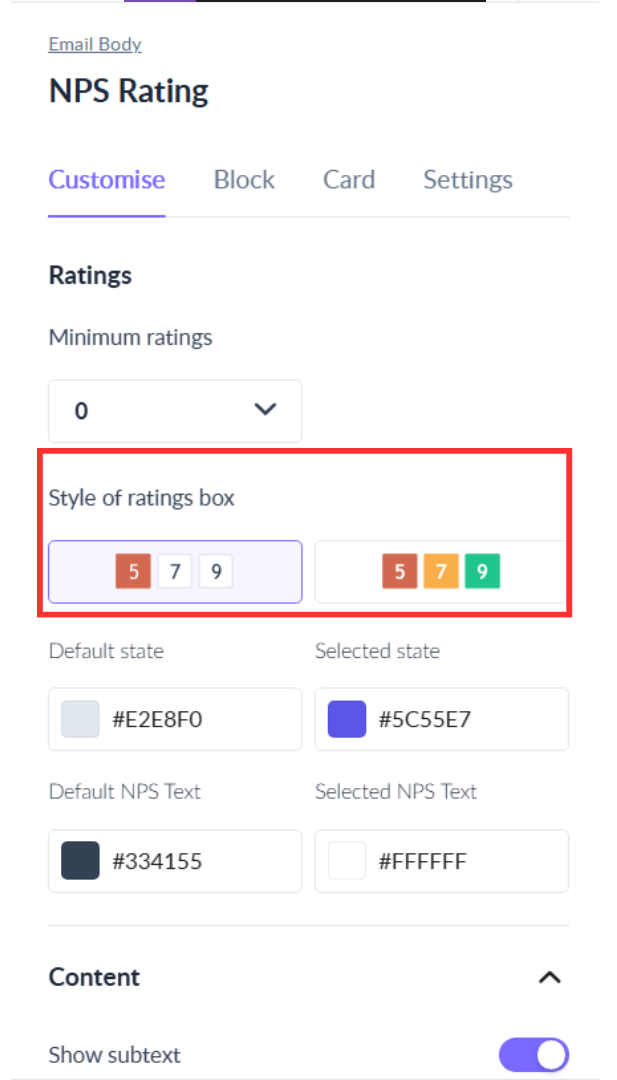
Step 3: Select the style of the rating box from the left panel. You can choose between coloured and plain variations.
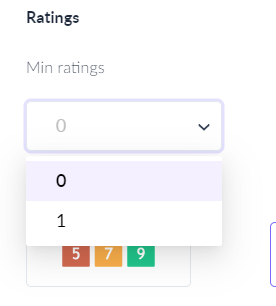
Step 4: Select the minimum rating of the NPS widget as 0 or 1.
Step 5: You can turn the help text on or off using the toggle in the left panel. Help text is the text written under extreme values of the NPS widget.
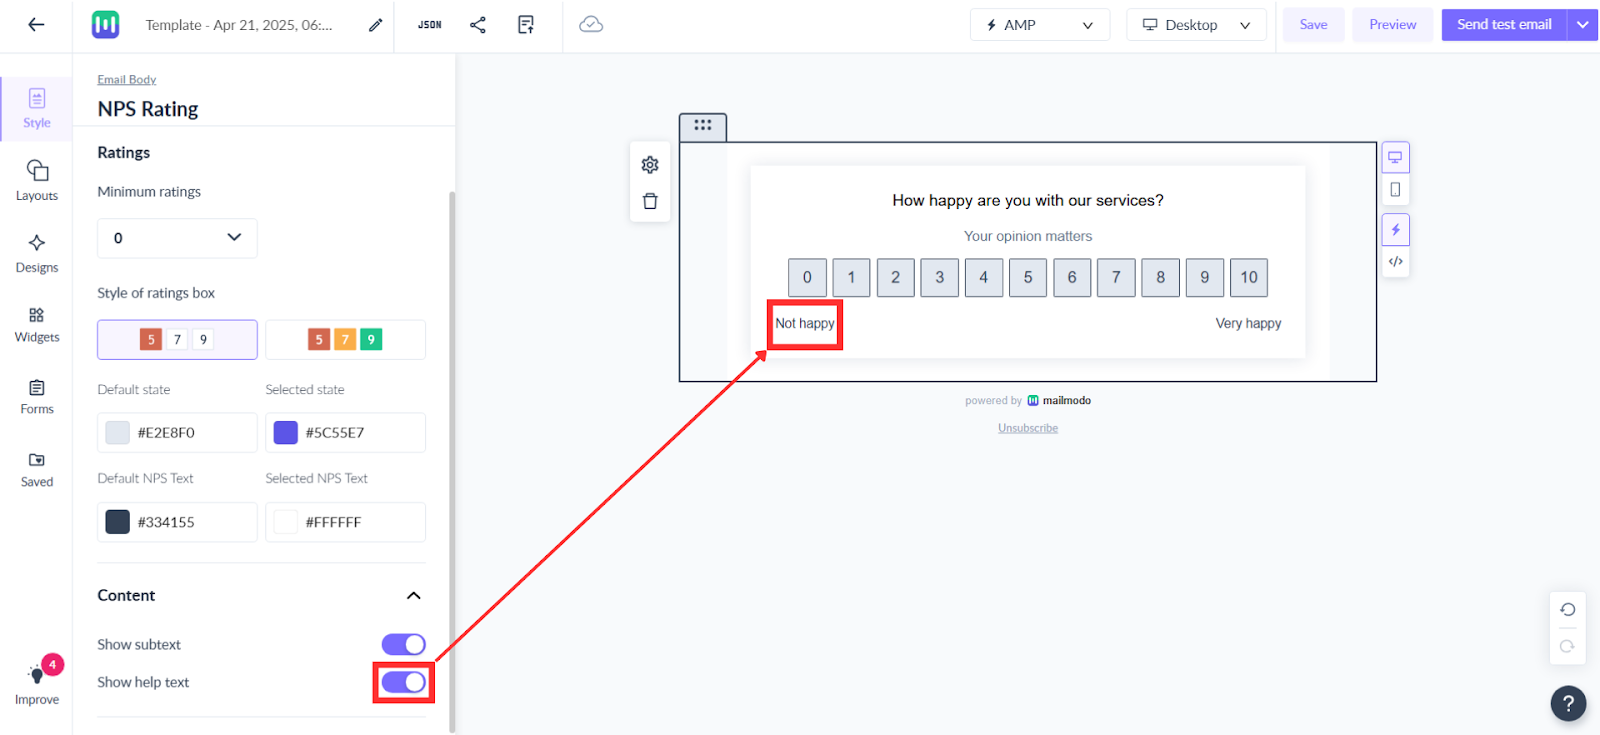
You can edit the help text using the in place text editor.
Step 6: Choose the colour of the Card background. You can choose from the Background option.
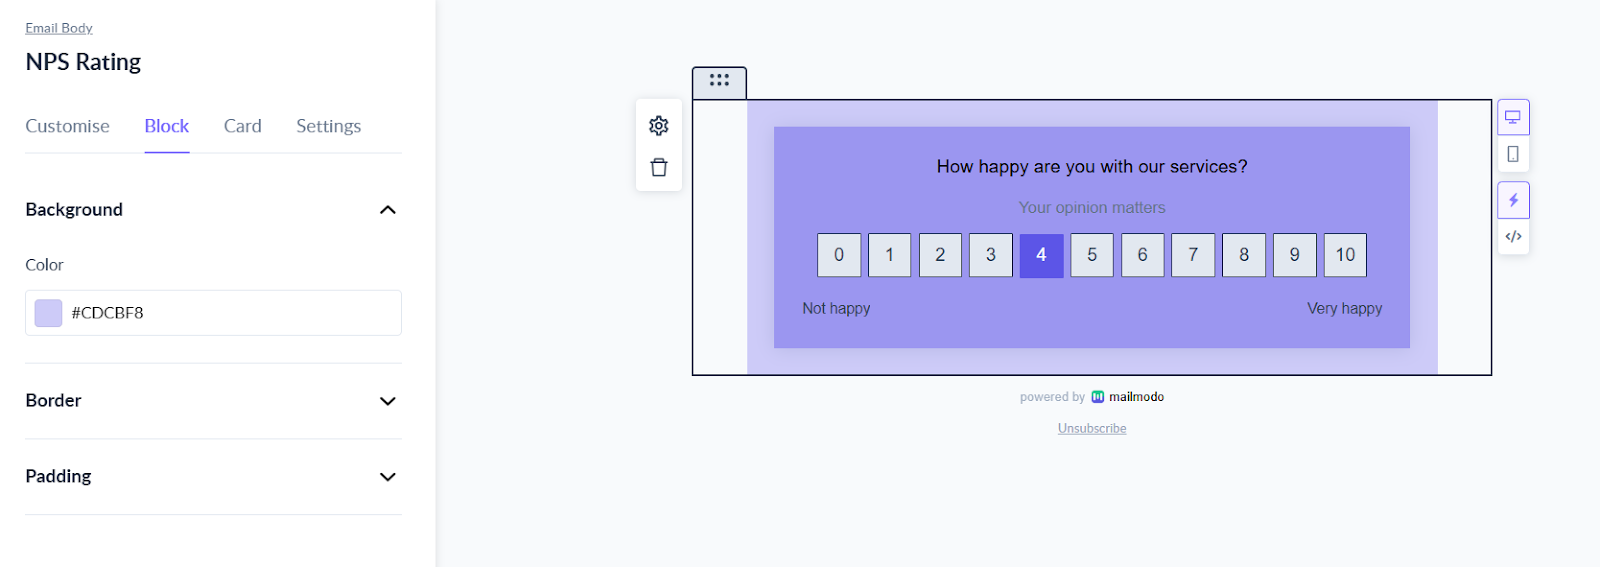
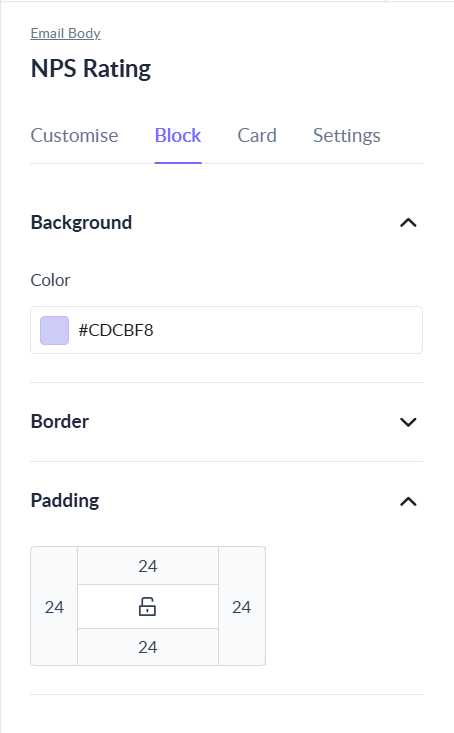
Step 7: You can also set the Block background, by selecting the Background option and choosing the colour from the colour picker.
Step 8: You can change the outer padding of the widget by changing the length and width as per your preference.
Please note that the mobile padding remains fixed and cannot be changed. The desktop padding set by the user will not have any implication on the mobile padding.
That's it, you have successfully configured the NPS widget in your email template.
Use the search bar in our Help Center to find quick guides and walkthroughs. If you have any queries, then reach out to us via the chat icon on the bottom right corner of your screen while using Mailmodo. Or reach out to us at Mailmodo Support and share your thoughts at Mailmodo Product Feedback.