

How to use Scored Quiz widget in your email campaign?
Last updated September 10, 2024
You can now send interactive quizzes as a part of your email campaign. Quizzes can help you increase engagement, acquire new users and retain existing ones.
Step-by-step process to use the quiz widget in your email campaign
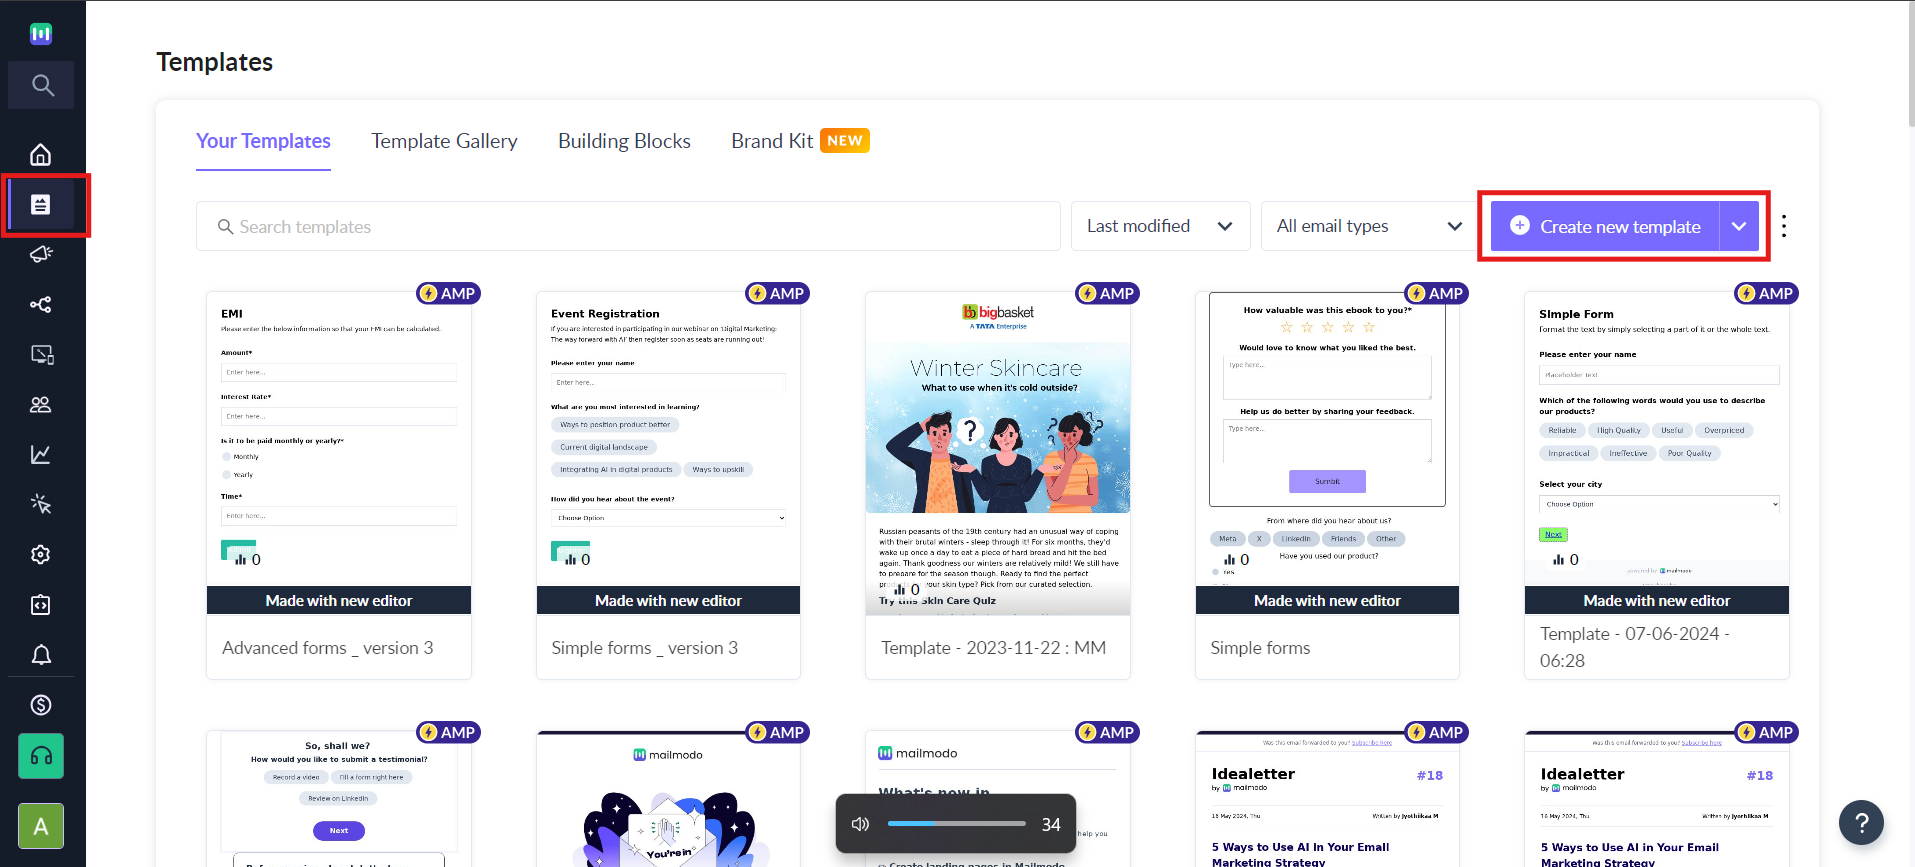
Step 1- Click on the “Templates” icon on the sidebar. Click on "Create new template" on the top right corner.
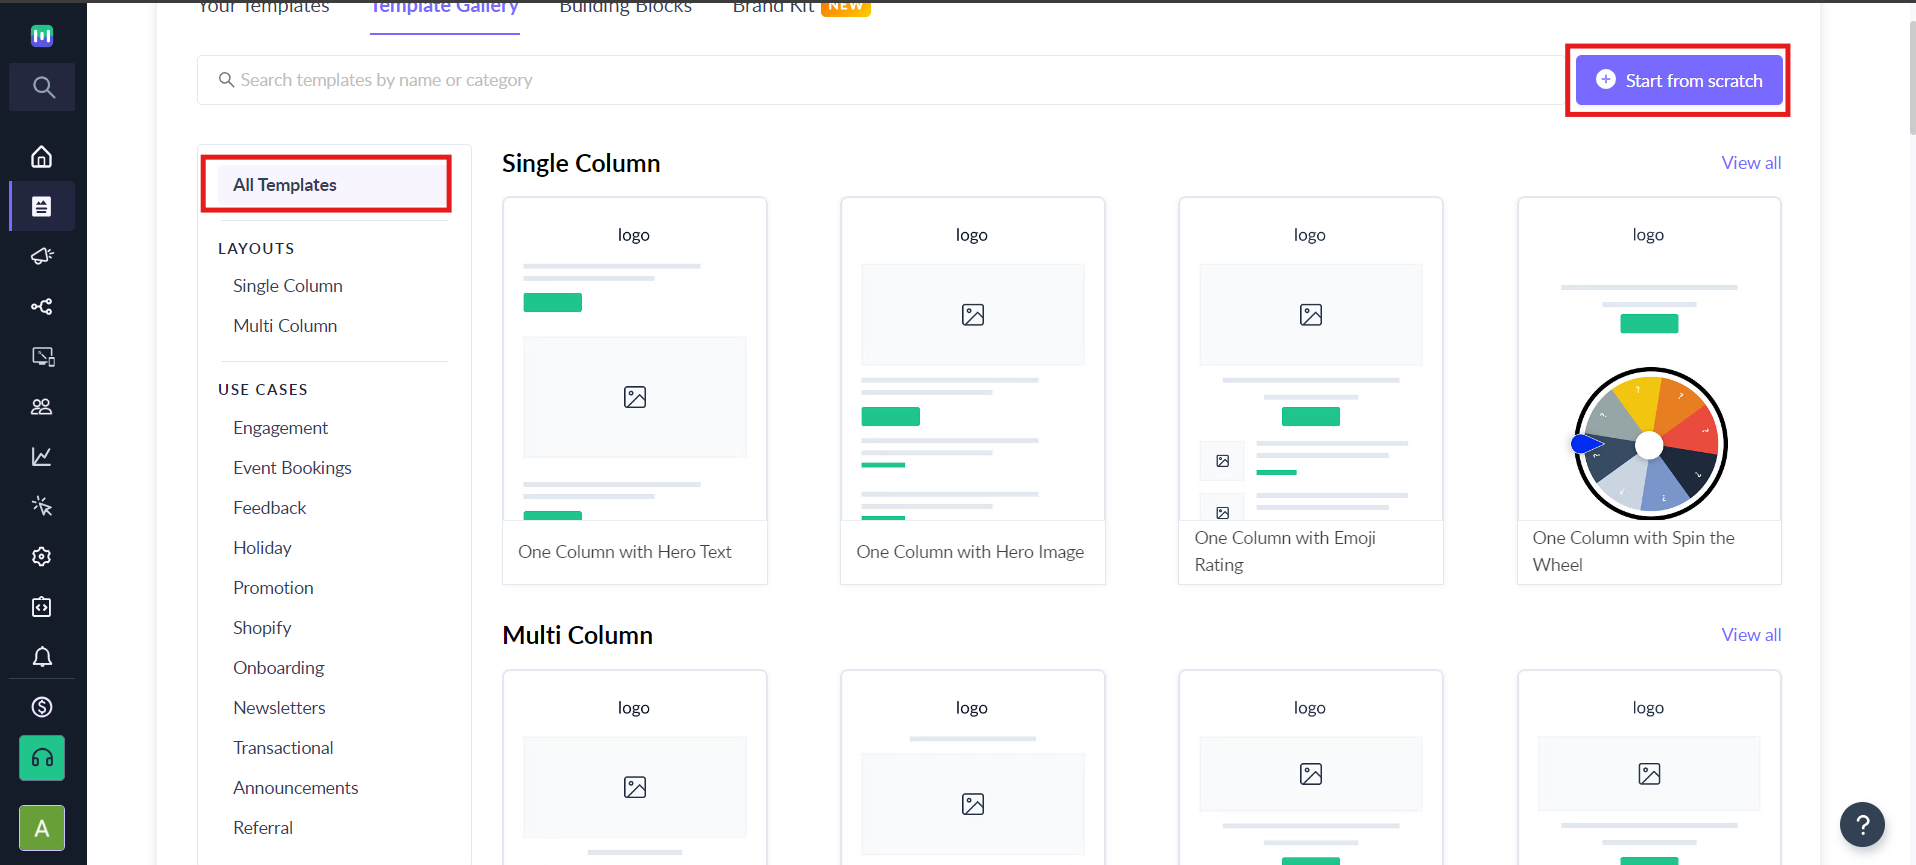
Step 2- Either you can start from scratch or a pre made template (layout/use cases).
Step 3- If you want to begin your email with a Quiz block, click on Building Blocks and select Interactive Widgets.
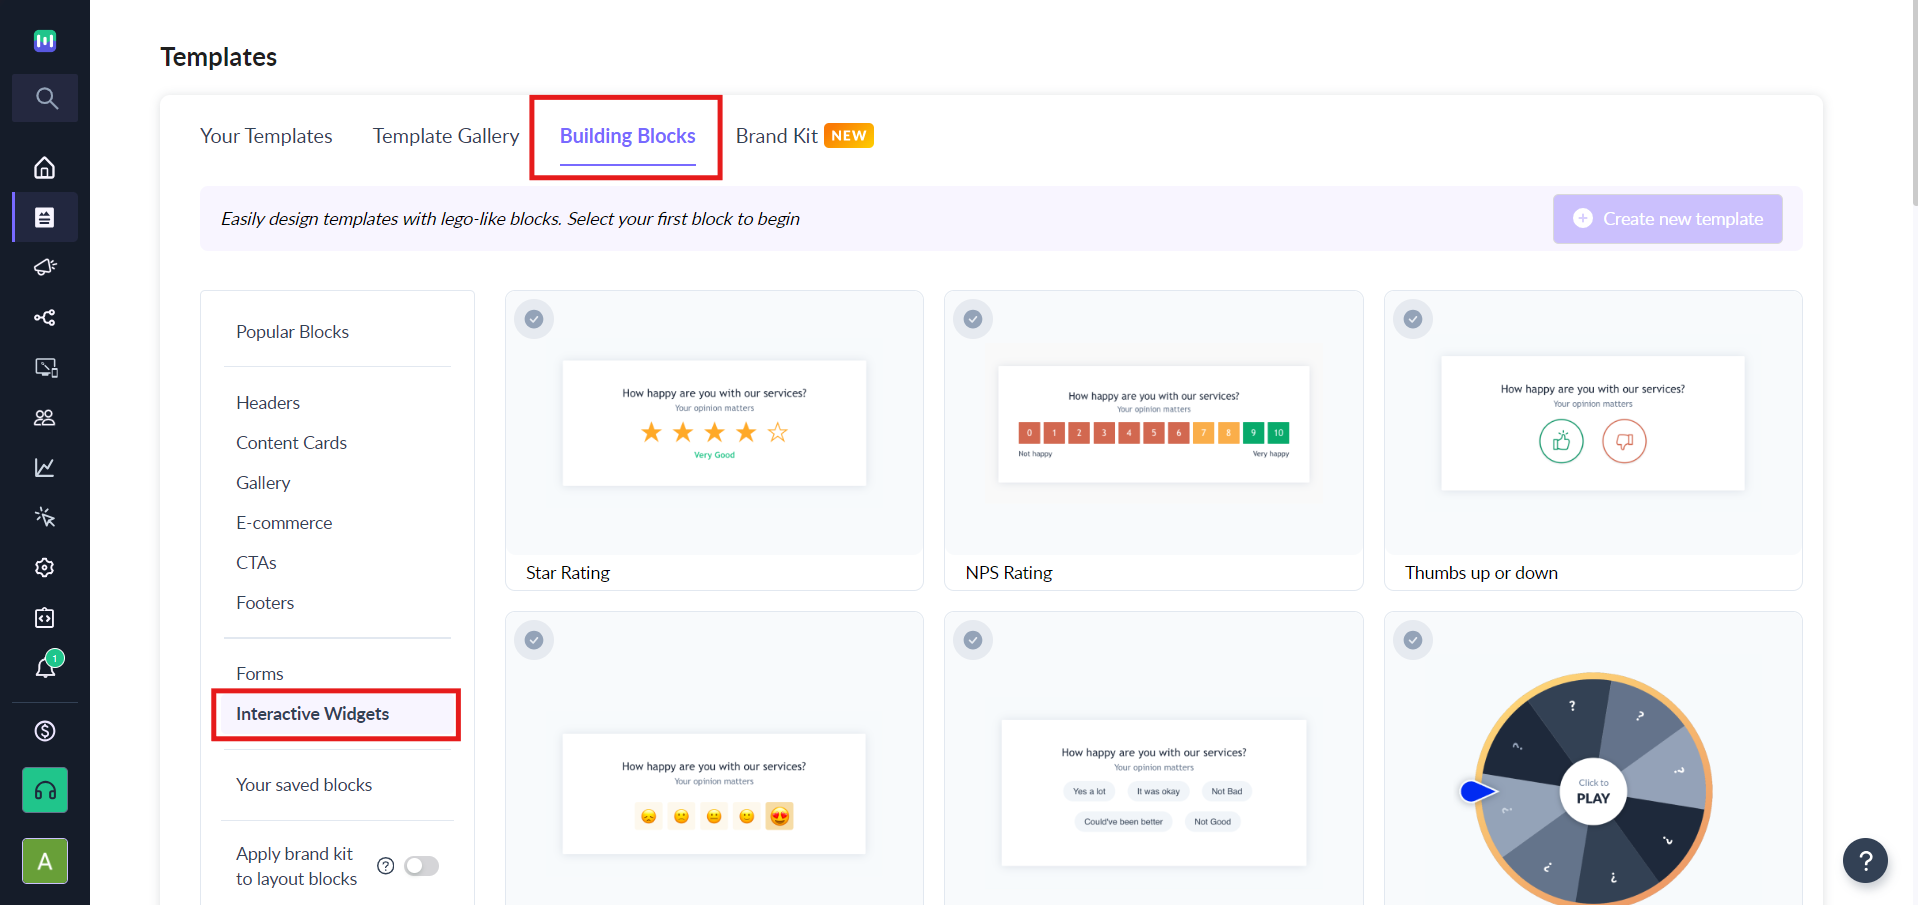
Select on Quiz.
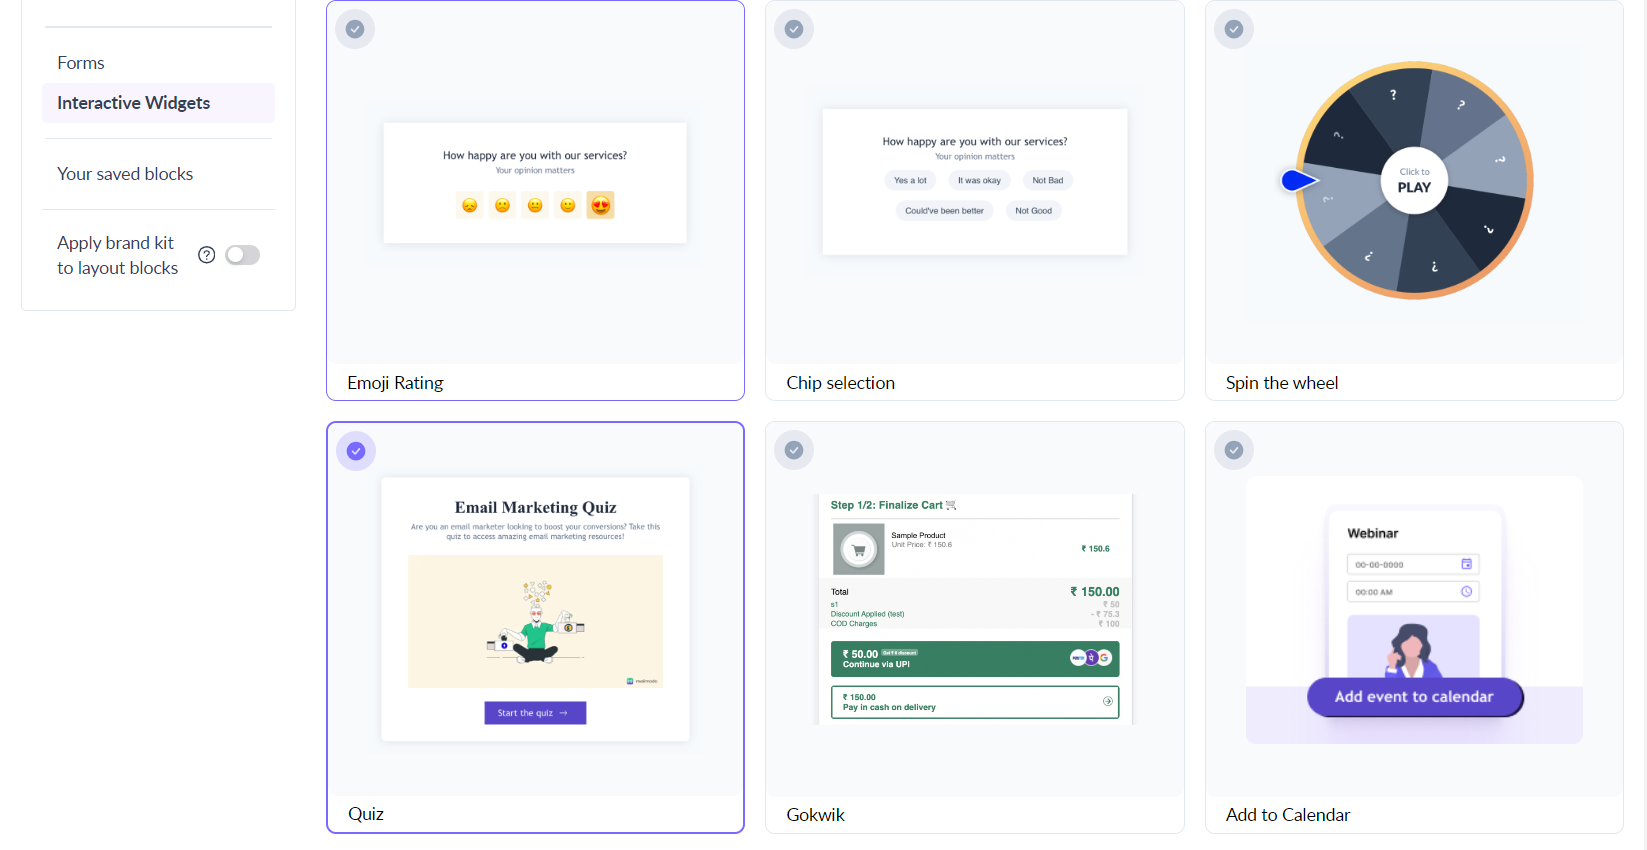
Then click on Create new template.

If you want to add quiz below an existing block, click on the Widgets and choose Gamification. Under this, you can drag and drop the quiz widget in editor.

Step 4- Scored quiz has the following default elements- Cover Page, Questions and Result Page.
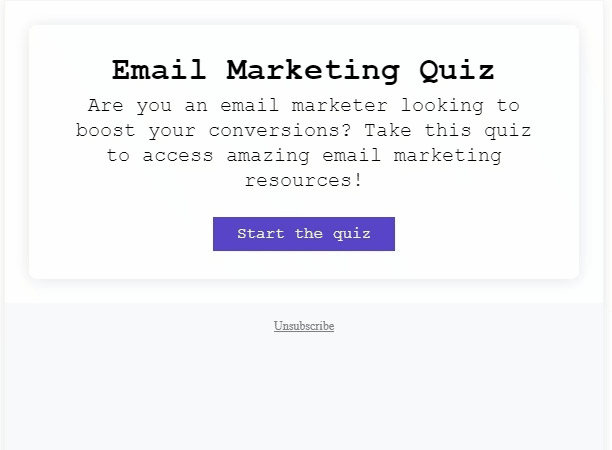
Select Cover page layout from the left panel.
- With image
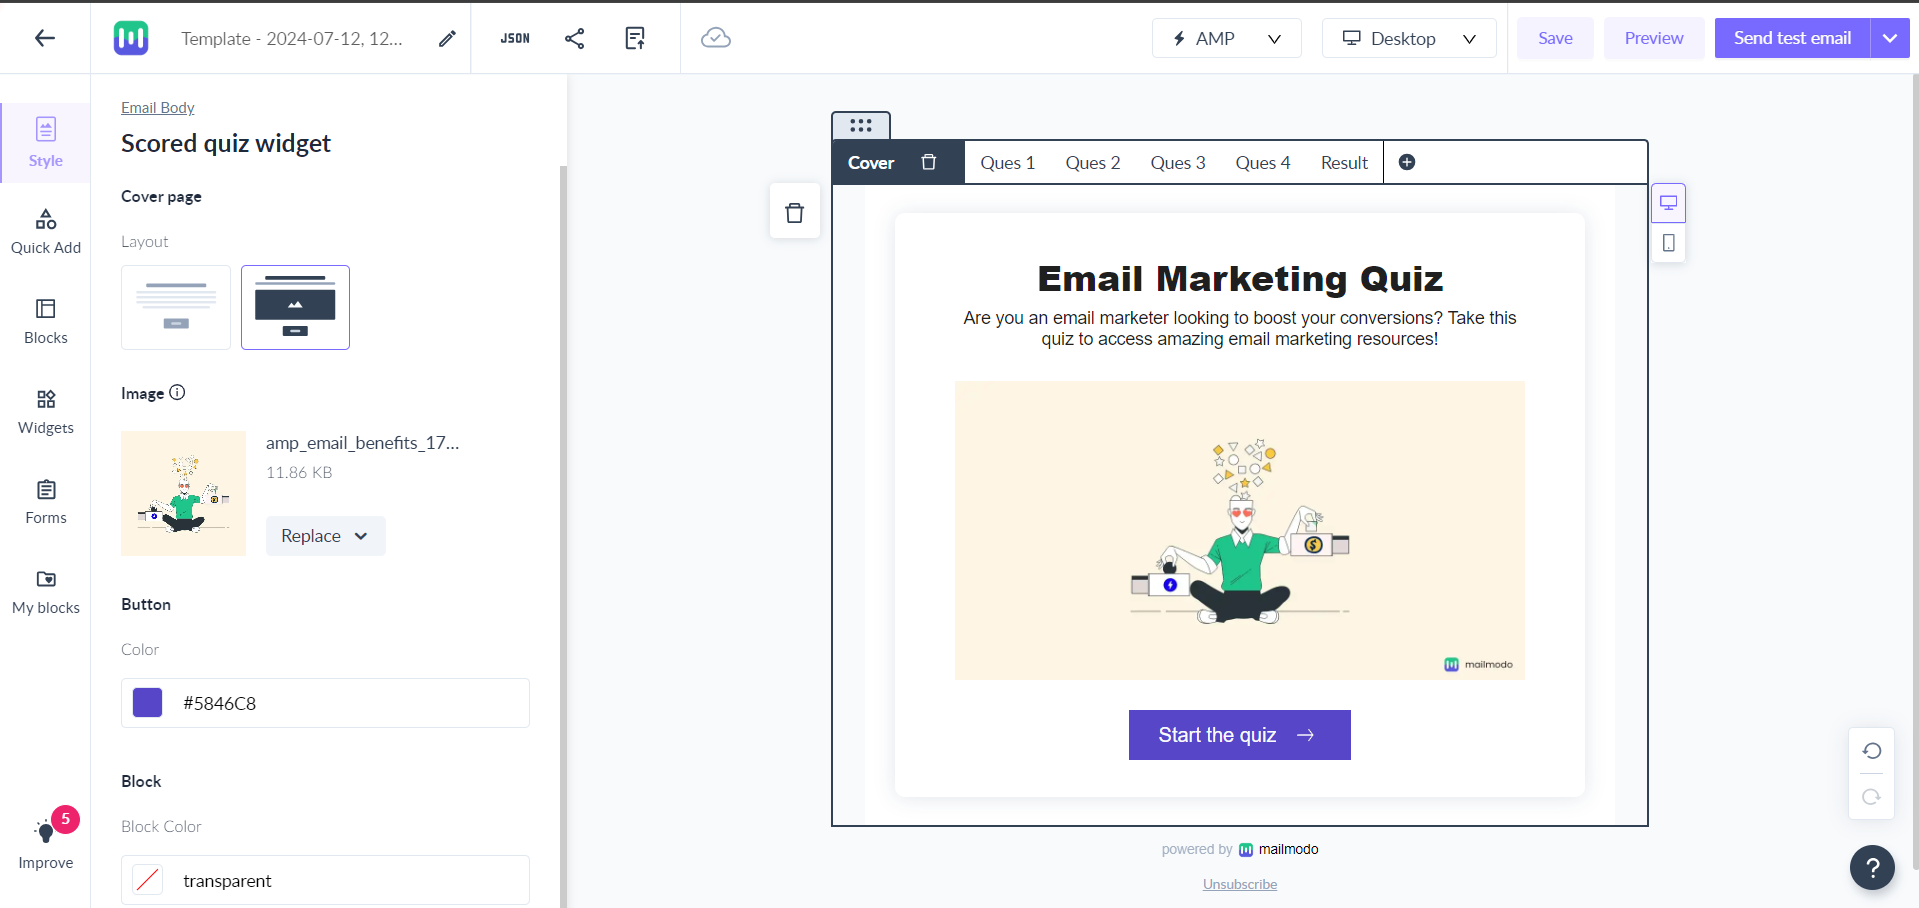
- Without Image
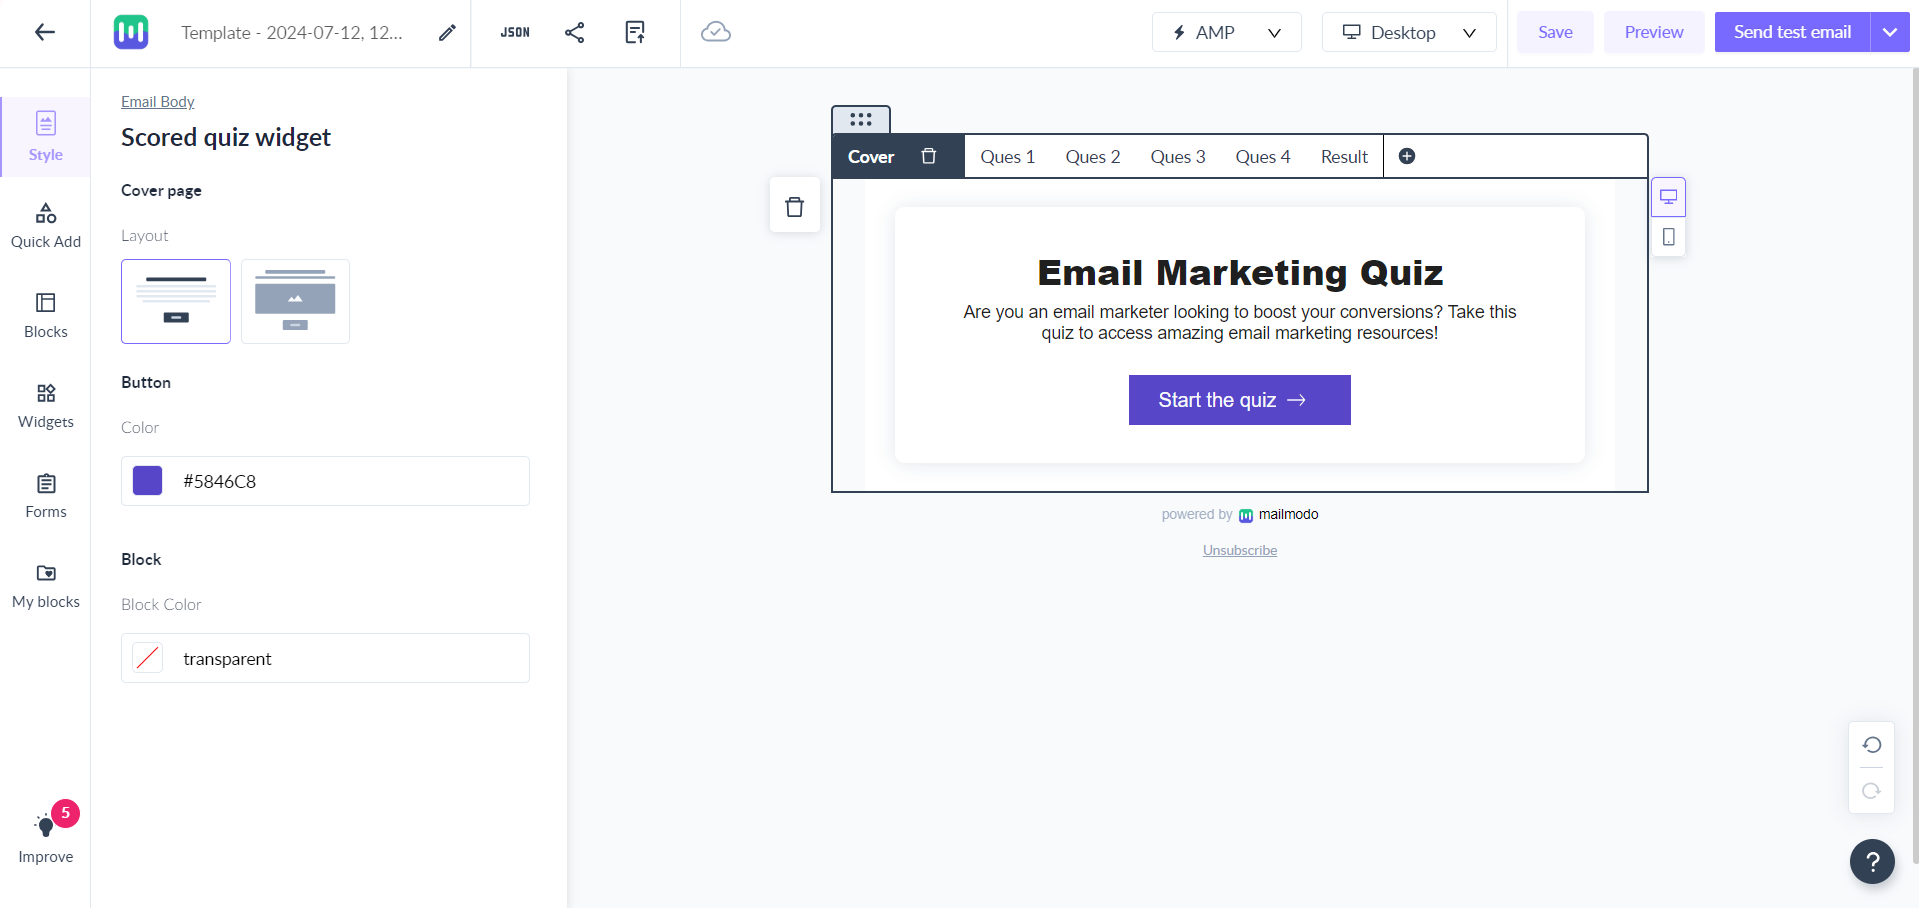
You can select desired layout. Image can be replaced from the left panel. Quiz title, description and button text can be edited using the in place editor.
Note- Cover page can be deleted from the top panel.

If you want to add the cover page again, click on the plus icon>cover page.
Step 5 - Select question layout from the left panel.
- With image
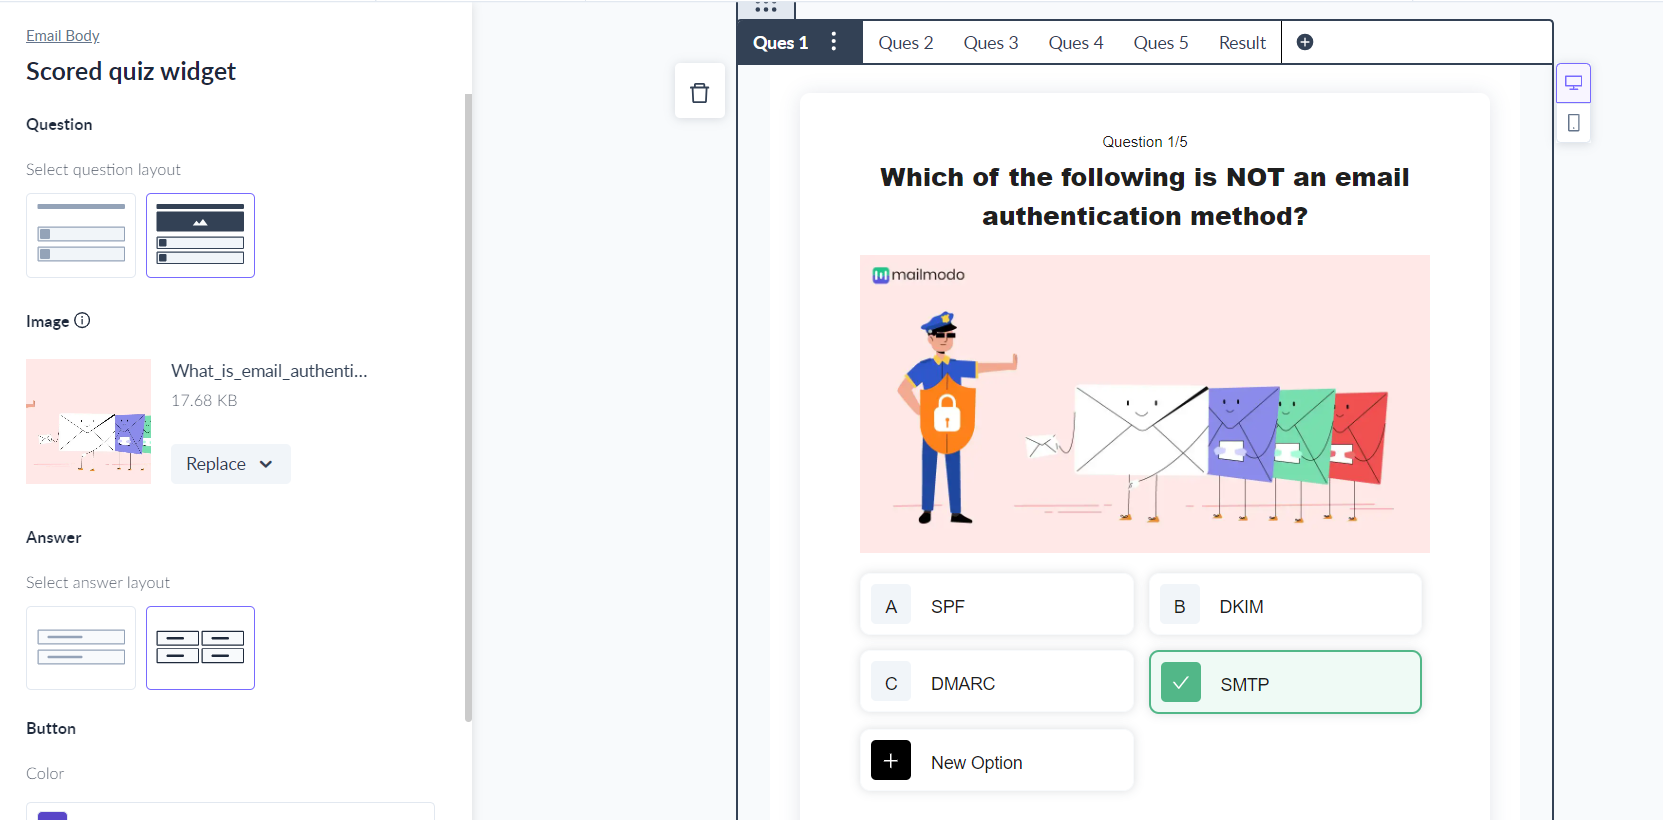
- Without image

Image can be replaced from the left panel. You can change the question text using the in place editor.
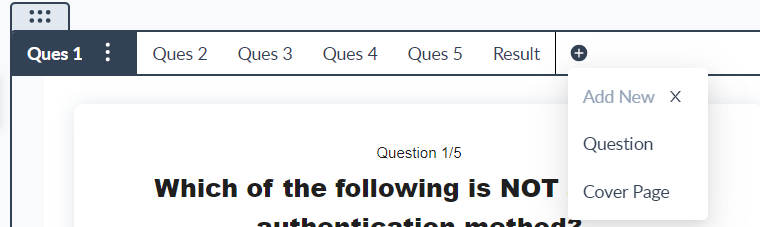
To add a new question, click on the plus icon on the top panel.

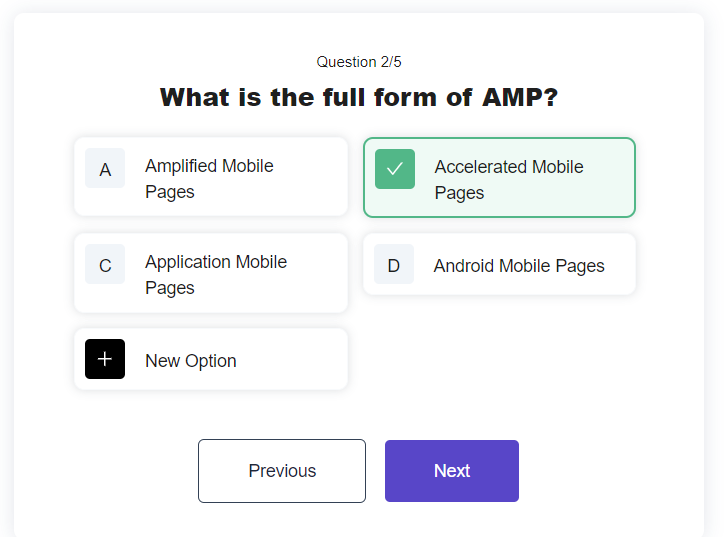
Step 6- Select Answer layout from the left panel.
- List Format
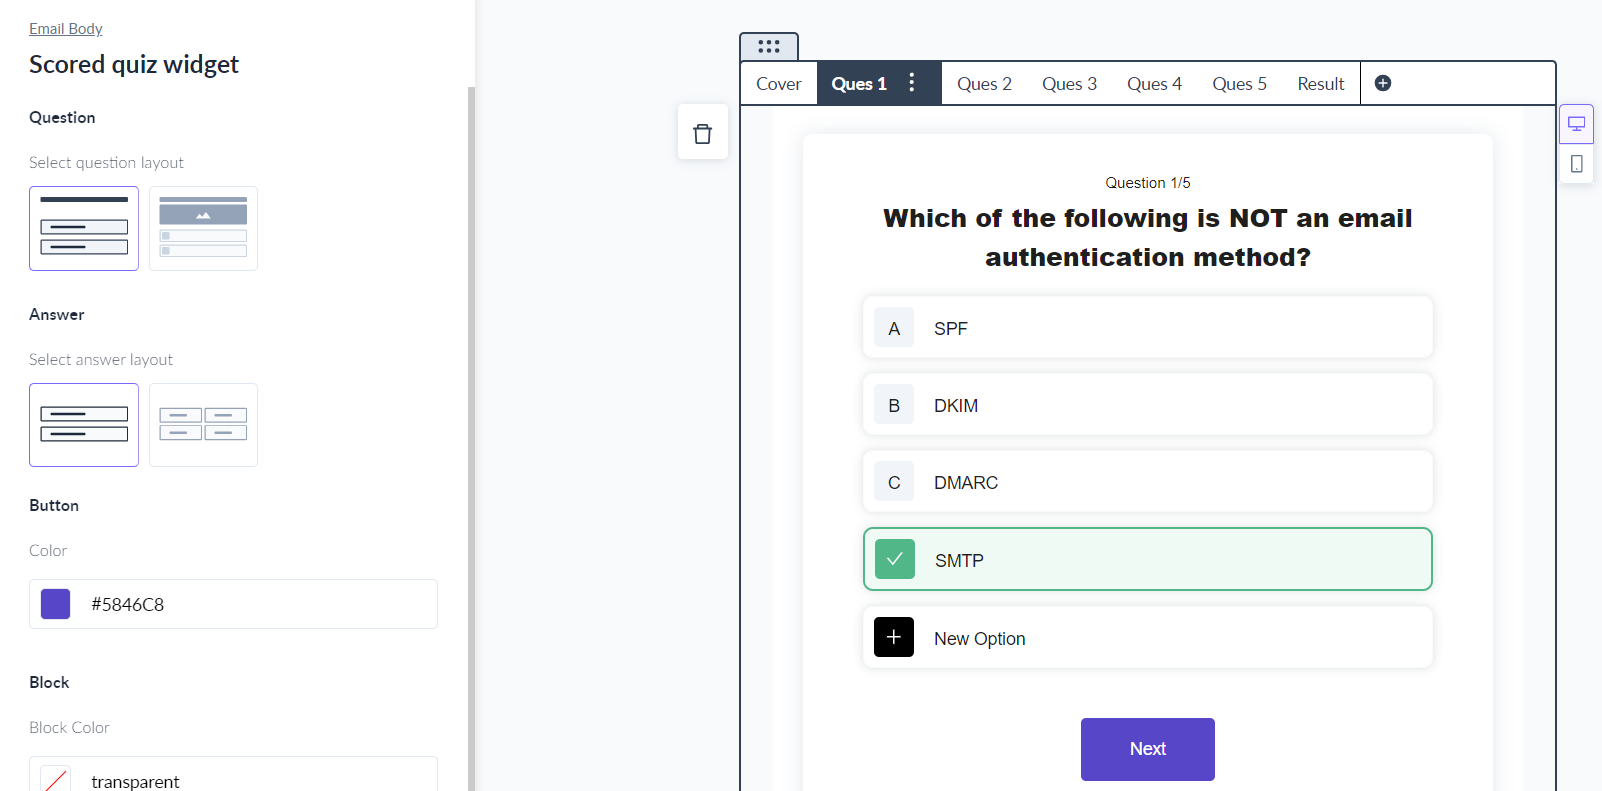
- Grid Format
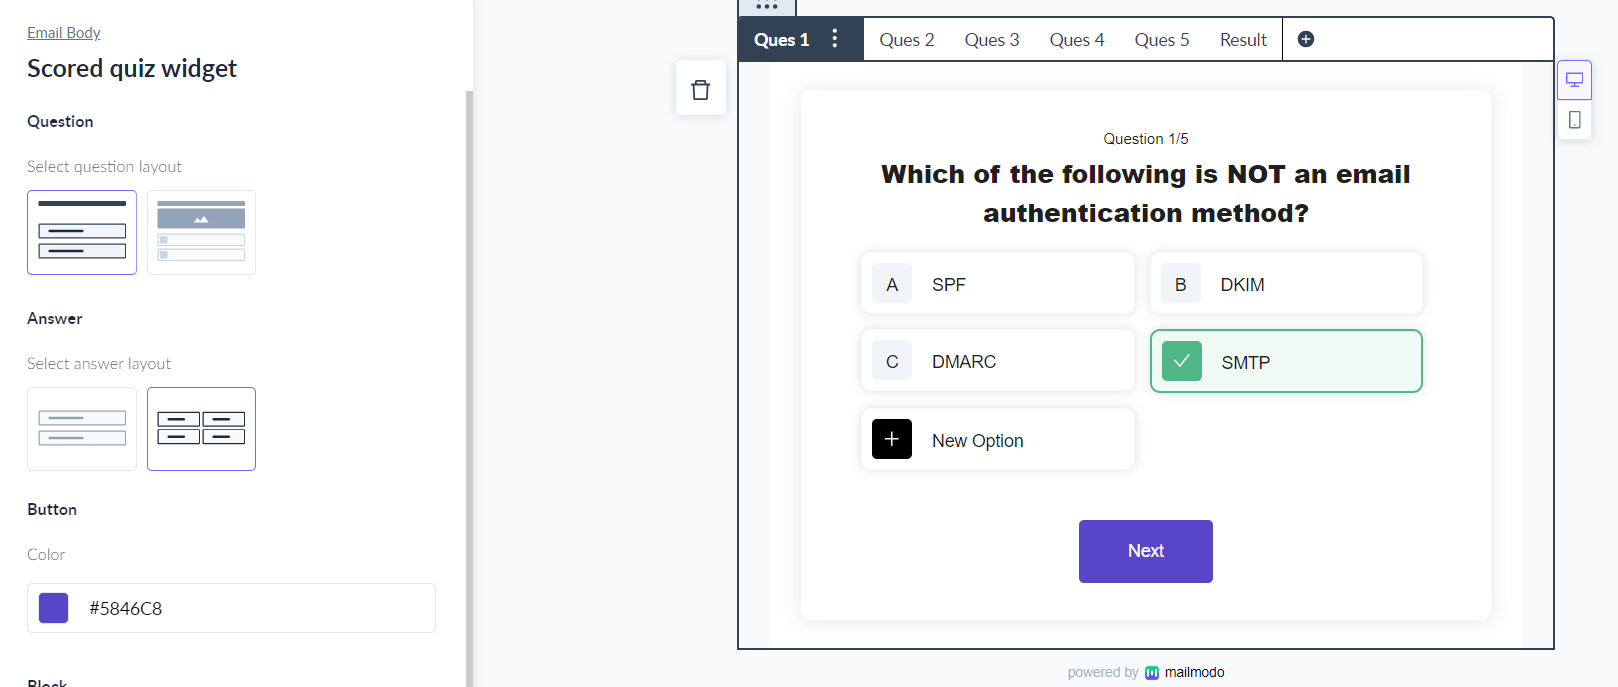
You can change the answer text using the in-place text editor.
To delete an answer option, hover over the option and click on the delete button. To add an answer option, click on New Option.

Step 7- Button and block color can be customized from the left panel.
Step 8- Set the correct answer by checking it.
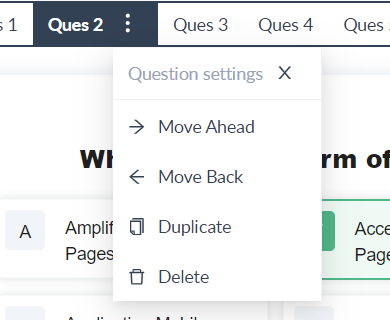
Note: You can change the question order by moving it back and forth. To do so, click on the three dots besides the selected question. Question settings will open. You can move, duplicate and delete the question from here.
Step 9- Configure the result page. Layout can be selected from the left panel.
- With image
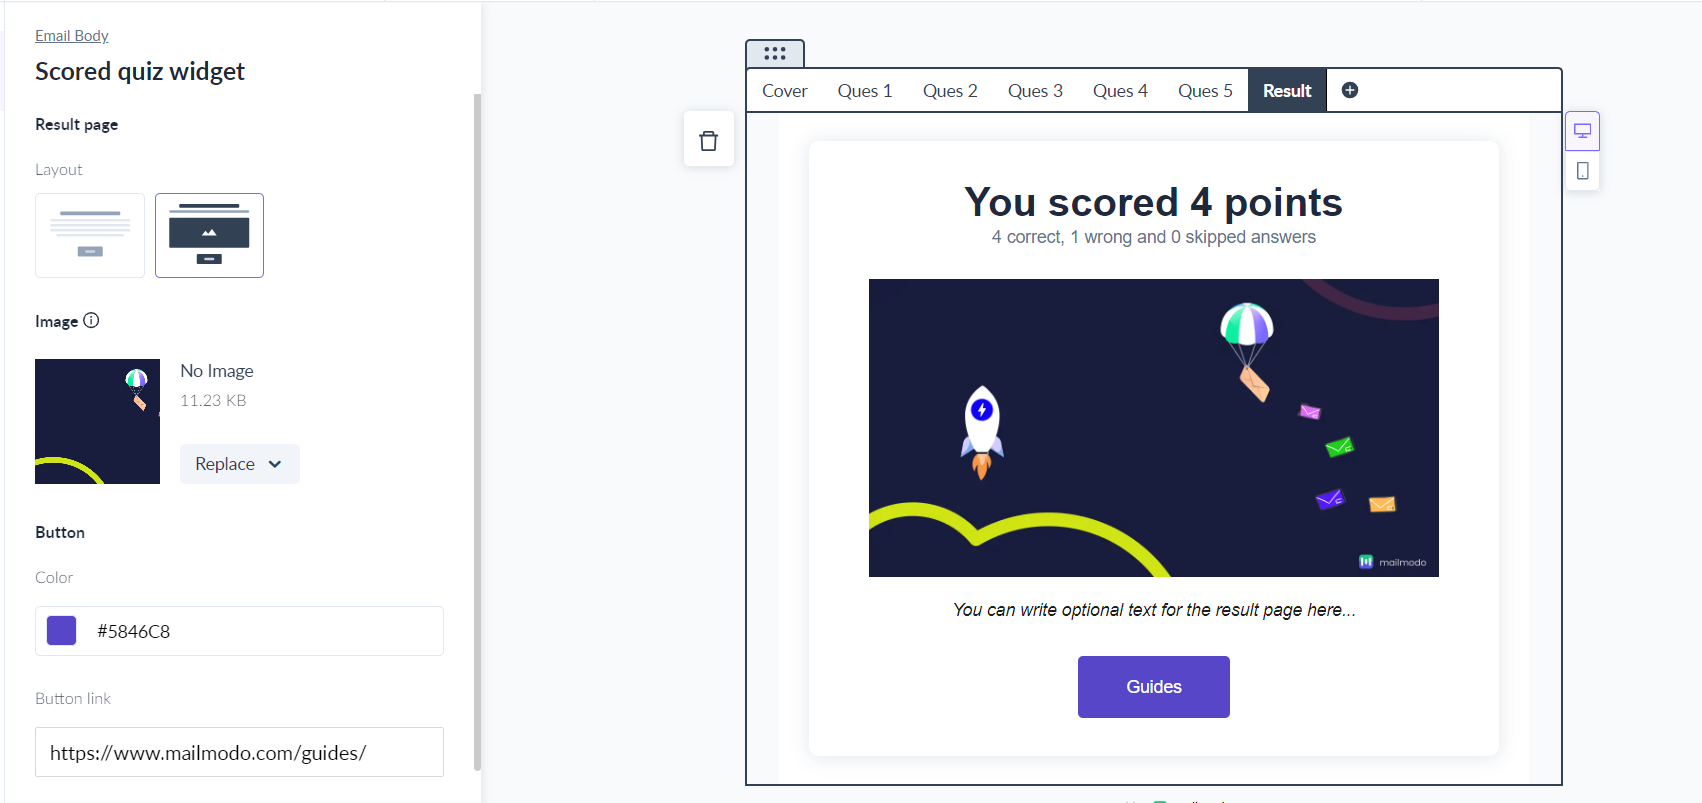
- Without image
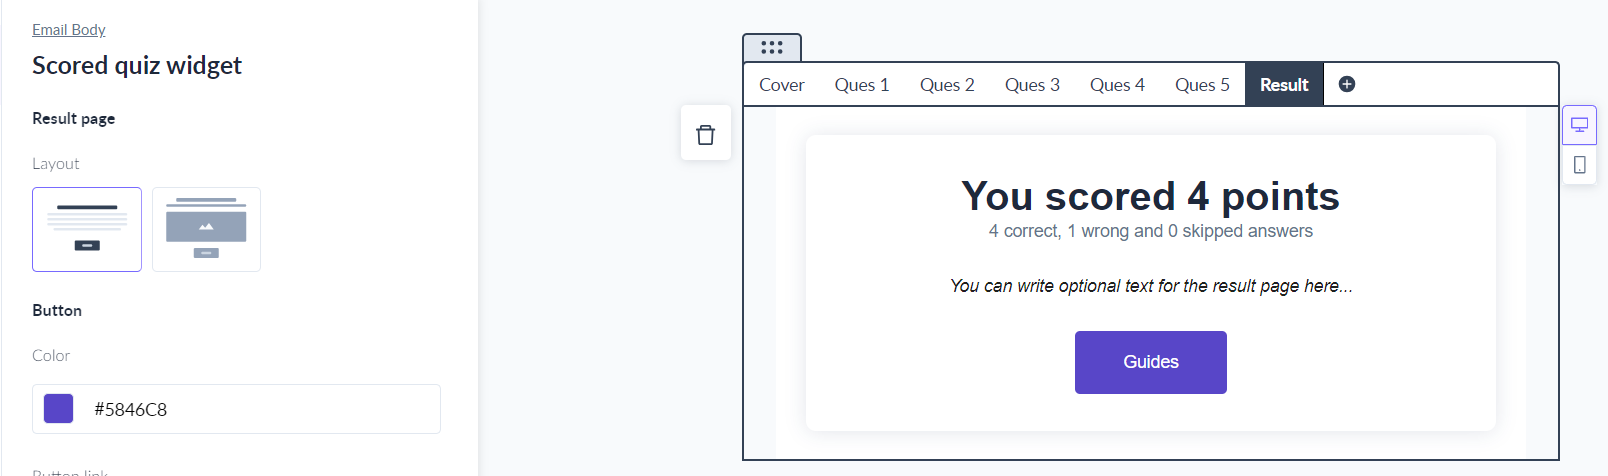
You can write optional text on the result page. Button text can also be changed using the in-place editor.
Add a URL to the CTA button from the right panel.
Step 10 - You can check how the email will look in Preview Mode or send test email. You can also attempt the quiz in preview mode.
Please note - you don't have to configure the fallback aka HTML version of the Quiz Widget separately. Mailmodo will automatically render the appropriate version across different email clients. See the FAQ section for more details.

Step 11 - Once template is finalized, use the template in bulk campaign, trigger campaign or journey campaign as per your requirements.
Step 12 - In the campaign dashboard, you can see the quiz responses in the Submissions and Insights tab.

You can use Quiz widget as form submission trigger to send follow up campaigns to your recipients based on their scores or submission responses.
Frequently Asked Questions
How will quiz widget be shown across different email clients?
The experience for the Quiz Widget across different email clients will be as follow:
On Gmail & Yahoo -> Both Quiz answering and final score display will happen inside the email
On Apple Mail -> Quiz answering will happen inside email, but final score will be shown outside the email
On Outlook -> Both Quiz answering and final score will happen outside the email.
Email client not mentioned above (for e.g. Mail Ru, Lotus, etc.) will have experience similar to the one of the above email clients.