Trigger journey on form submission
Last updated May 28, 2025
Form submission trigger allows you to trigger a journey when a contact submits a response to the form used in an email template sent to them. This is best for collecting feedback, customer engagement, survey research, etc.
Example Use Case:
When a contact submits a contact or inquiry form embedded in an email template, you can use this trigger to initiate an automated lead nurturing journey. This journey can include a thank-you email, follow-up responses, and information tailored to the contact's inquiry.
Requirements:
You must create email templates with embedded forms using Mailmodo's features.
Key steps:
Step 1: Create a new journey.
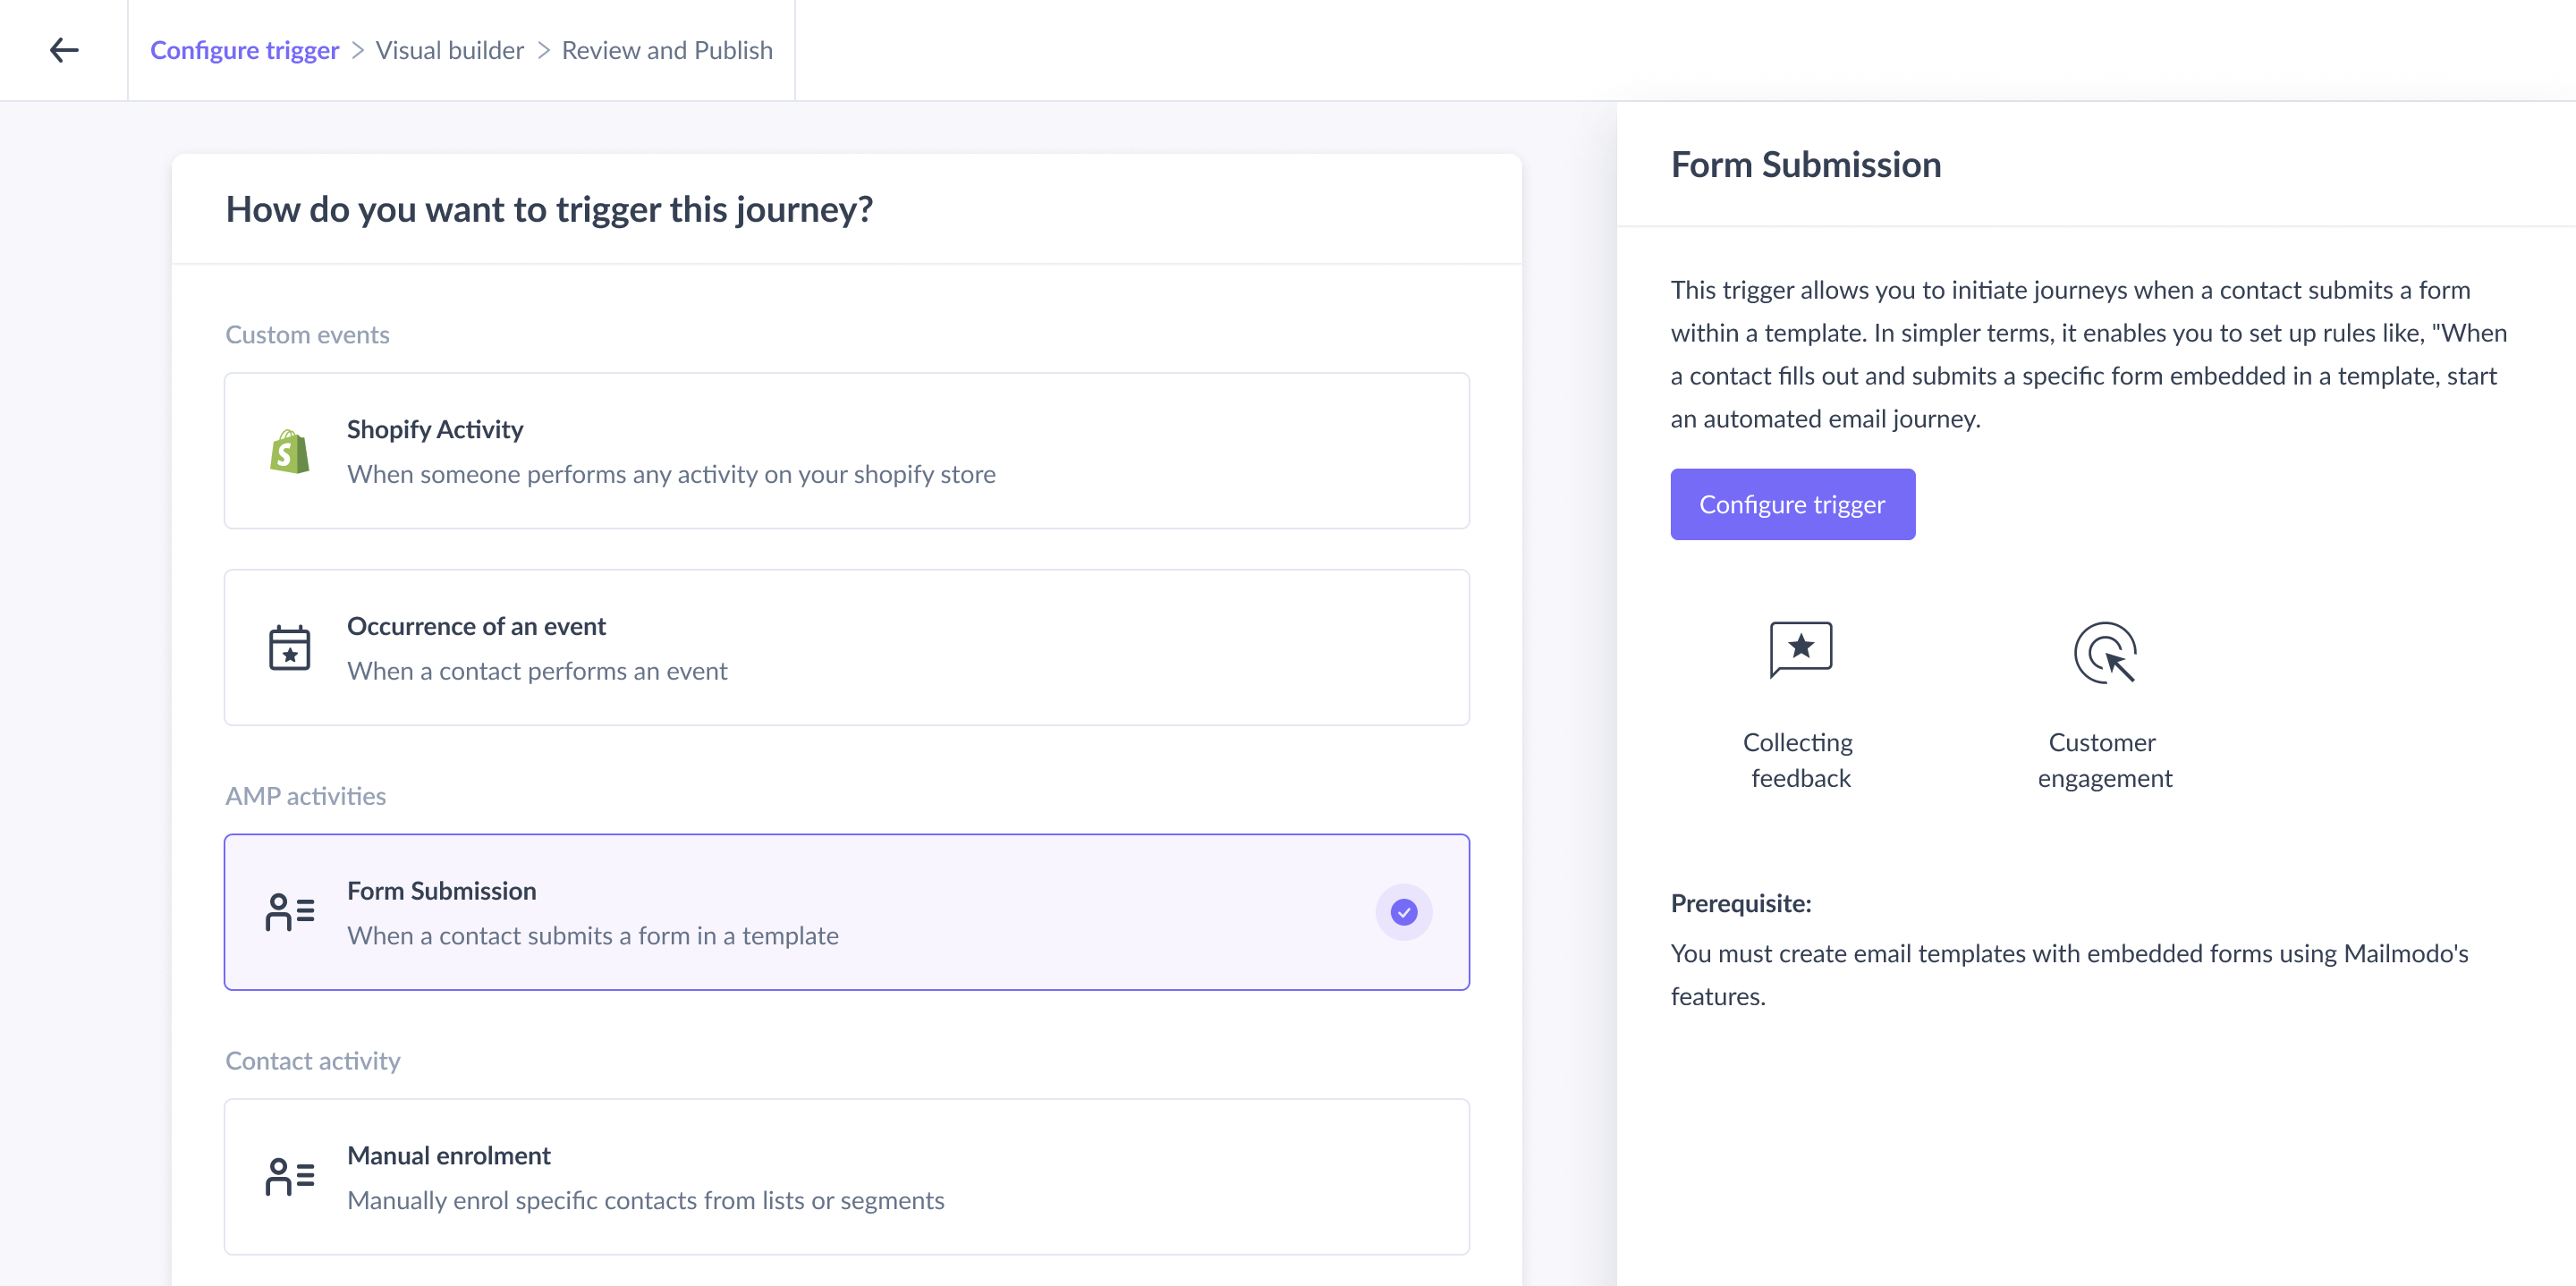
Step 2: Select ‘Form submission’ as the trigger.
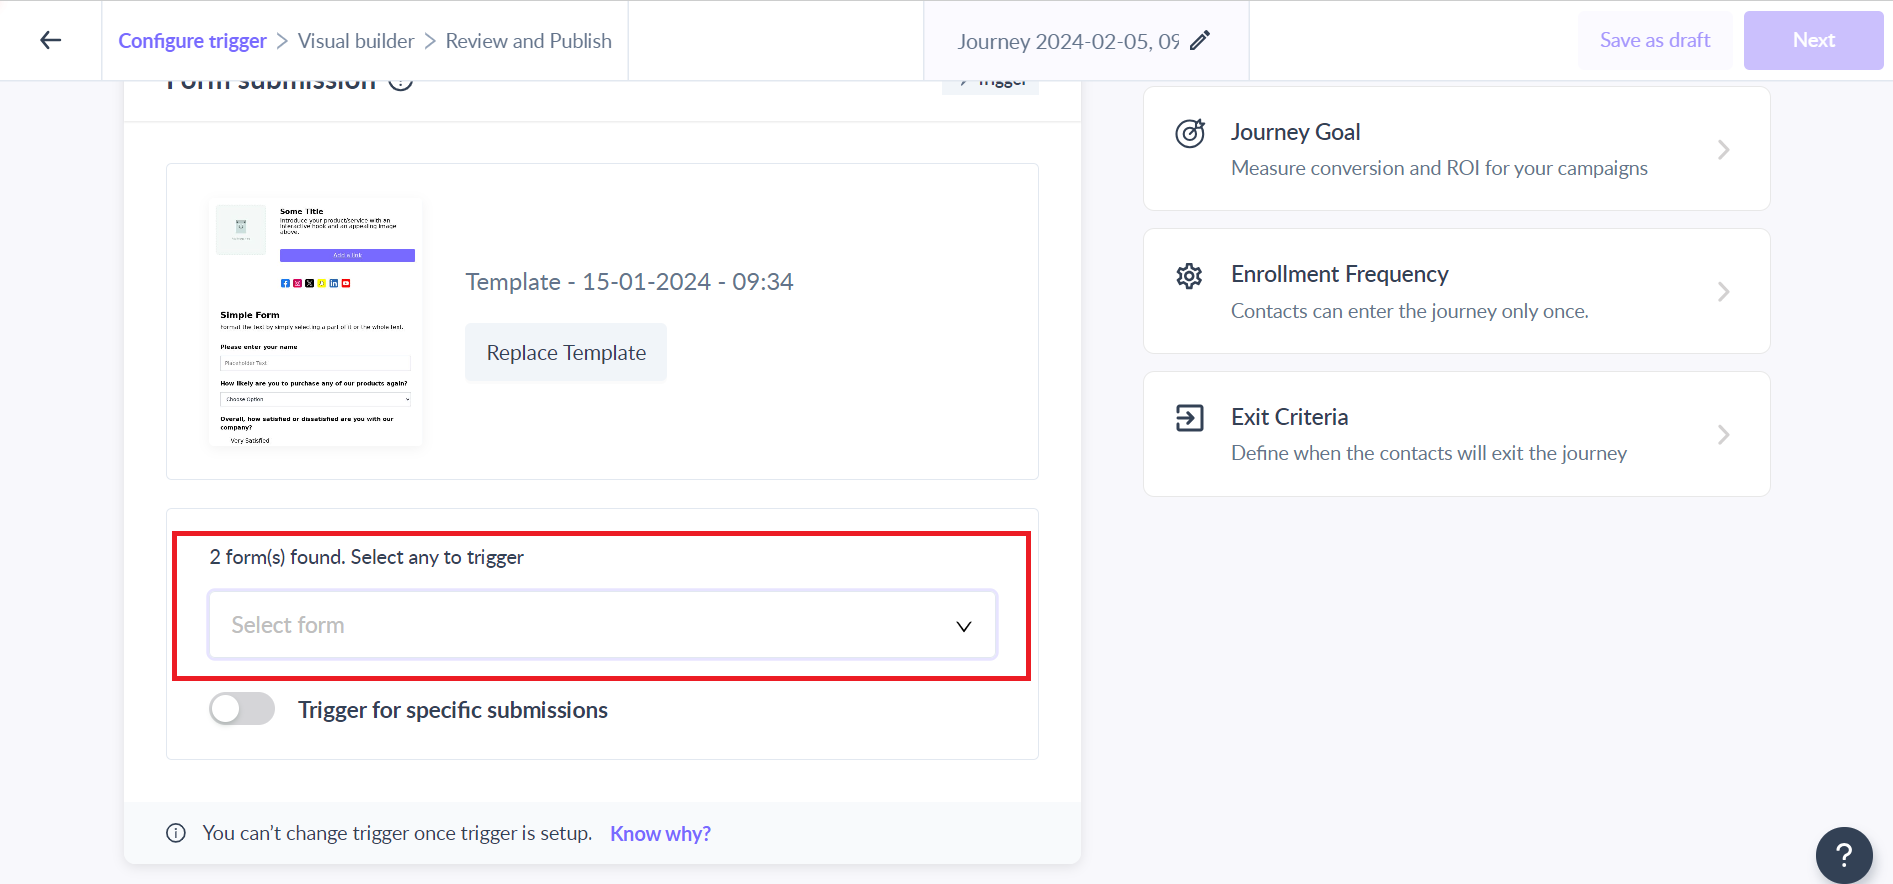
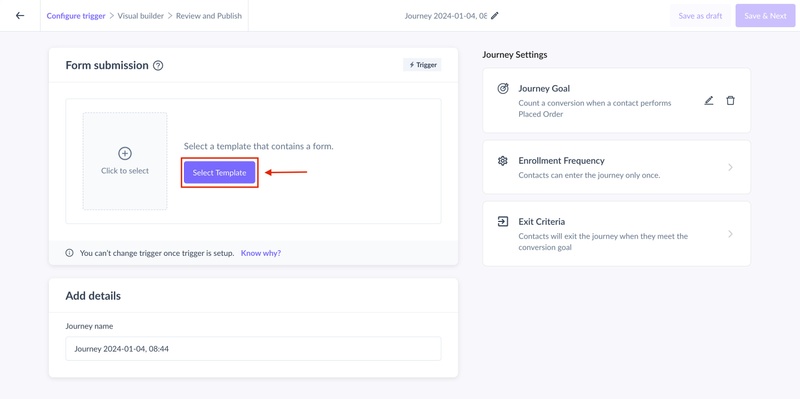
Step 3: In the right panel, click on Select the template button to select the template having the desired form or forms.
Step 4:. Select the desired form in the dropdown.
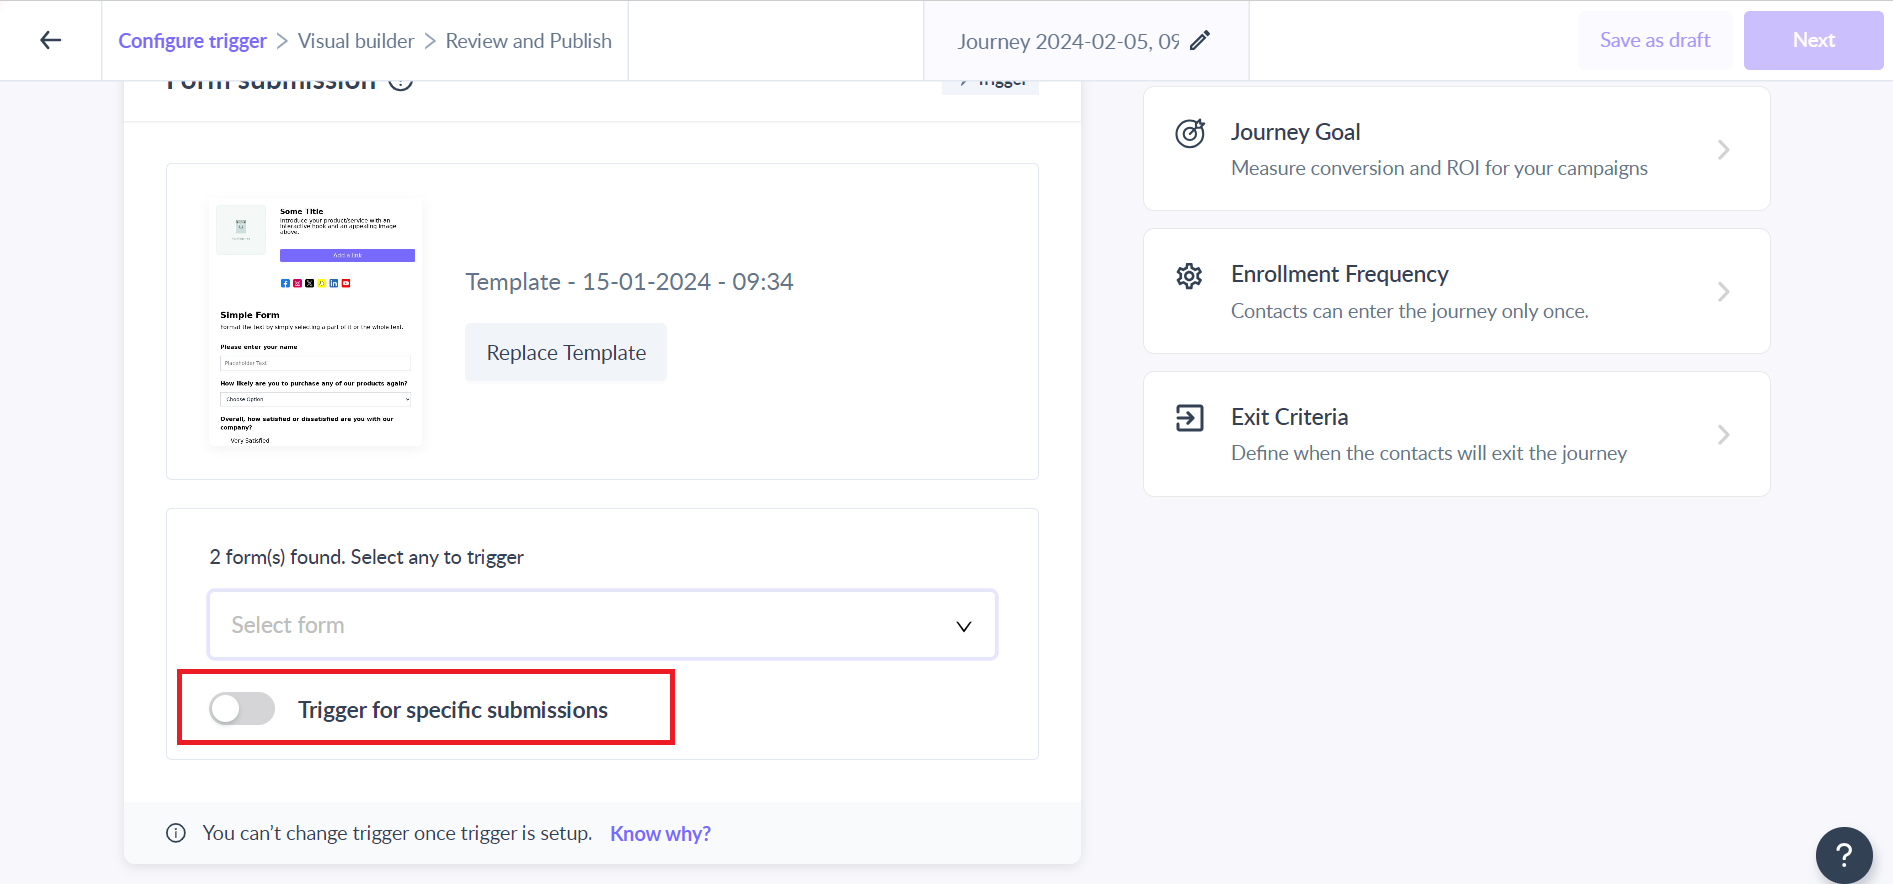
In case you want to run journeys based on submissions, click on the save button to complete the configuration.
Or if you want to trigger the journey when a specific question is submitted, click on the trigger on a specific submission option to create rules for form questions.
Step 5:
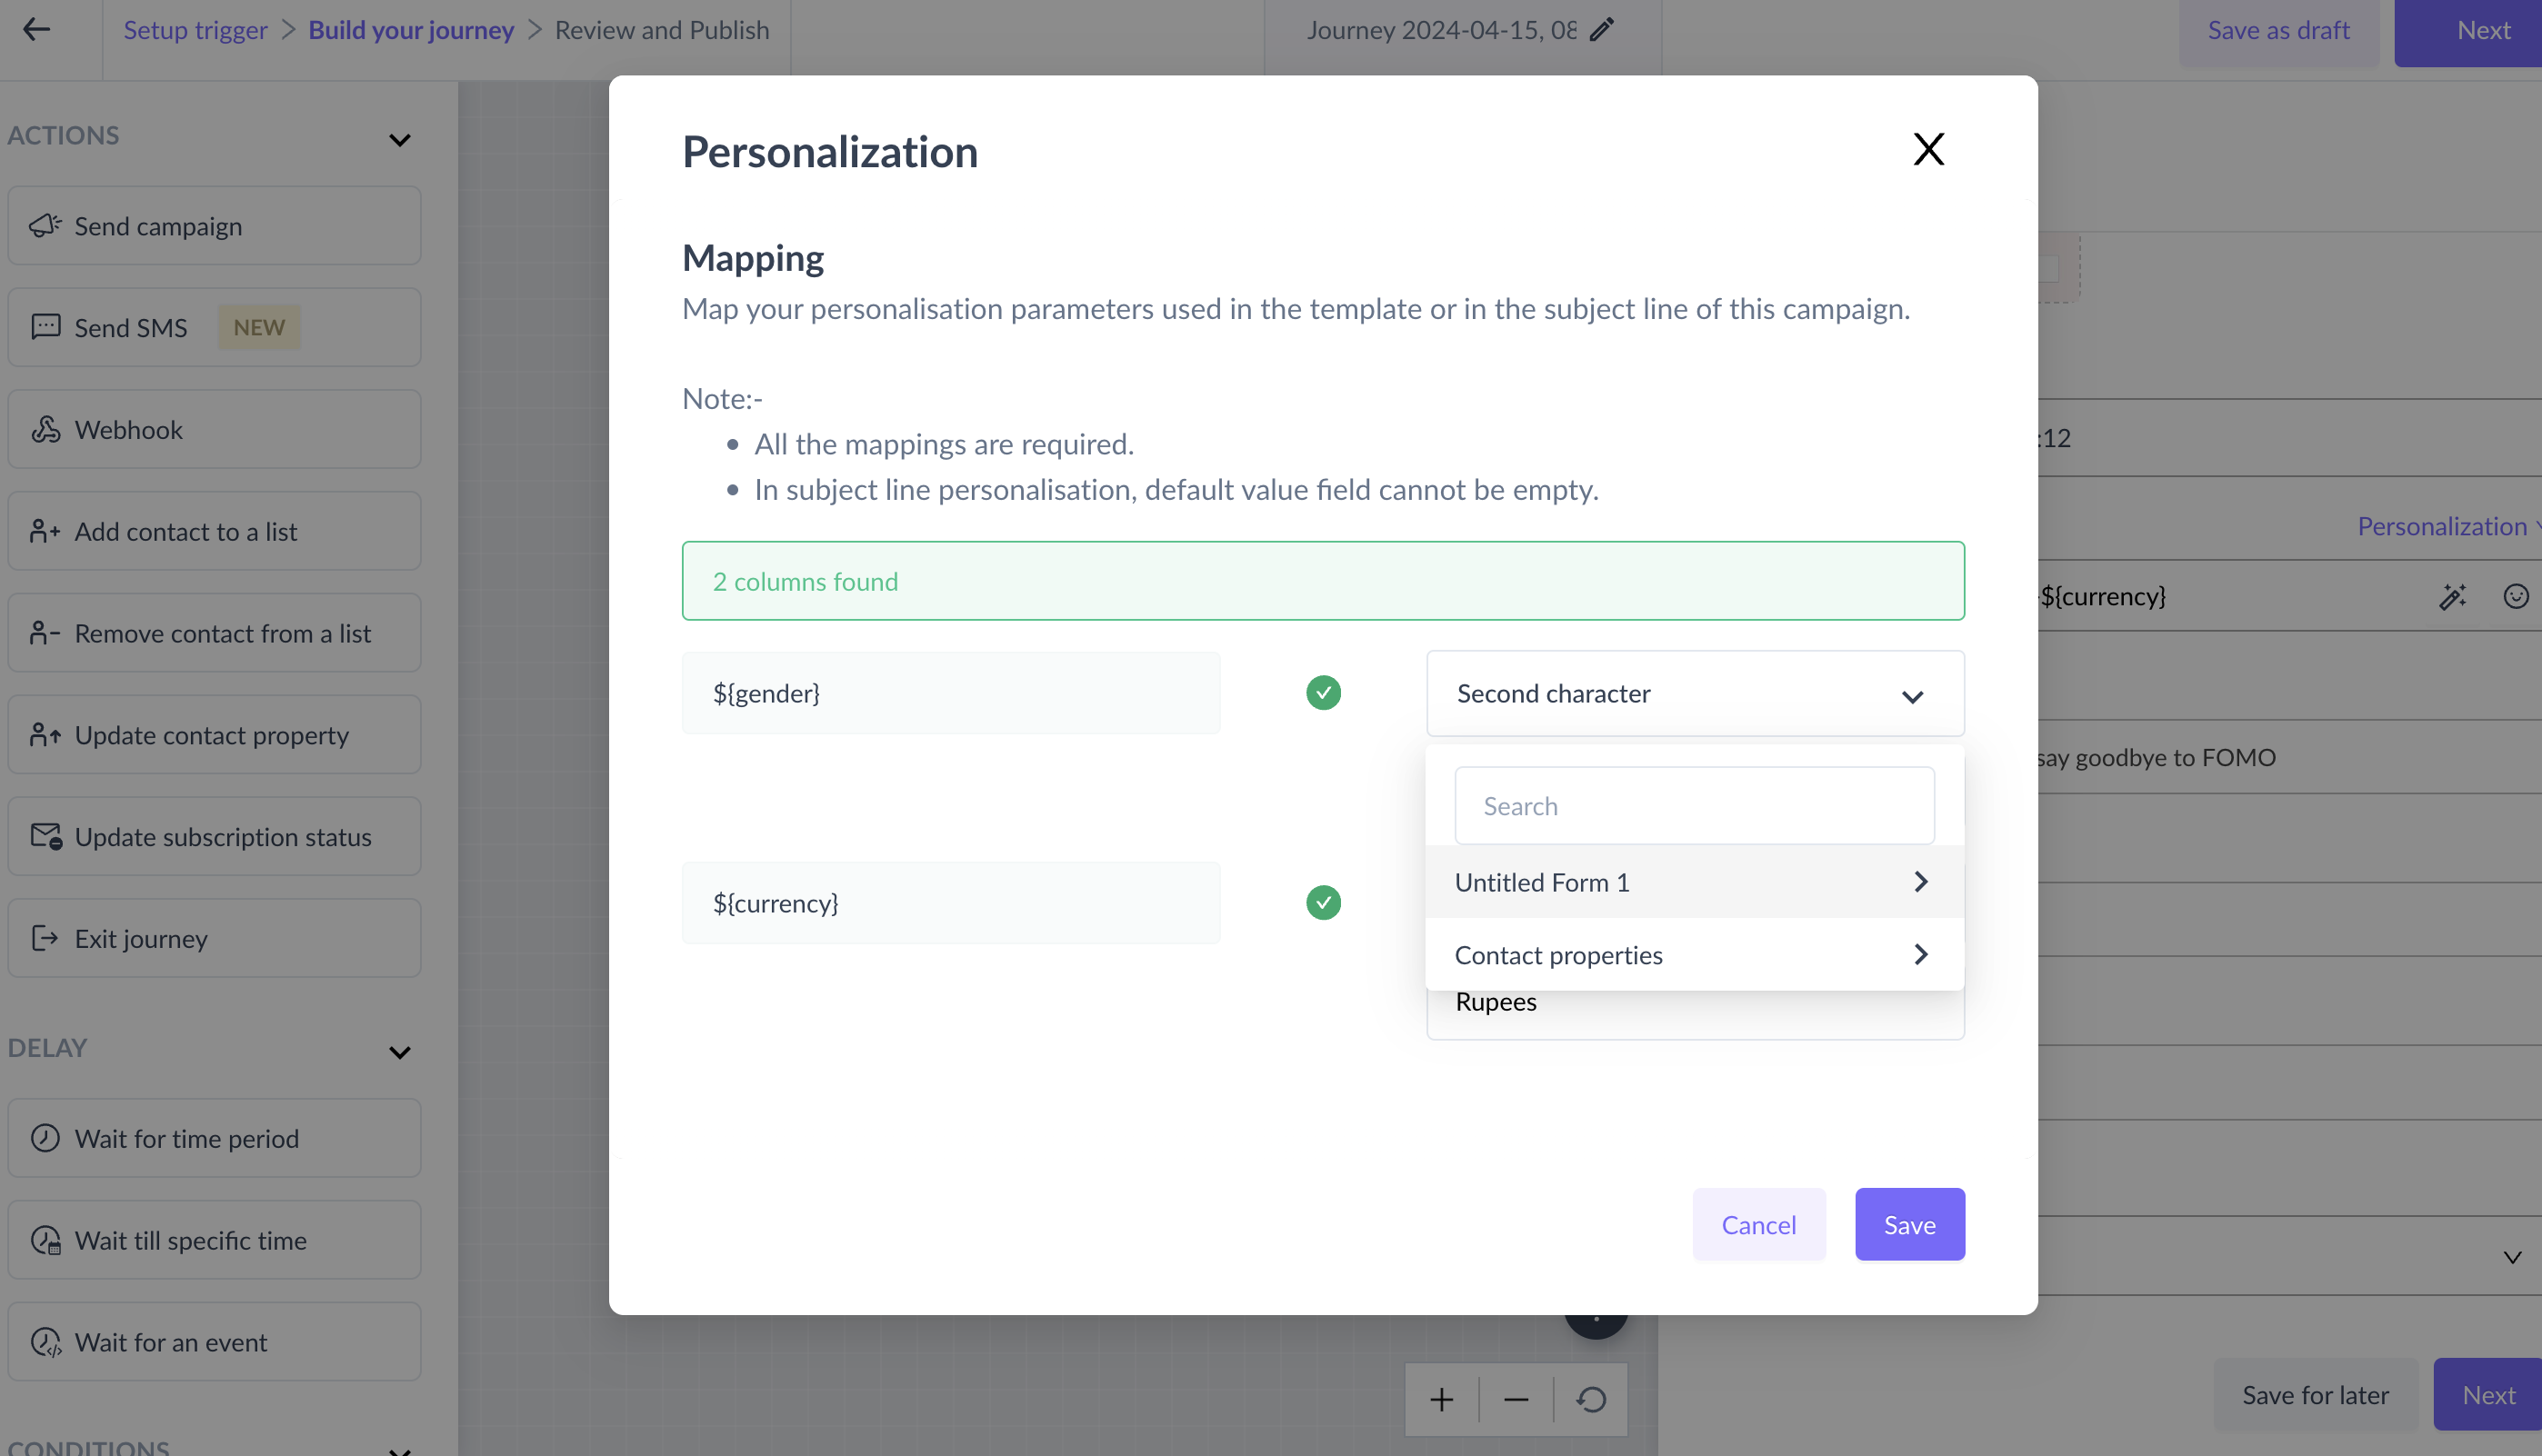
You will be prompted to map the form fields ( form selected in the trigger block) to personalization parameters in your send campaign block.
For instance consider this flow, a. Trigger block --> b. send campaign block.
If there are personalization parameters in your template and subject line, you will be asked to map those parameters with the form attributes of the trigger block. This can be helpful when you wish to trigger a campaign based on form submission and personalize the content of your campaign depending on user input.
Step 6:
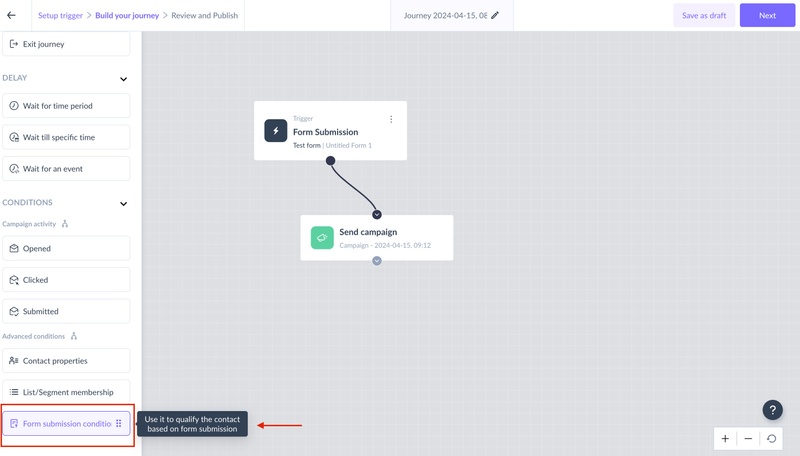
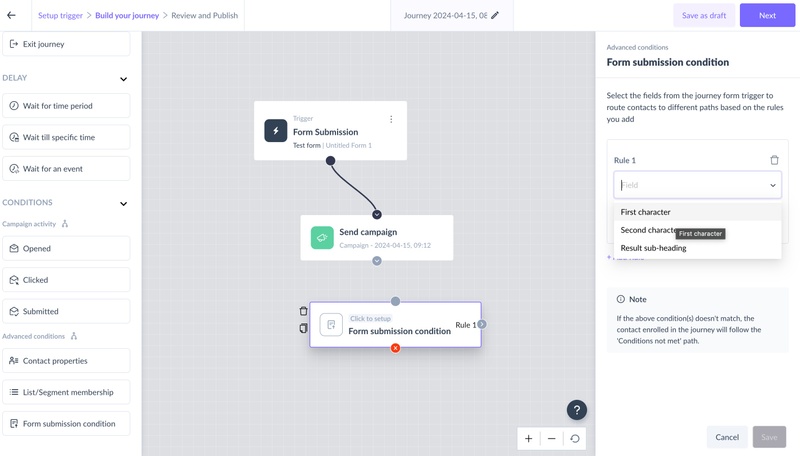
To split the journey further, you can add the "Form submission condition" block and direct the contacts to different paths in the journey based on the responses that they give to questions in the form.
You can learn more about this block, here .
Step 7: Test the journey before publishing it.
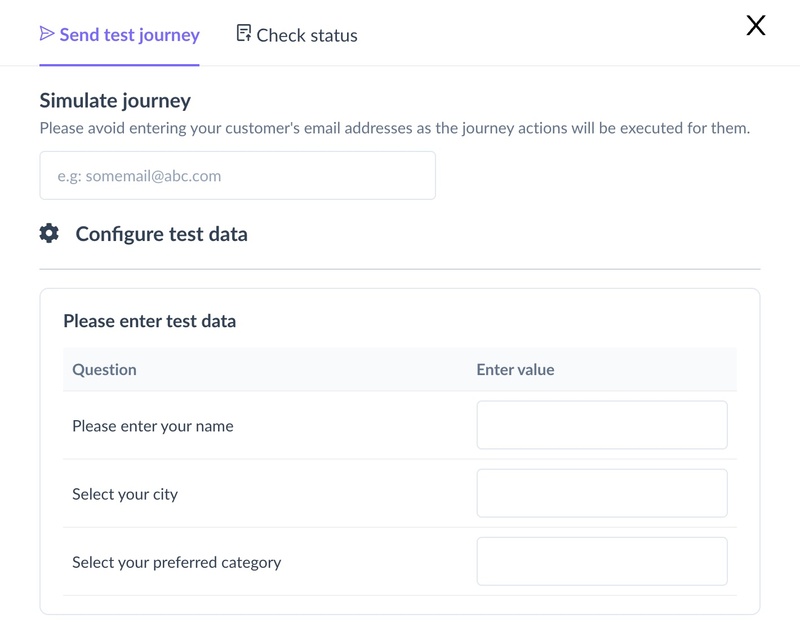
When you click on the "test journey" button on the Review and Publish page, you will be prompted to enter test data for the form that is in the selected template. Please make sure to enter the correct data in the input field for which you want the journey to be triggered.
Step 6: Design the complete journey and click on the "Next" button.
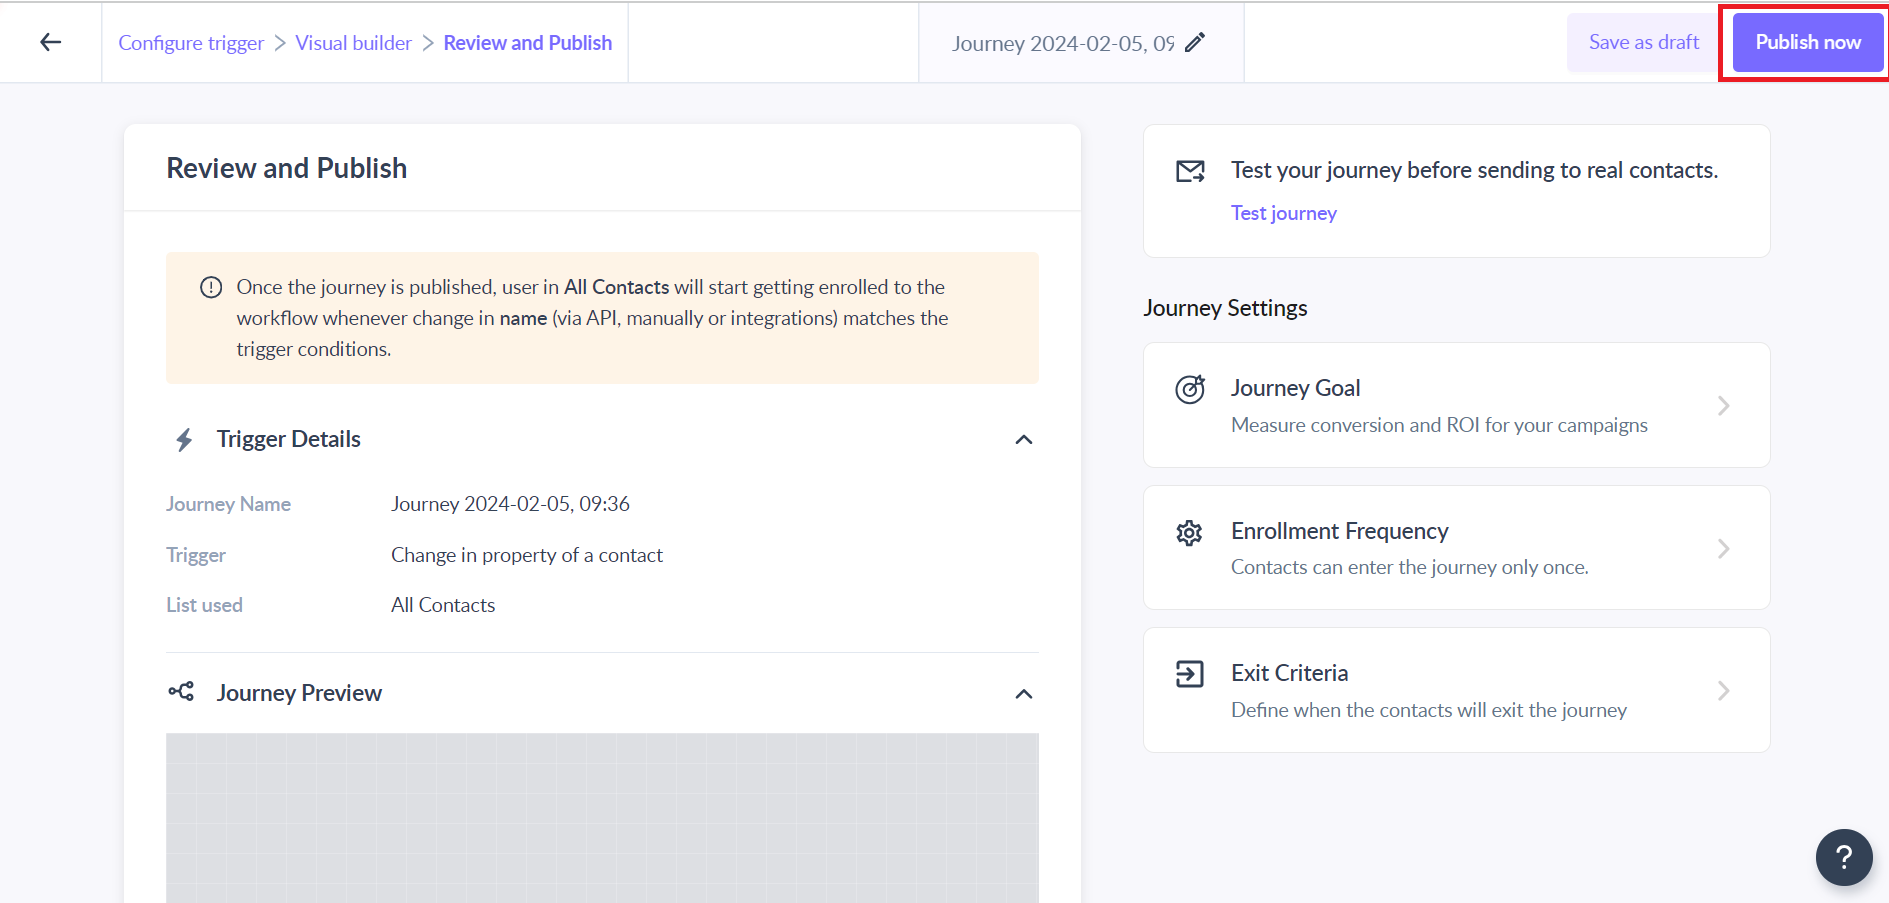
You can review all the important details of the journey at one glance, such as the template selected, nodes used, testing the journey, and so on to see if they match your requirements perfectly.
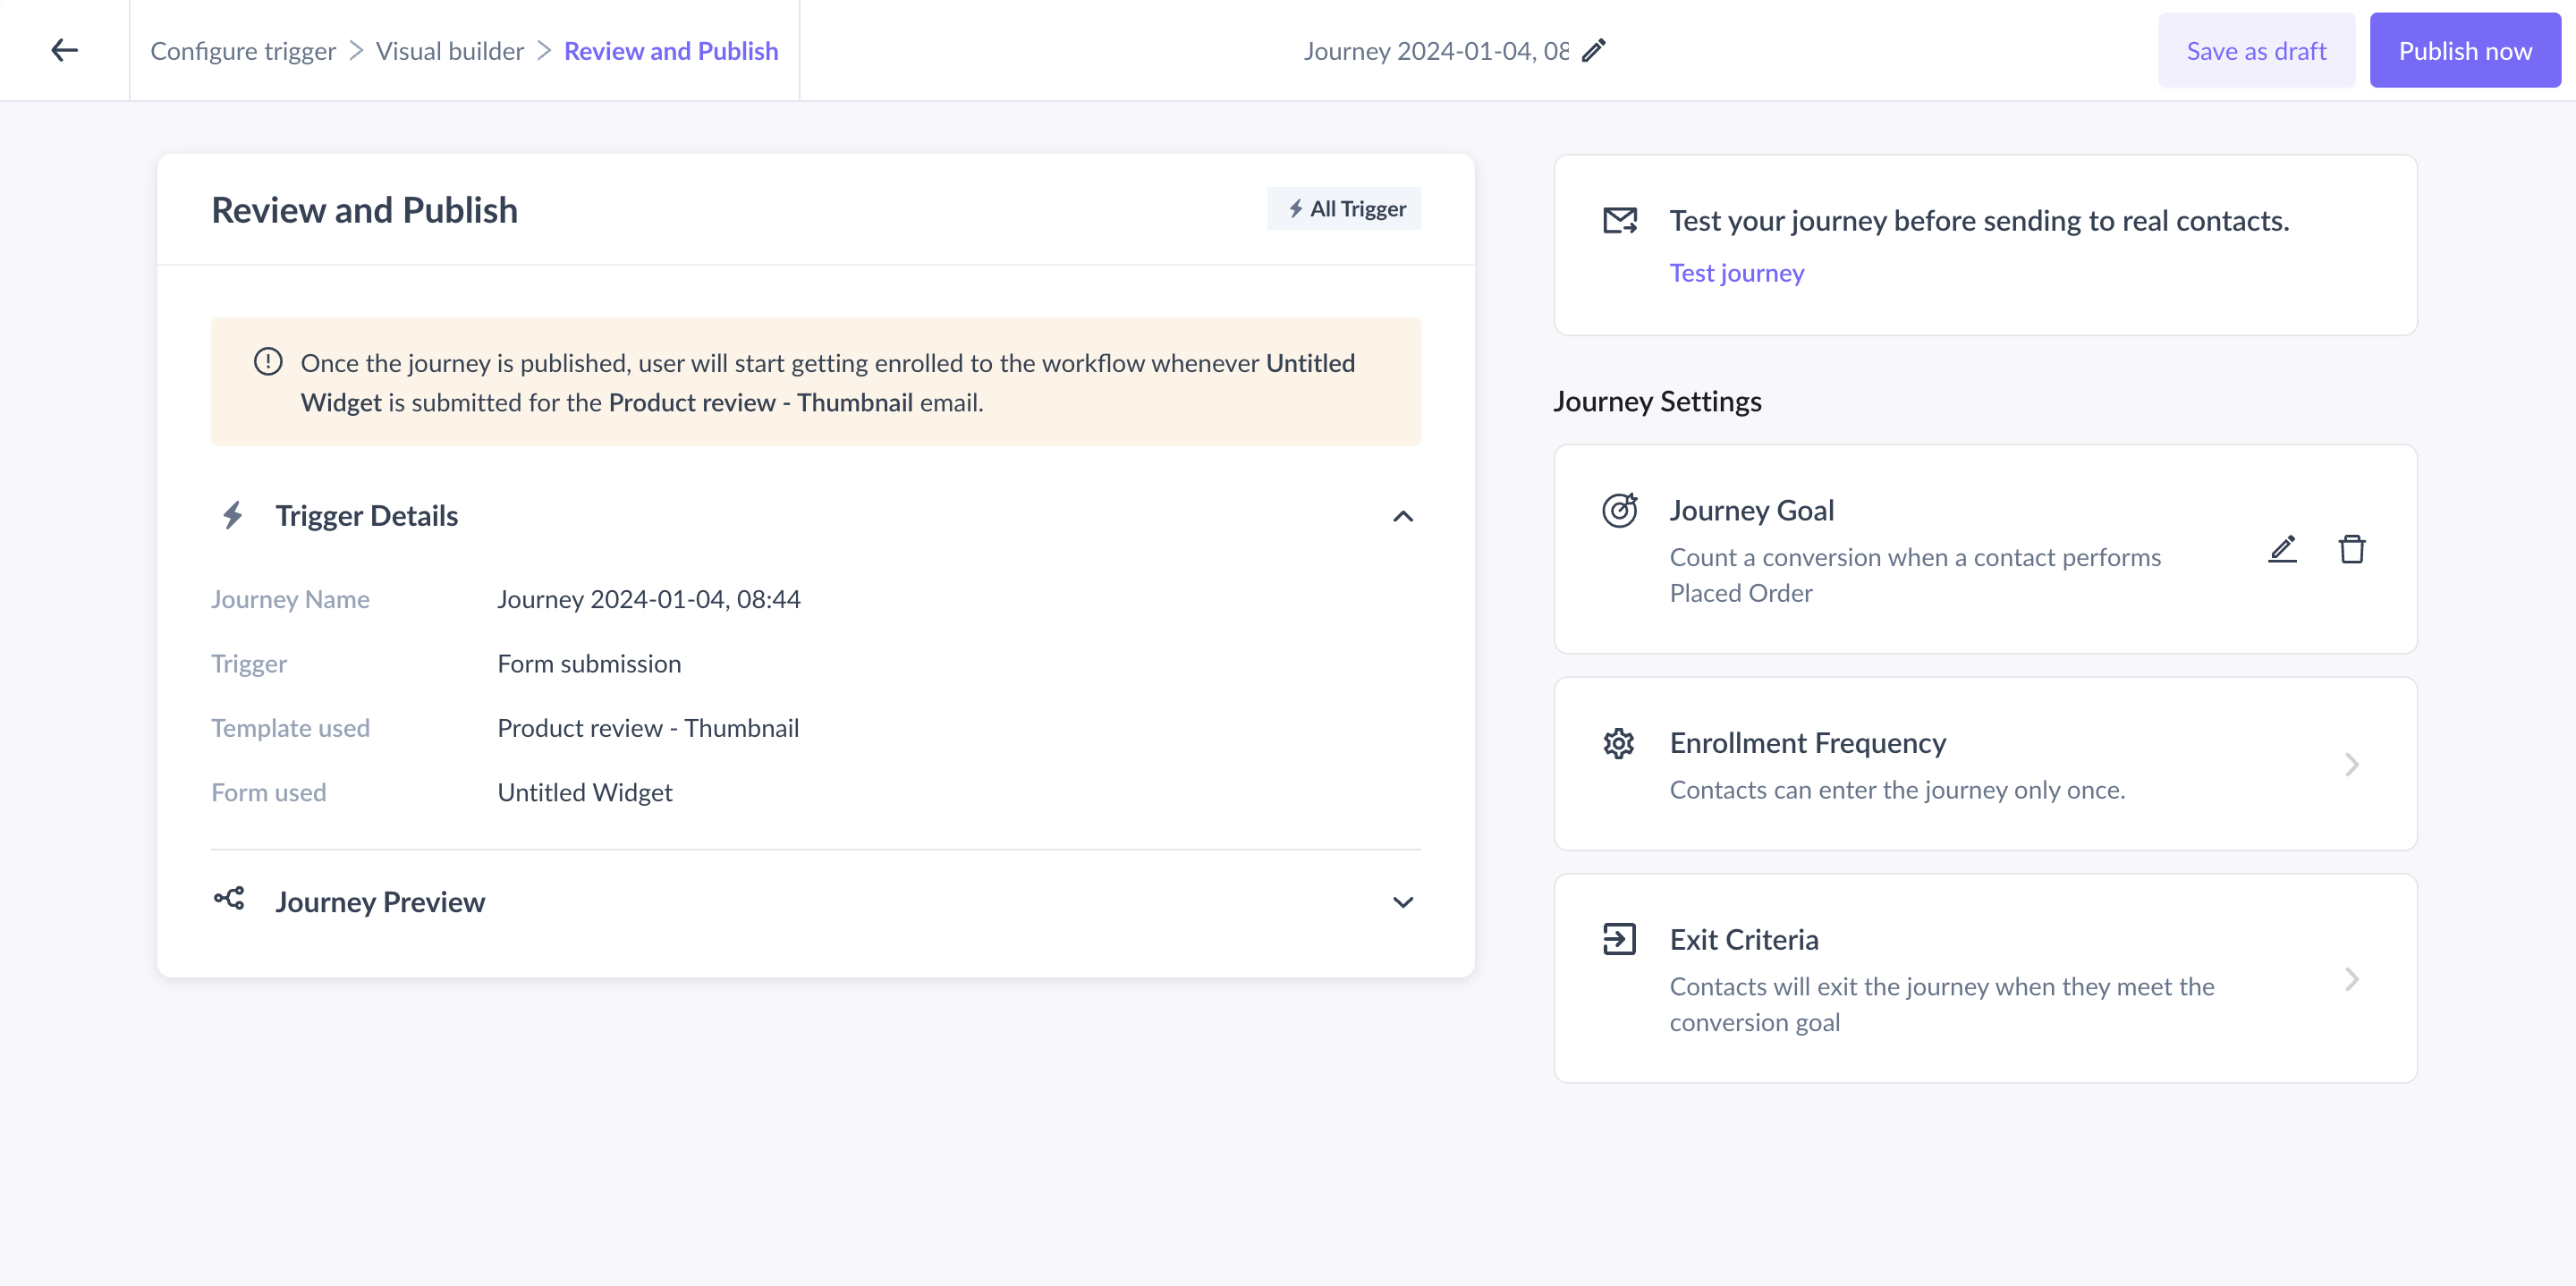
Step 7: Once you have reviewed the journey, click on the Publish button. The journey being published would mean that the journey is running and is waiting for the new contacts whose property value would change.


