How to send a form with pre-filled answers?
Last updated February 16, 2025
You can now send forms with pre-filled answers. When the email recipient opens the email, they will see essential fields like name, age and address already pre-filled, thus helping them complete the form faster.
In this article, we will cover the following-
- Pre-requisites
- How to create a template with pre filled forms
- How to use a template with pre filled forms in promotional campaigns
- How to use a template with pre filled forms in transactional campaigns
- How to use a template with pre filled forms in journey campaigns
- How will the template look in email recipient's inbox
Pre-requisites
- Form input fields are mapped to contact properties. Valid contact property data must exist for the input field to be pre filled.
- In case of promotional campaigns, contact property value is fetched from contact data you have uploaded to Mailmodo.
- In case of transactional campaigns, contact property value is fetched from the API body.
- Pre-fill value is only supported for the following types of form input fields-
- Single line text input
- Dropdown
- Radio
- Checkbox
- Multi line text input
- Single select chip
- Multi select chip
- Pre-fill value is not supported in emoji, thumbs up, star rating, NPS, date picker and time picker.
- In case of multiple answer options, input field will be pre filled only if contact property value matches one of the answer options. If the contact property value does not match with one of the answer options, then the field will not be pre filled.
- In case of single line and multi line text input, the field will always be pre filled with the contact property value.
If a step containing pre-filled values is skipped as a part of step logic, then the pre-filled value will not be exported as a submission.
How to create a template with pre filled forms?
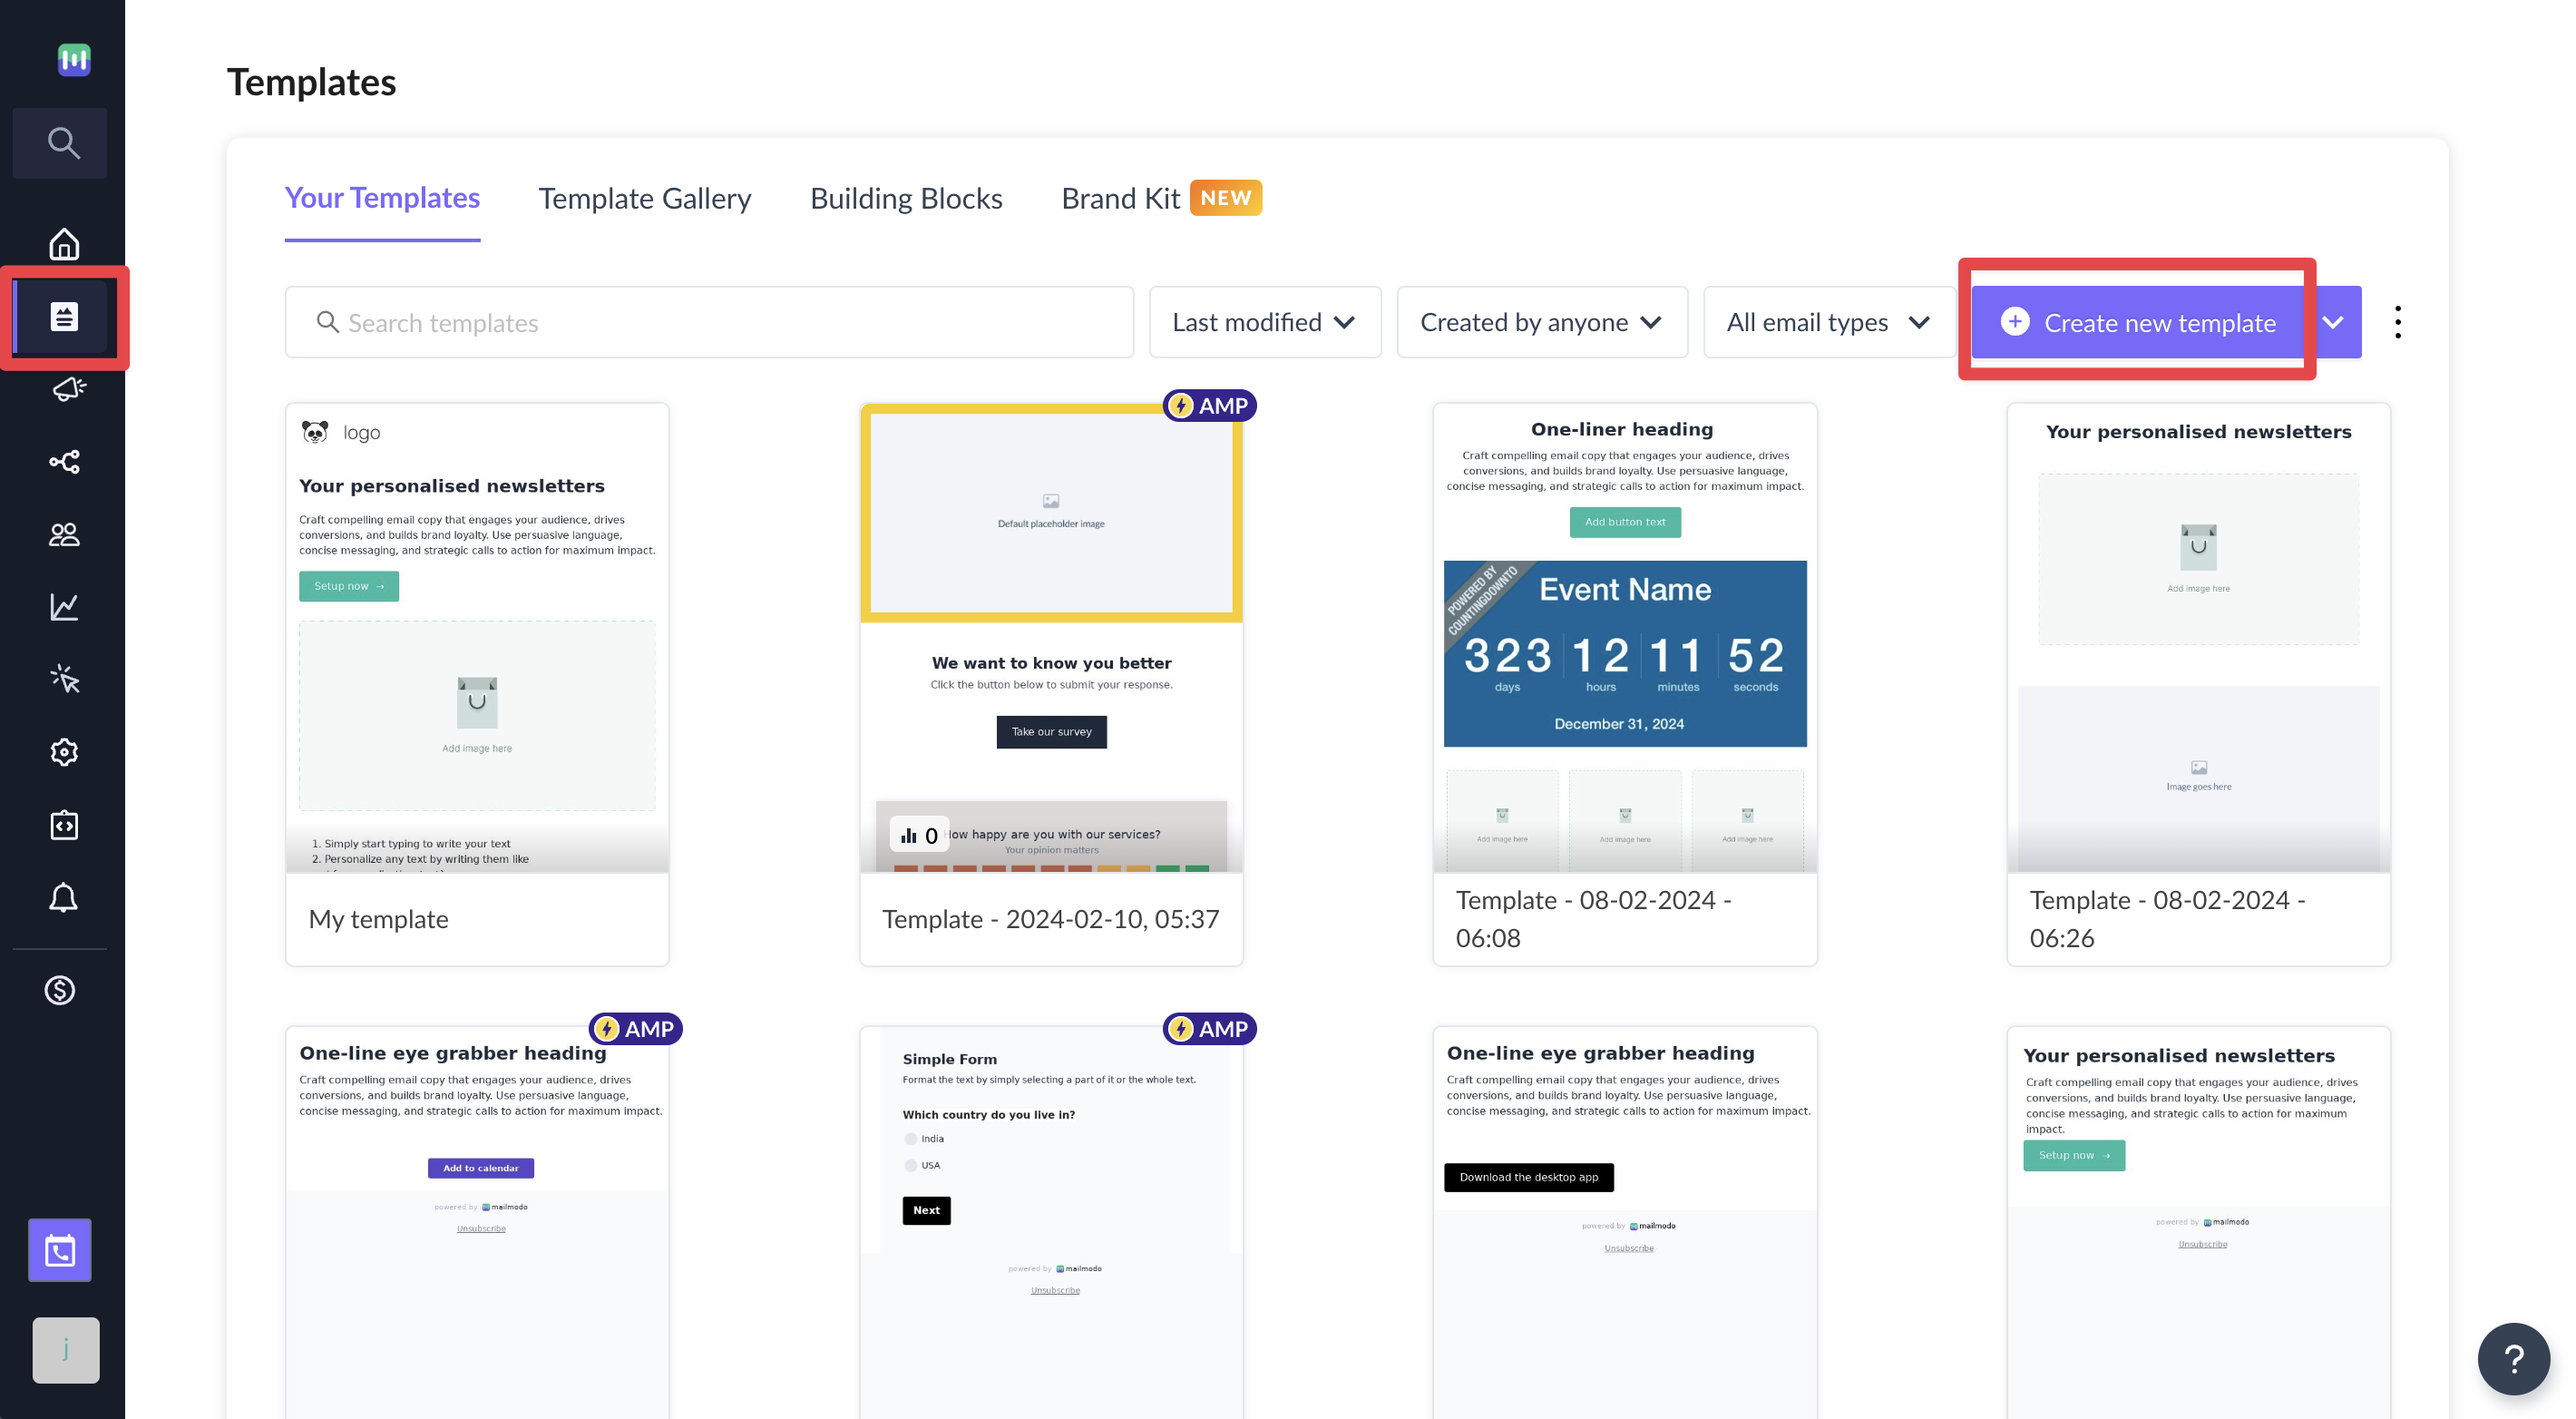
Step 1: Create a template with a form. Customise the form questions as per your requirement.
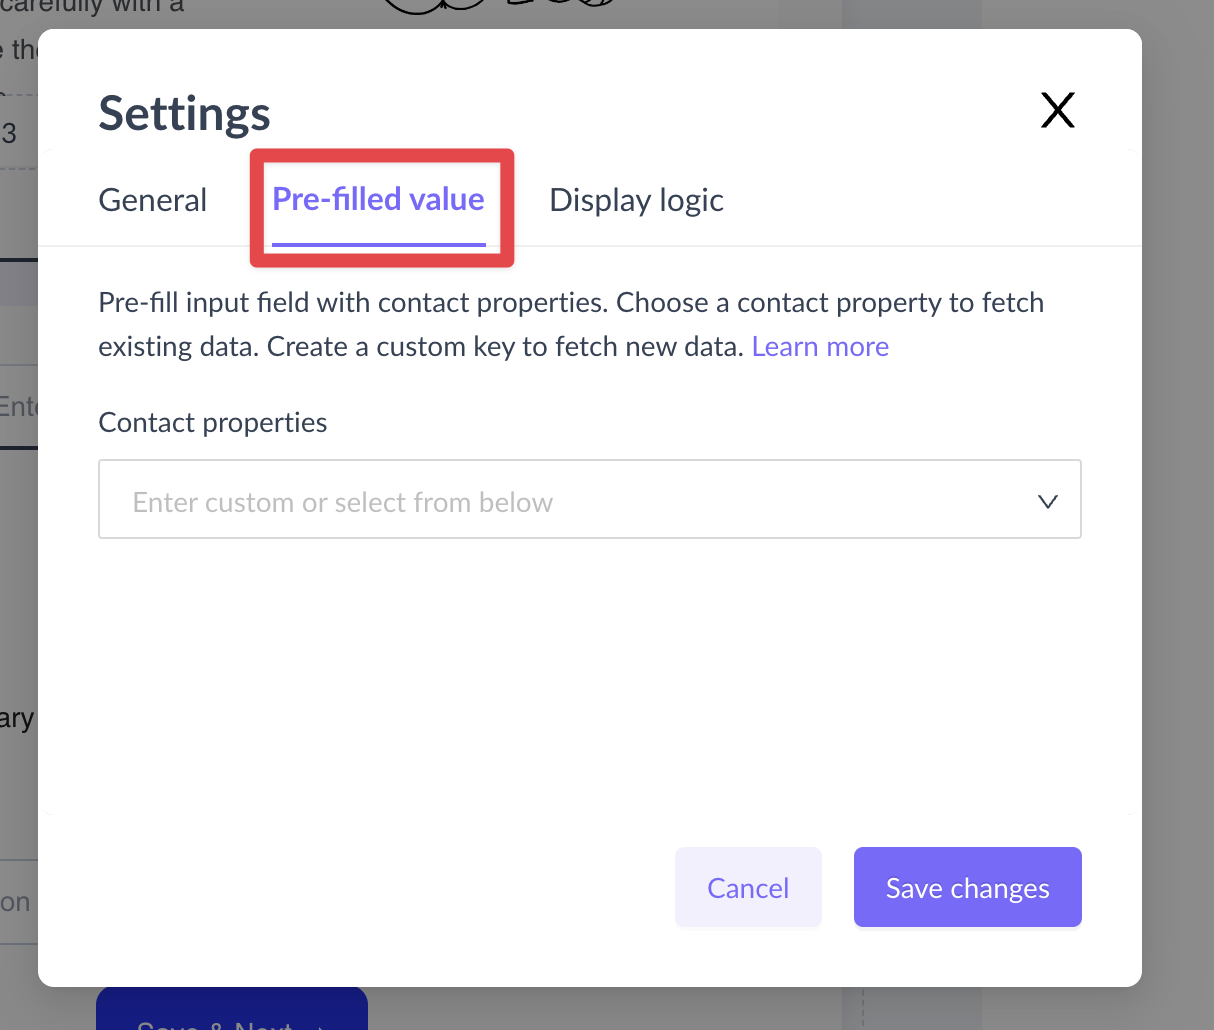
In the left panel, click on "Settings" tab and set up the prefilled values.
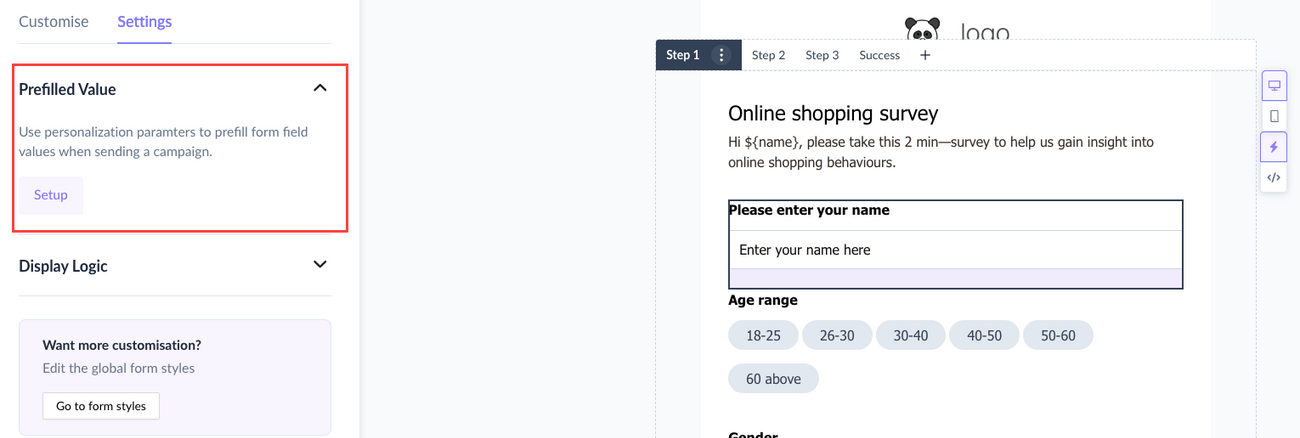
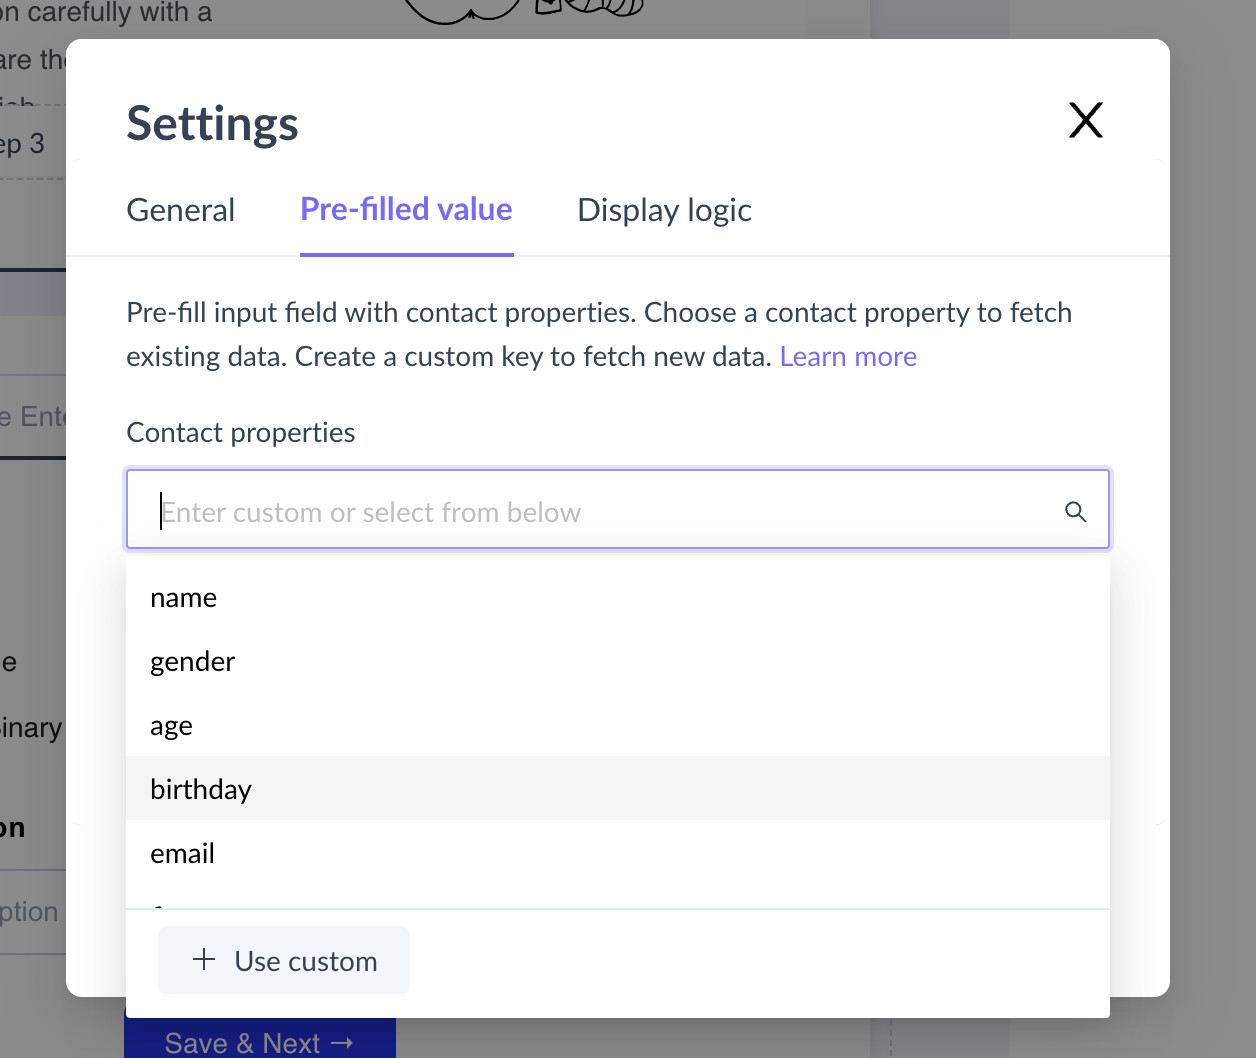
Step 2: Map the field to contact property. Select a contact property to fetch existing contact data. Create a custom key to fetch new data (in case of transactional campaign).
a. Text input (single line and multi line)- Navigate to pre fill value. Text input field will be pre-filled with the contact property value.
b. Dropdown, radio, checkbox, chip select
Answer option will only be pre selected if the contact property value matches one of the answer options. If contact property value does not match any of the answer options, then no answer will be pre selected.
For example, in the screenshot below, if the value of contact property "city" is "Delhi", "Mumbai", "Bangalore" or "Other", then the corresponding answer option will be pre selected. However, if the value of contact property is "Chennai" then no answer option will be pre selected.
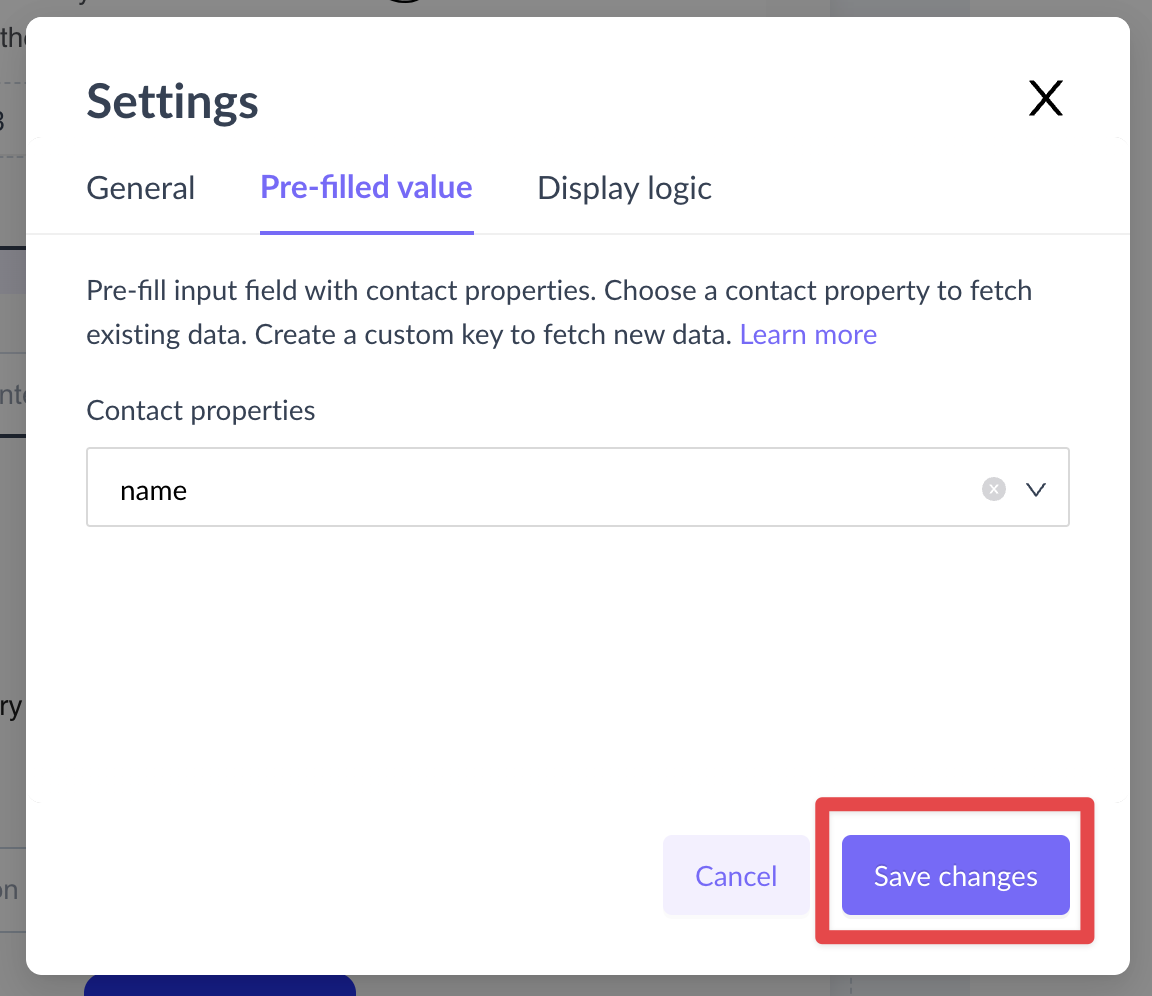
Map the input fields with corresponding contact properties. Once done, save the template.
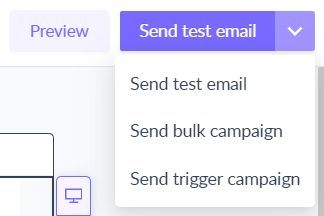
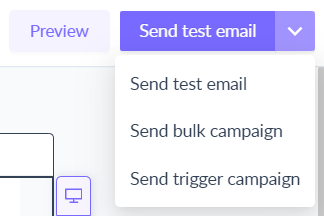
Step 3: Send a test email.
When you click on send test email, a modal will open. All the properties which you mapped to earlier will be visible here. Click on change and enter the value you would like the field to be pre filled with.
How will the template look in email recipient's inbox?
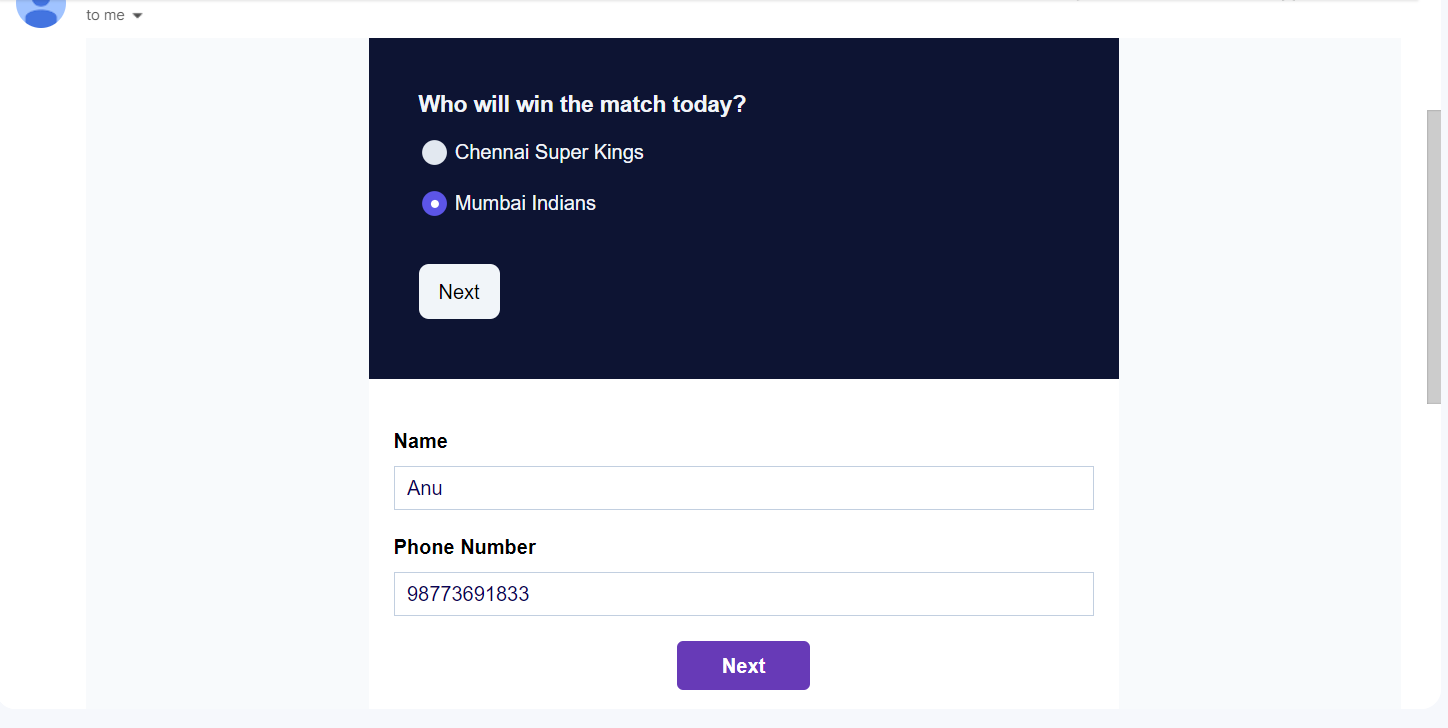
Text input field (single line and multi line) will be pre filled when the recipient opens the email.
In desktop, user needs to click once on the email body for radio, checkbox, drop-down and chip select to pre fill. In mobile, user needs to tap once on the email body for radio, checkbox, drop down and chip select to pre fill. Note that a scroll will not be considered as an interaction.
How to use a template with pre filled forms in promotional campaigns?
Step 1: Send a bulk campaign with the template you created.
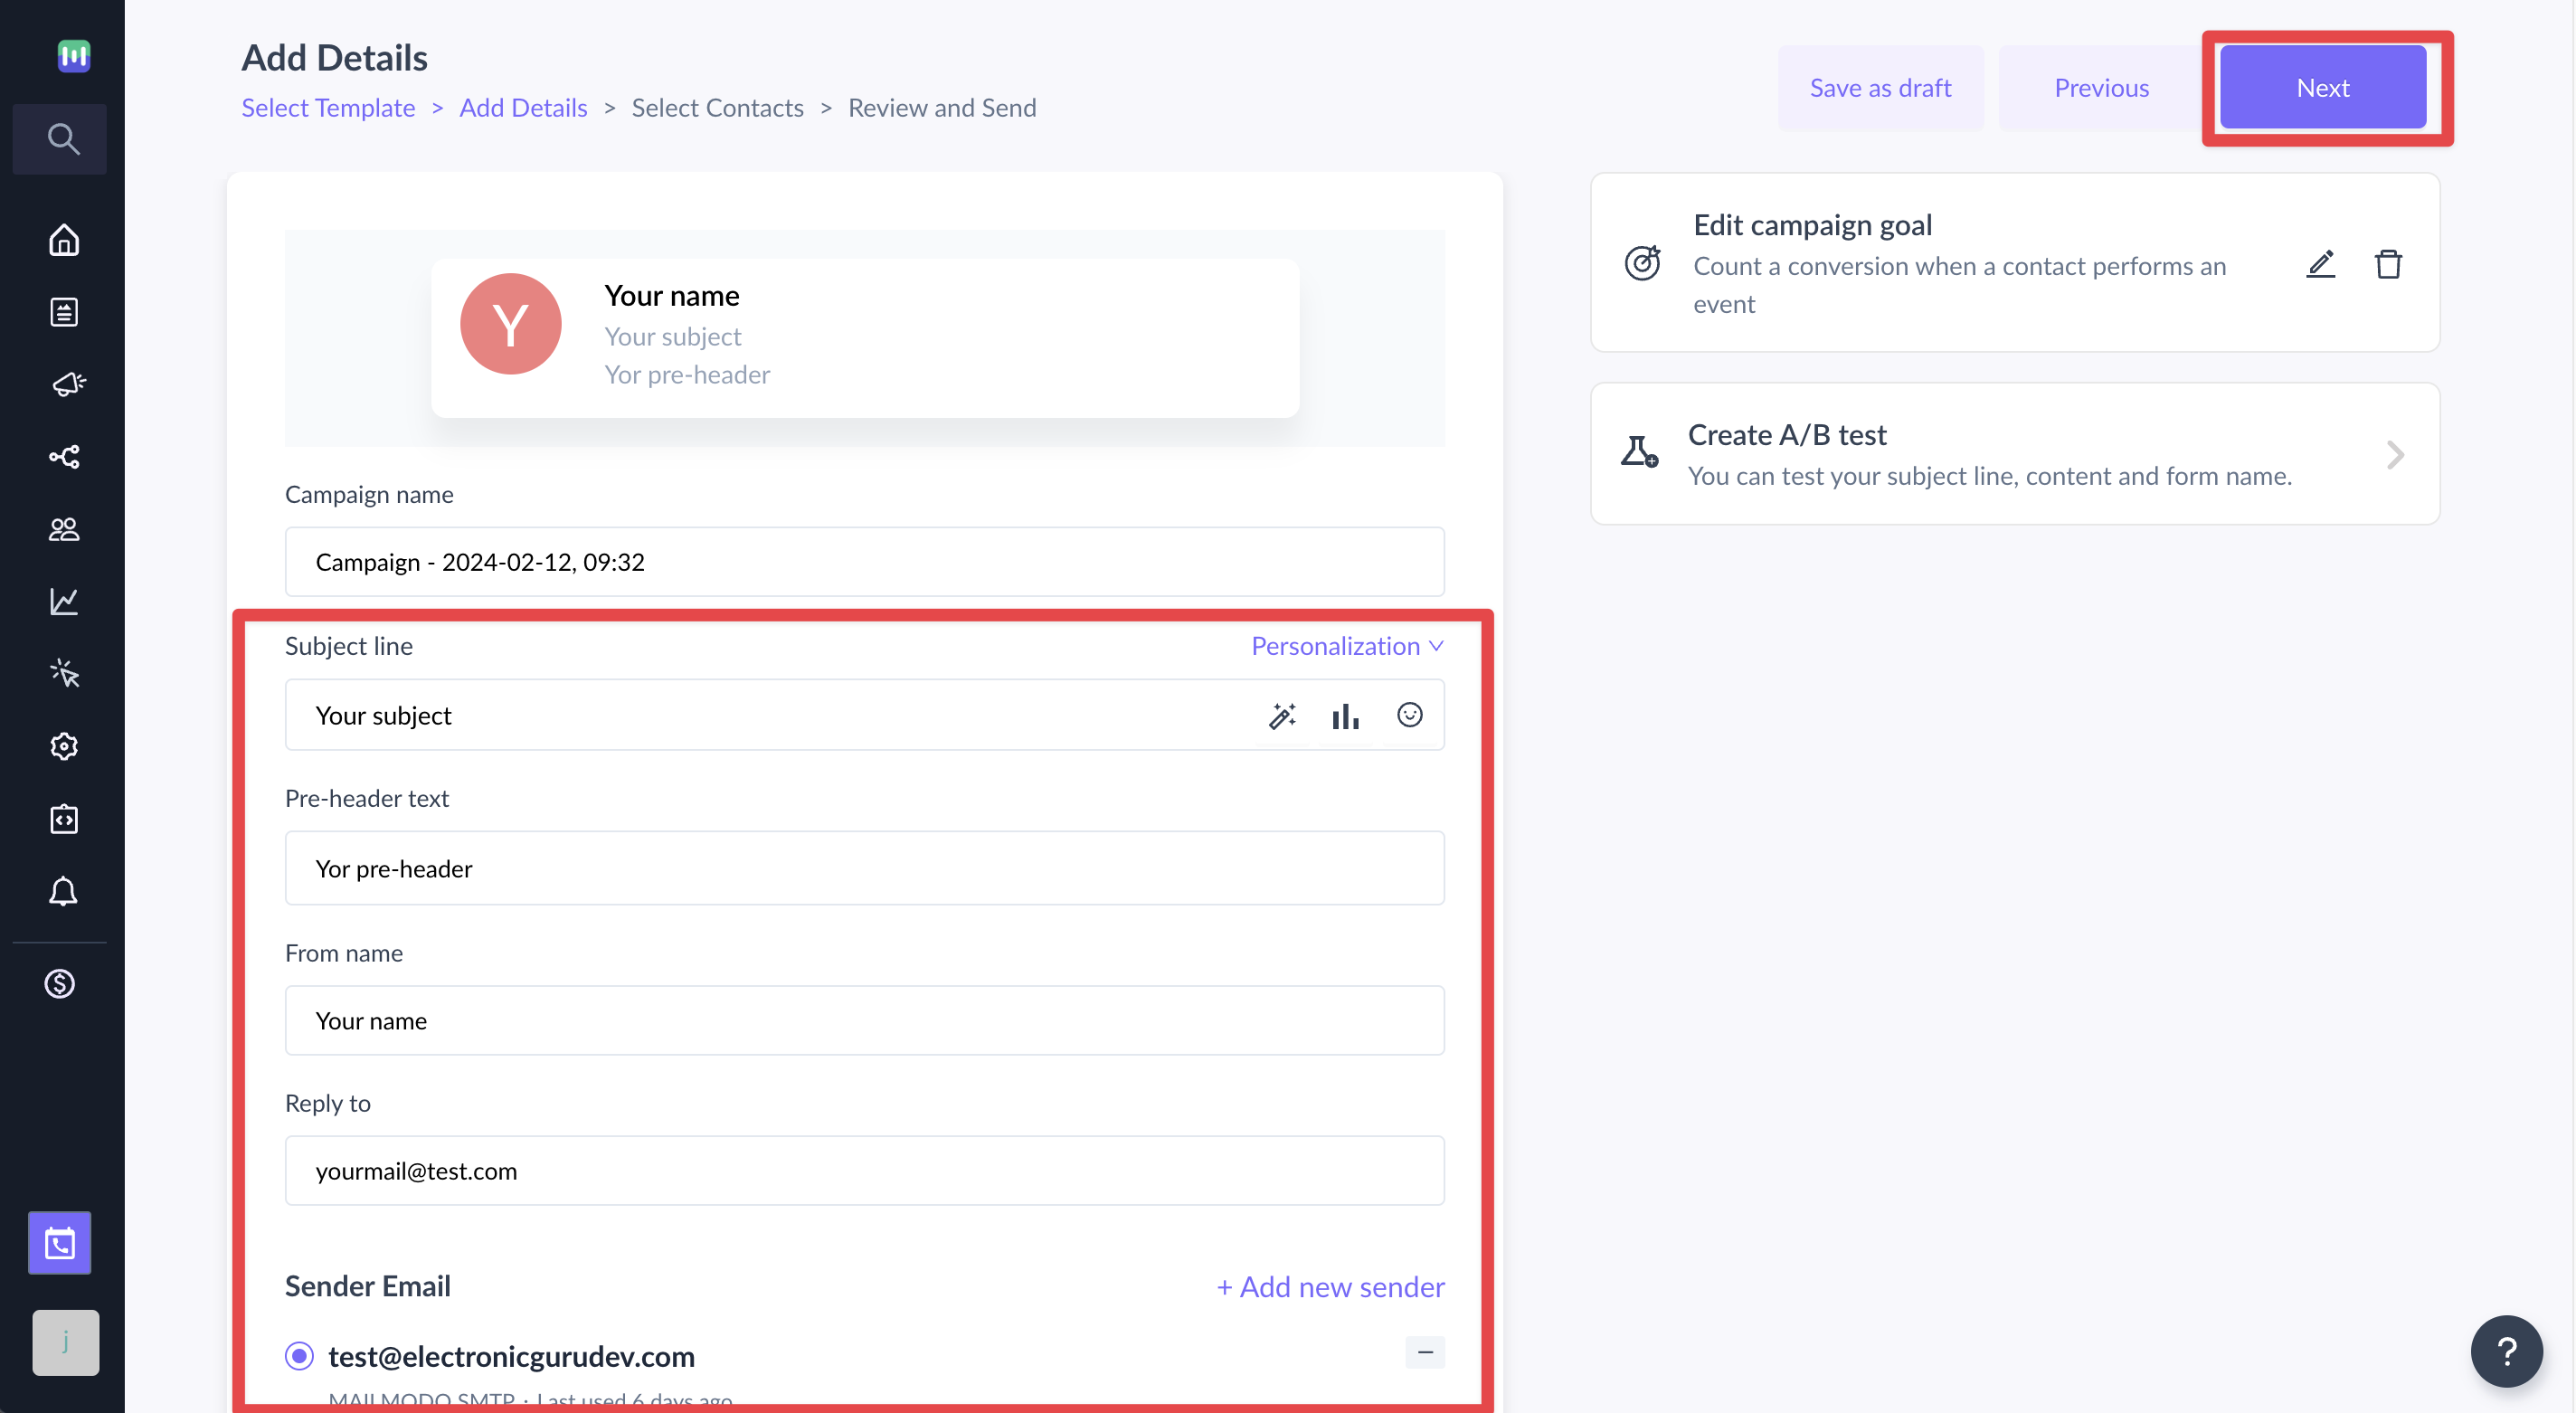
Step 2: Add a subject line, pre header text, from name and reply to email. Select the sender email.
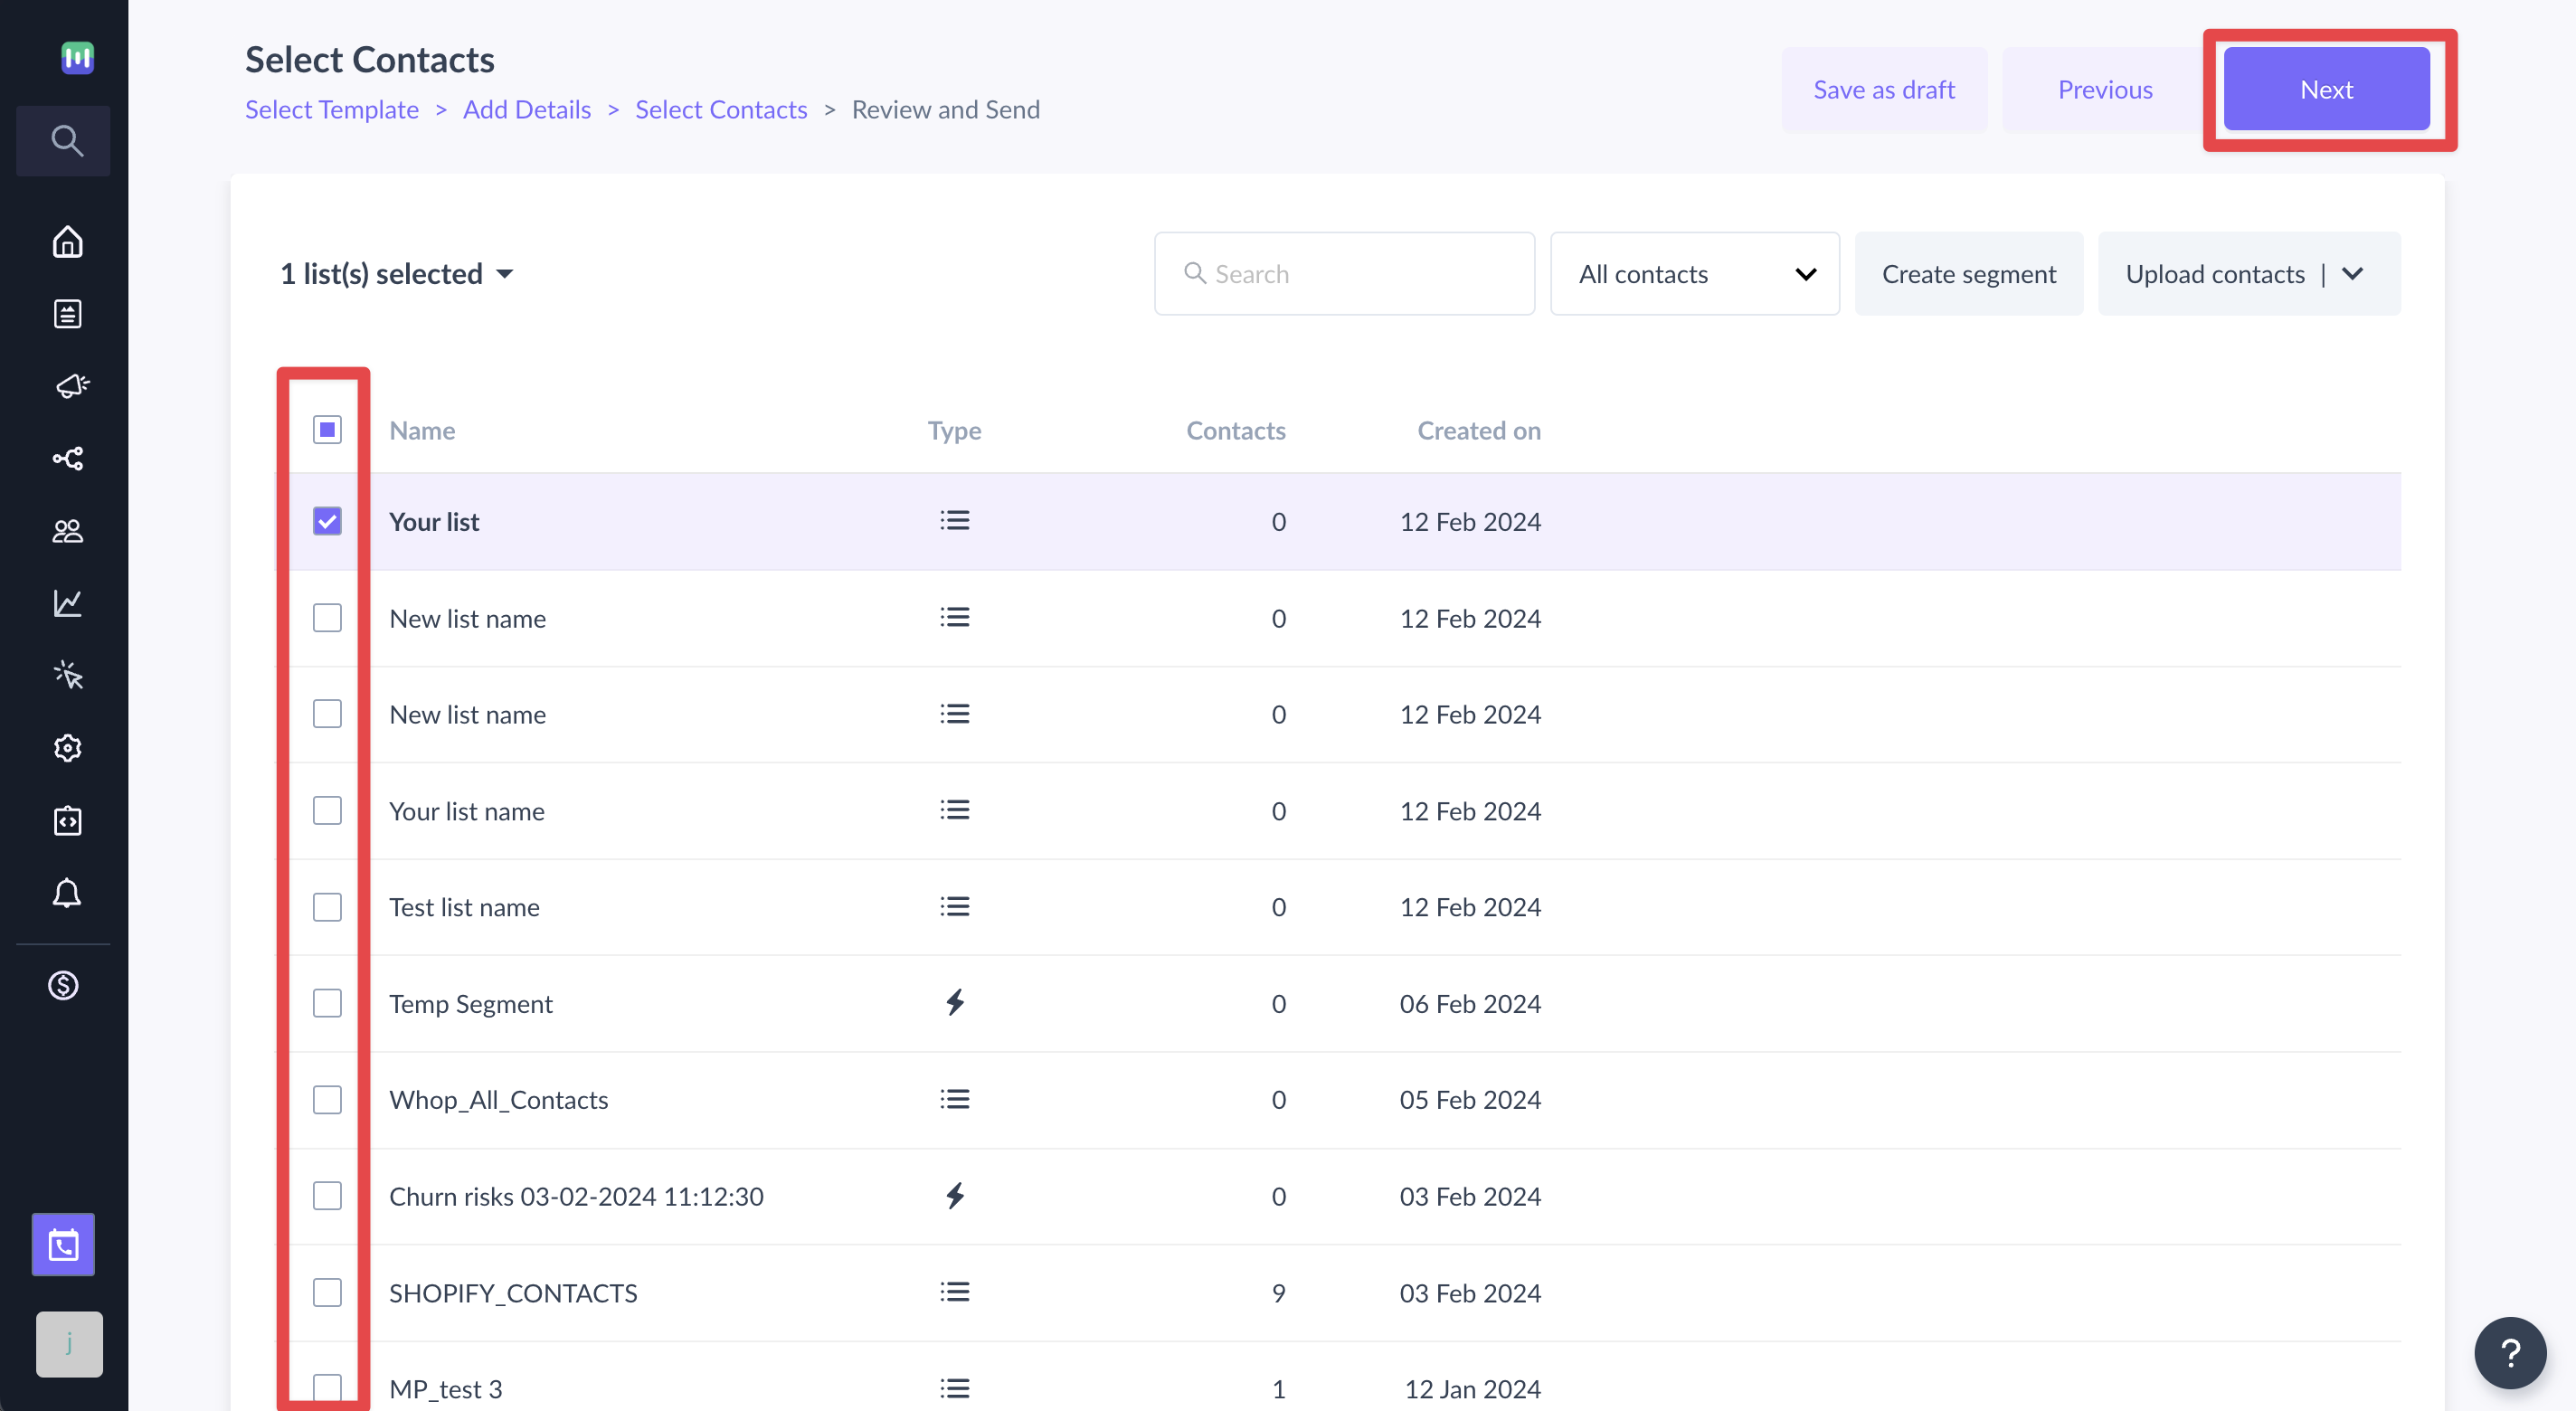
Step 3: Select the contact list to whom you would like to send the campaign.
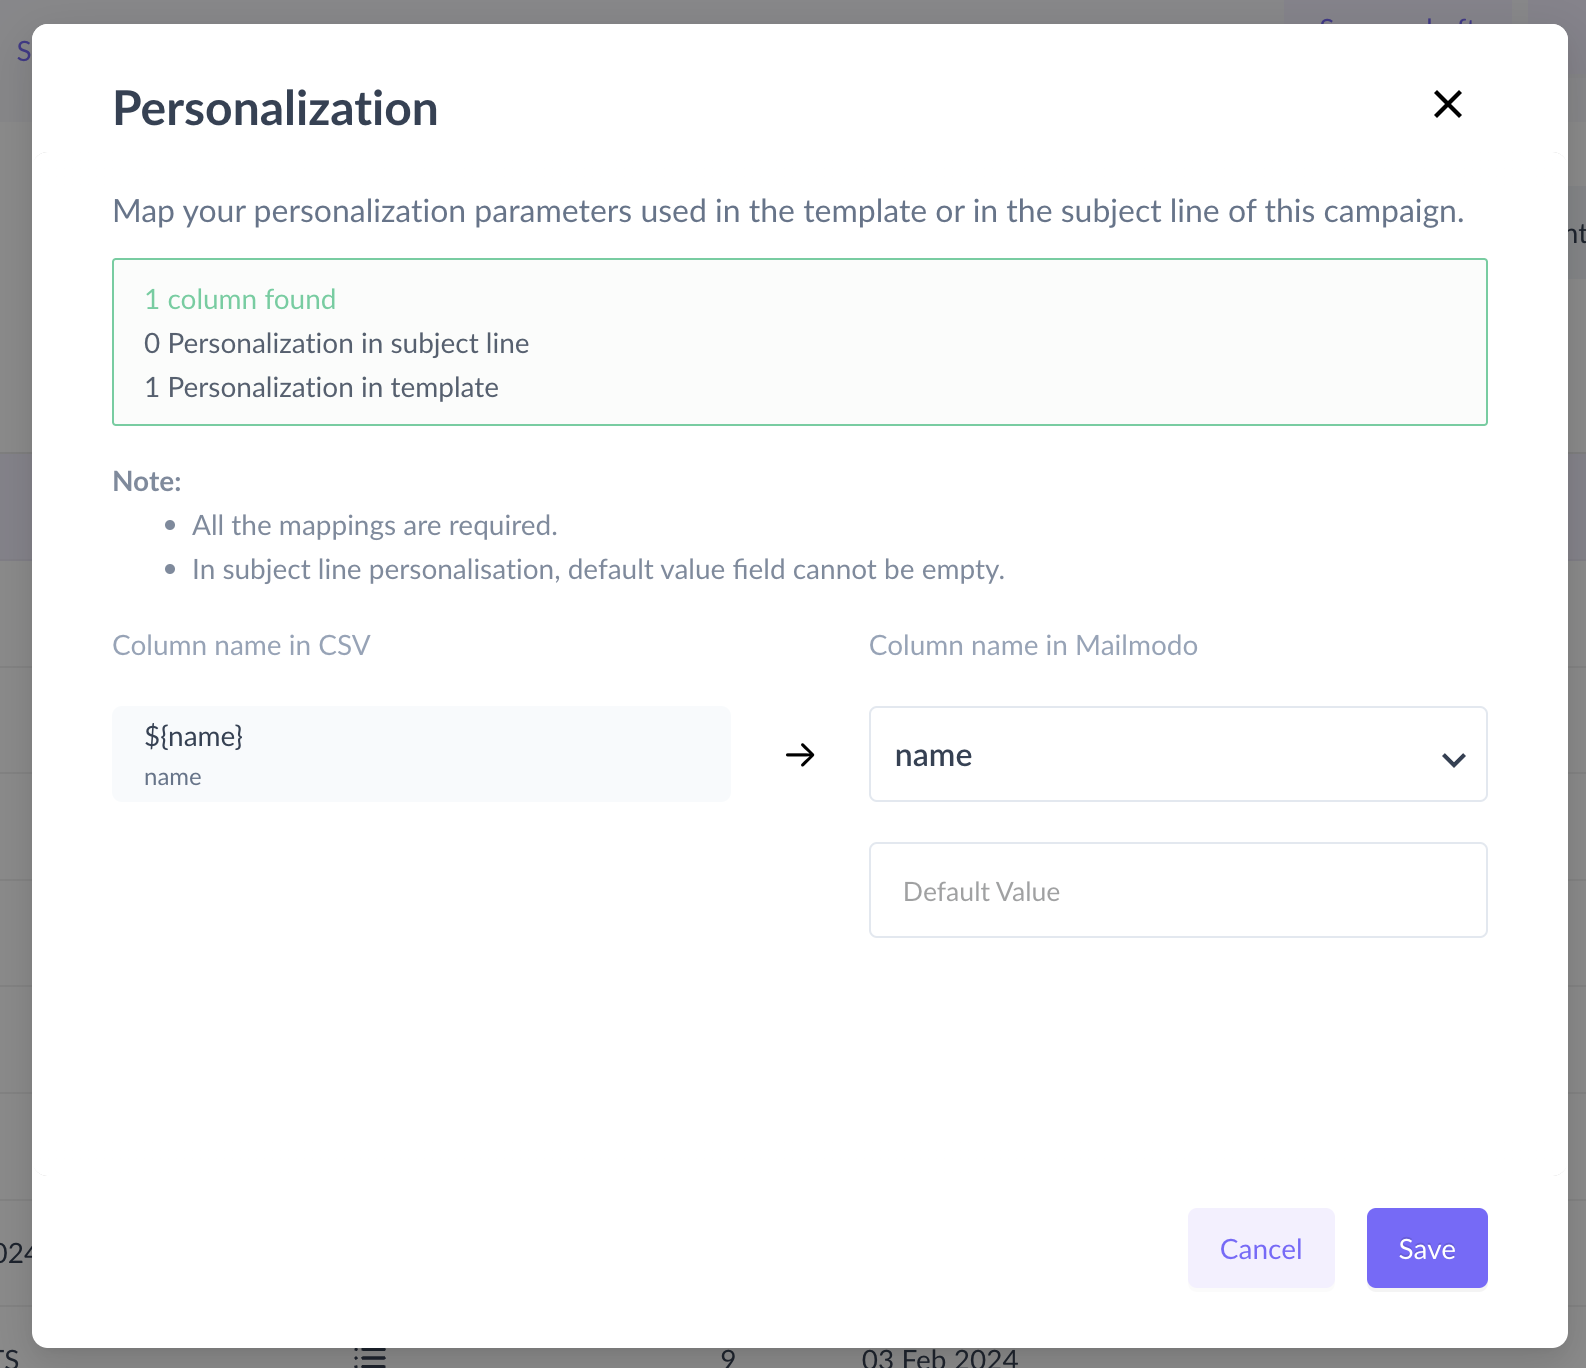
After clicking on next, a modal will open. Ensure that the contact properties you selected earlier are mapped correctly. If you created a custom key, you would need to map it to a contact property here.
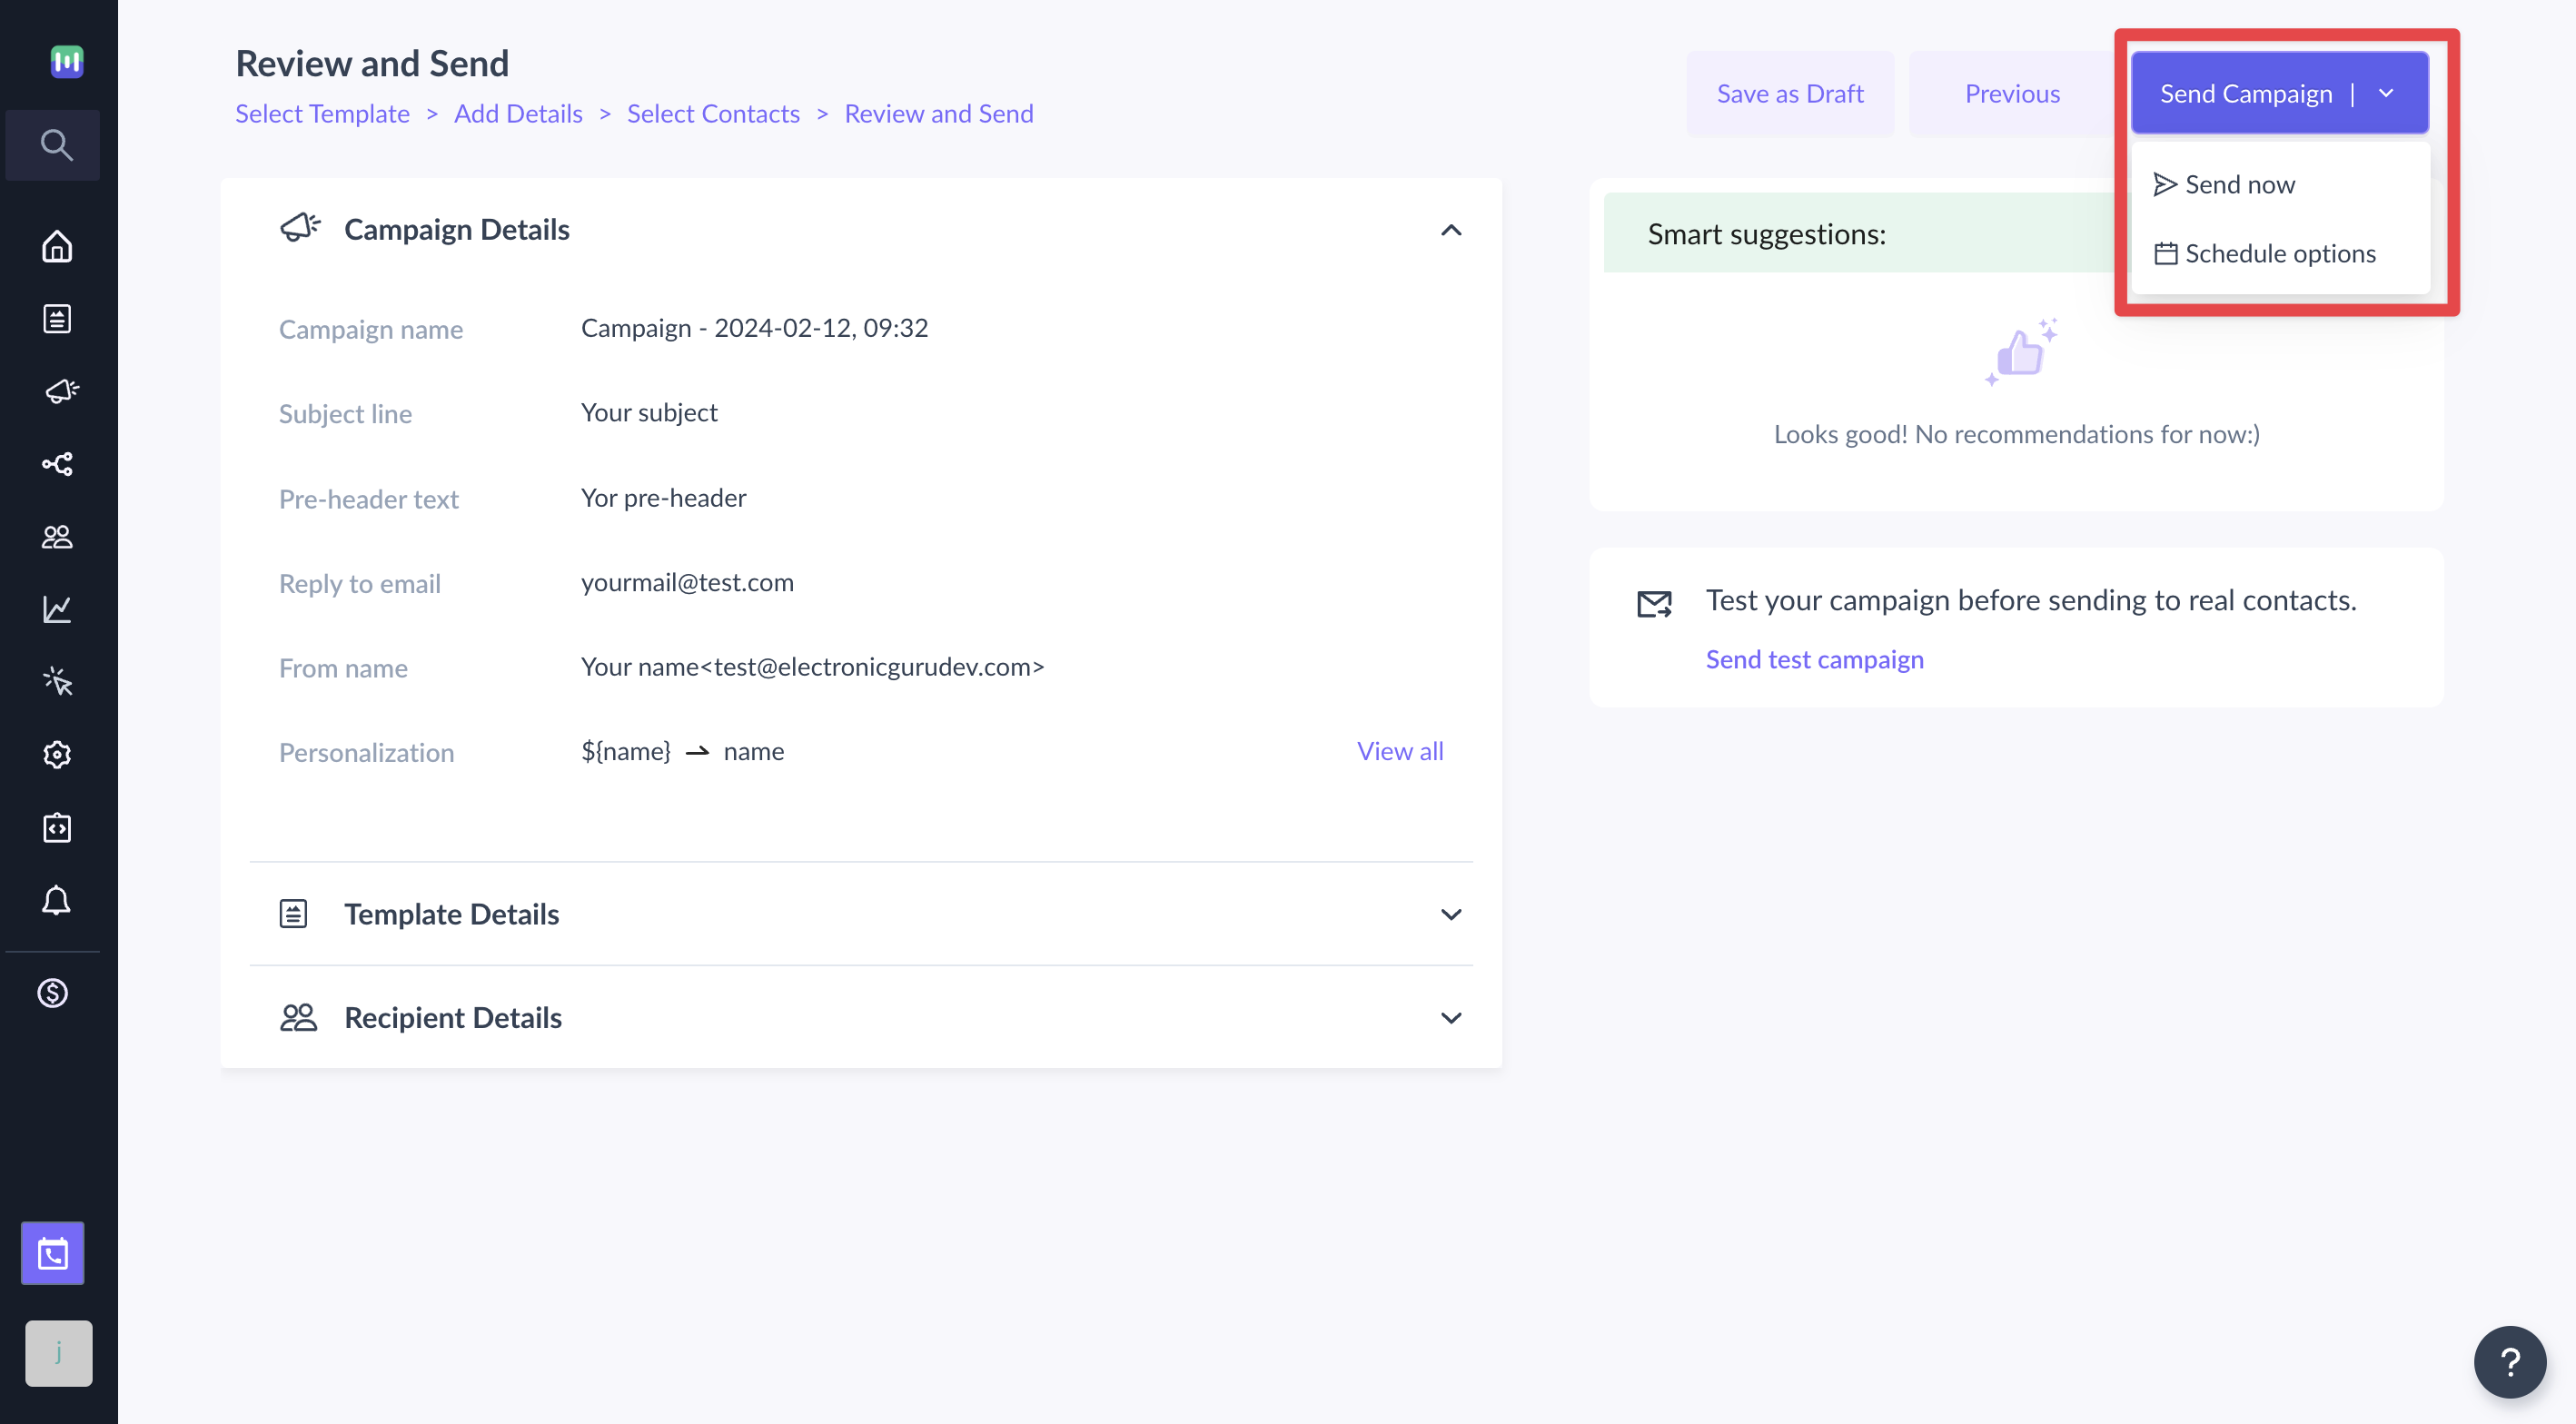
Review your campaign. Schedule it for a future date or send it now.
How to use a template with pre filled form in transactional campaigns?
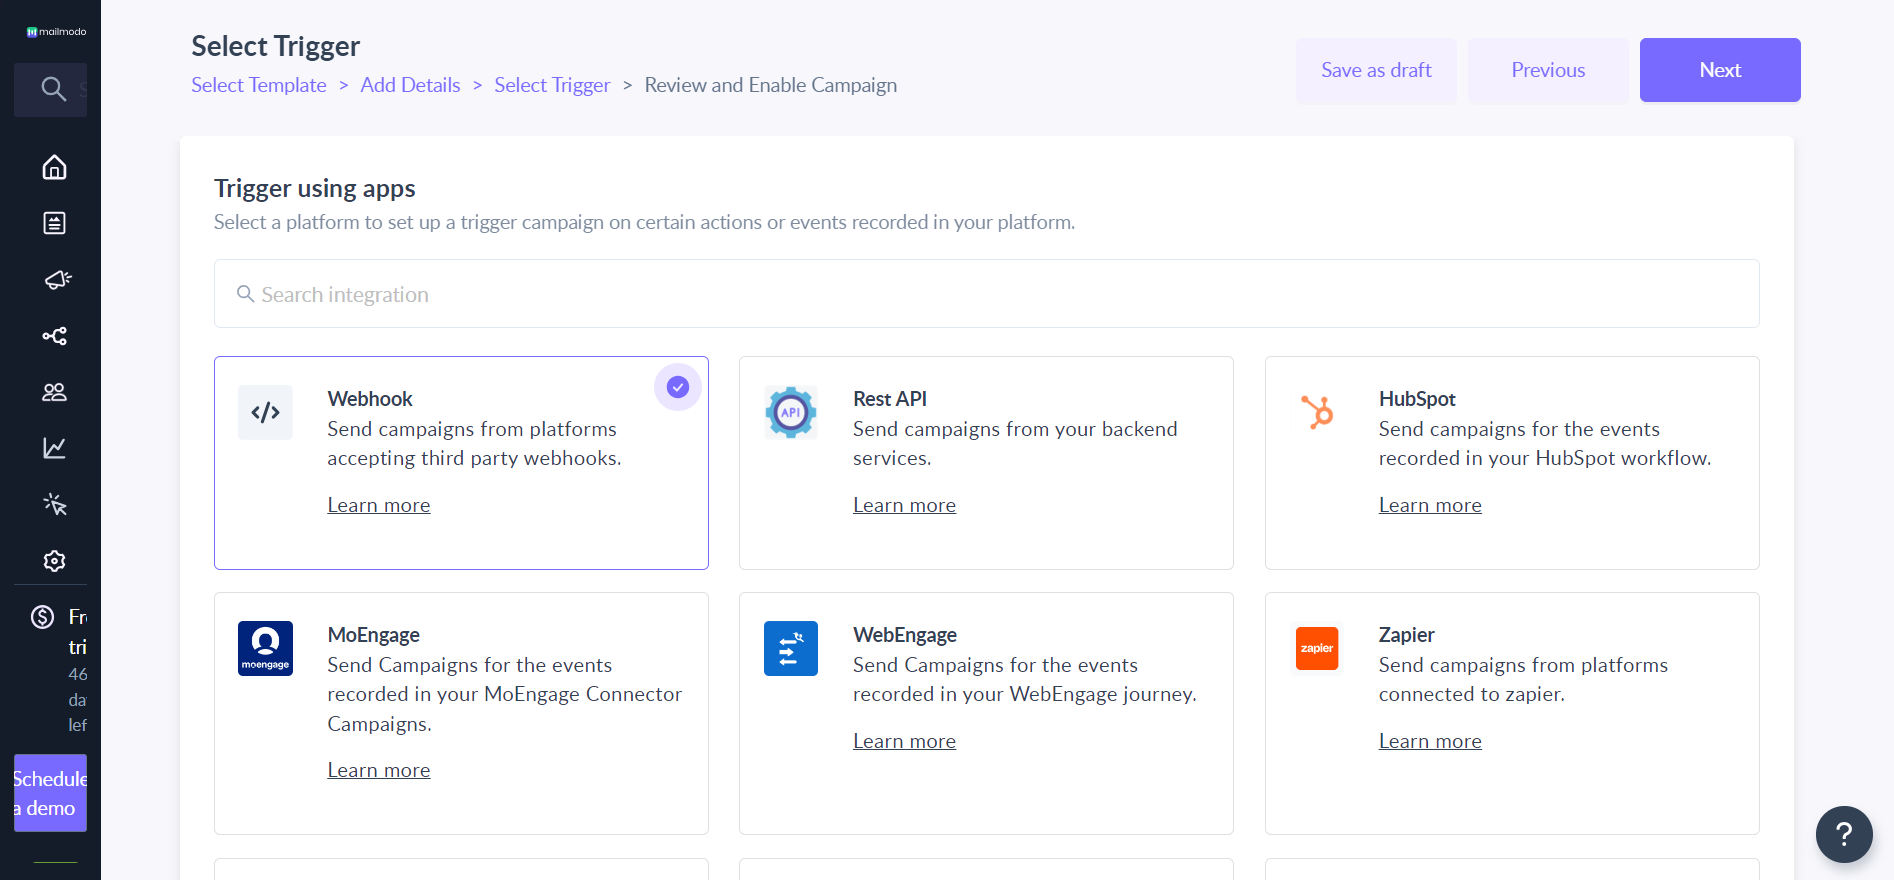
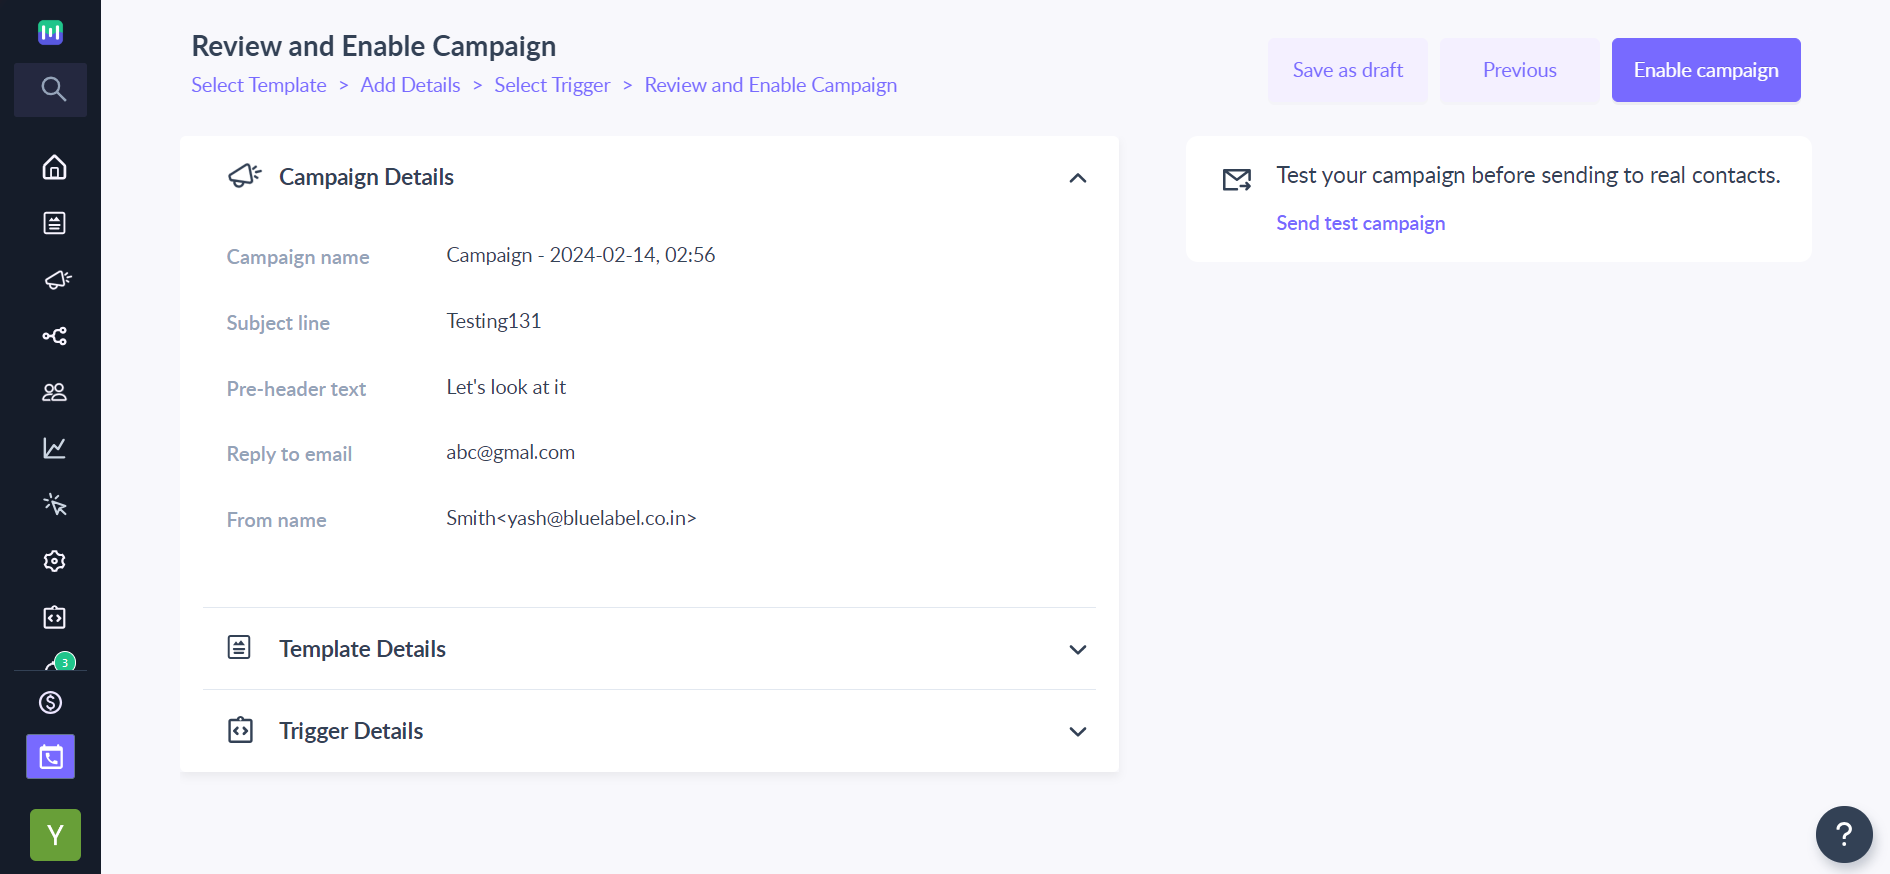
Step 1: Send a campaign with the template you created. Add details like subject line, pre header text etc. Select external trigger.
Step 2: Review and enable your campaign.
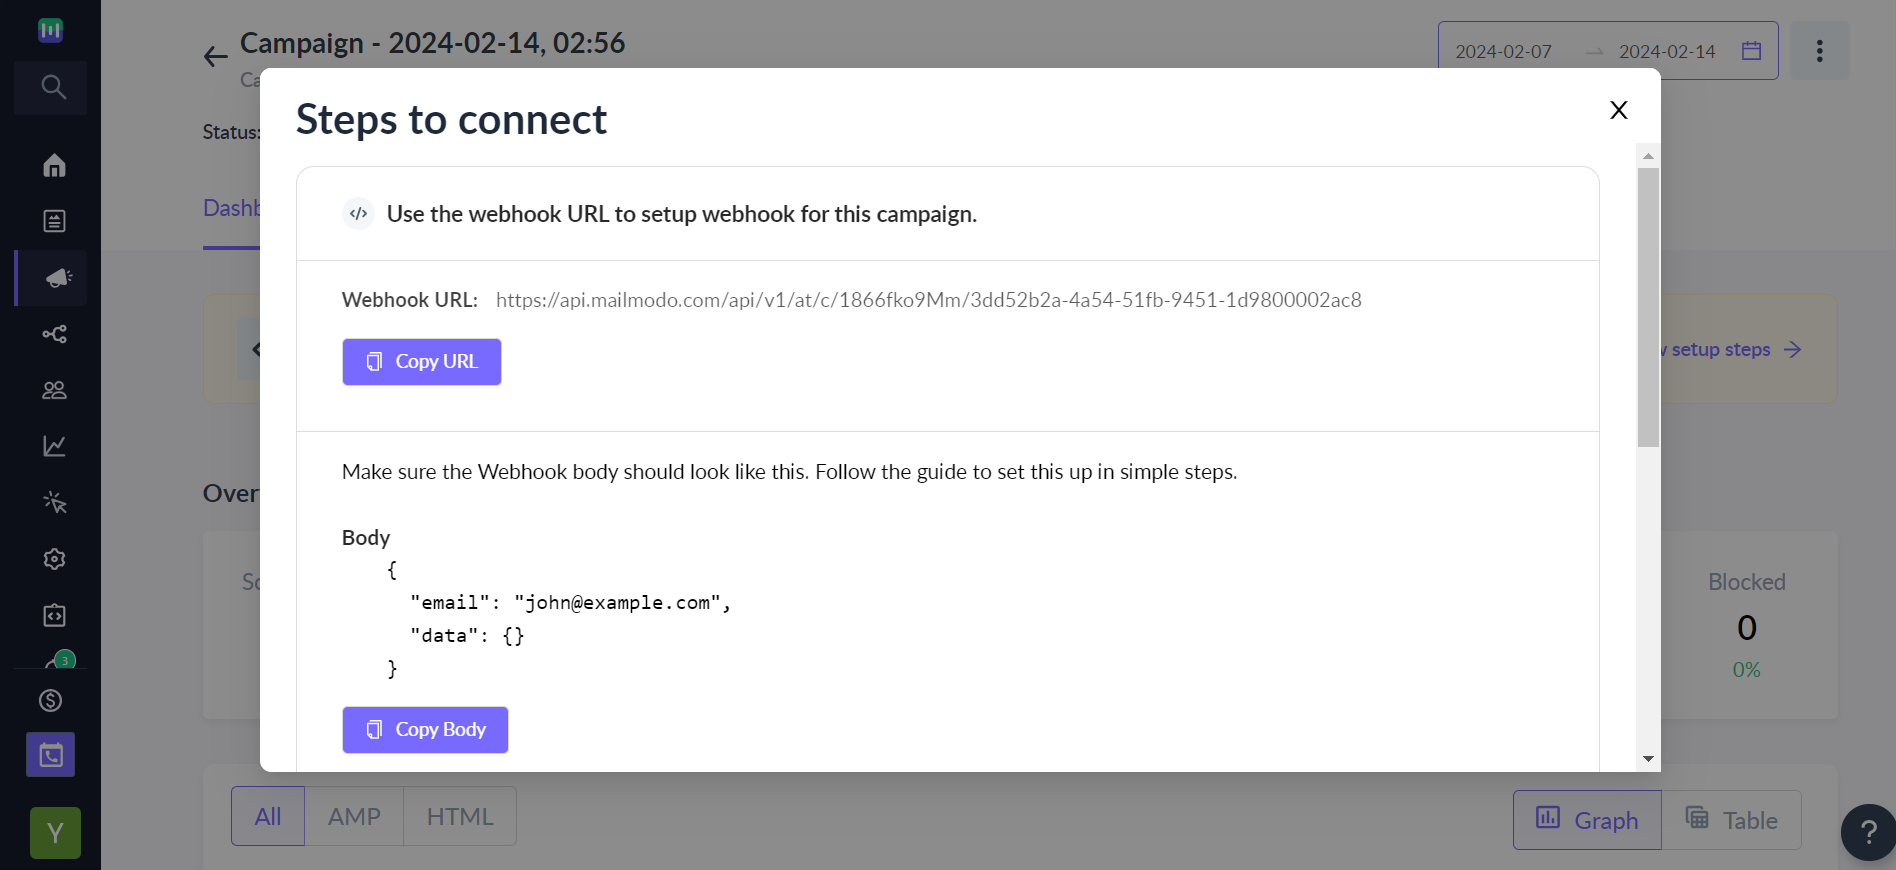
Step 3: You will have to hit the api endpoint to trigger this campaign. The pre fill contact property value needs to be passed in the "data" object of the API payload. The contact property you selected while creating the template is the JSON key. You need to enter the key value in the payload.
Sample body-
{ "email": "john@example.com",
  "data": {
    "name": "<Value for name>",
    "city": "<Value for city>",
    "address": "<Value for address>"

  }
}
a. Text input- Field will pre fill based on the key value.
b. Radio, dropdown, chip select and checkbox- Field will be pre filled if key value matches one of the answer options.
How to use a template with pre filled forms in journey campaigns?
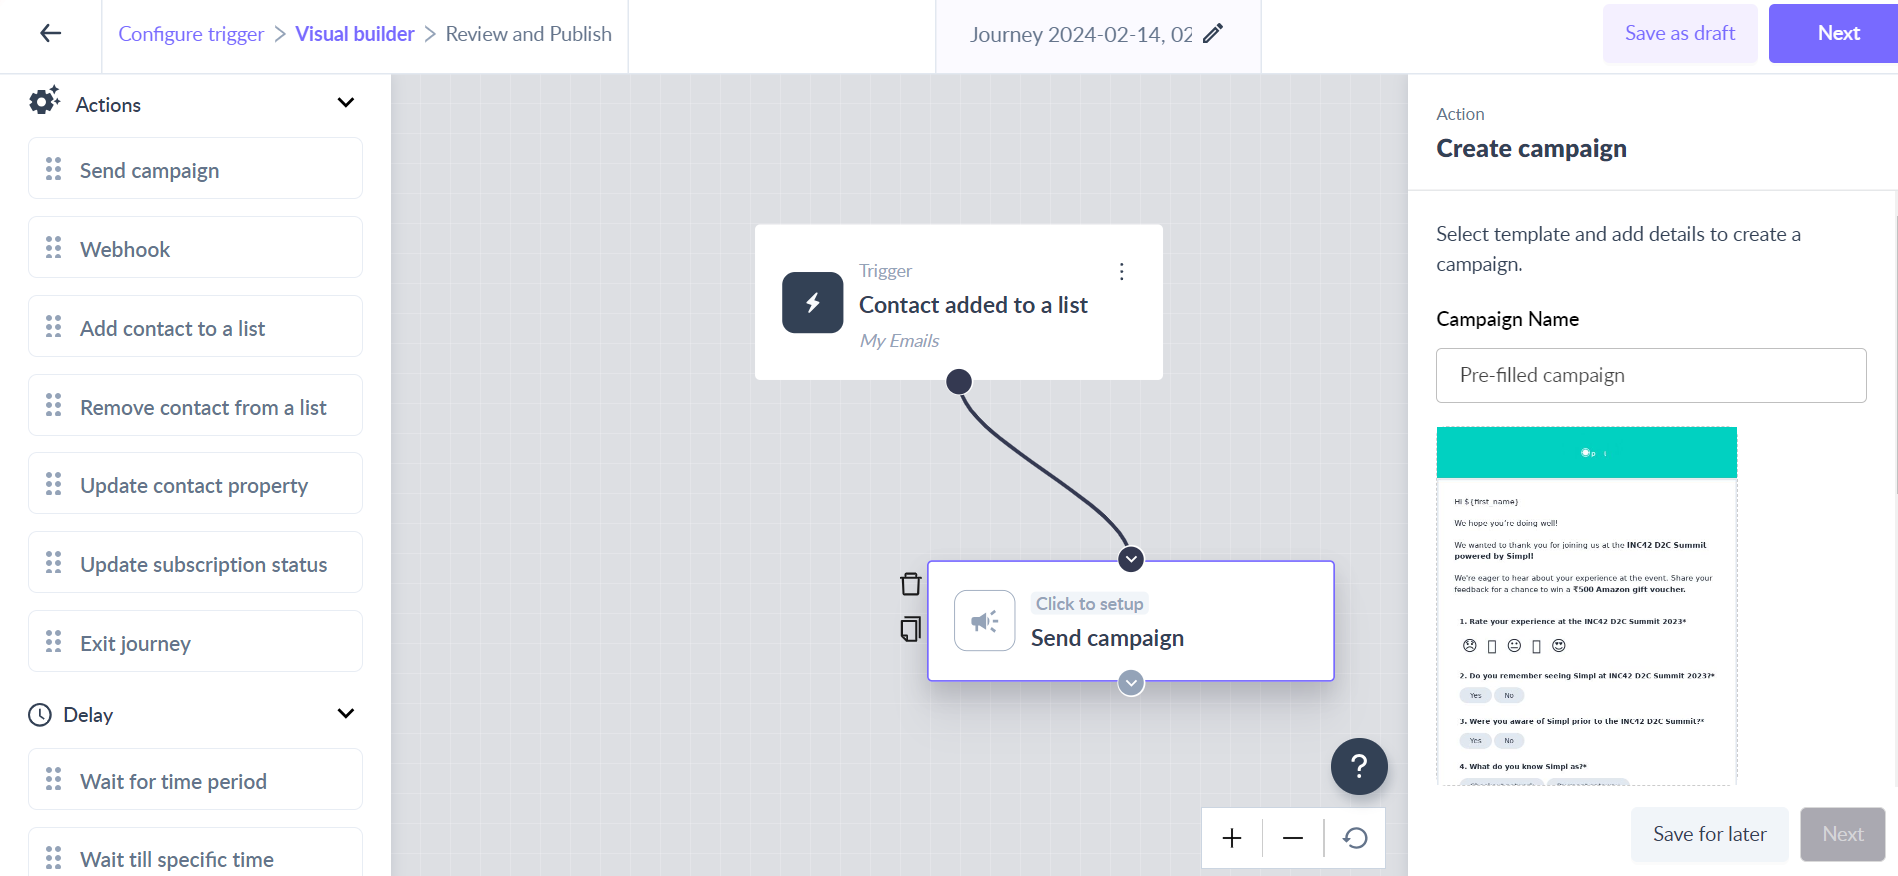
Step 1: Select the template you created earlier while configuring the send campaign action in journey.
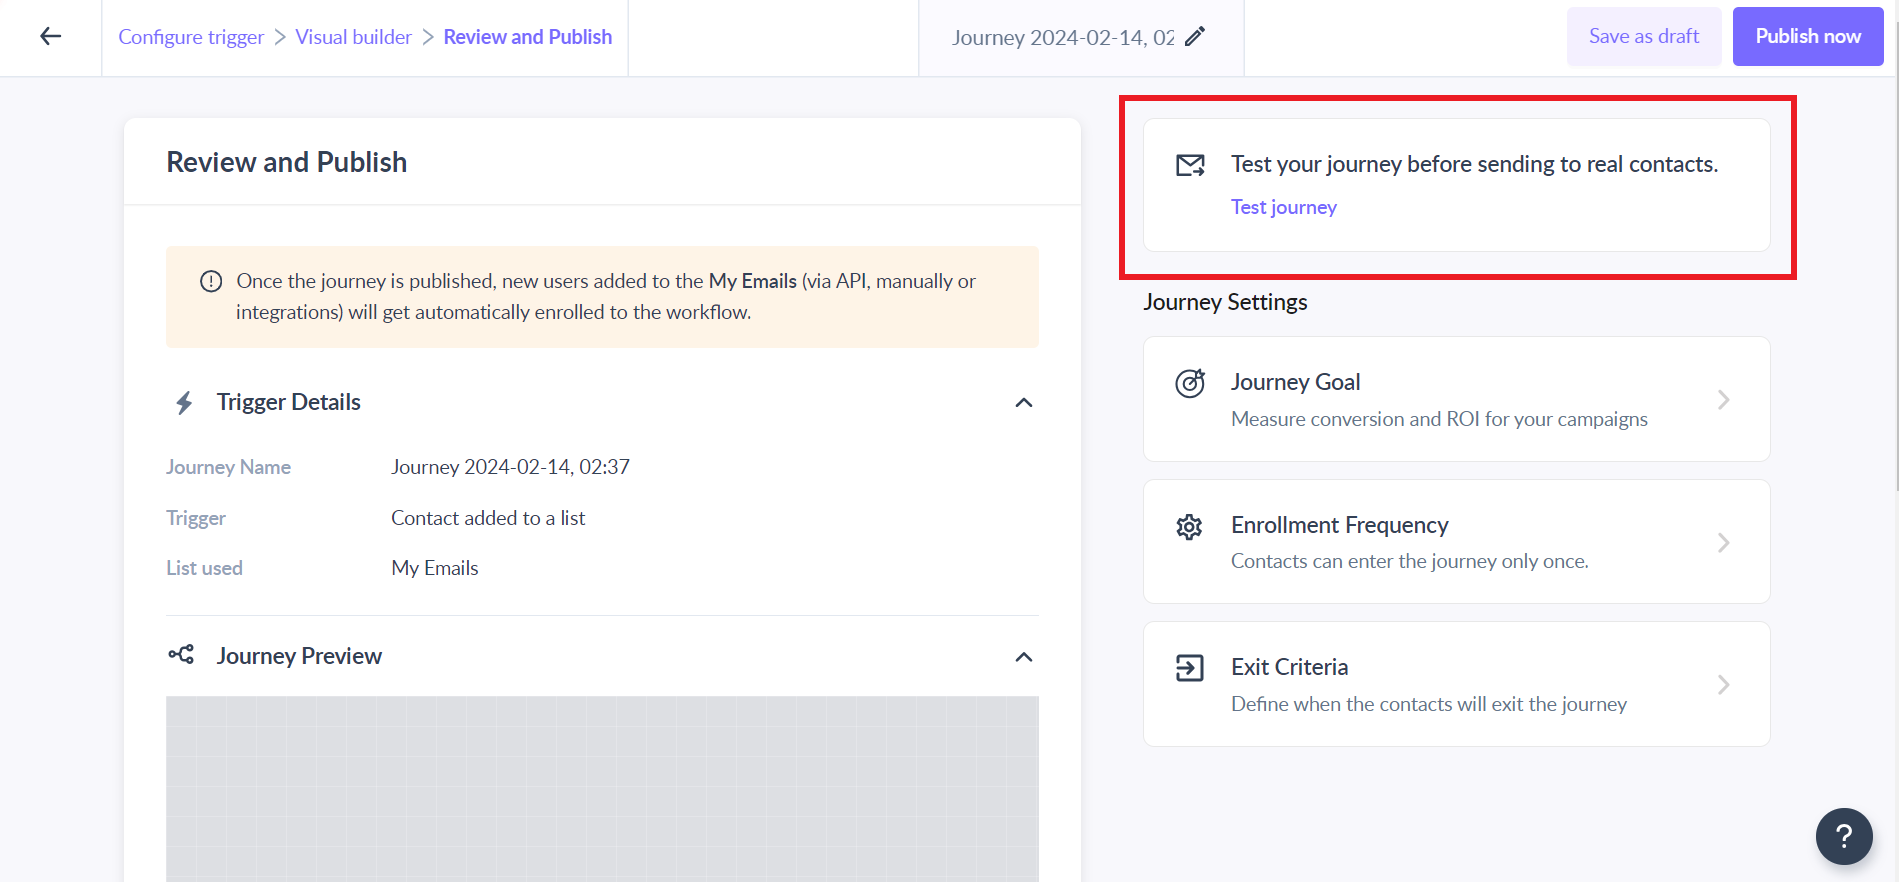
Step 2: Once you have created the rest of the journey paths, test your journey.
Step 3: Enter the email address to which you want to send the test email. All the contact properties used in the template will be visible. Click on change and enter the value you would like the field to be pre filled with.
For text input, the field will be pre filled with whatever value you enter. For fields containing multiple answer options, the pre fill value you enter must match one of the answer options.
Step 4: Once satisfied, publish the journey.
The contact property value will be fetched from the contact data uploaded to Mailmodo.
If the contact is enrolled via API, then the contact property value will be fetched from API payload.
Sample body-
{ "email": "john@example.com",
  "data": {
    "name": "<Value for name>",
    "city": "<Value for city>",
    "address": "<Value for address>"

  }
}
Use the search bar in our Help Center to find quick guides and walkthroughs Have any queries, then reach out to us at Mailmodo Support or share your thoughts at Mailmodo Product Feedback.


