Integrate your Calendly Calendar in Mailmodo templates
Last updated July 12, 2024
With Calendly-Mailmodo integration, you can now share your calendar in the email itself. Recipient's can directly book slots on your calendar from their inbox.
In this article we will cover-
1. How to integrate Calendly with Mailmodo?
2. How to deactivate Calendly integration?
Calendly API V1 will be phased out by June 30, 2022. Users need to migrate from API V1 to API V2. Read more about the change here.
How to integrate Calendly with Mailmodo?
Integrating Calendly
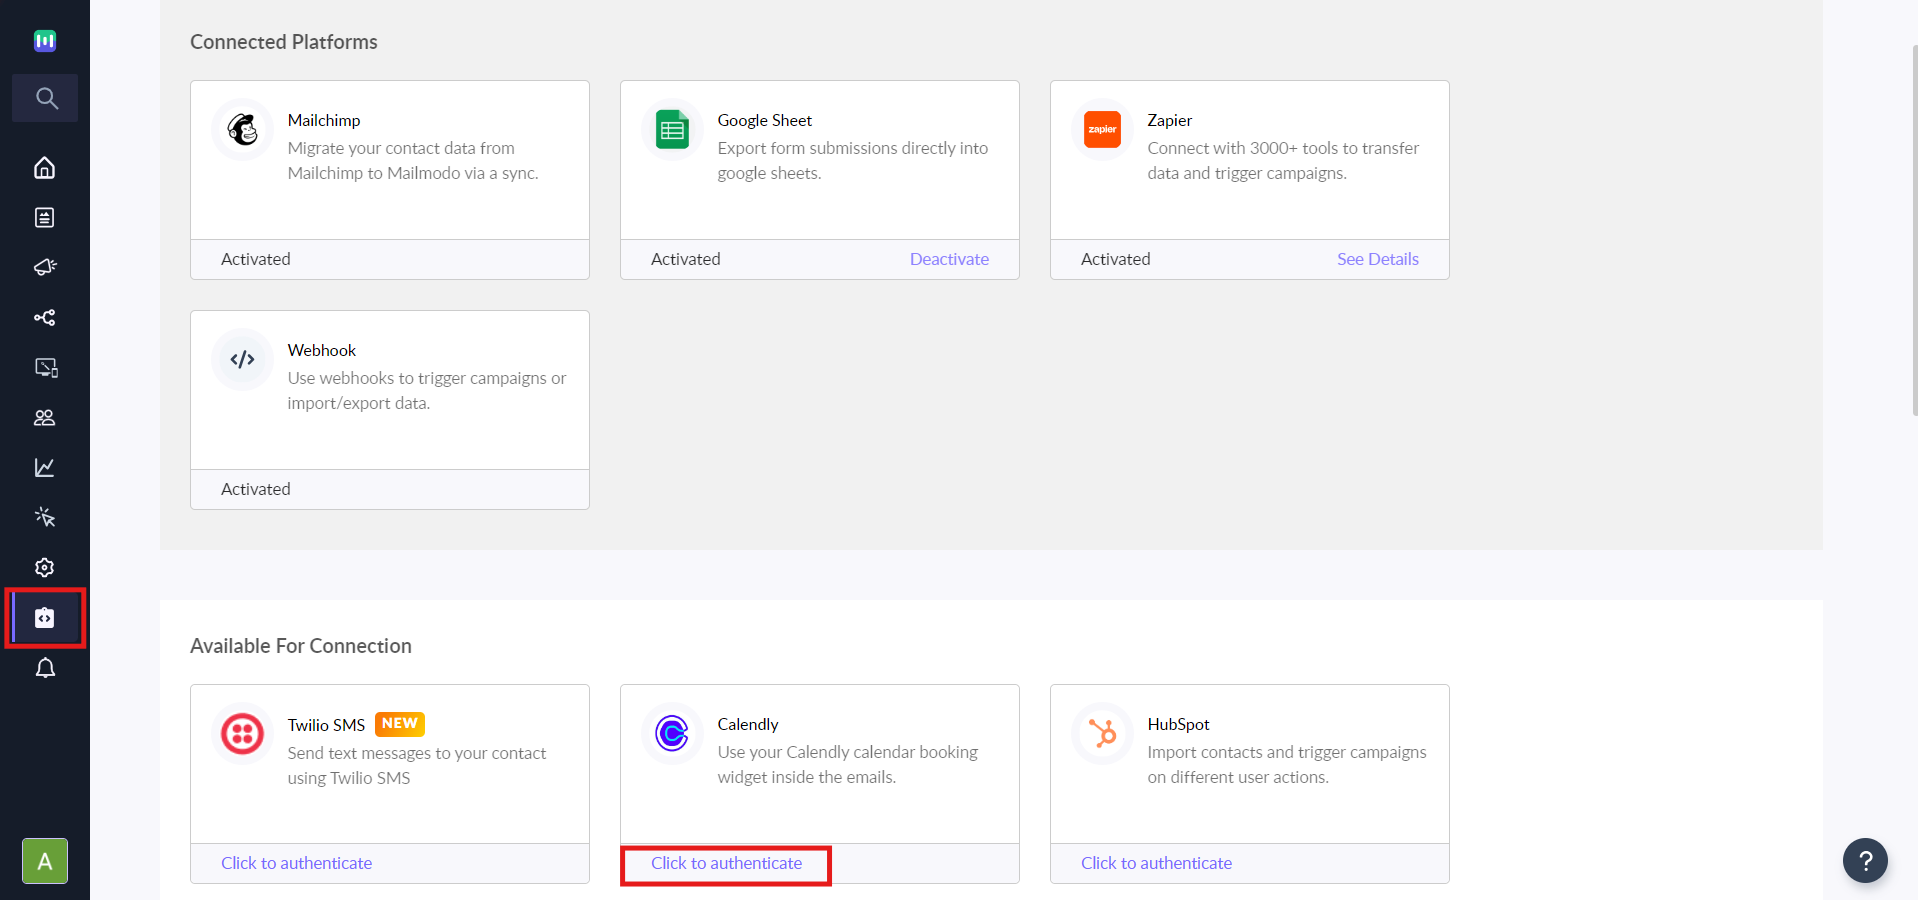
Step 1: Go to Integrations and in the Calendly card, click on Click to authenticate.
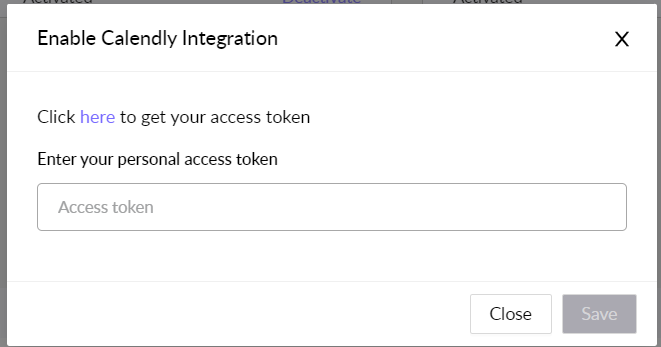
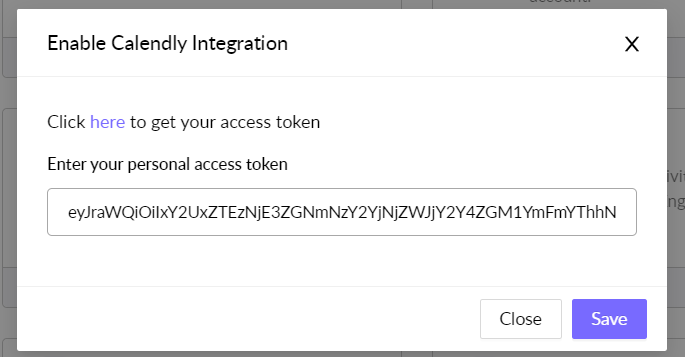
A dialog box will open. It will prompt you to insert an API token to use this integration.Visit this URL to generate an API token.
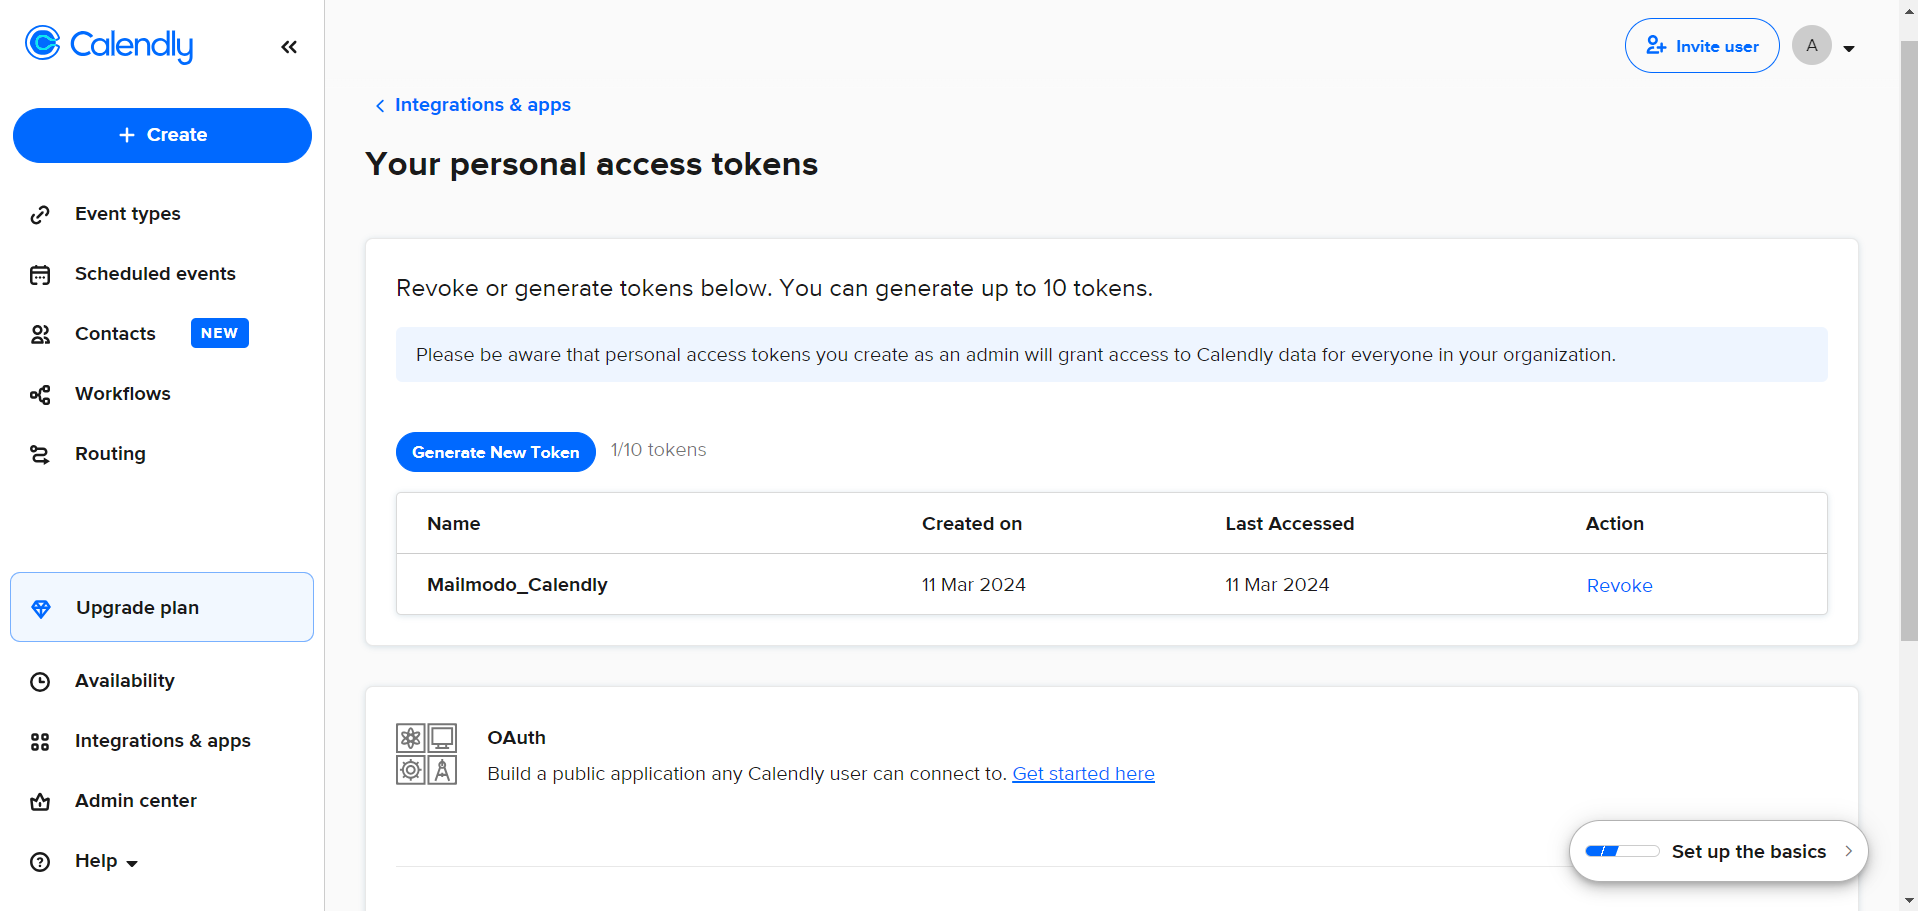
Step 2: Personal access token page will open and click on Get New Token.
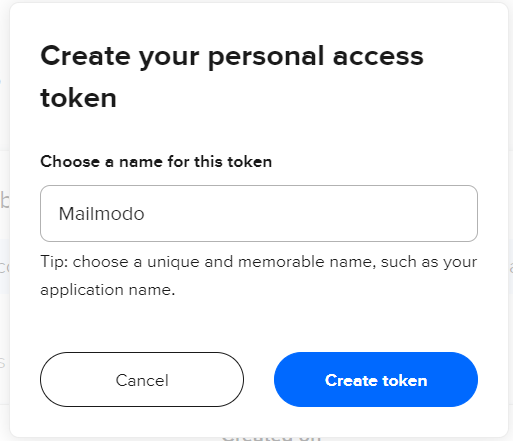
Give an appropriate name to your token.
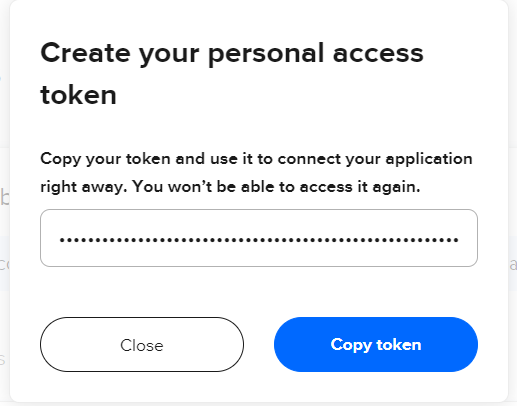
Click on Create token.
Step 3: Copy the generated token and paste it in the Mailmodo dialog box. Click on Save.
Adding Calendly widget to template
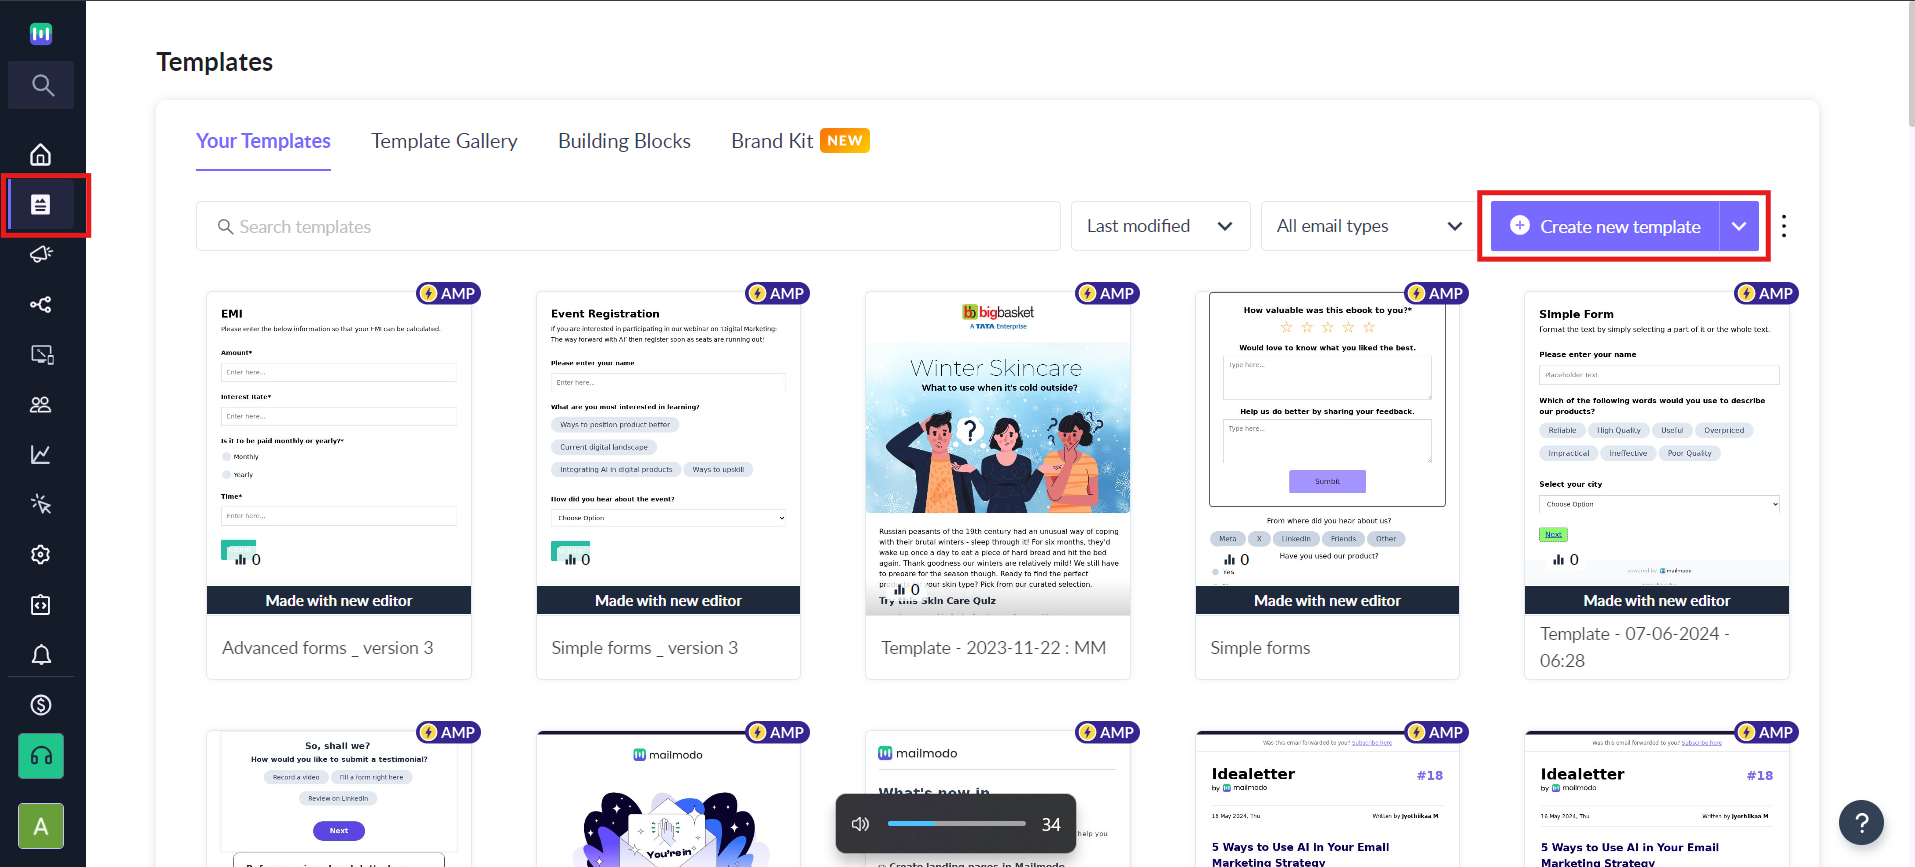
Step 1: Click on the “Templates” icon on the sidebar. Click on "Create new template" on the top right corner.
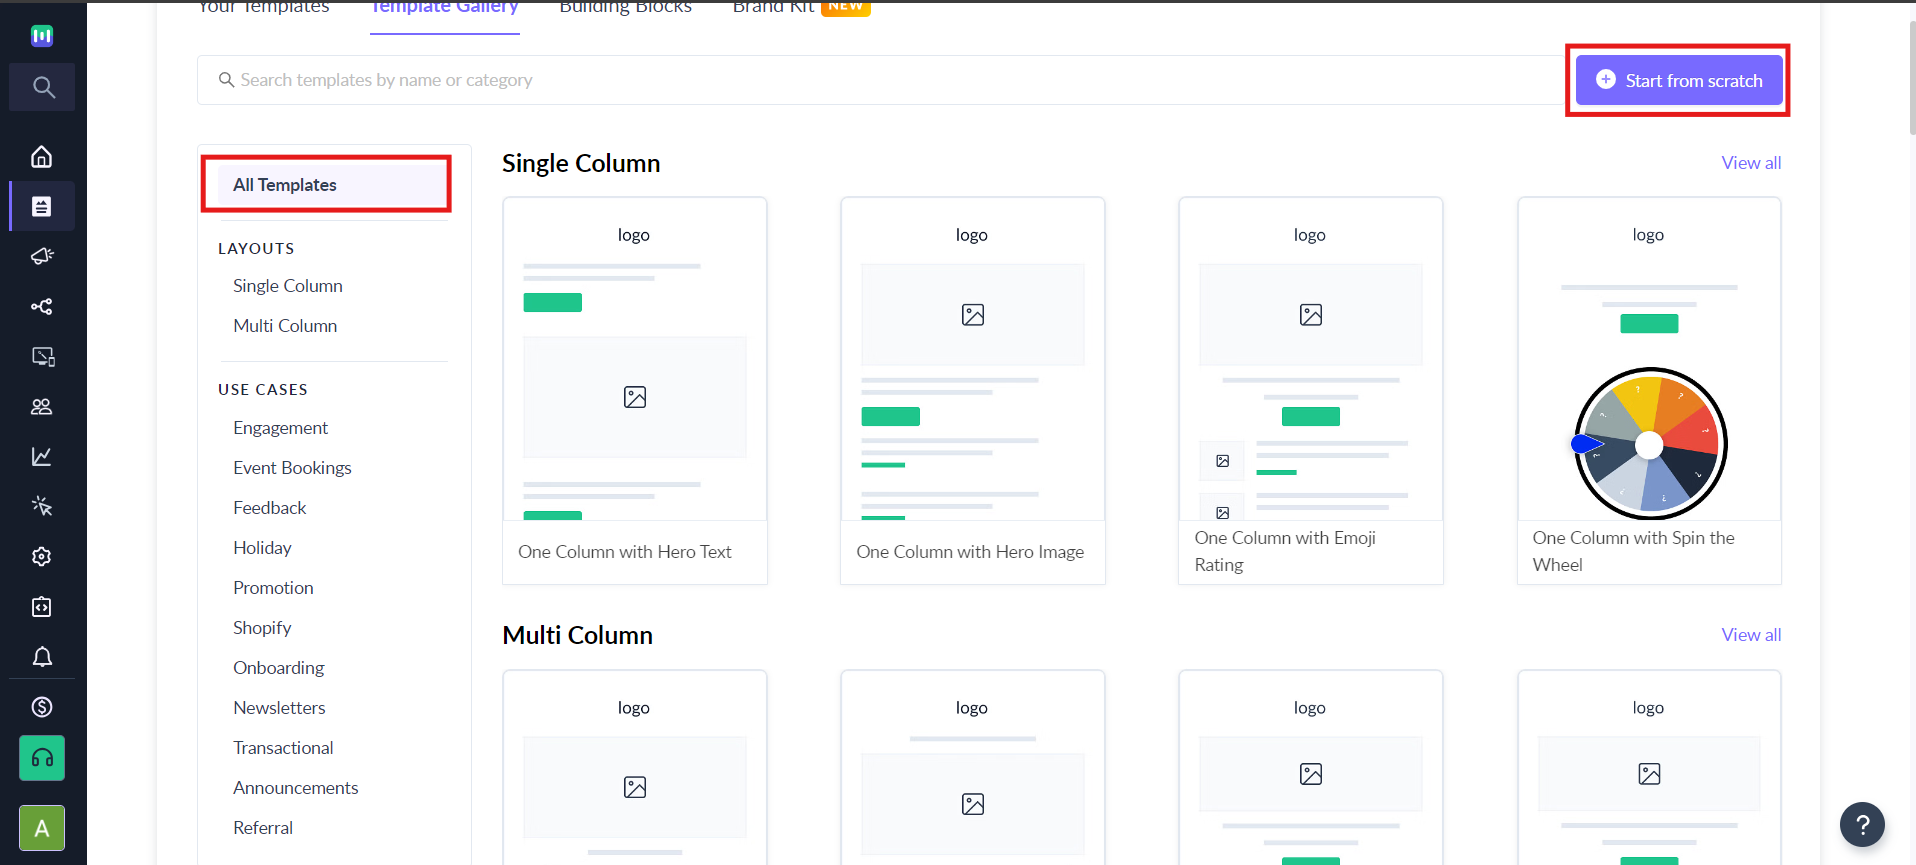
Step 2: You can start from scratch or use a pre made template (layout/use cases).
Way to add widget
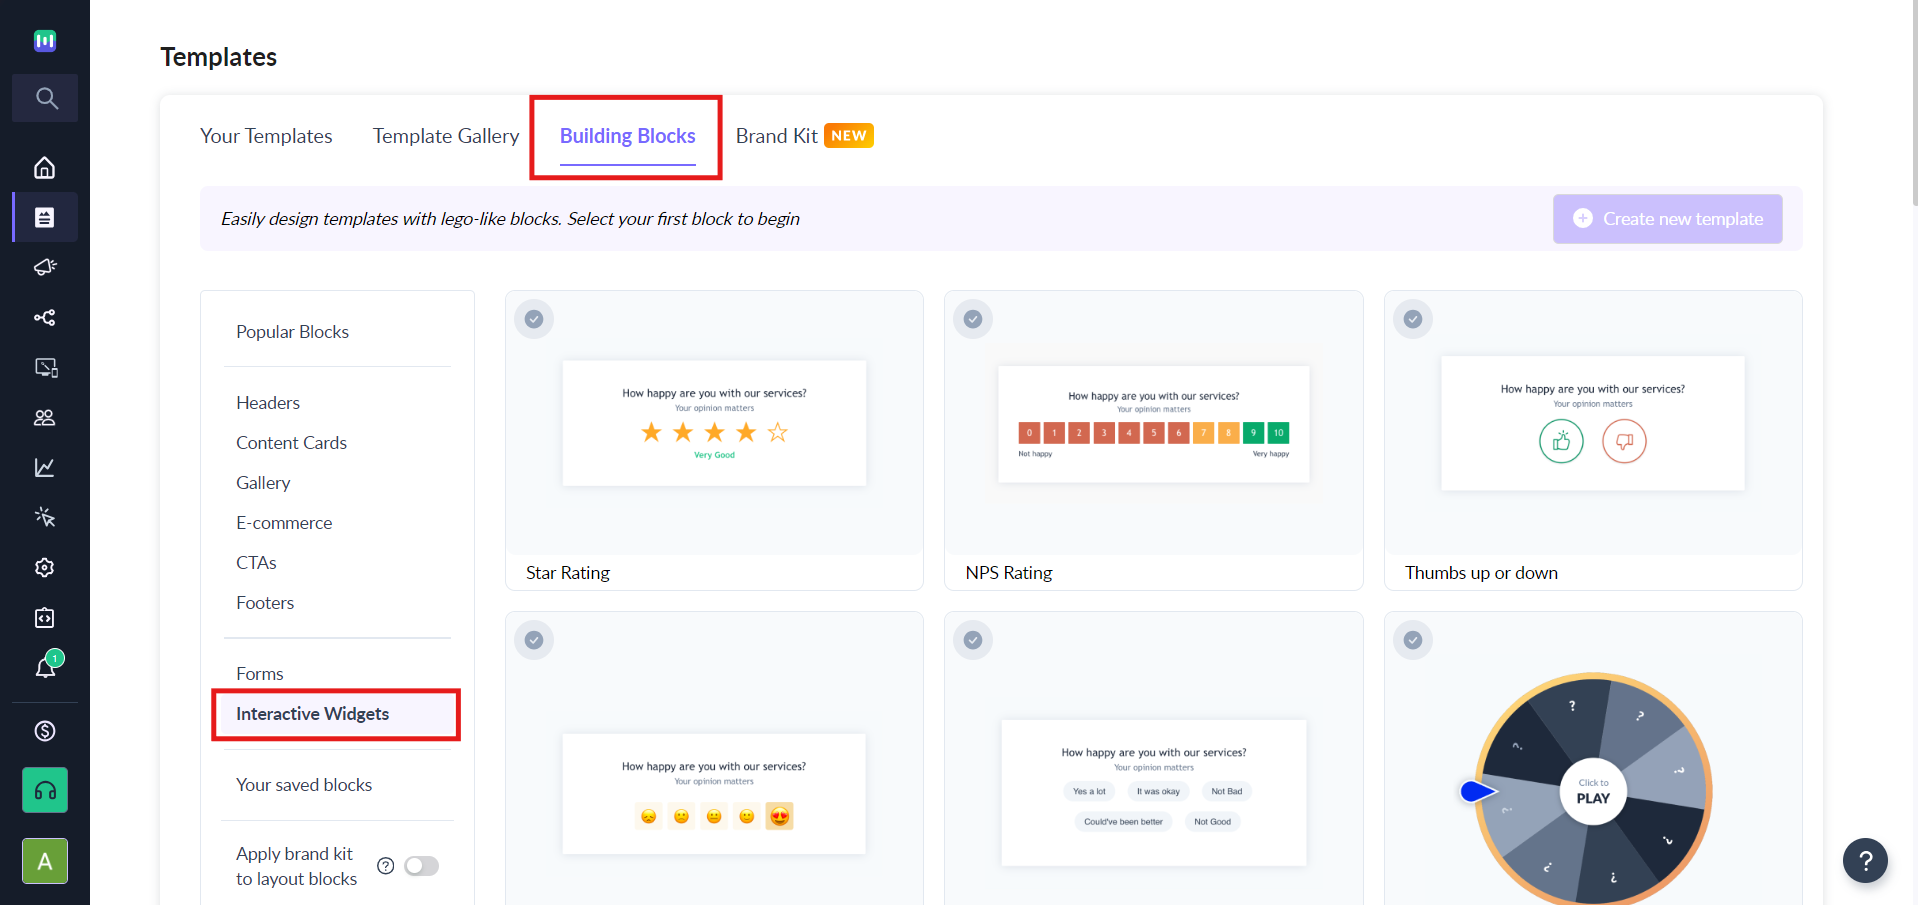
i) If you want to begin your email with a Calendly block, click on Building Blocks and select Interactive Widgets.
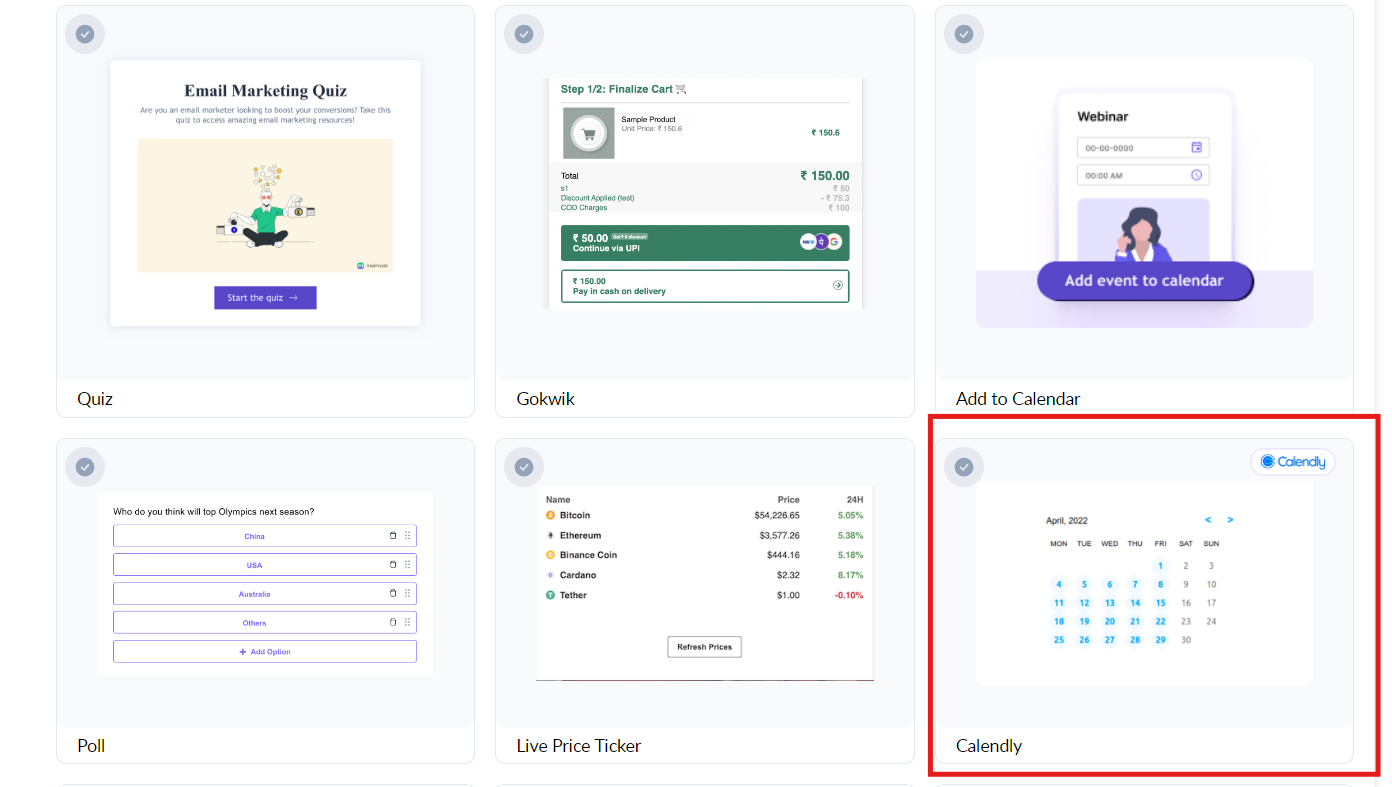
Select on Calendly.
Then click on Create new template.
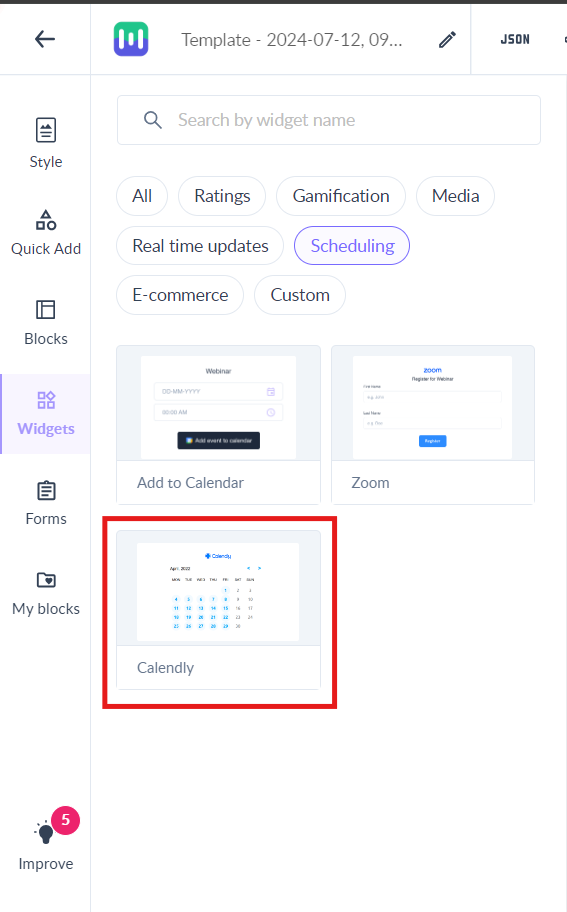
ii) If you want to add Calendly below an existing block, click on the Widgets and choose Scheduling. Under this, you can drag and drop the Calendly widget in editor.
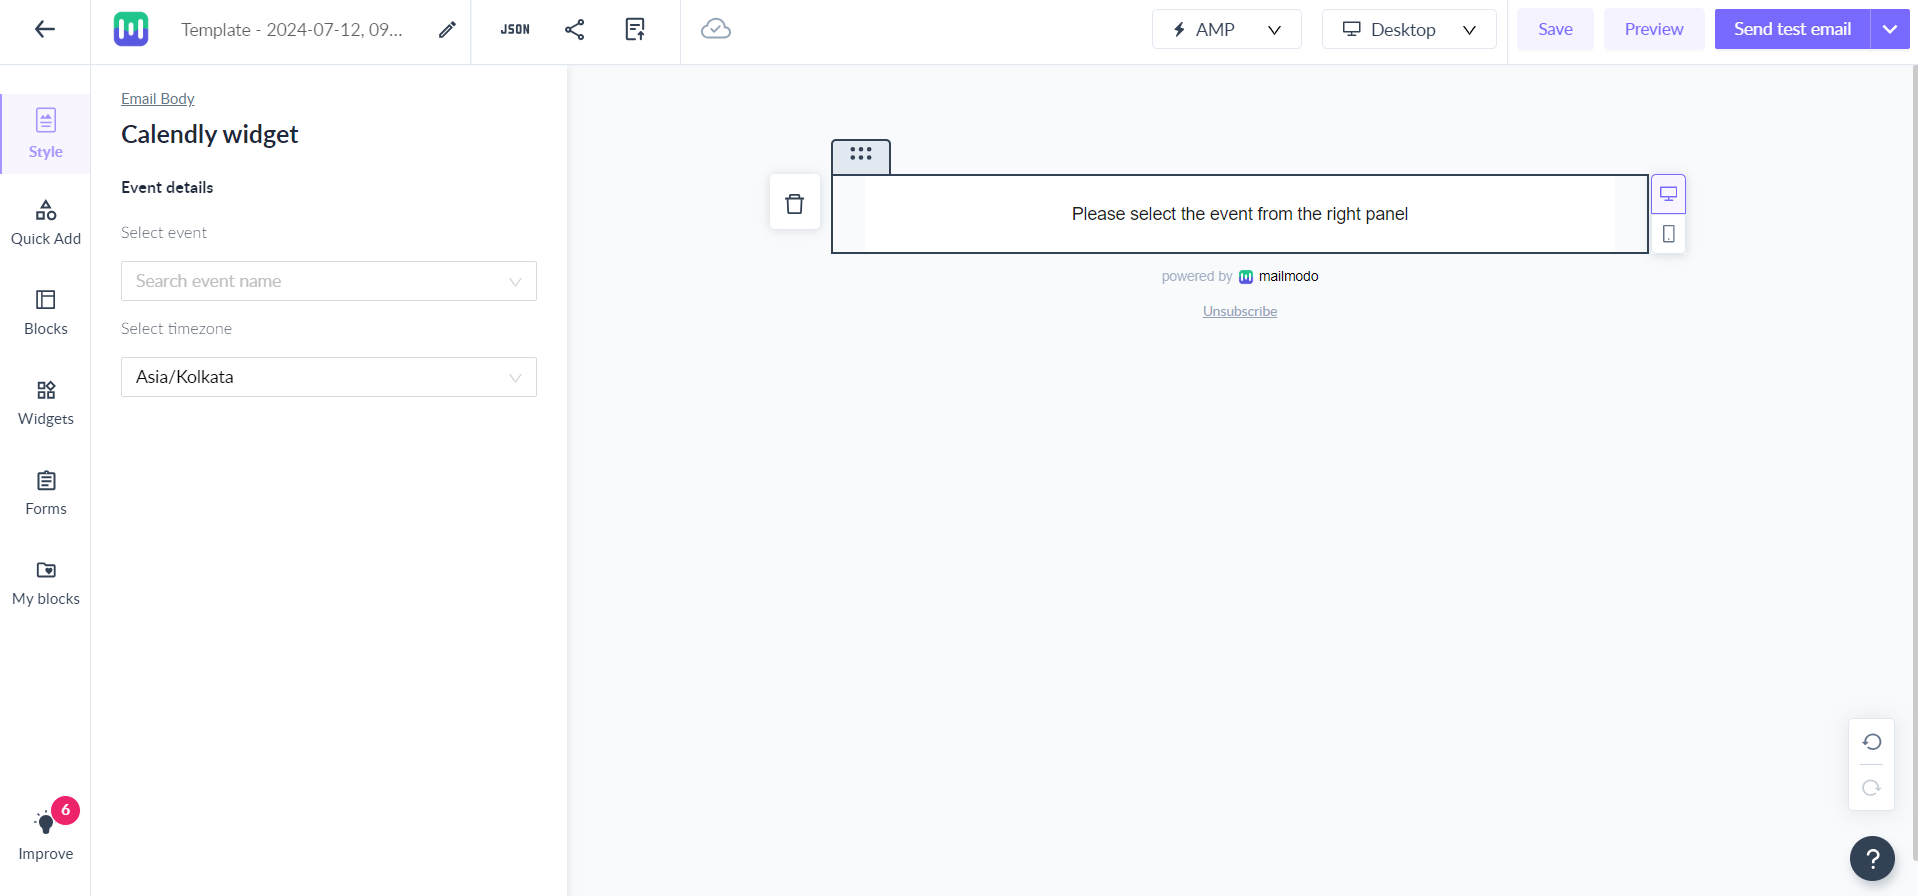
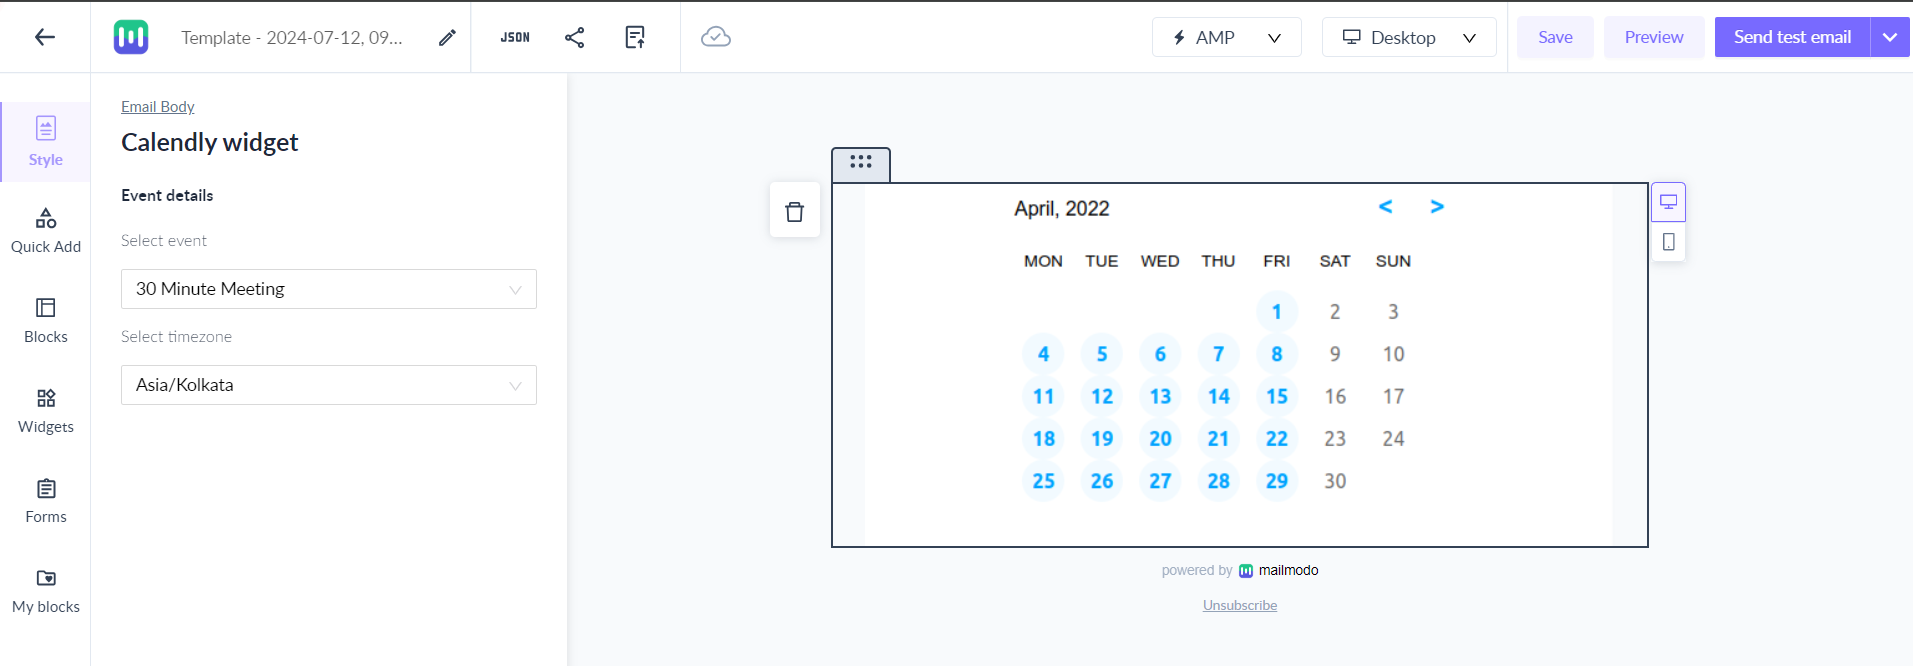
Step 3: Select the Event details and Timezone from the left Panel. Your calendar will be inserted in the email template.
Be sure to add the fallback HTML version for the Calendar Block.
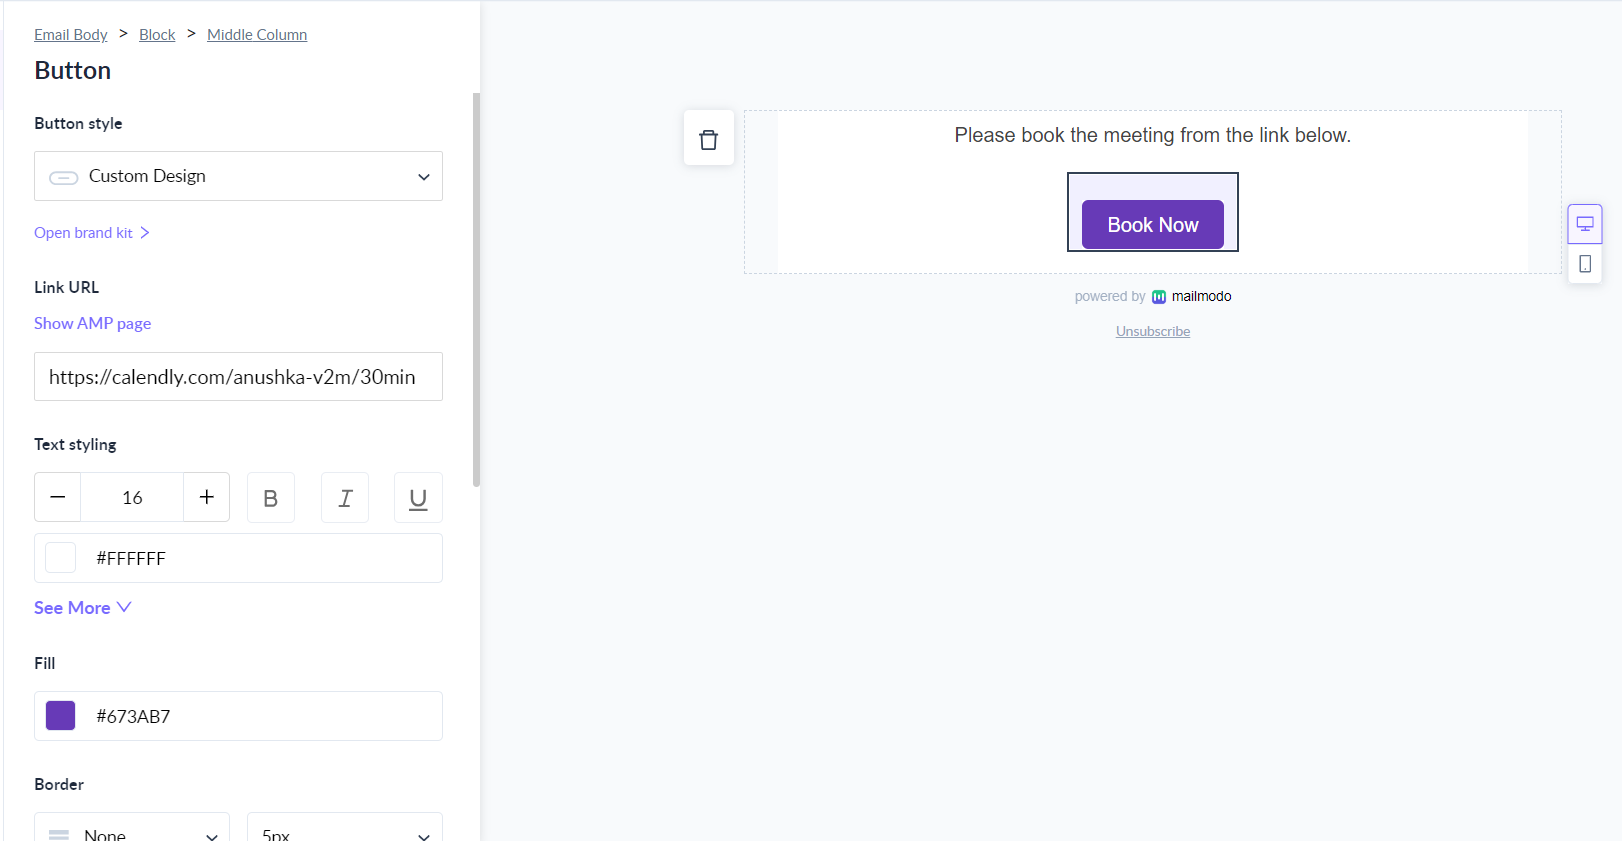
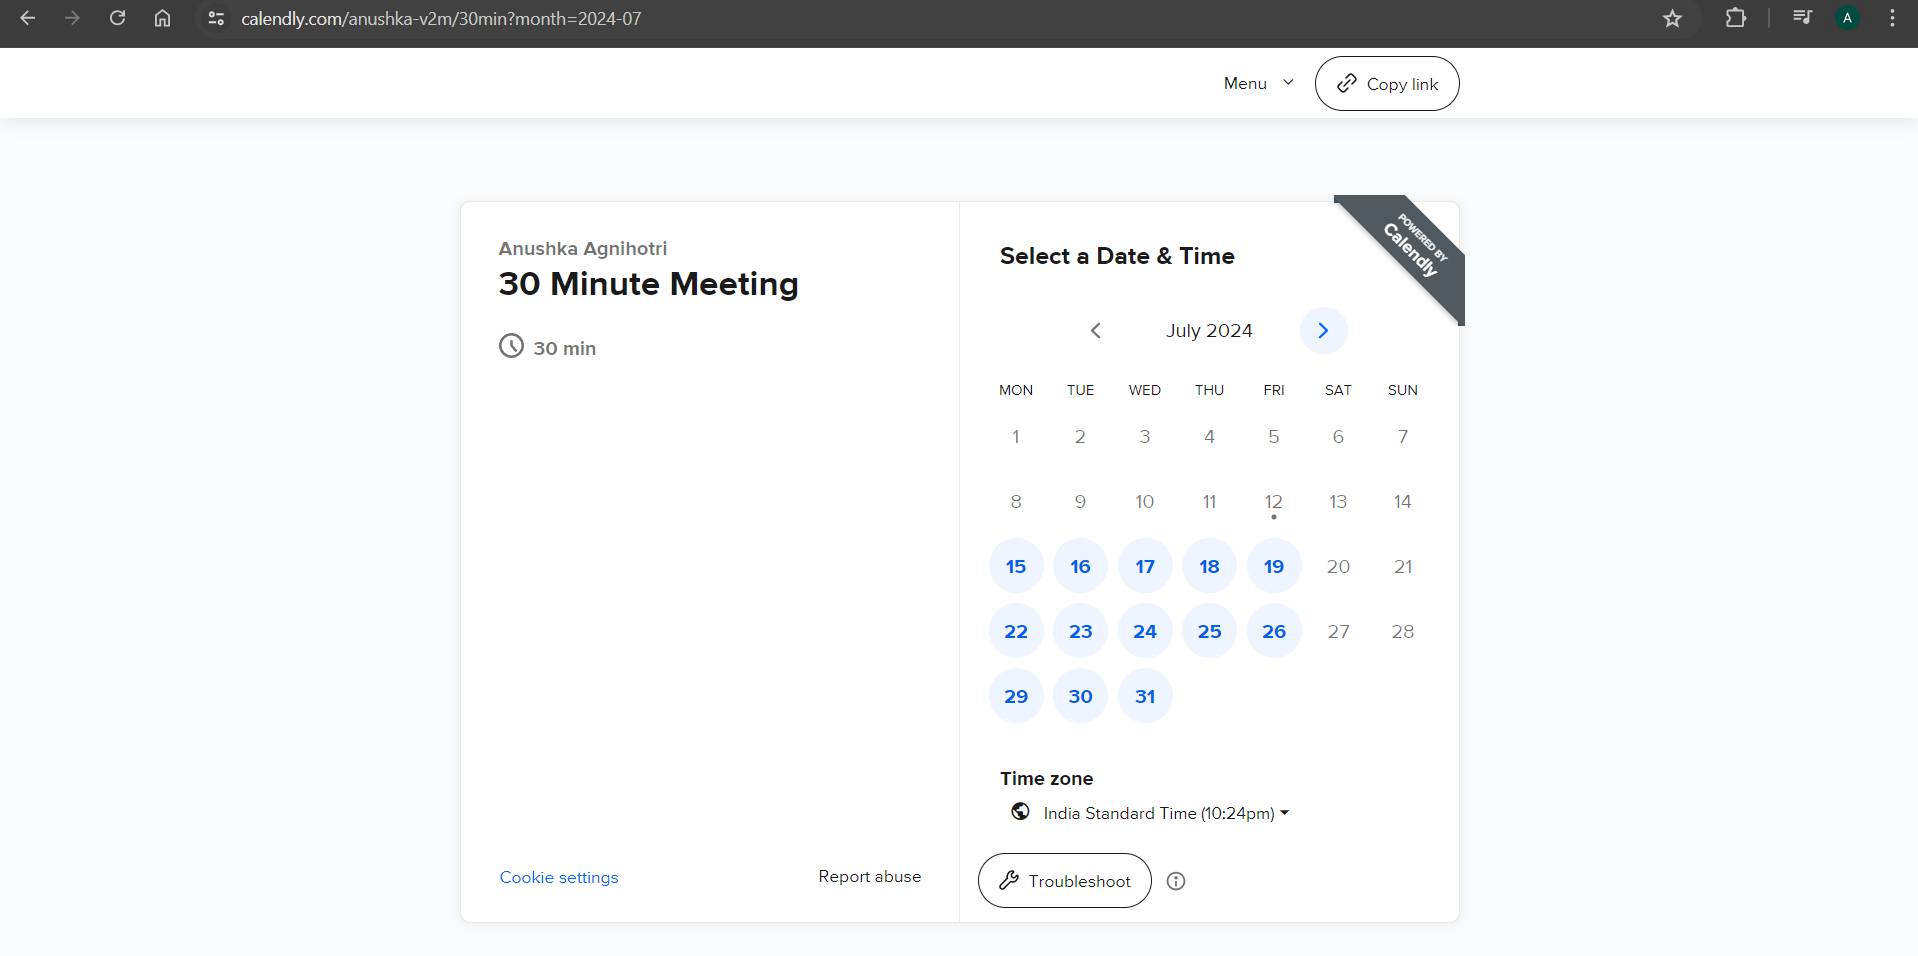
By default, the button URL will take users to the calendar.
Instead of taking them to the calendar above you can show the AMP page instead.
How to deactivate the Calendly integration?
Users can deactivate the integration to setup new Calendly account.
Once the integration is deactivated, it stops the integration in the running campaigns. When you activate the integration again, you need to go to the template and setup the widget to set it working for the campaigns.
Steps to deactivate from the Mailmodo account:
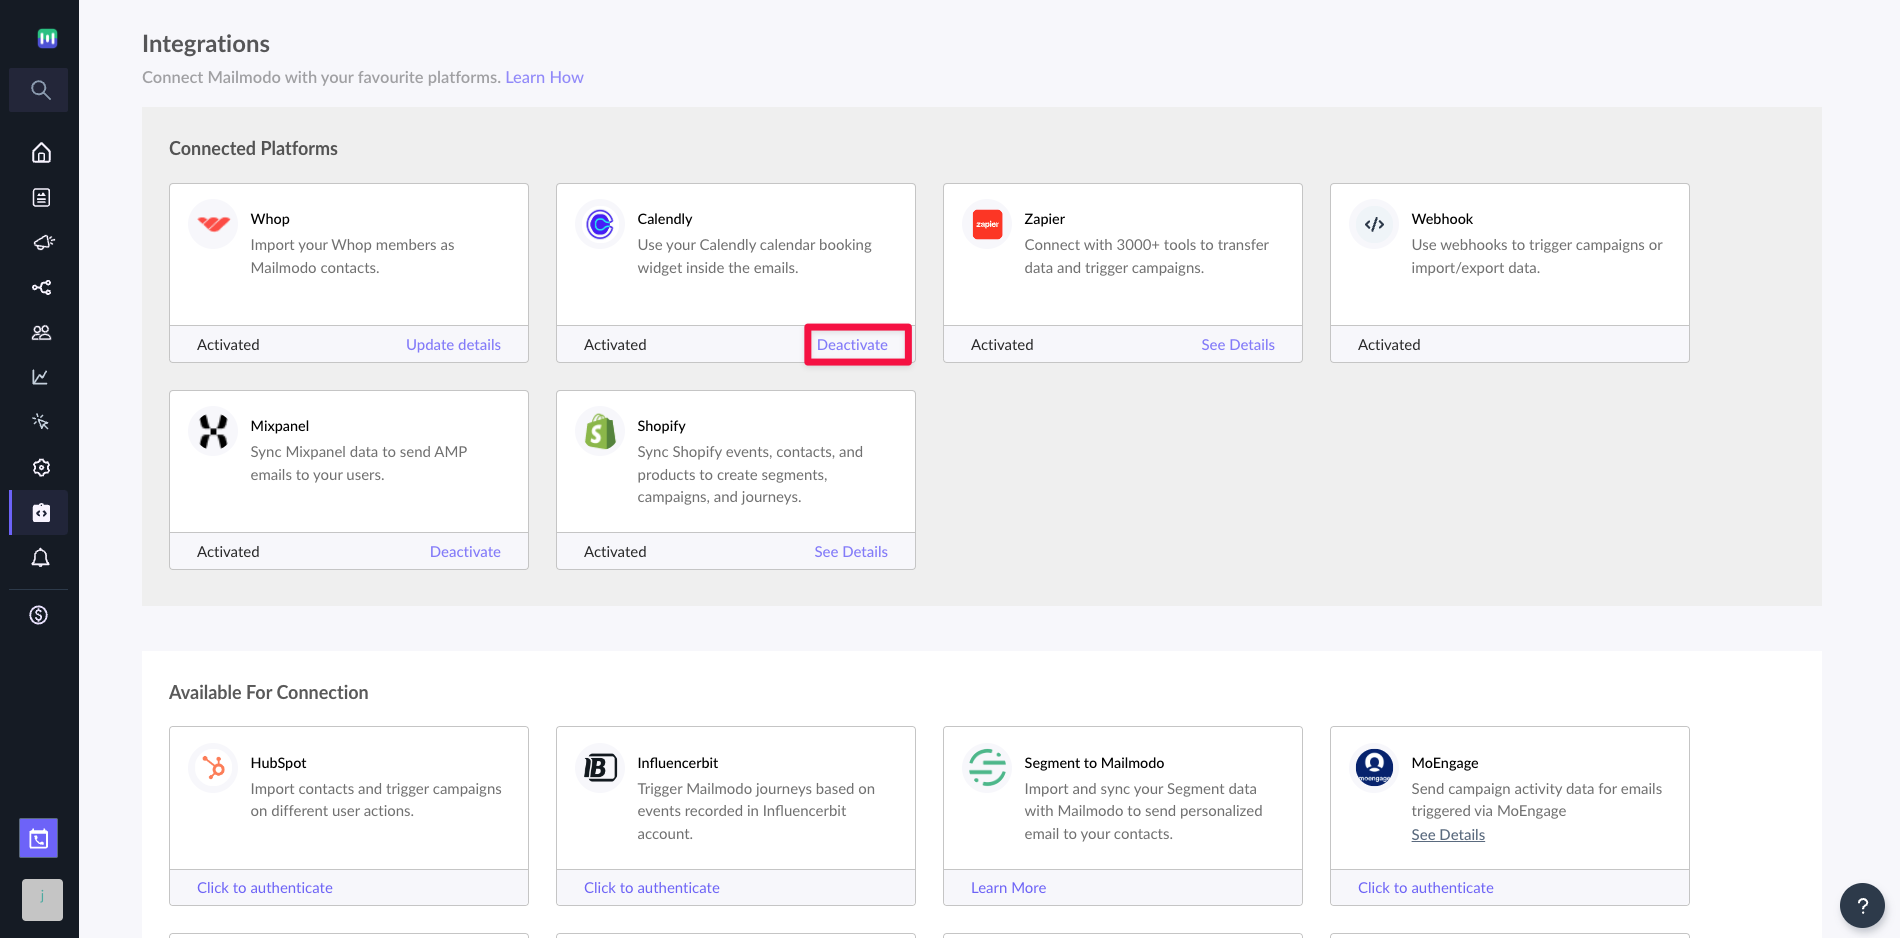
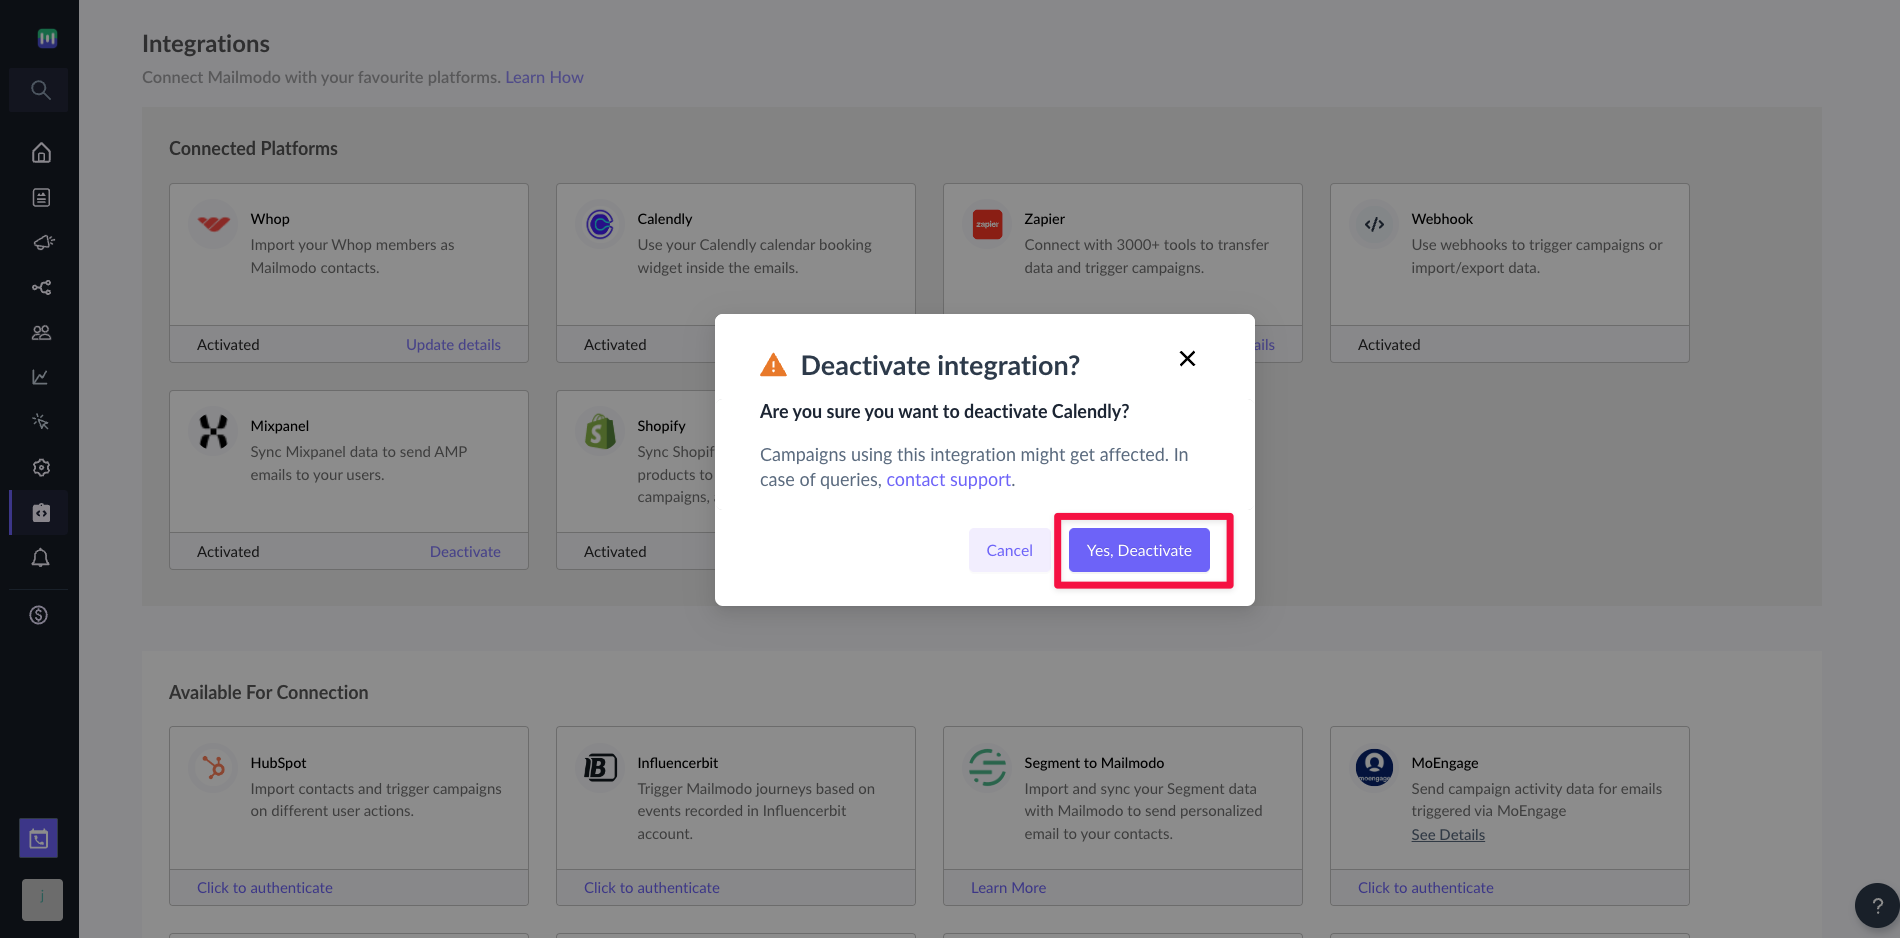
Step 1: Go to integrations page.
Step 2: Click on Deactivate button.
Step 3: Click on Yes, Deactivate to confirm.
How to migrate from API V1 to API V2?
Step 1: Deactivate existing Calendly integration by following the steps mentioned above.
Step 2: Re-integrate Calendly using the V2 access token .
Use the search bar in our Help Center to find quick guides and walkthroughs. If you have any queries, then reach out to us via the chat icon on the bottom right corner of your screen while using Mailmodo. Or reach out to us at Mailmodo Support and share your thoughts at Mailmodo Product Feedback.


