

How to use dynamic image feature in your campaign?
Last updated October 23, 2024
The dynamic image URL feature allows the same content block to display different images to different users.
All you need is a column as a property under which different image URLs would be stored for each of your contacts. You just need to add a personalisation parameter and map it to a user property. This would enable you to show personalised images in the same block to respective contacts.
Here is our definitive guide to Dynamic Email Content.
How to use dynamic image URL in your campaign?
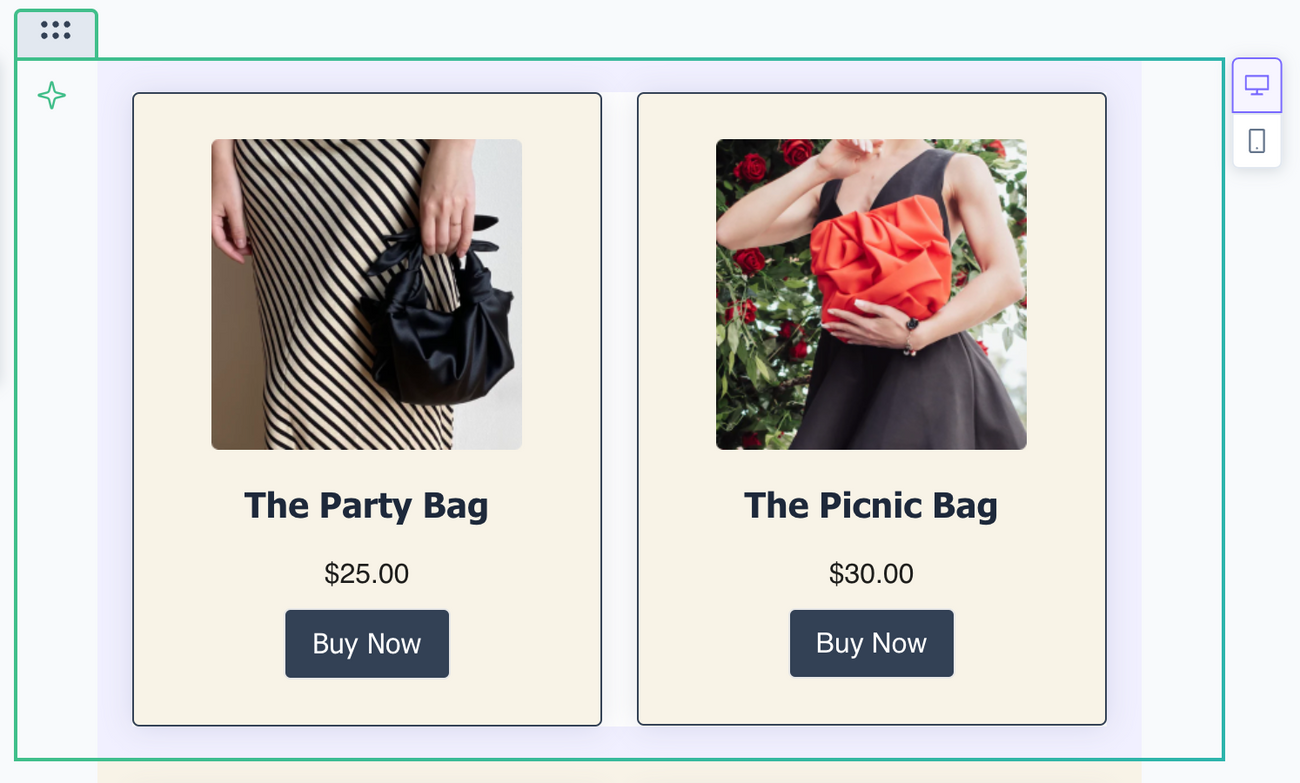
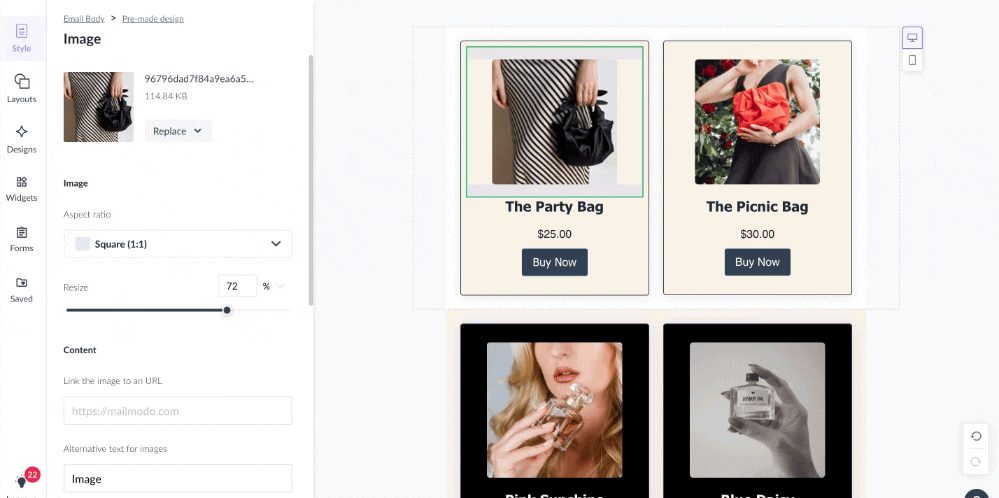
Step 1: Create an email template , and add an image element or a block with an image
Step 2: From the left-side panel, click on the ‘Add Image’/'Replace' button and click on the ‘Image from URL’ tab.
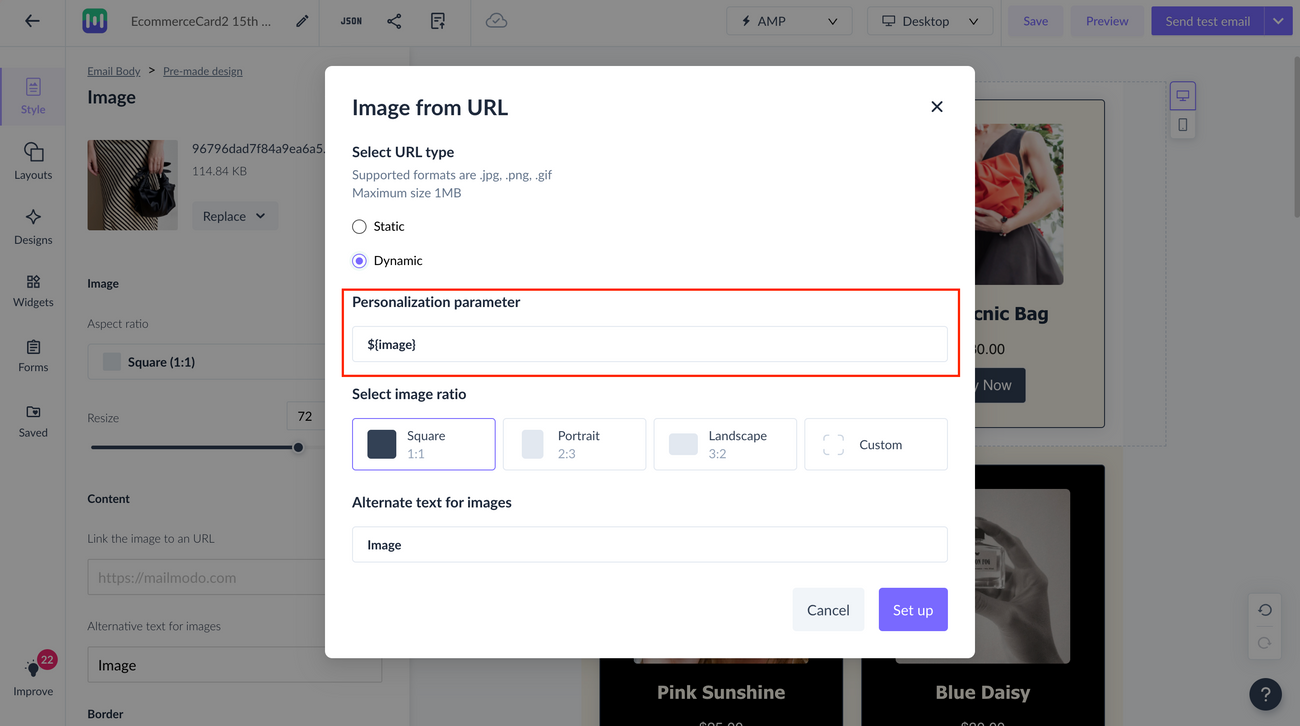
Select the Dynamic URL option.

Step 3: Add personalisation parameter by writing it within the characters ${ }.
Here you can enter the corresponding column header in the contacts list from where the image URL is to be extracted. If the column-header in your contacts list is img_url, write it as ${img_url}
Or, you could leave the default ${image} and map it at a later stage while sending the campaign (explained later).
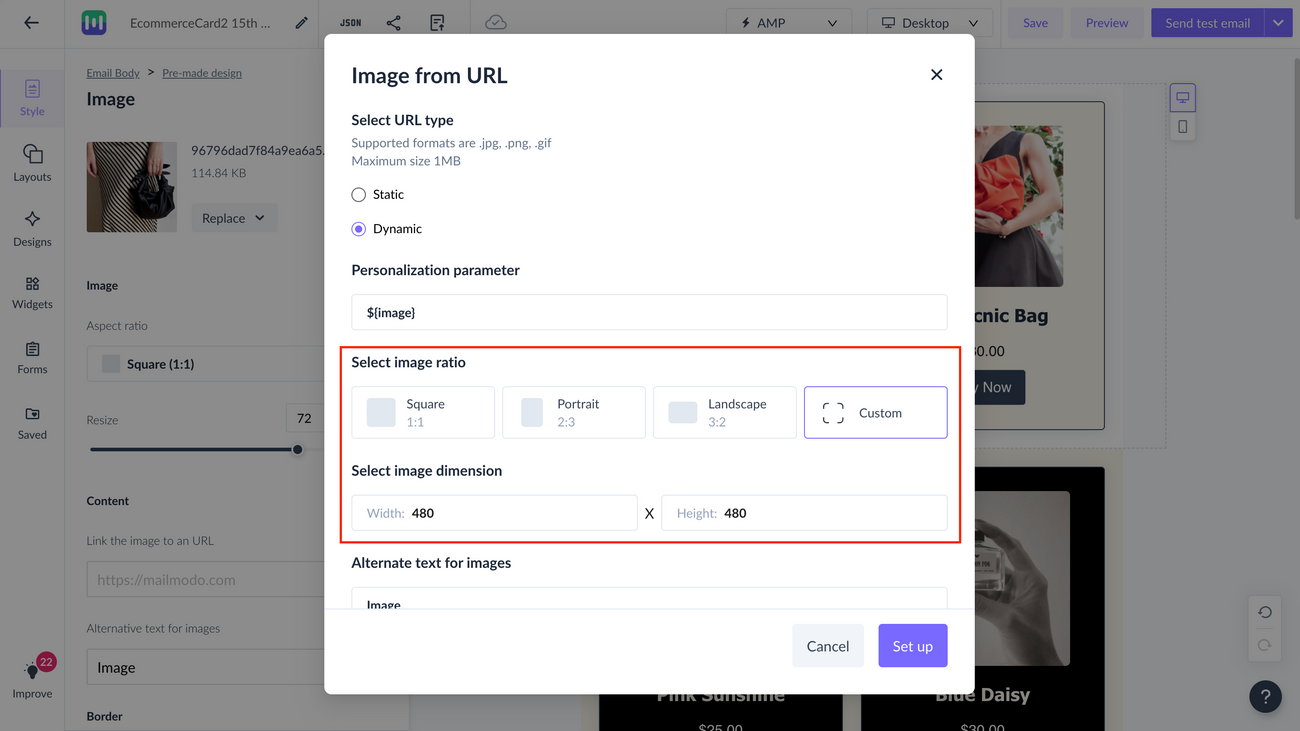
Step 5: Adjust the aspect ratio of the image.
You can choose one of the fixed values or customize the ratio by specifying dimensions under ‘Select image dimension.’
Step 6: Add Alternative Image text
Provide alternate image text, this text will appear if the image fails to load.
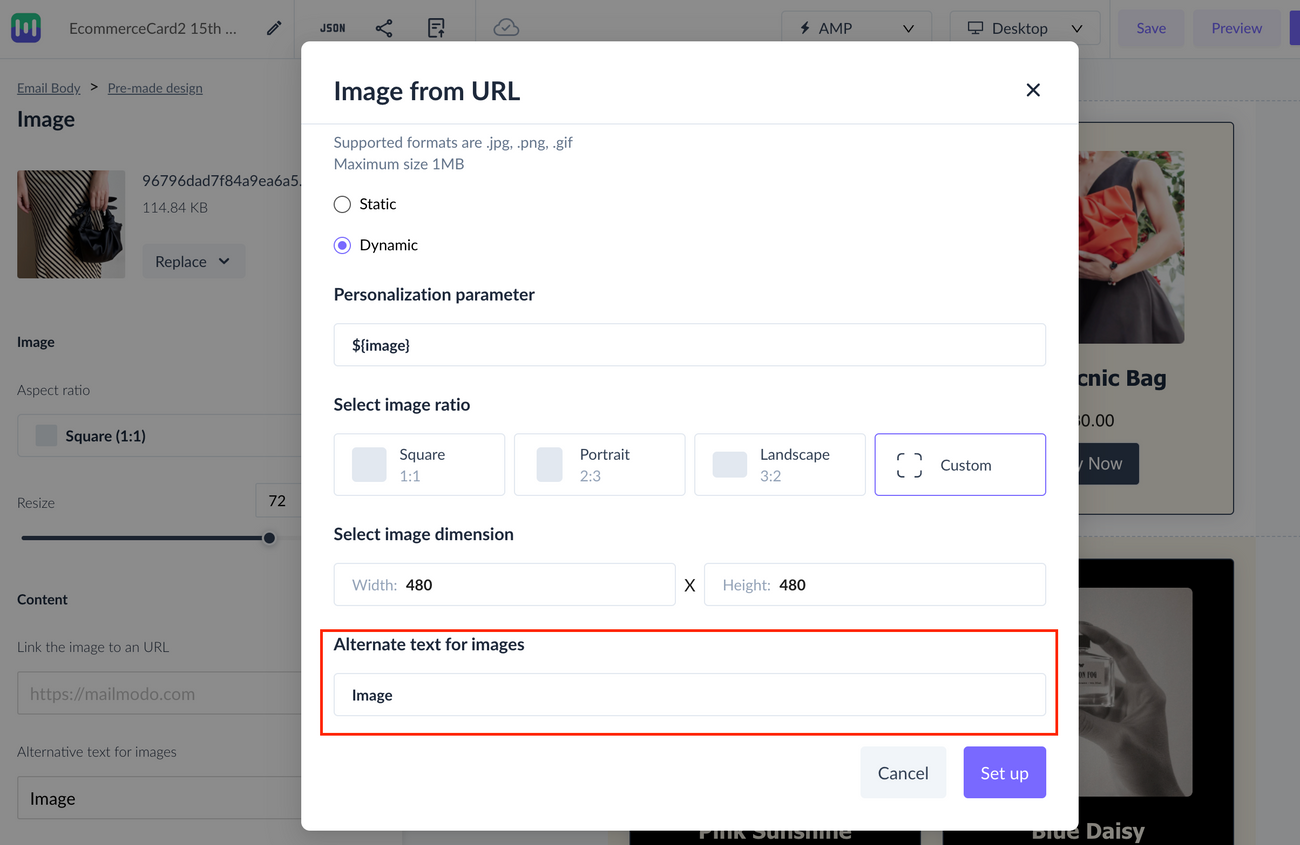
Step 7: Click ‘Set up’
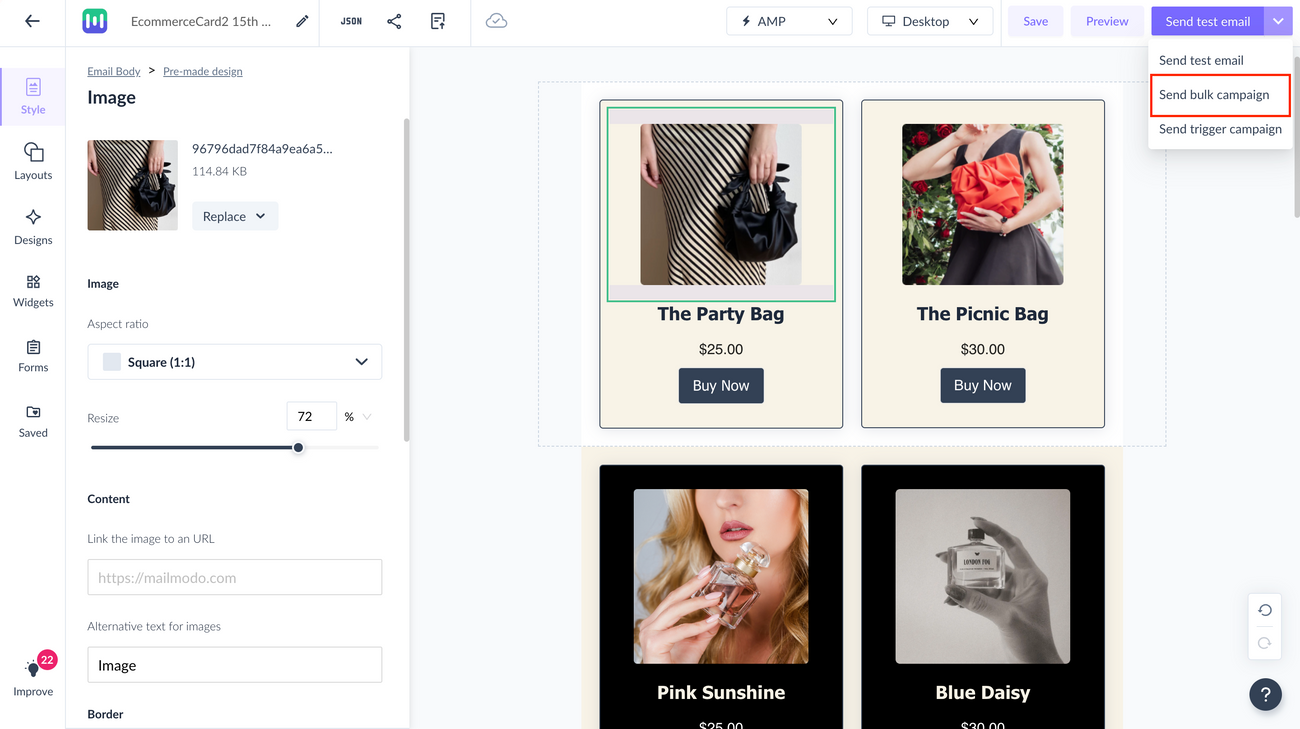
A default placeholder image will appear in the template. After editing your template, click on Send bulk campaign from the dropdown.
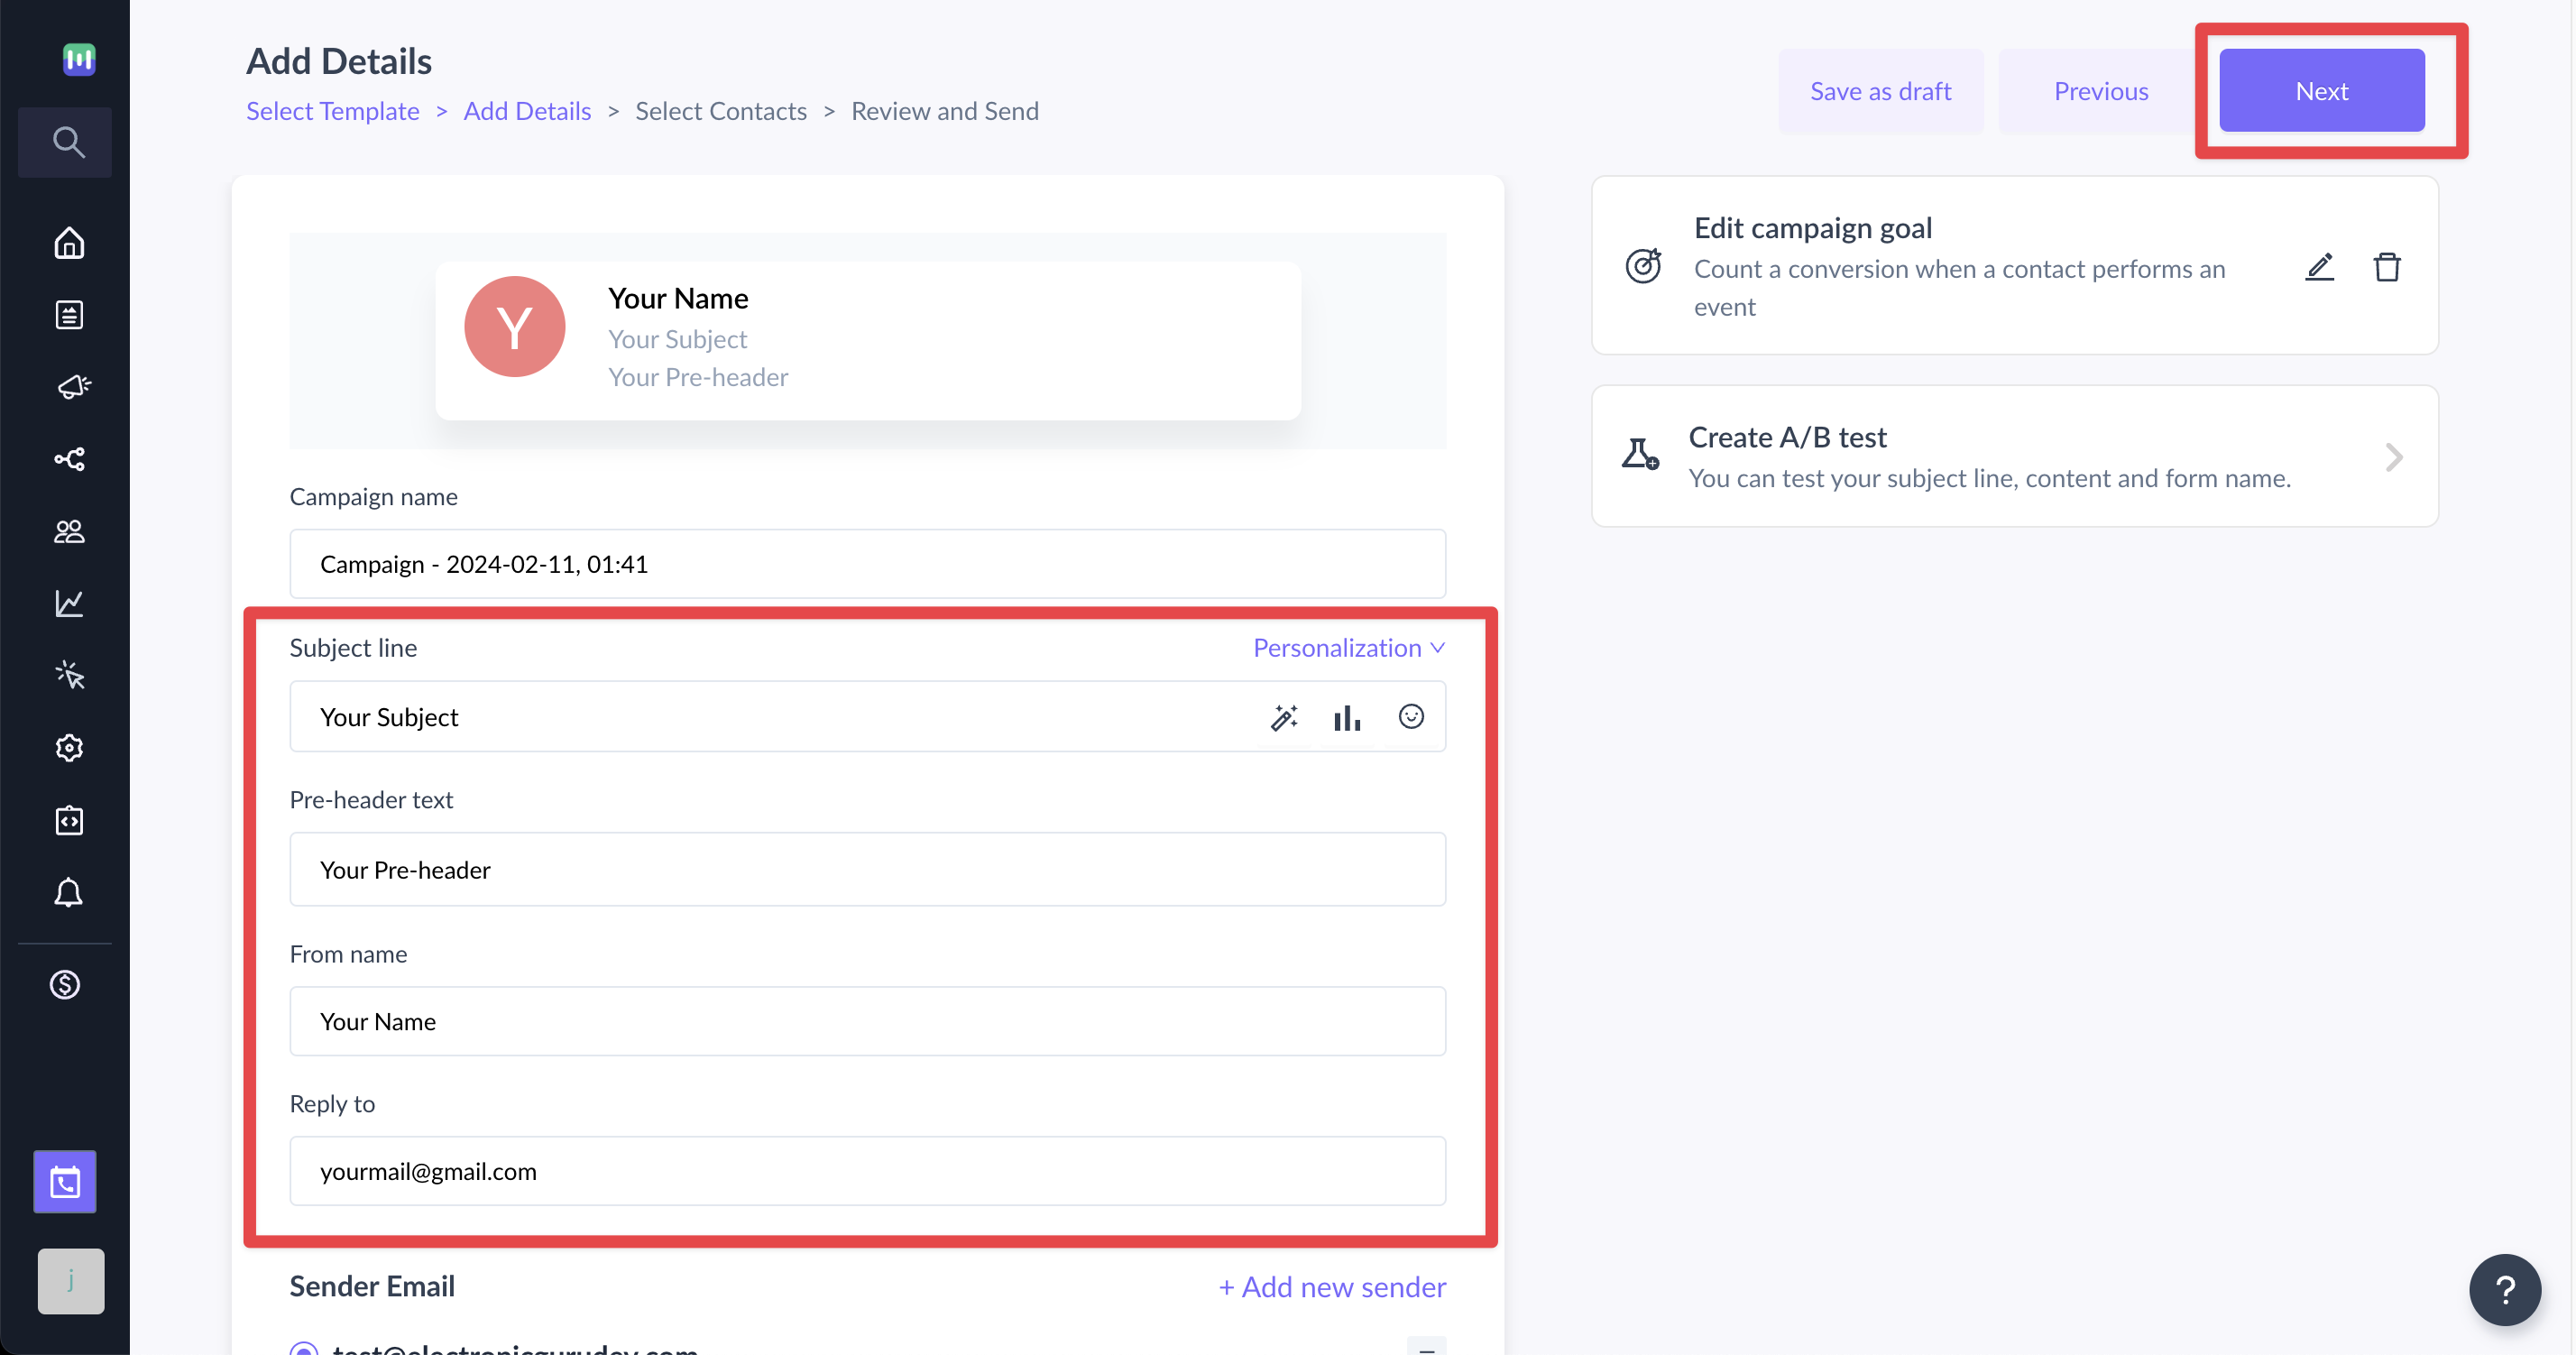
Step 8: Enter Subject line, Pre-Header text, From name and Reply to email. Click on Next.
Step 9: Select the list/segment (from contacts) whom you want to send the campaign. Click on next.

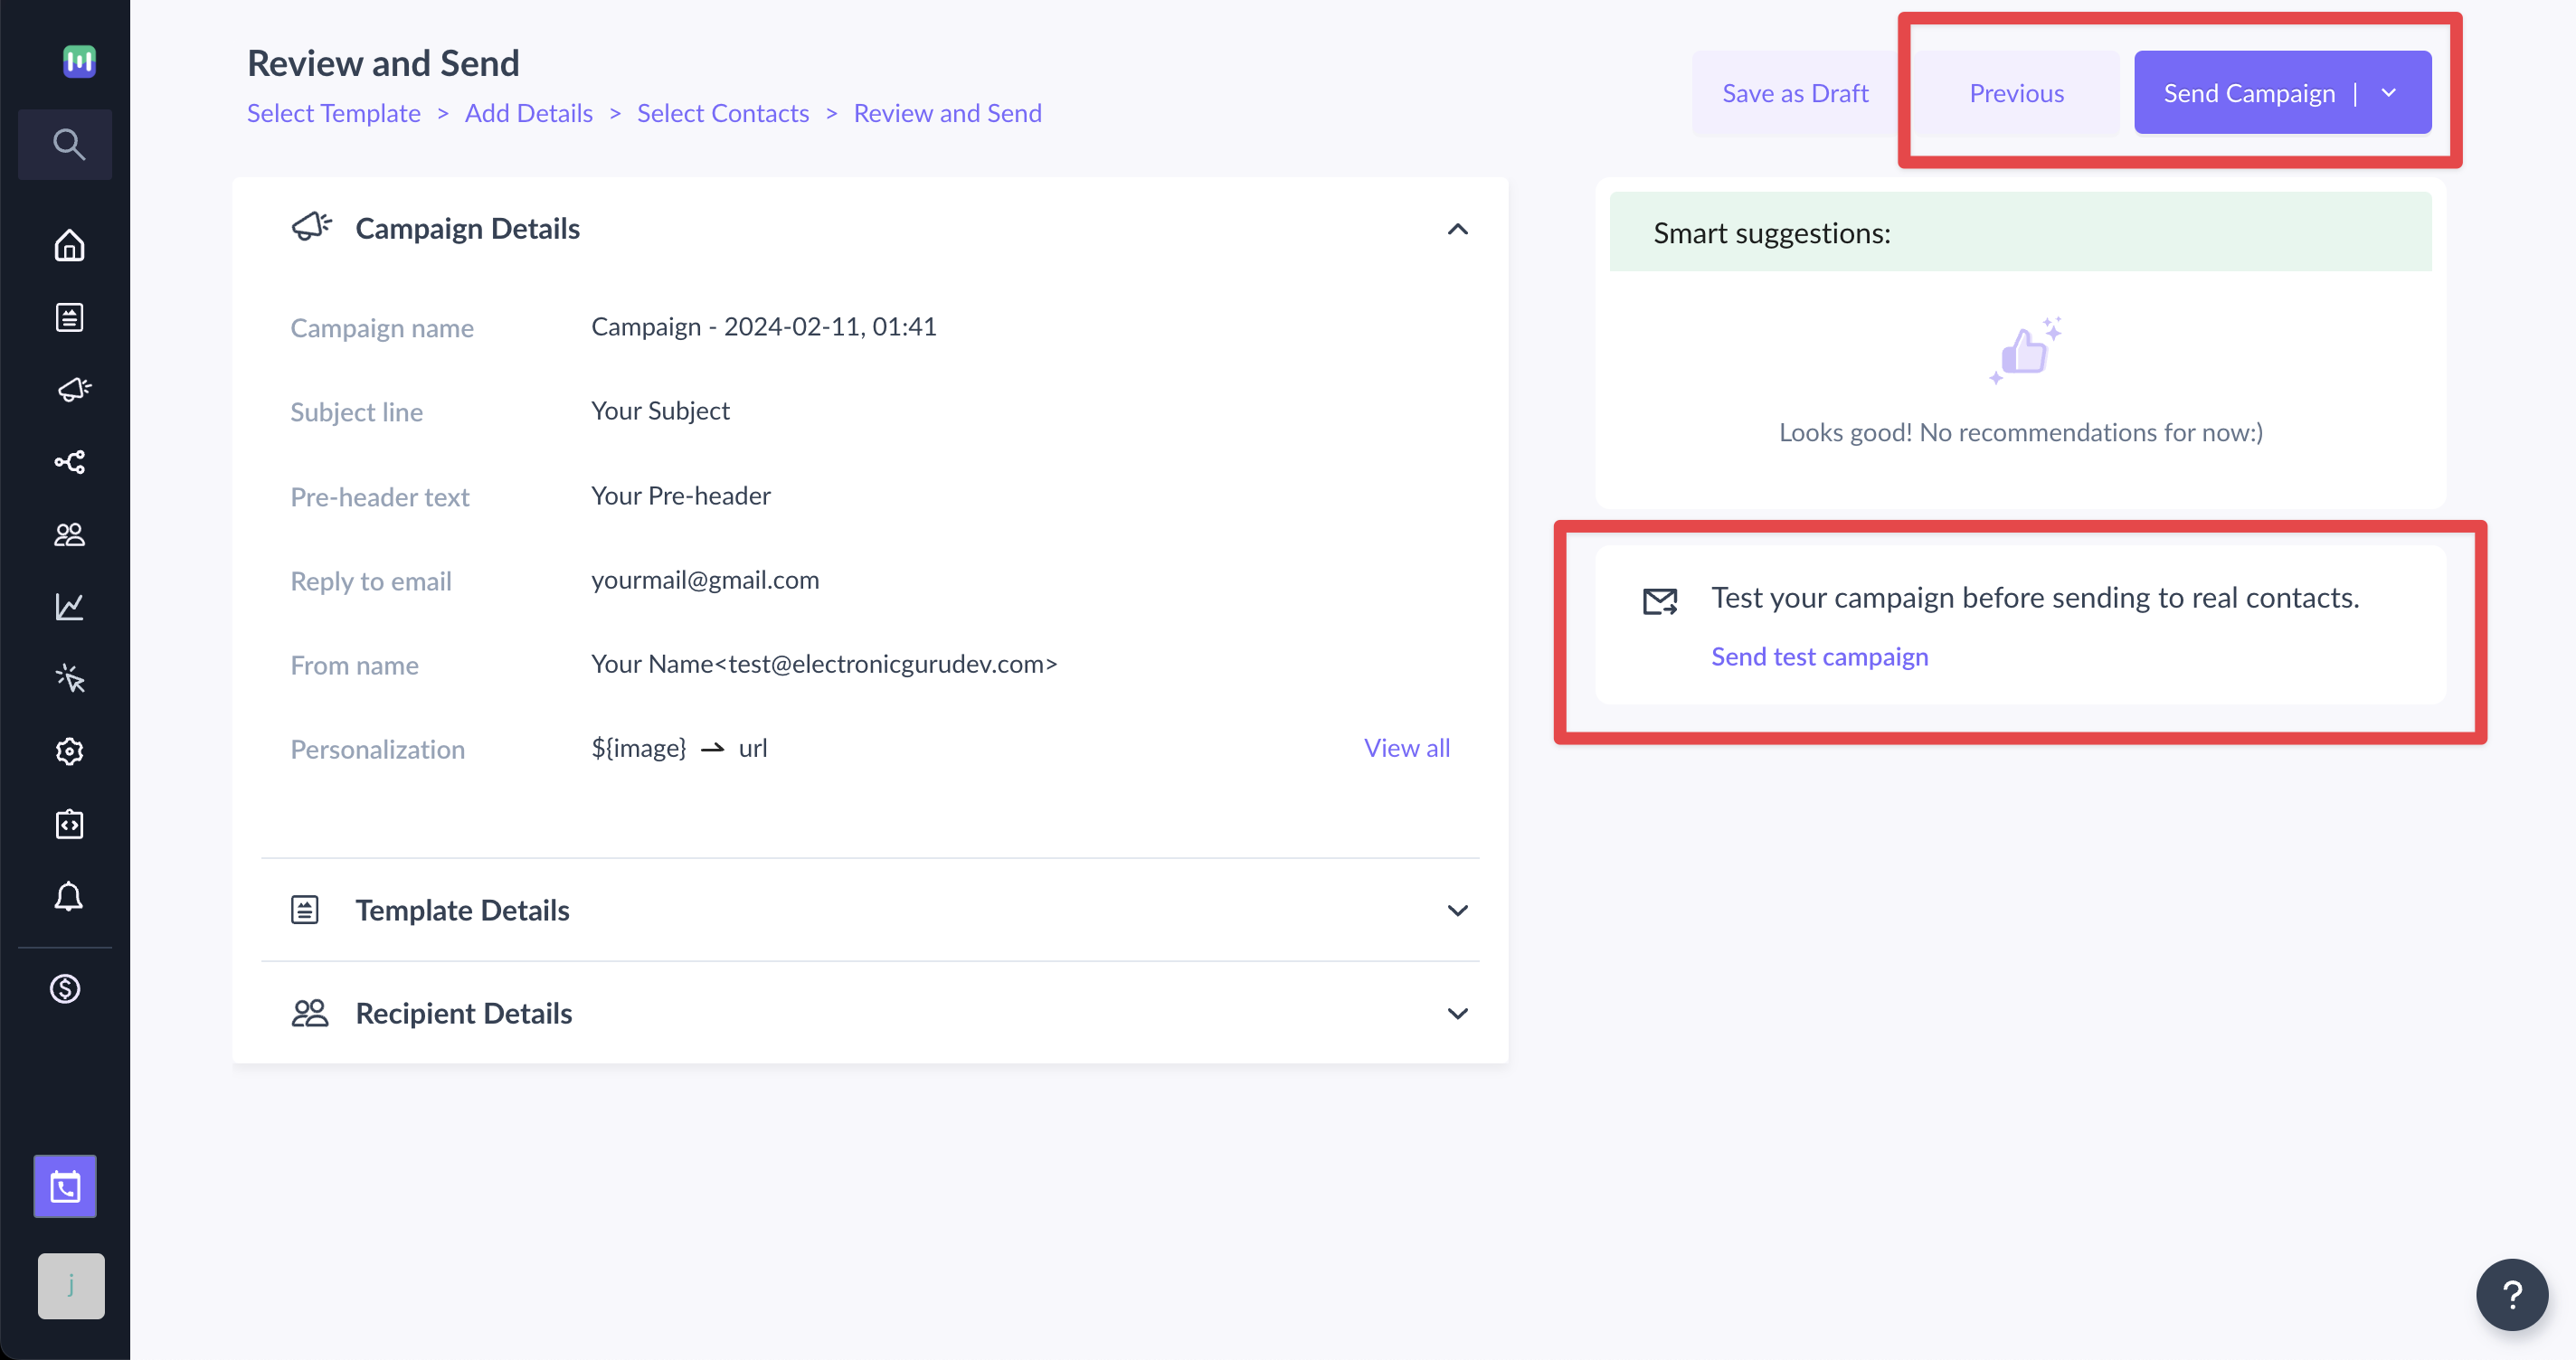
Step 10: A pop up will open. Map the personalisation parameter used in the template to the respective header in contact list.
For eg. The default personalisation parameter is ${image}. Now, we will map this to the column in your contact list which contains the image URLs.
Here, the column header is Image URL.
After successful mapping, click on save.
Step 11: Review and test your campaign.
To test, click on Send Test Campaign->Enter Email ID-> Send Test Email.
After successful testing, click on Schedule or Send. You have the option to send your campaign now, schedule it for later or send in batches at regular intervals .
Use the search bar in our Help Center to find quick guides and walkthroughs. If you have any queries, then reach out to us via the chat icon on the bottom right corner of your screen while using Mailmodo. Or reach out to us at Mailmodo Support and share your thoughts at Mailmodo Product Feedback.