Integrate Zoom Webinar Registration form with Mailmodo
Last updated July 4, 2025
Zoom Integration feature can be used to add the registration link of your webinar directly within the AMP email template. This will reduce the number of steps involved in registration for the attendees.
Here is the step-by-step process to add your webinar registration form to an email template.
We will also be covering How to Deactivate Zoom integration, in case you want to integrate with a new account.
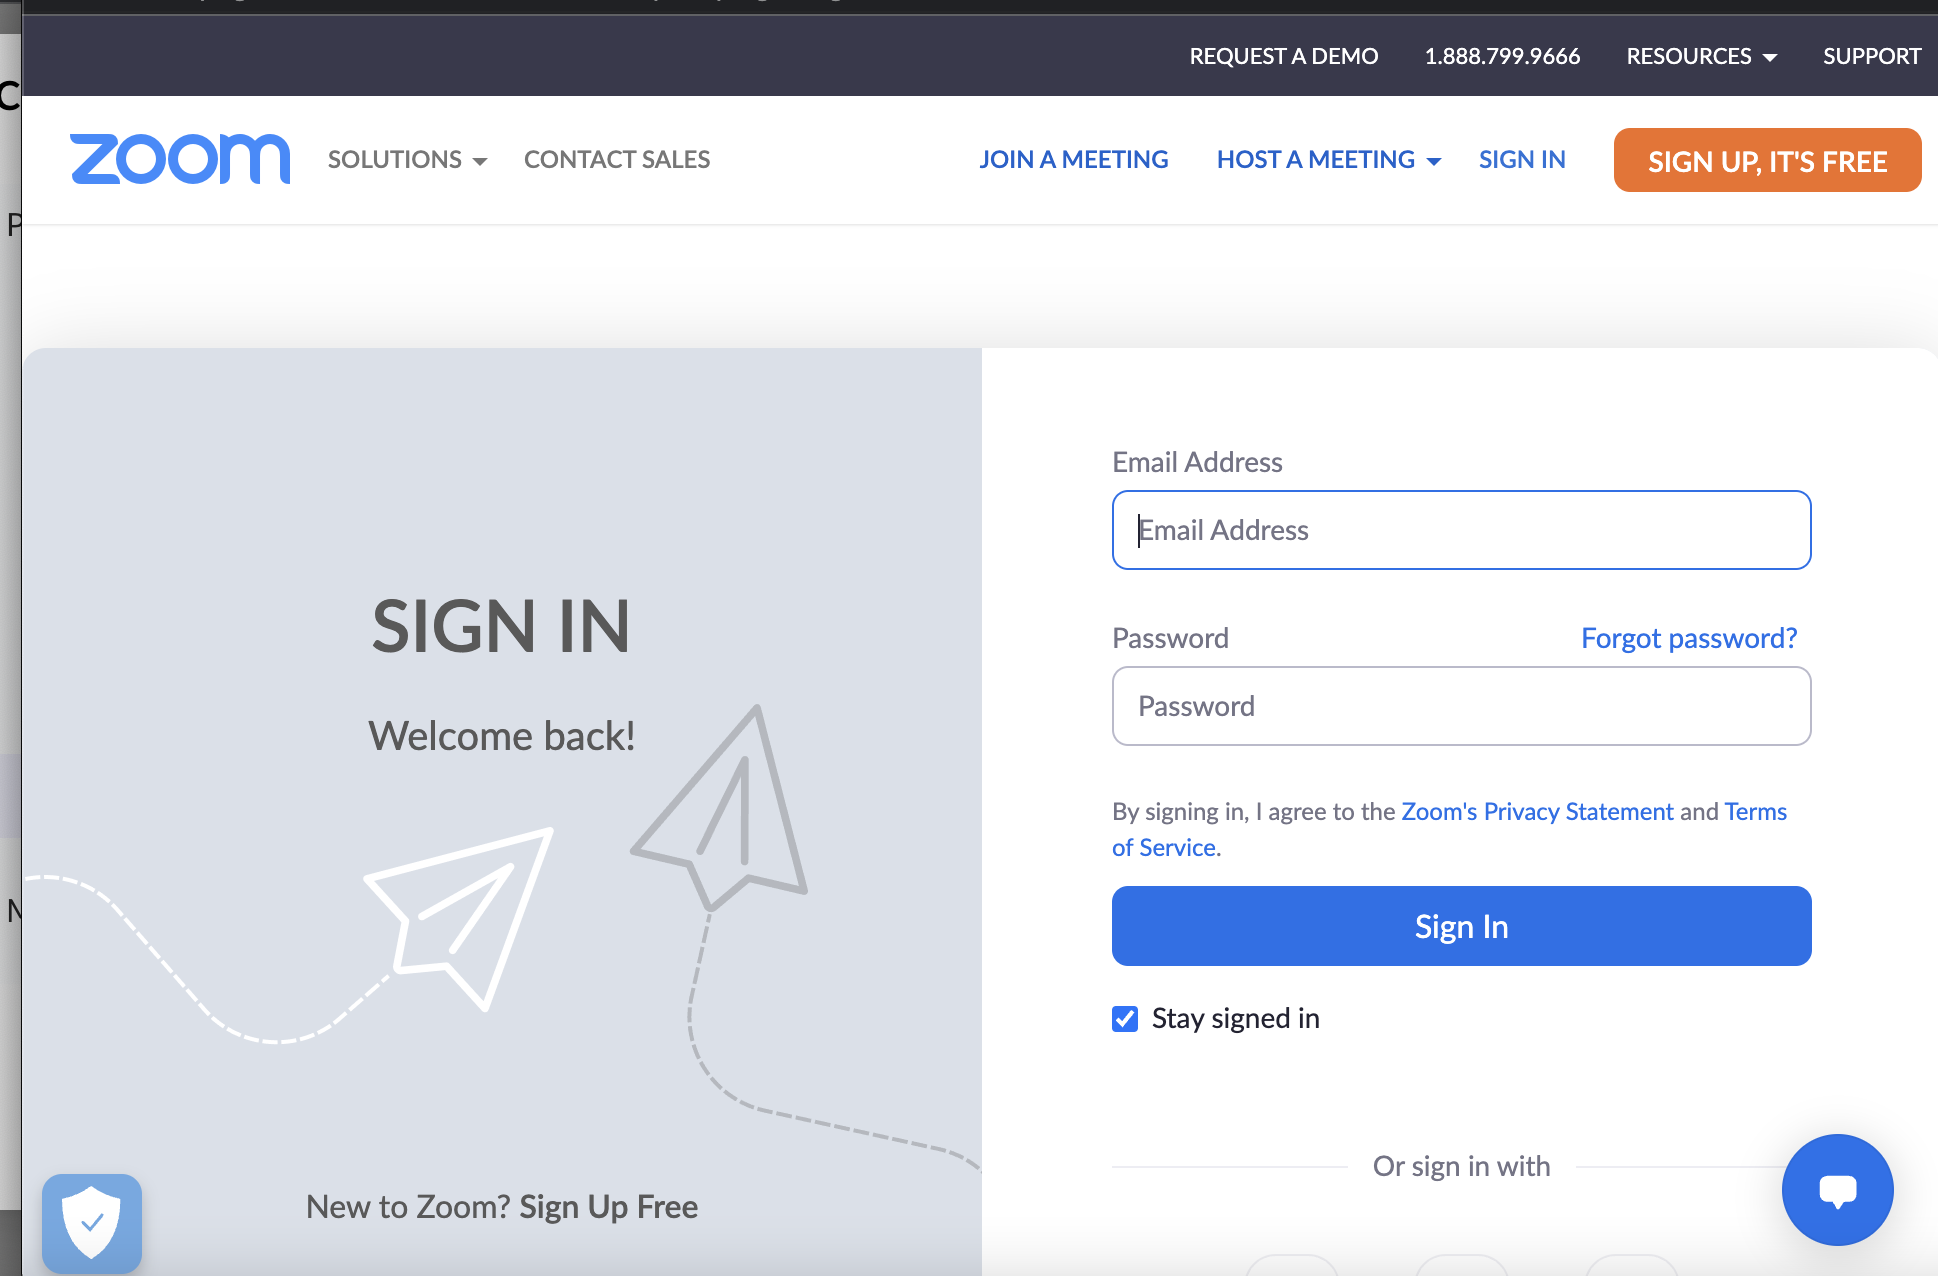
Step 1: Login to your Zoom account
There are two ways to complete this step:
Method 1
Login to Mailmodo with your credentials
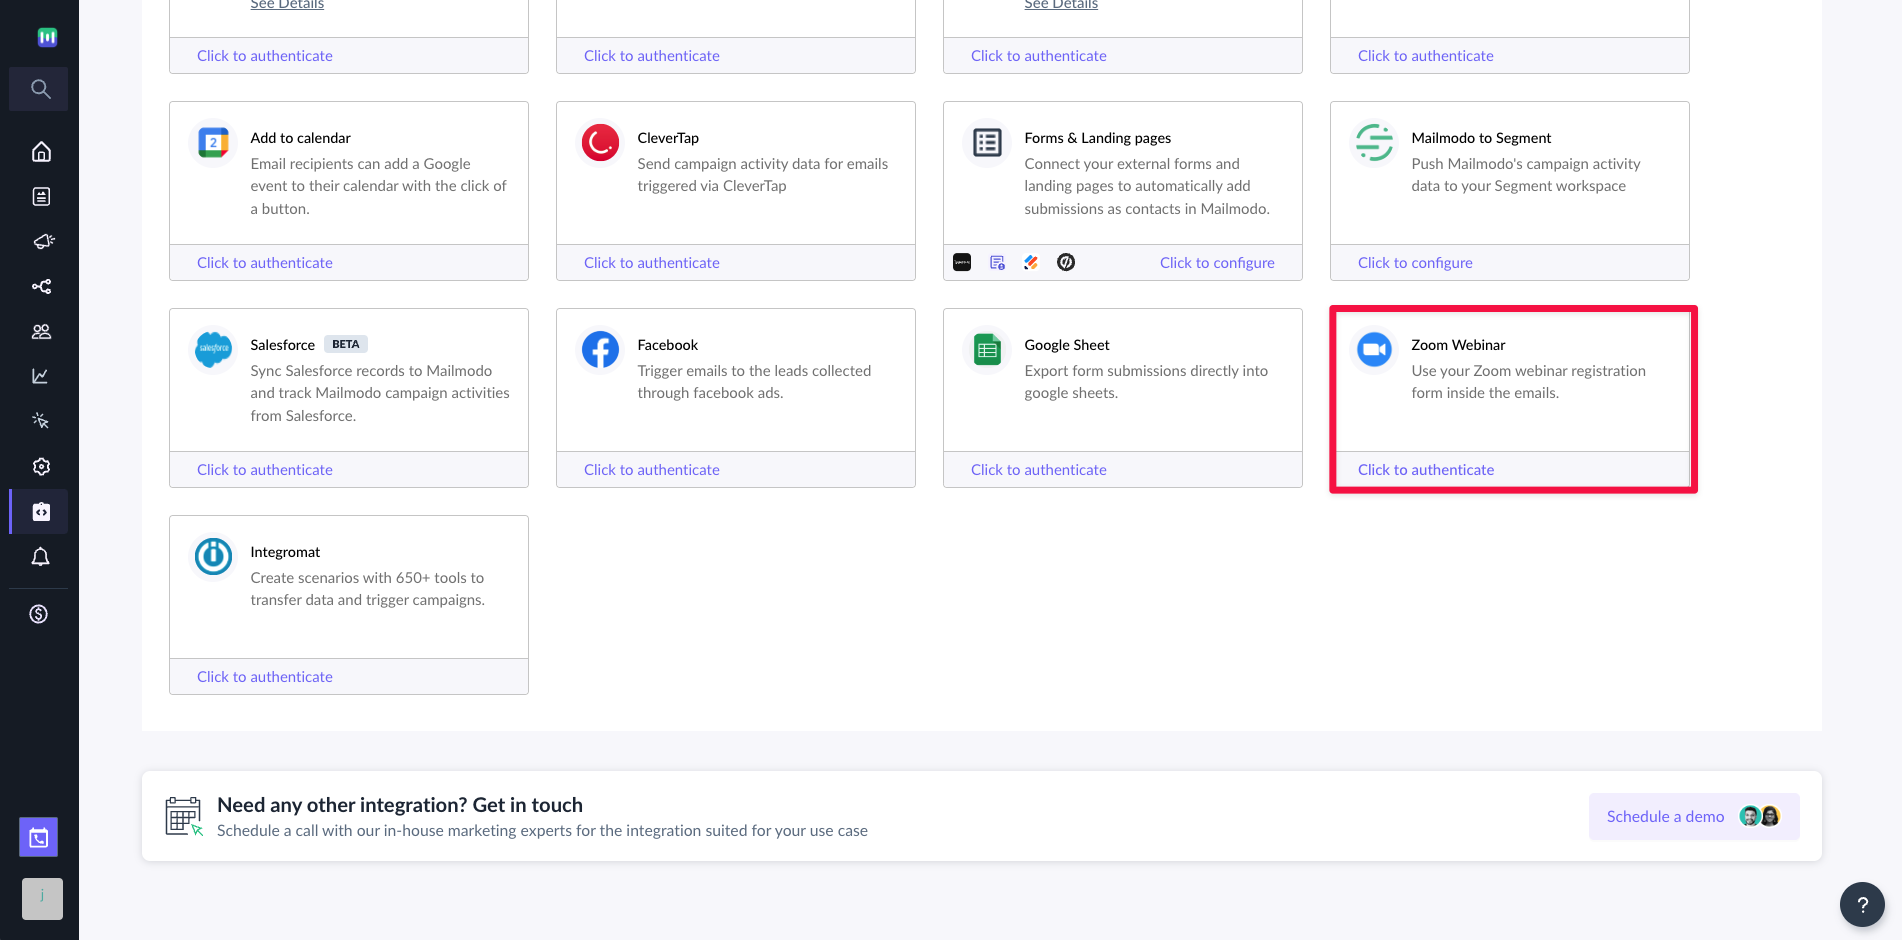
From the left pane, click on the Integrations tab. Then click on Zoom webinar under available apps.
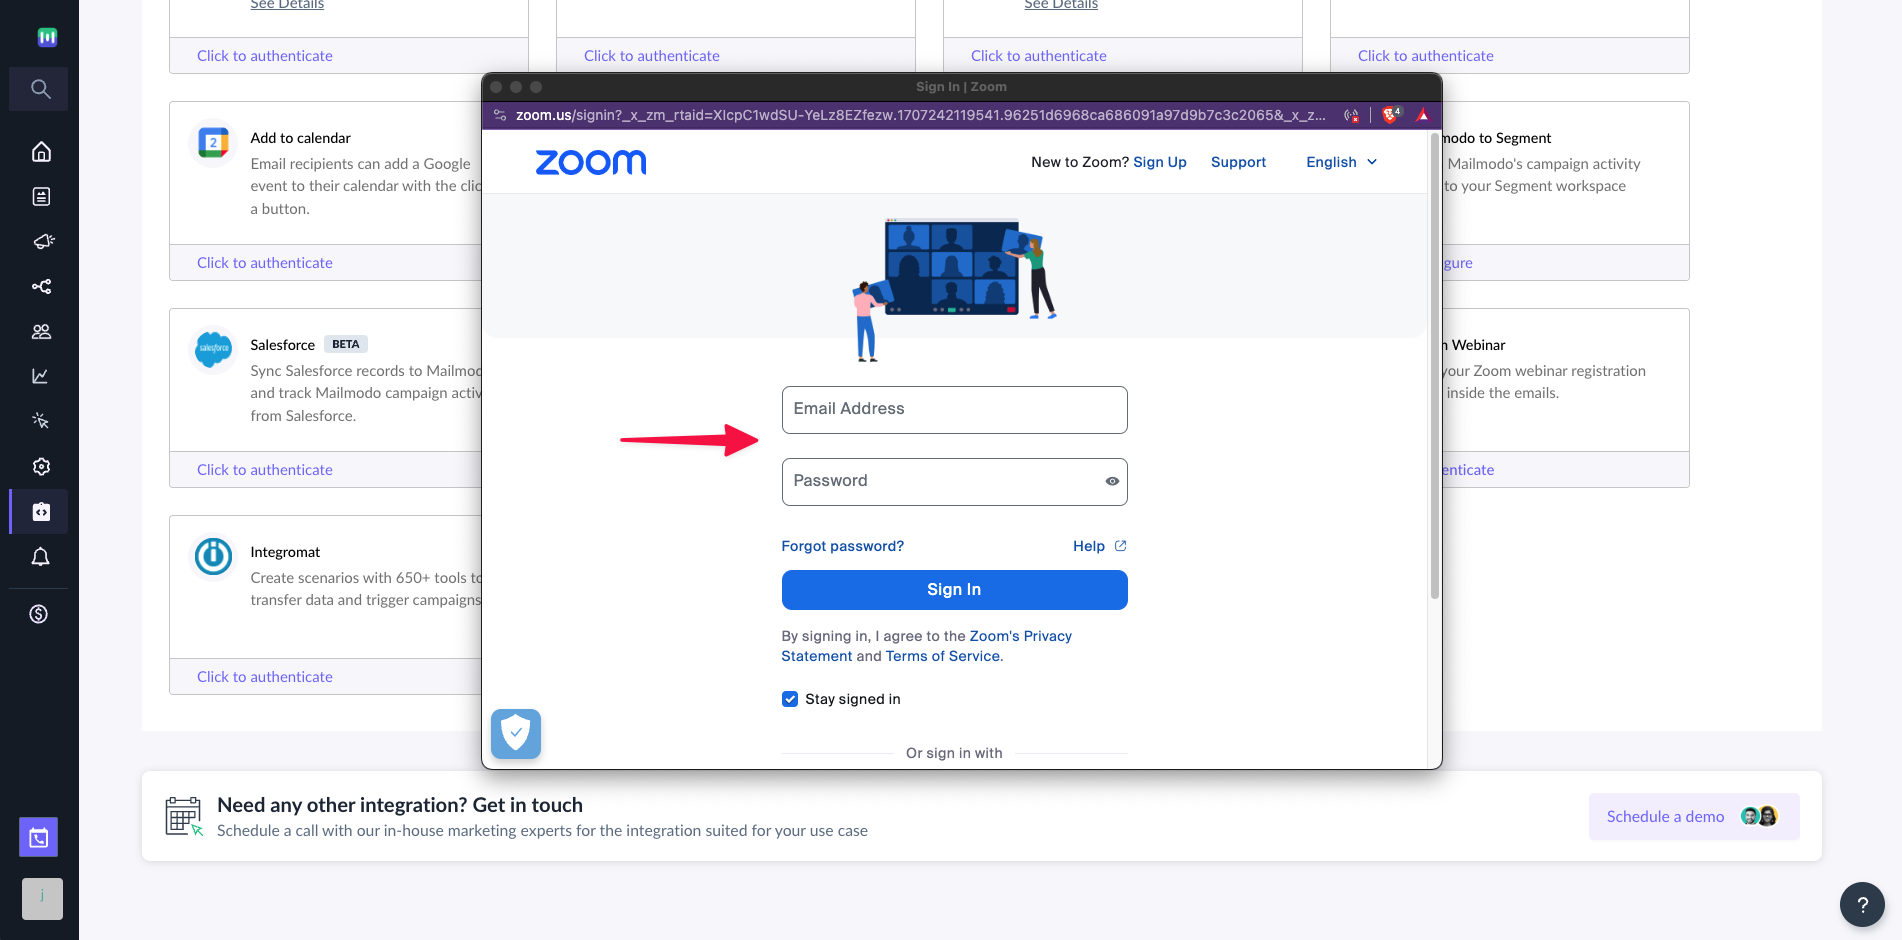
After clicking on it you will be asked to Sign In to Zoom. Use the credentials of the account that you used to create the webinar.
Method 2
Another way of doing this is within the email template itself.
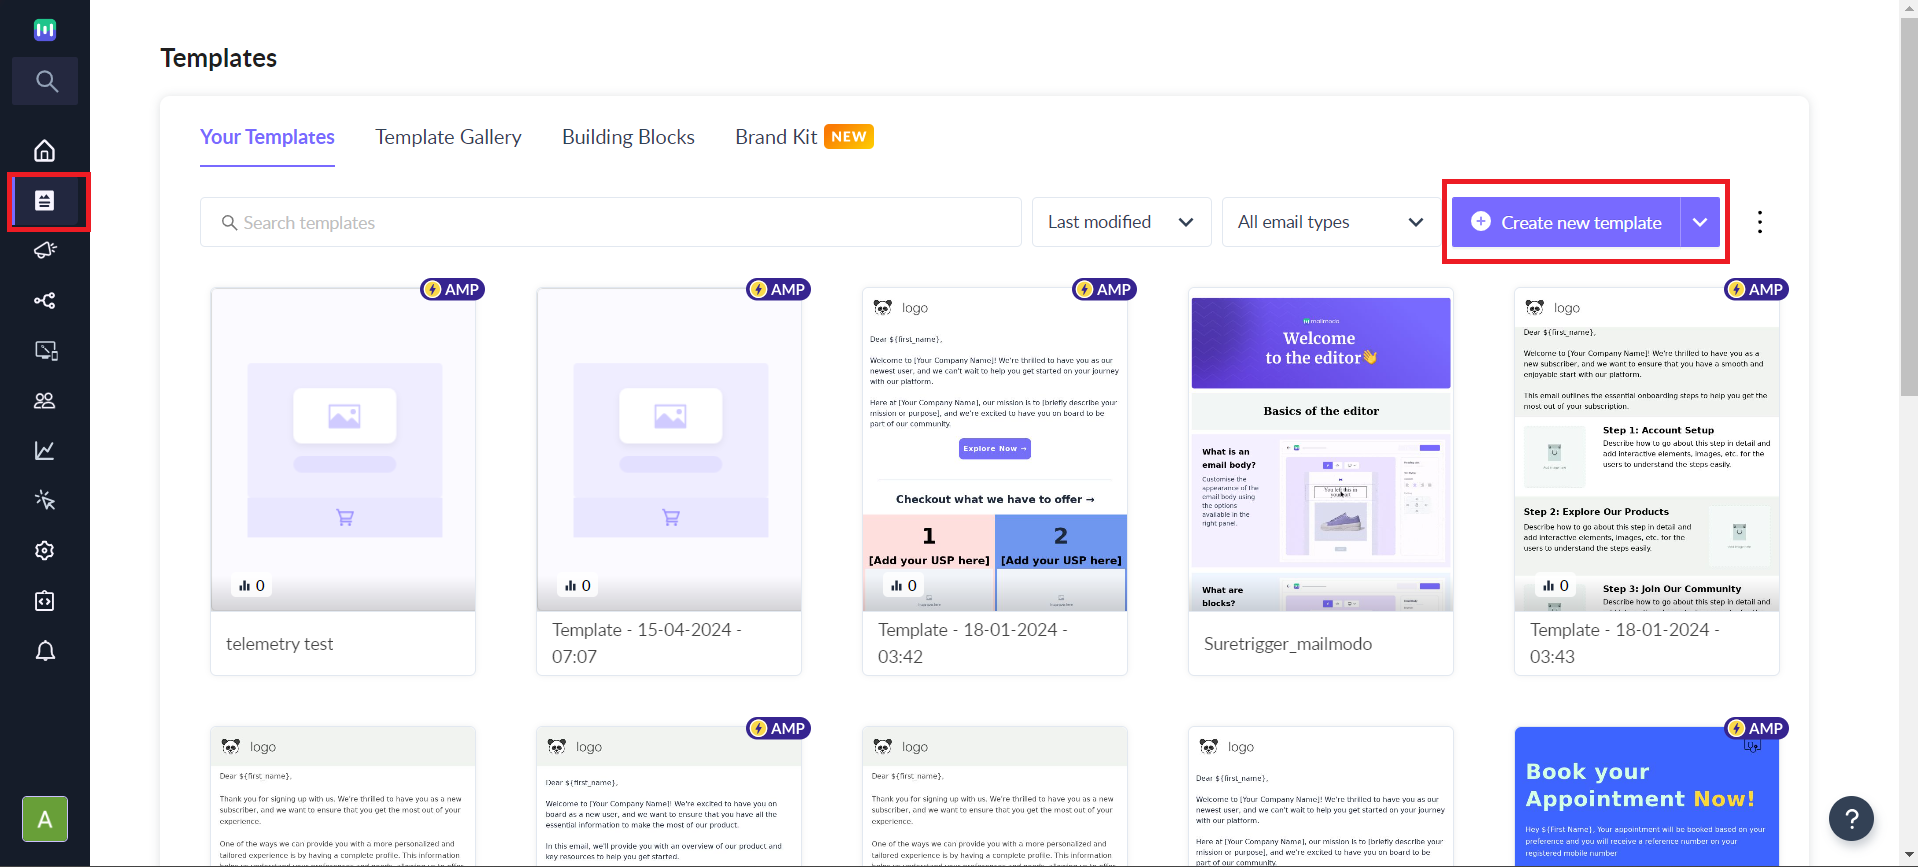
Click on templates tab, select the template in which you want to add the registration link and then click on ‘Edit’. You can also create a new template.
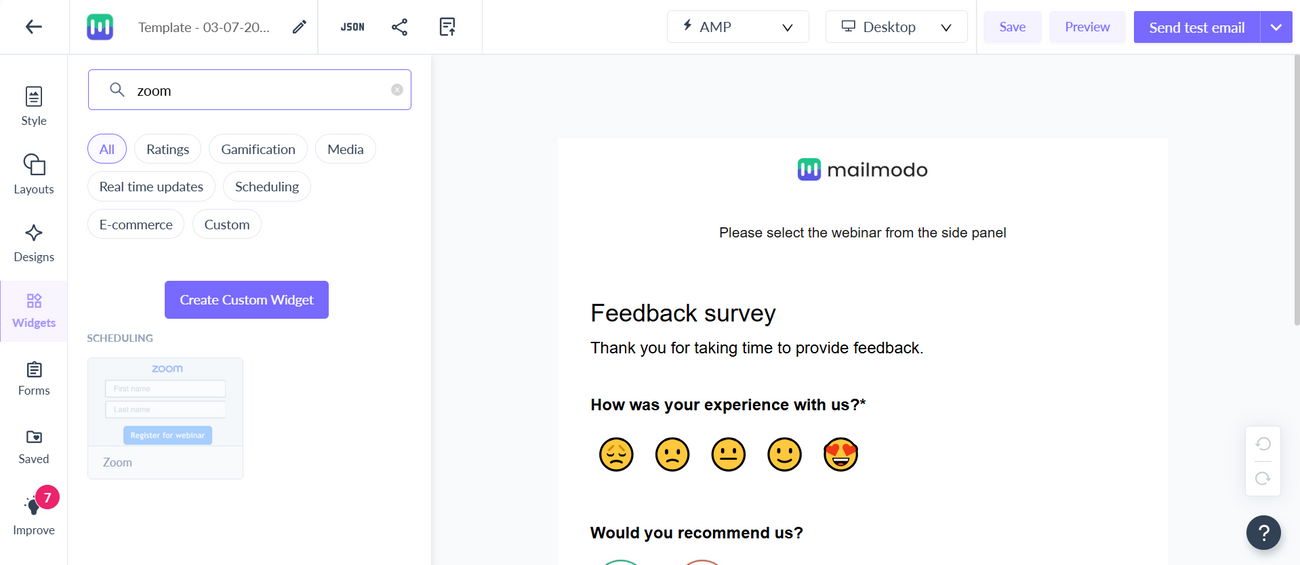
After opening the editor navigate to widgets-> Scheduling -> Zoom.
You will be asked to Sign In to Zoom. Use the credentials of the account that you used to create the webinar.
Step 2: Add Webinar
In the editor, from the right panel choose the webinar from the 'Webinar URL' drop-down and enter its corresponding 'Registration URL'
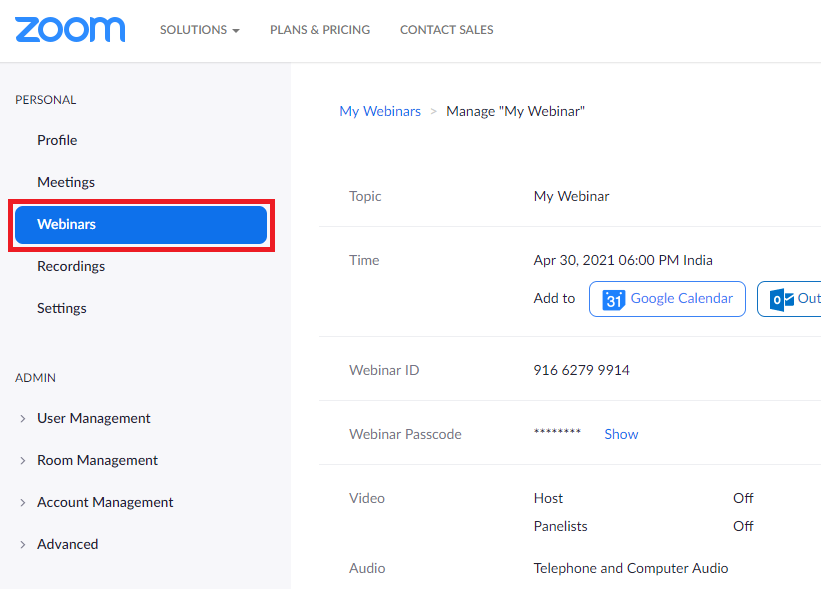
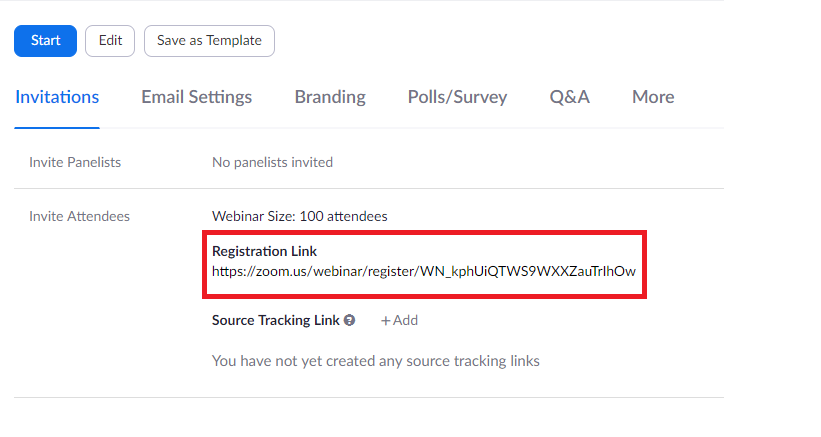
You will get your the 'Registration URL' from your Zoom dashboard. After logging to your zoom account > click on the webinars tab from the left window pane. Once you go to the bottom of the page, you will be able to find the 'Registration URL' which needs to be copy pasted in the 'Registration URL' tab
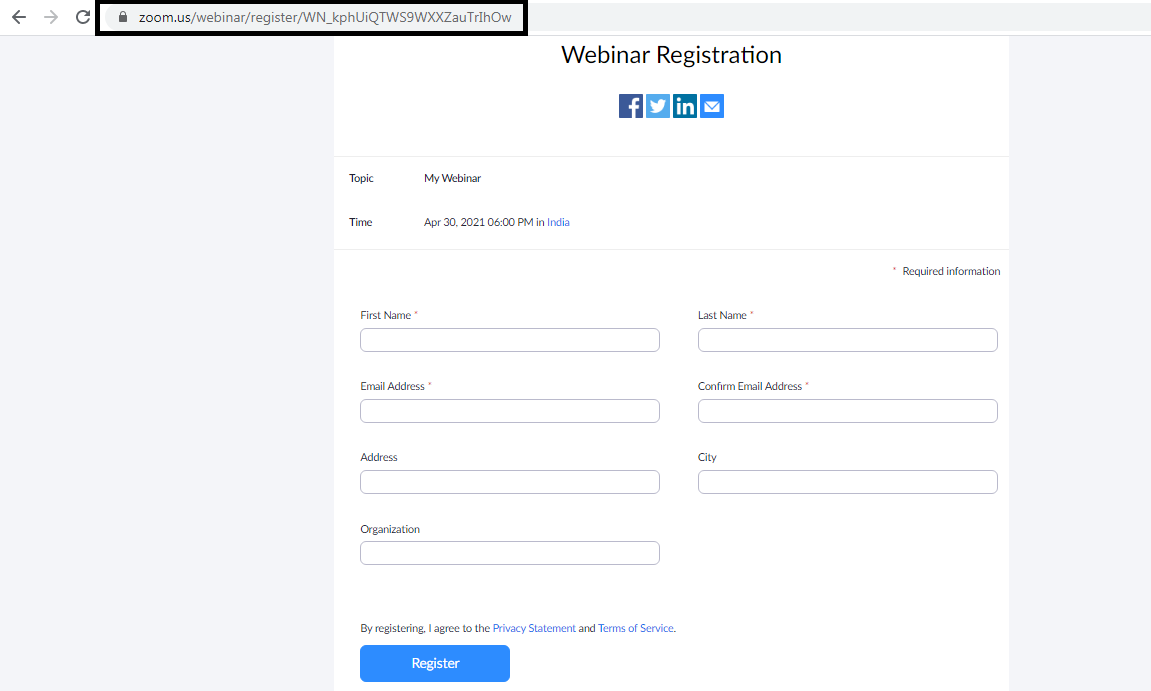
Upon opening the link you will get the fields given below
Next proceed towards editing the HTML version of the block. To do this, Click on Fallback button next to the AMP.
Click on the 'Book Now' button and add the webinar Registration URL in the Link URL section and click on 'Save'.
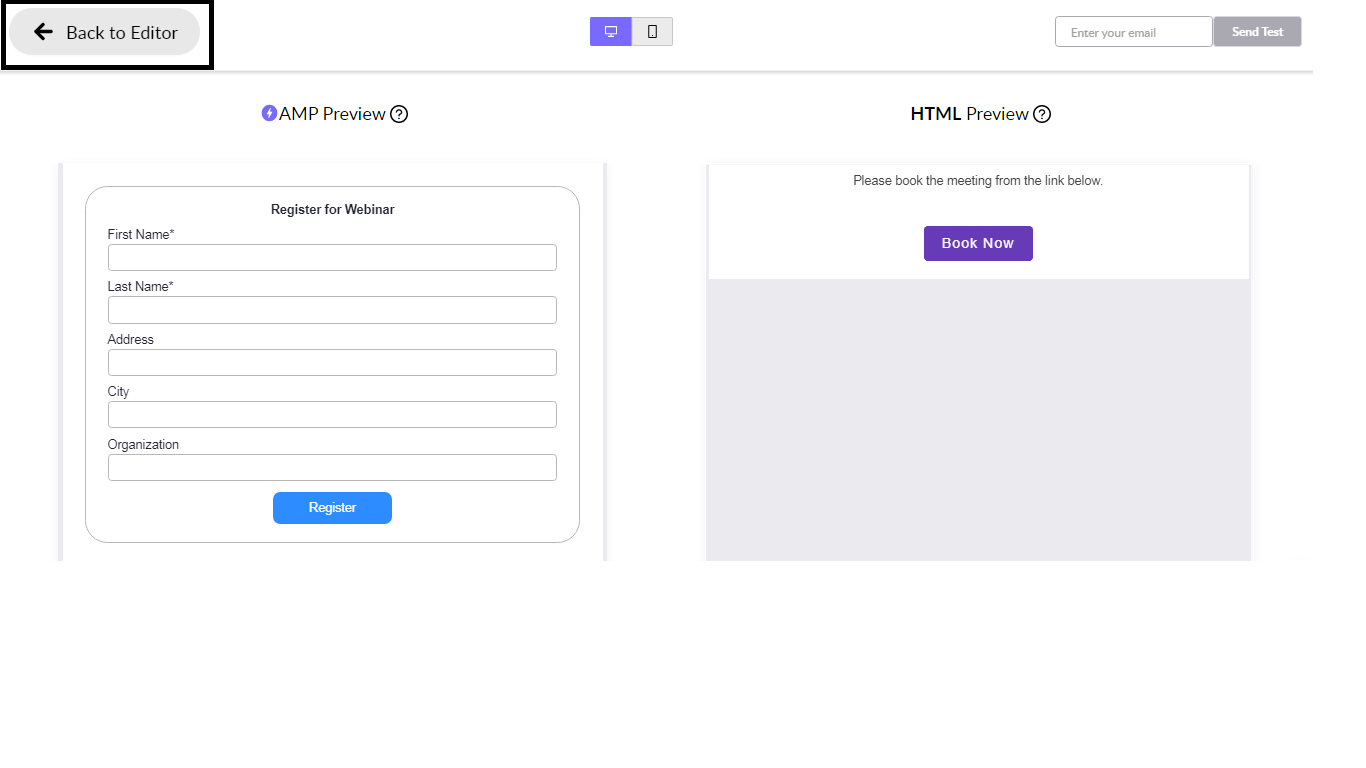
After saving the template click on the preview button on the top right corner of the window pane.
In this window you will be able to preview all the fields which are present in your Zoom webinar
Click on 'Back to Editor' and save the template. Zoom will be integrated and you will be able to execute the campaign now
If you need help on how to configure a campaign, go through this article .
Step 3: Email
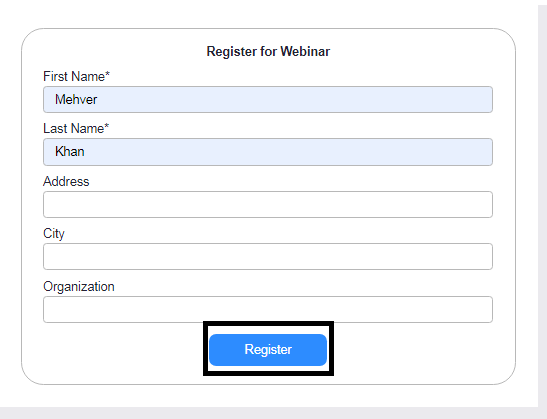
When the mail receiver opens the mail, they will find the form to register for the webinar.
The attendee needs to add the required details and click on the ‘Register’ button.
Upon successful registration, a ‘Webinar registration successful’ message would be visible
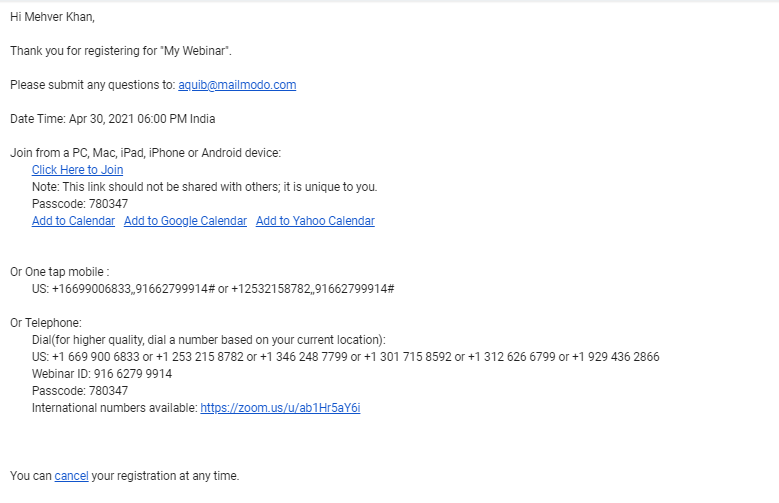
Later, the attendee will receive an email with webinar related details.
Step 4: Tracking your Campaign
You can track your campaigns from the Mailmodo dashboard
Go to the ‘Campaigns’ tab and select the campaign with Zoom Webinar registration to observe its metrics
The Campaign dashboard shows various metrics such as Open Rate, Click Rate along with the 'Submissions' received.
The ‘Submissions ’ tab will provide data on your Webinar Registrations.
How to deactivate the integration?
Users can deactivate the integration to setup new zoom account.
Once the integration is deactivated, it stops the integration in the running campaigns. And when you activate the integration again, you need to go to the template and setup the widget to set it working for the campaigns.
There are two ways to deactivate the integration:
1. Directly from your Mailmodo Account or,
2. Uninstalling the Mailmodo app in your Zoom account.
Steps to deactivate from the Mailmodo account:
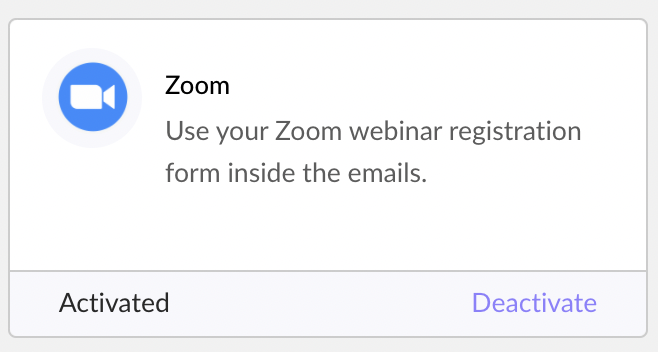
1. Go to integrations page.
2. Click on Deactivate button.
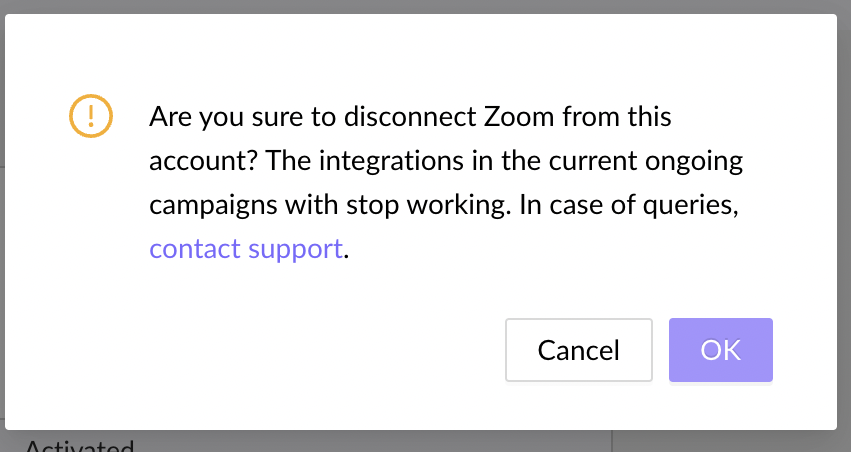
3. Click on OK to confirm.
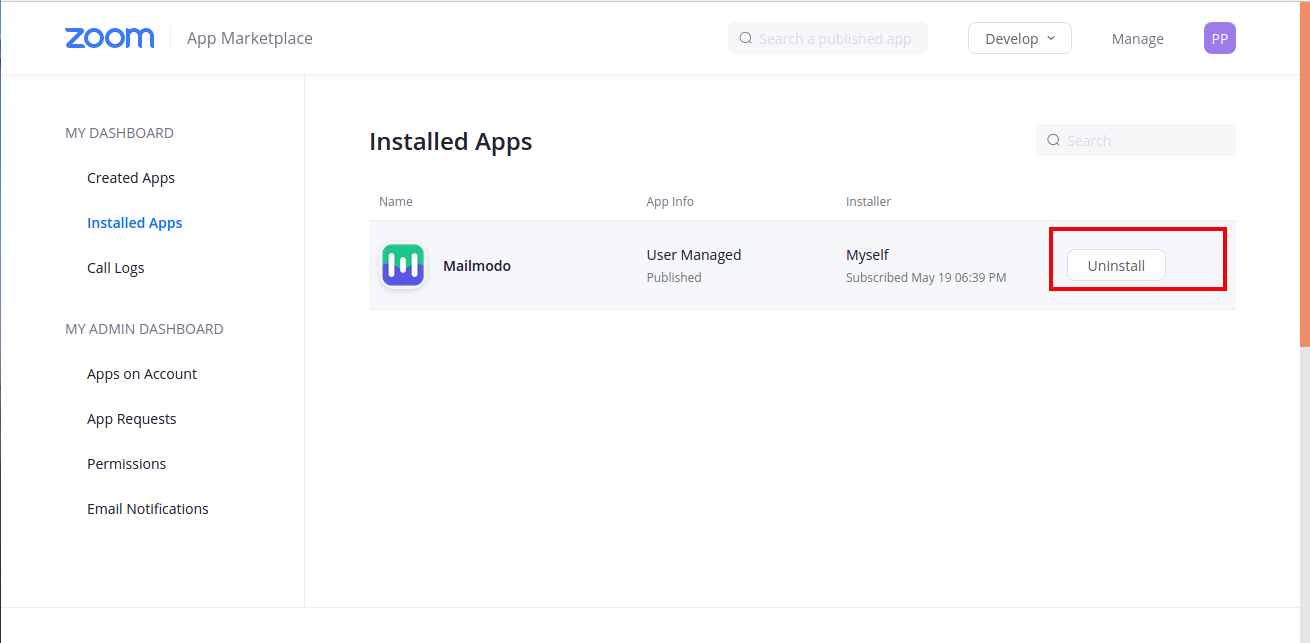
Steps to uninstall the Mailmodo app from your Zoom account:
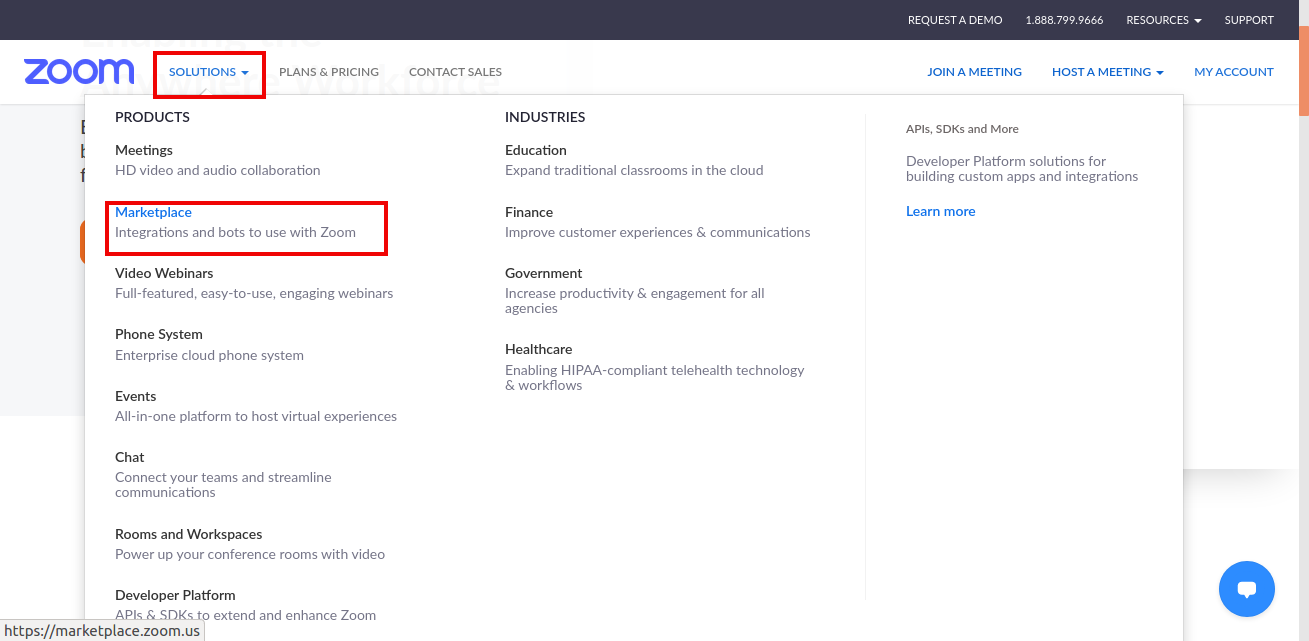
1. Login to your Zoom account and navigate to the Zoom App Marketplace.
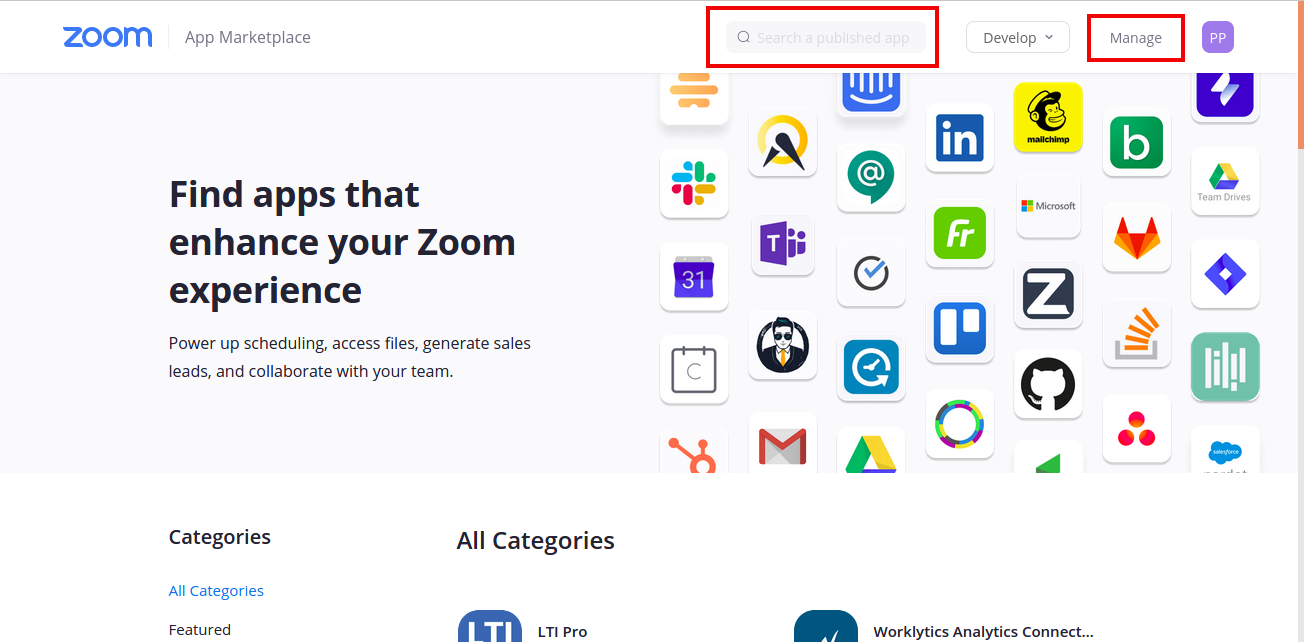
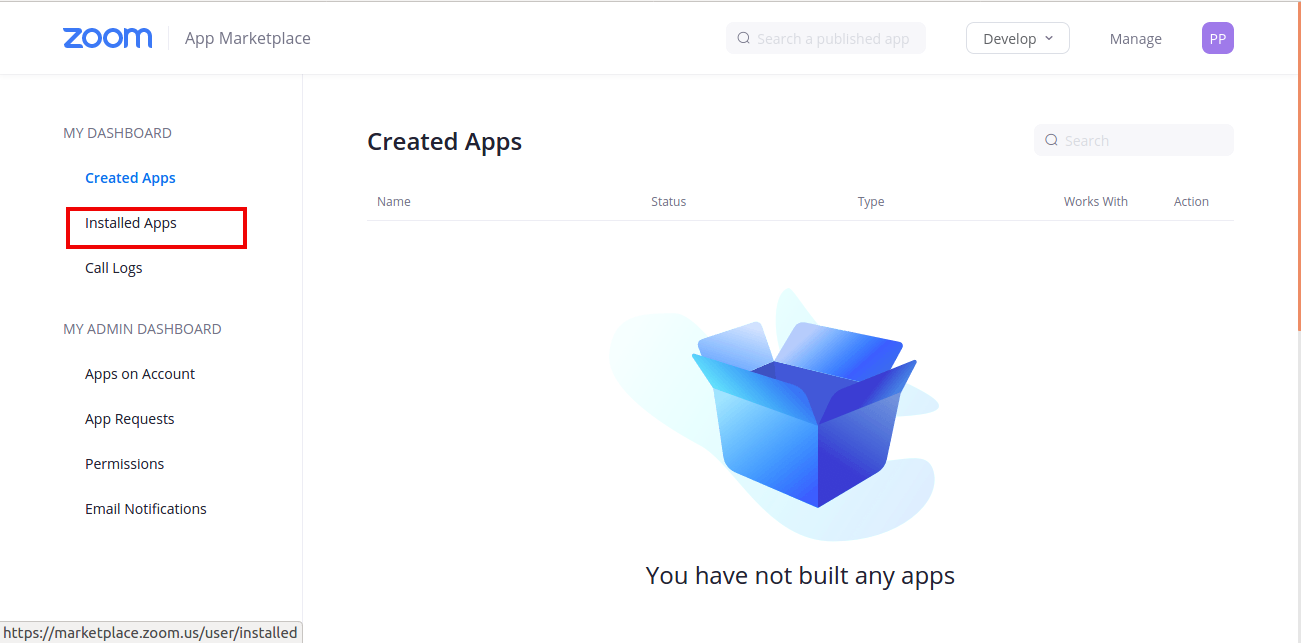
2. Click Manage-> Installed Apps or search for the Mailmodo app
3. Click the Mailmodo app and then Click Uninstall.
Once uninstalled, user has an option to integrate a different Zoom account in Mailmodo. Although, it should be noted that for campaigns already delivered, webinar form submissions post uninstallation of the integrated Zoom account will fail.
Have any queries, then reach out to us at Mailmodo Support or share your thoughts at Mailmodo Product Feedback.


