How to add selective border radius for blocks, cards and other elements
Last updated November 4, 2025
Customizing borders can help you create visually appealing and unique designs. With selective border-radius, you can adjust the corners of blocks, cards, buttons, and images individually. This allows for greater flexibility, helping you achieve the perfect look for your email templates.
In this guide, we’ll walk you through the simple steps to add and customize these border settings.
For Images:
Step 1: Add the image to your template

Step 2: Enable selective border radius
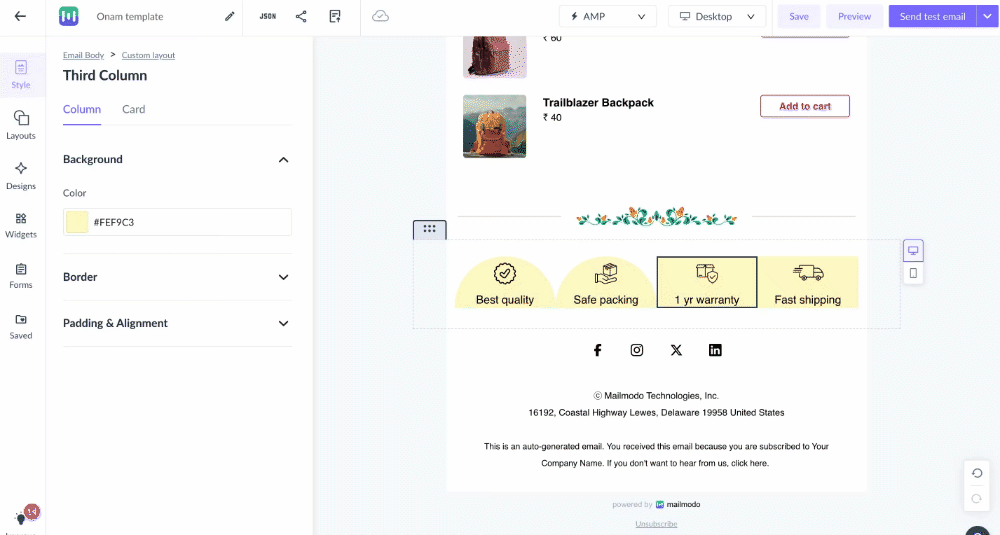
Click on the "Border" option on the side panel and click on the "Selective border radius" icon

Step 3: Adjust border radius
- You’ll see four input fields (for each side).
- Set the desired values for the top-left, top-right, bottom-right, and bottom-left corners.
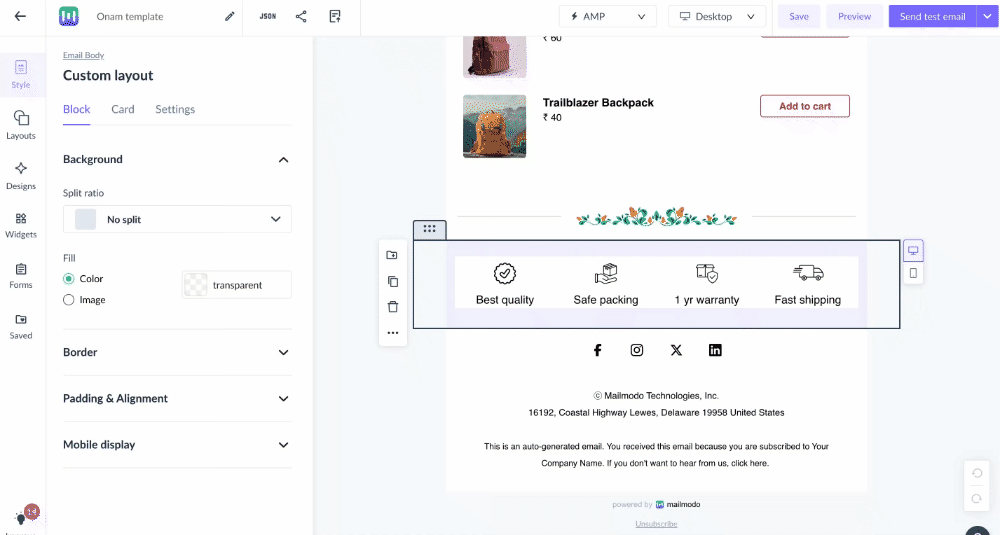
For Cards:
Step 1: Add a block (from the designs or layouts tab) and enable the card

Step 2: Enable and adjust border radius
For Columns
Step 1: Select the column in a block (from the designs or layouts tab)
Step 2: Enable and adjust border-radius
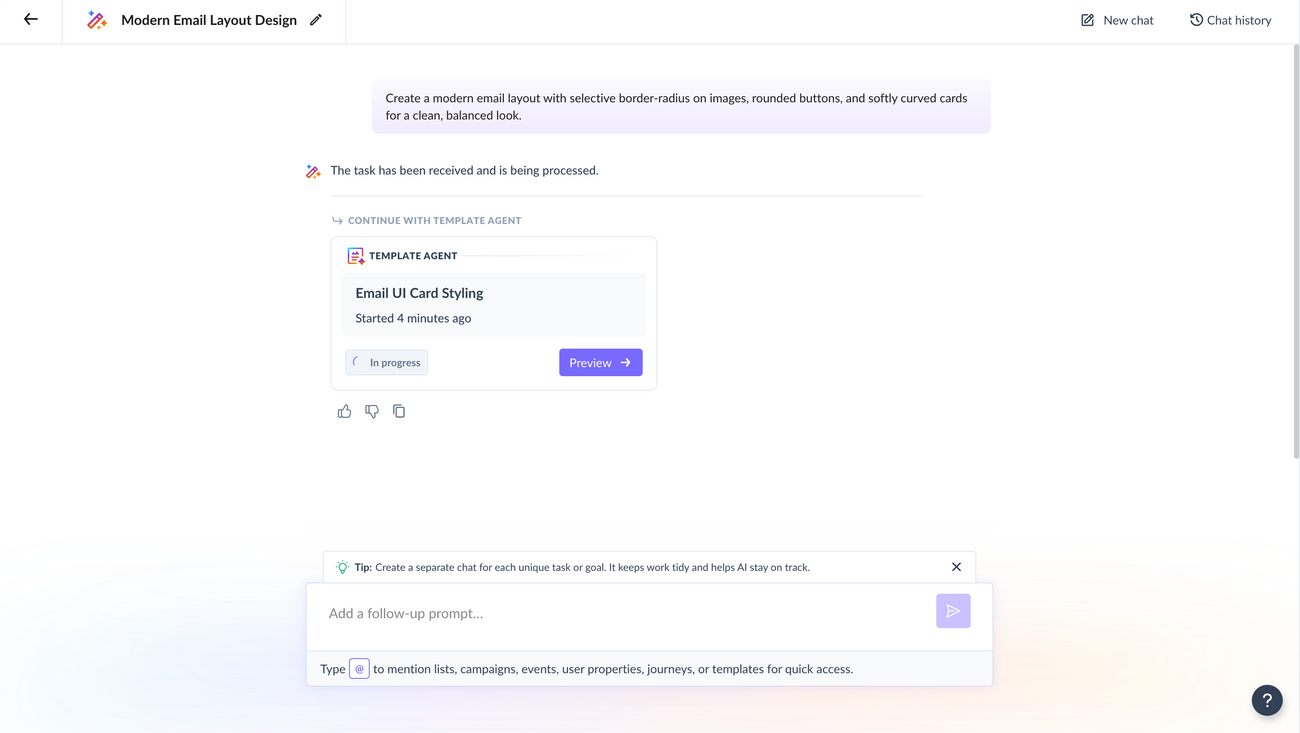
With Mailmodo AI✨, you can now generate complete email layouts with ready-to-use border styles and rounded elements — all from a single prompt. Whether you want smooth, curved buttons or selectively rounded cards, Mailmodo AI instantly builds and customizes them for you. Try it out today.