How to use the legacy editor?
Last updated October 13, 2024
Ease and efficiency are what Mailmodo’s codeless, drag-and-drop editor grants you while you work on perfecting your email campaign. It allows you to choose from a list of pre-designed and customizable HTML and AMP elements. This article will take you through the entire range of features and how to customize each of them.
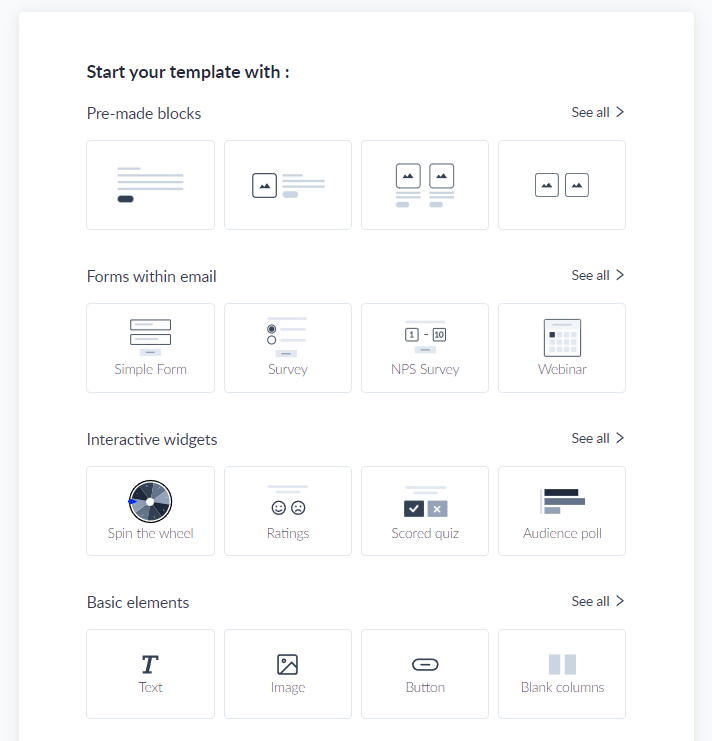
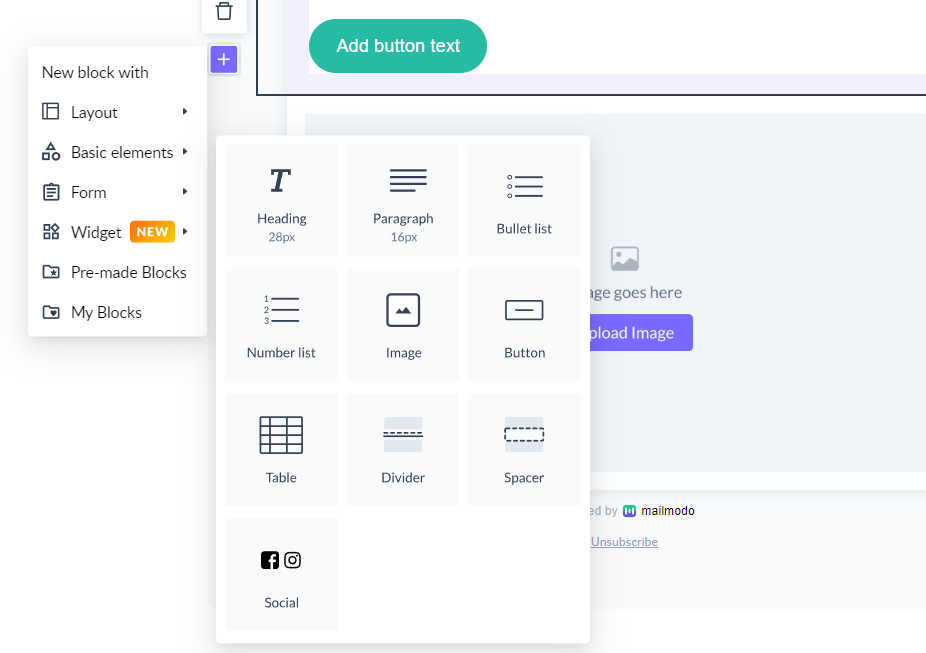
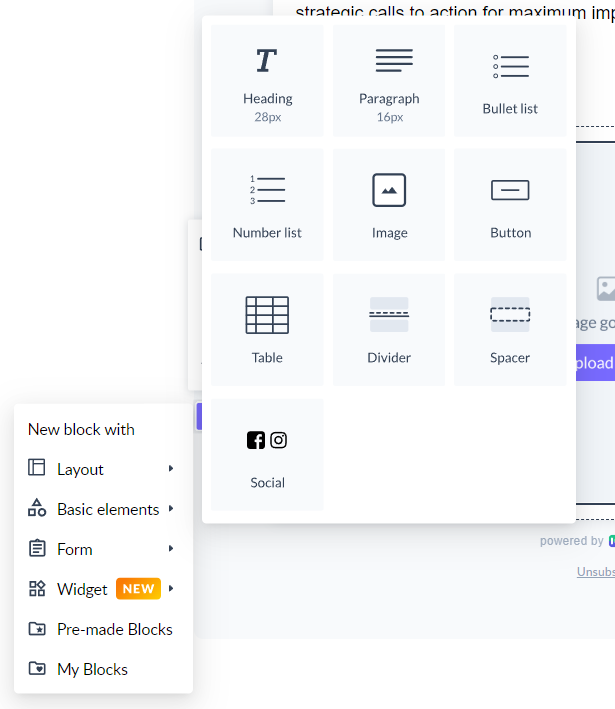
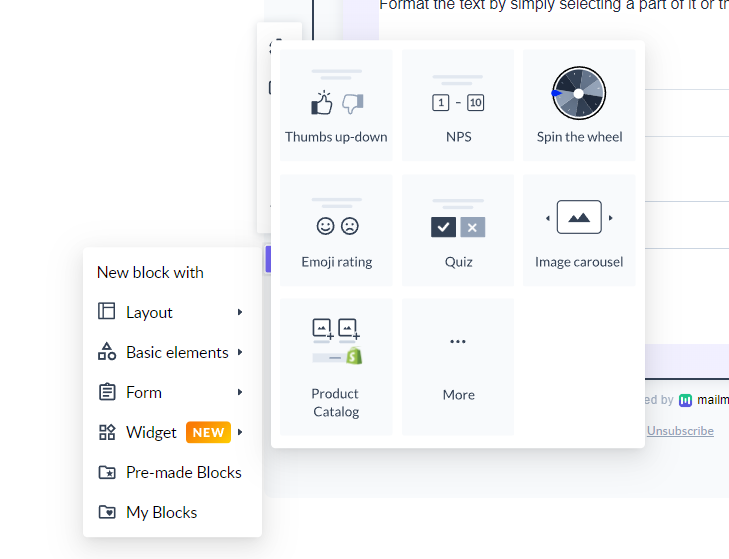
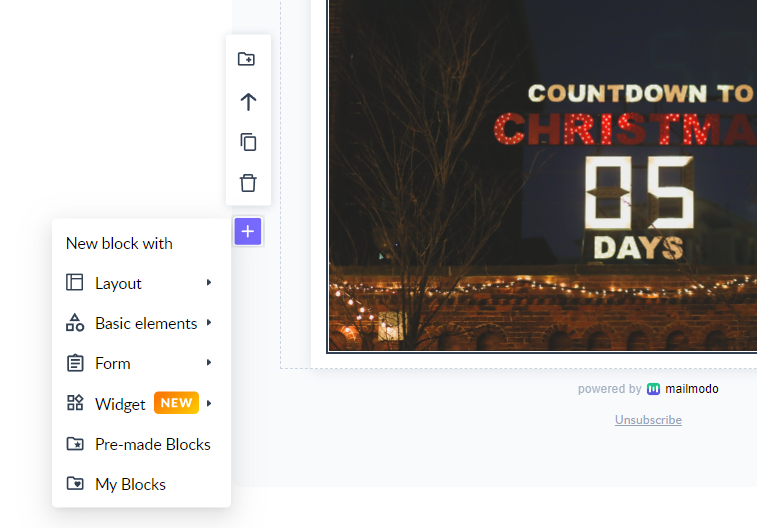
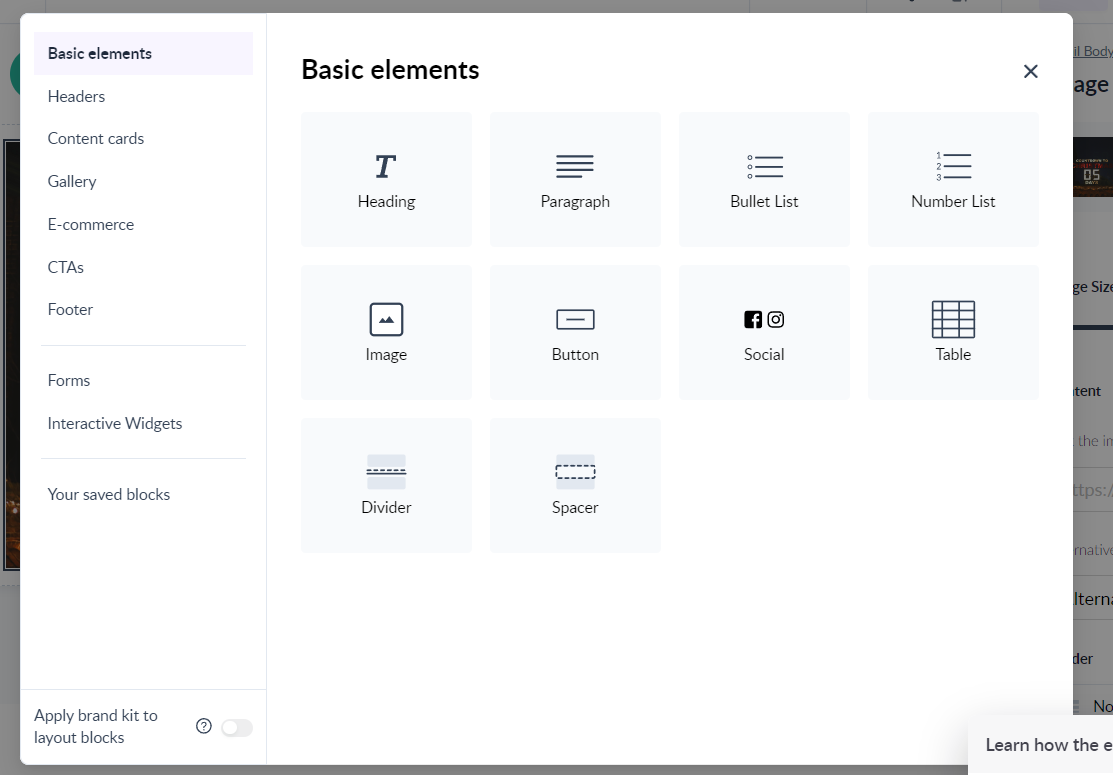
You can start your template with a text block, image, form, button, widgets or pre-made blocks.
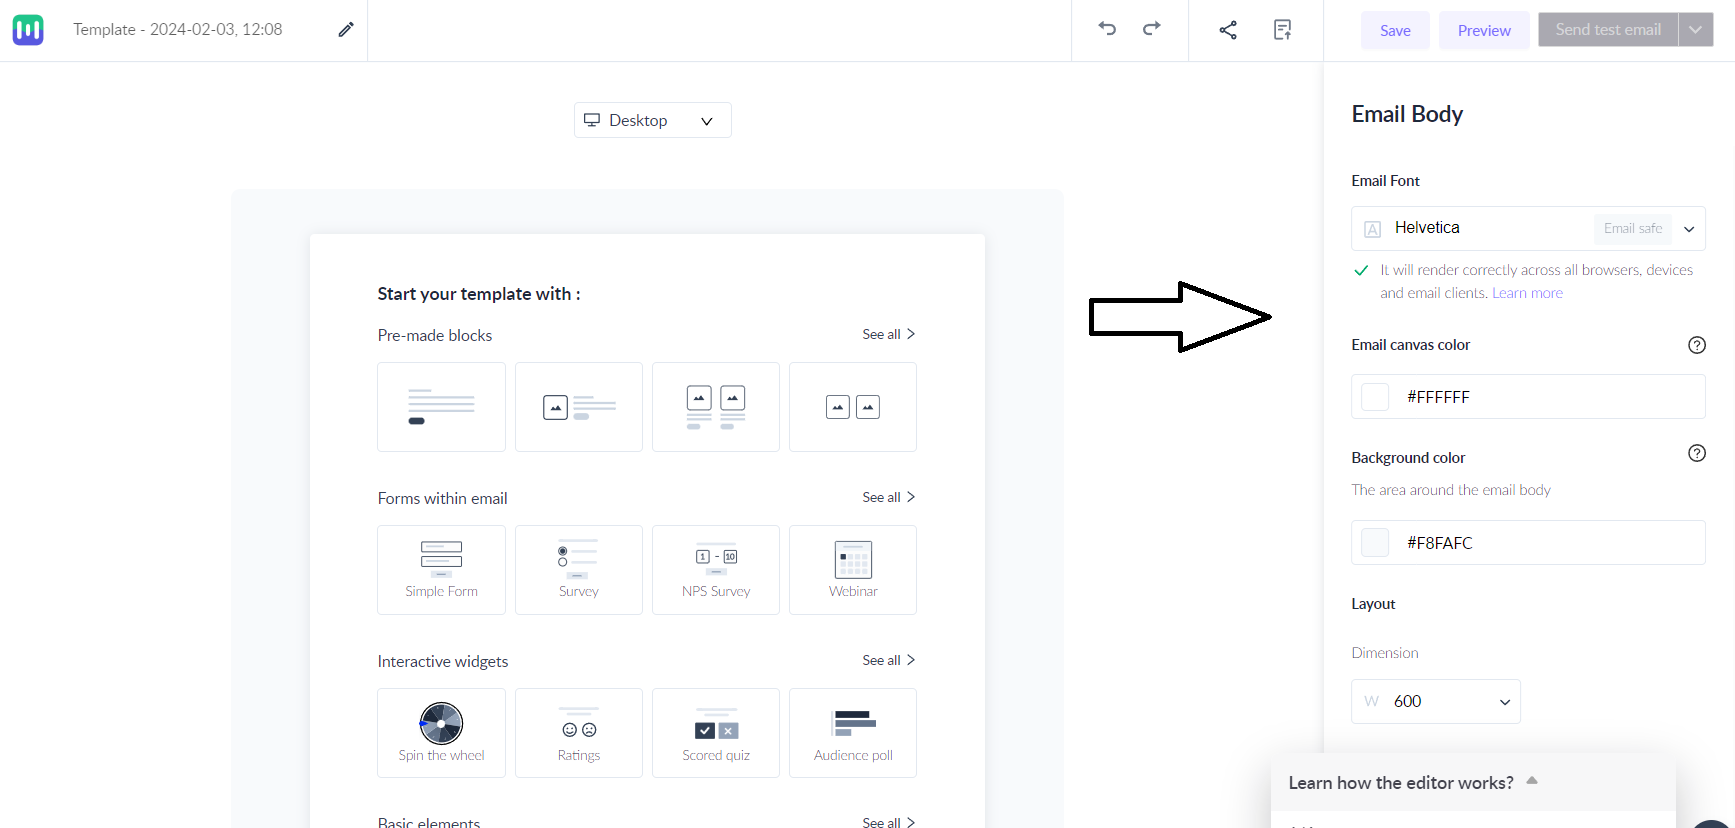
You can edit these elements on the right-side panel.
You can click on the "Try new editor" button to try out our new editor.
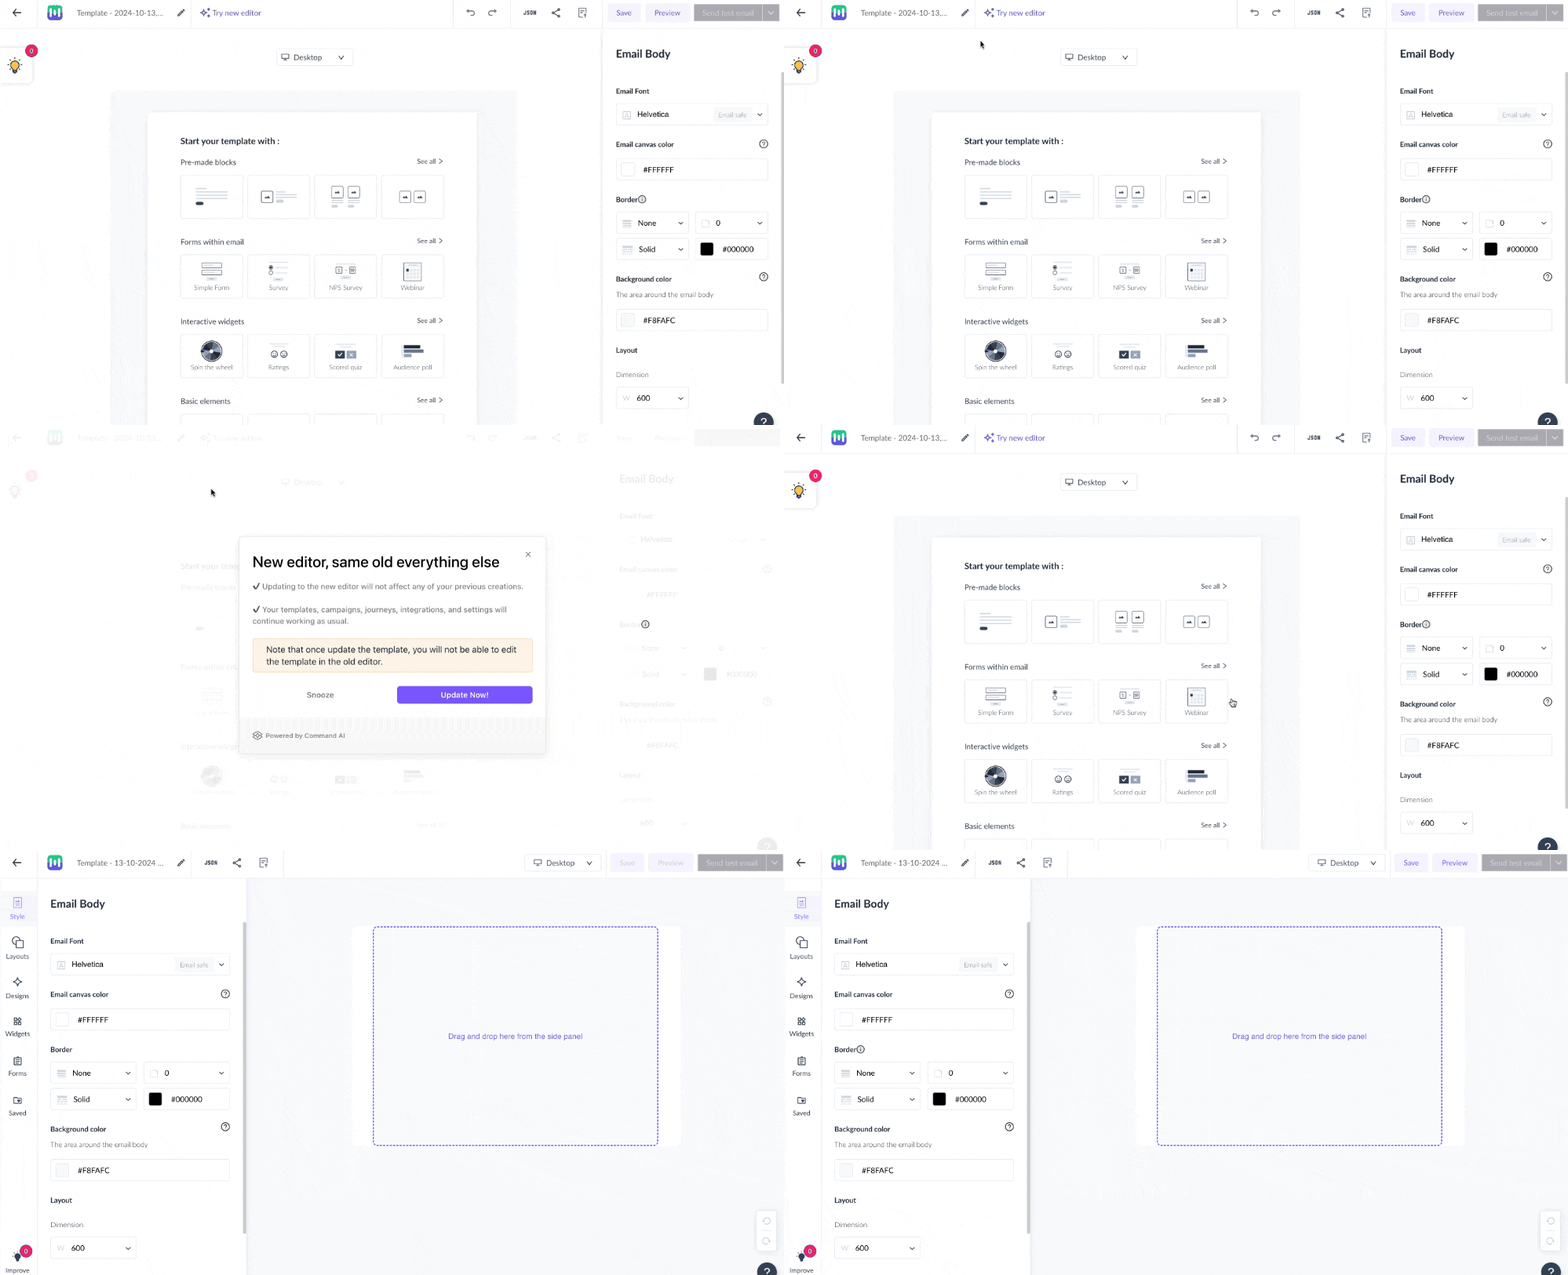
In the new editor, the panel is present on the left-hand side. Click on this link to learn more about the new editor.
Note: There are two options common to all content blocks
1. The block editor lets you change the background, border, and Layout (more customization options are available for different types of blocks). You can also select the Font Family for the template.
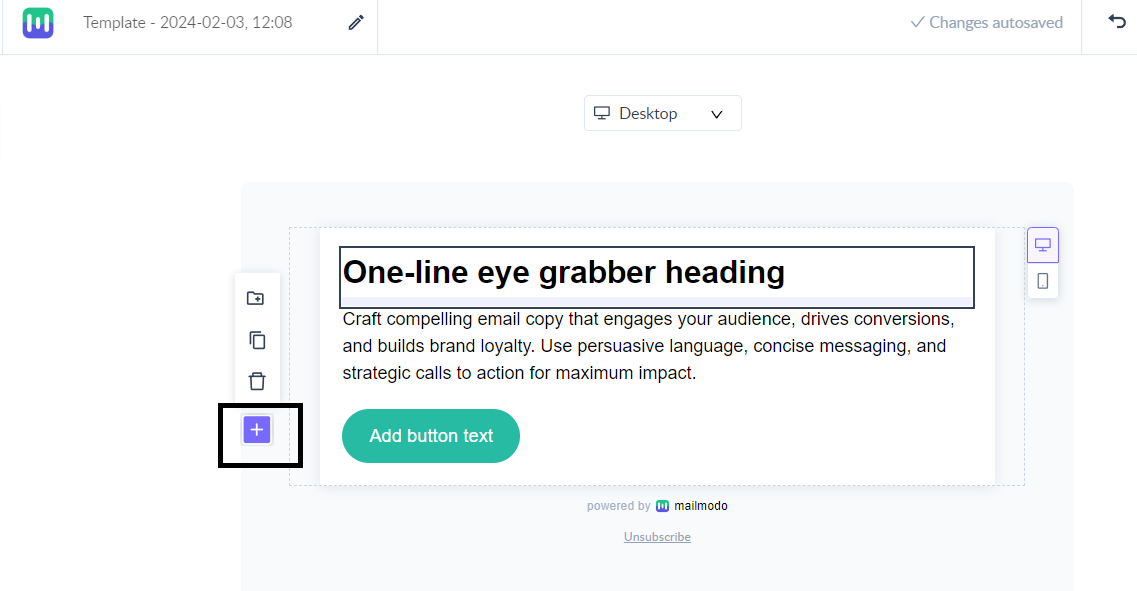
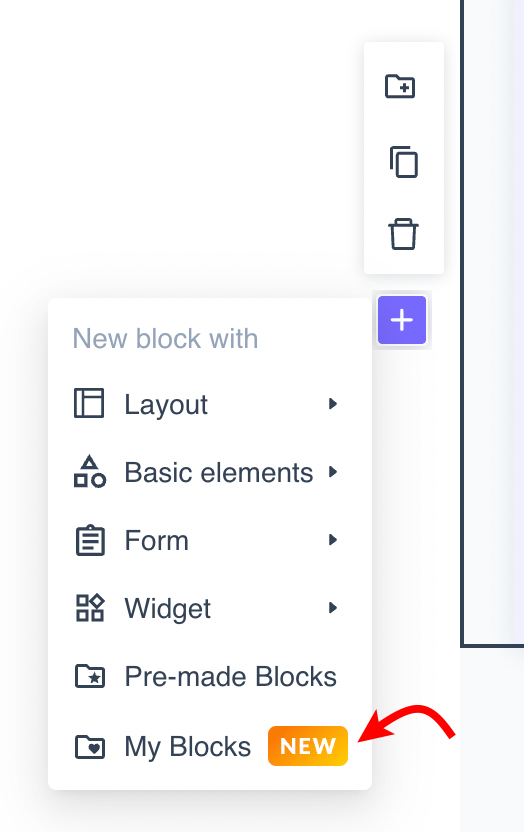
2. The plus button that allows you to add more blocks.
Layout
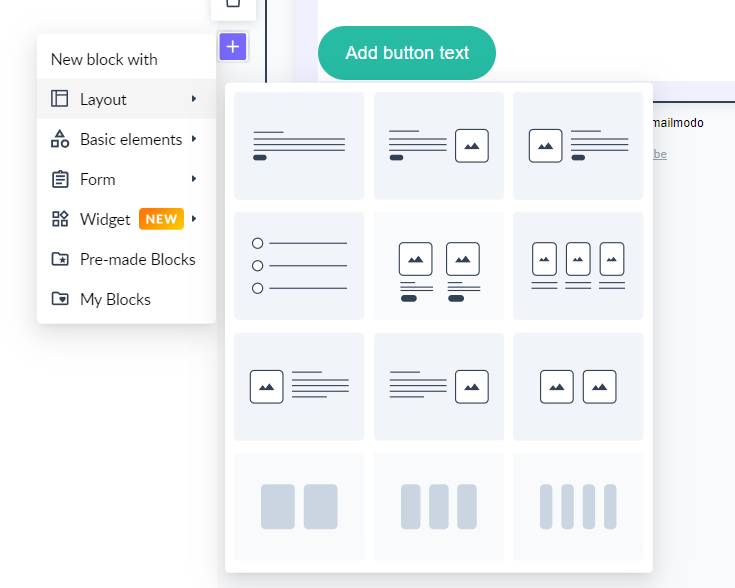
You can choose one of the available layout options.
Step 1: Click on the Layout from the add block option & then select any desired layout from the pop-up window.
Step 2: You can customize each section of the layout by clicking on the respective element. Customization options are also available on the right panel.
Text
Step 1: Click on the Text button. You can edit the content by clicking on the text field.
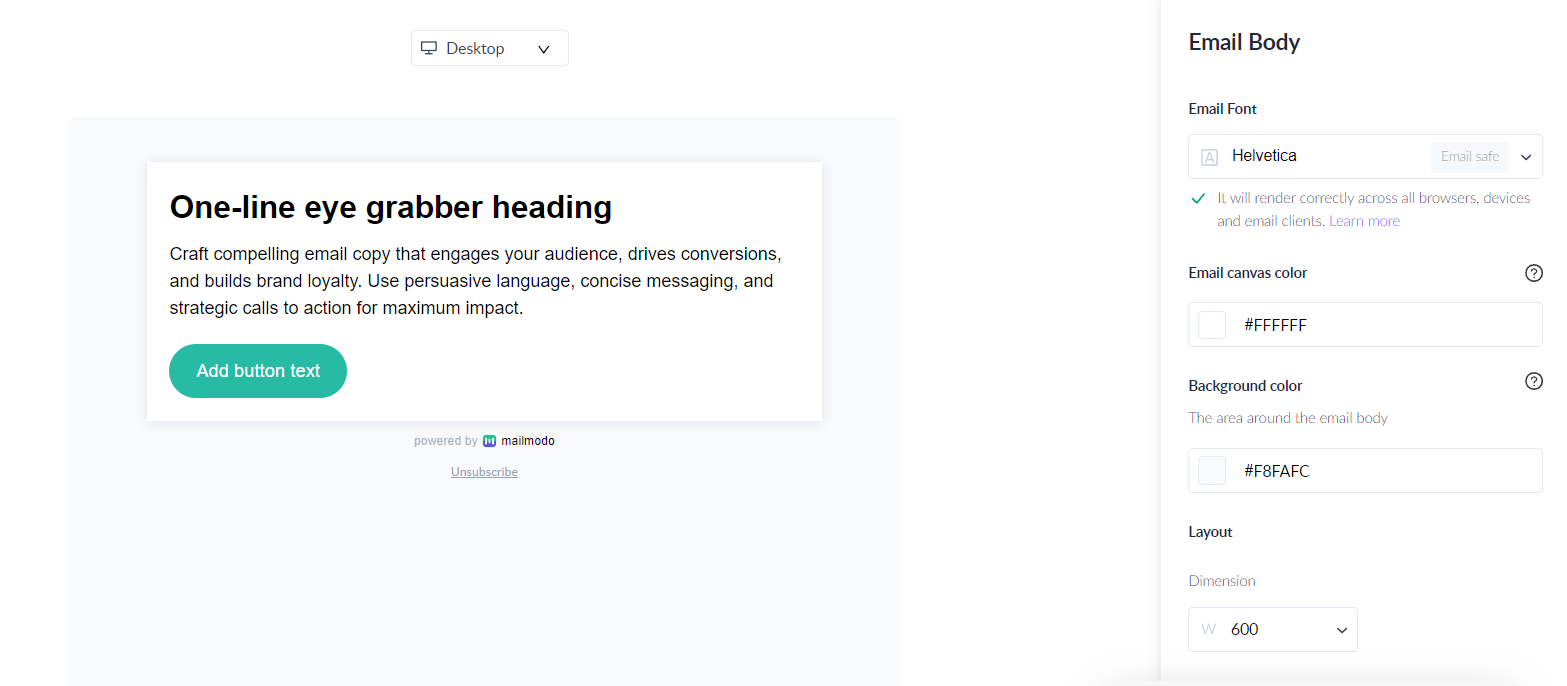
Note: You have the option to select the default font family for the template. To do so click on the empty space outside the email body (as shown in the screenshot). Email body settings will appear on the right panel. You can change the font family as per your requirements.
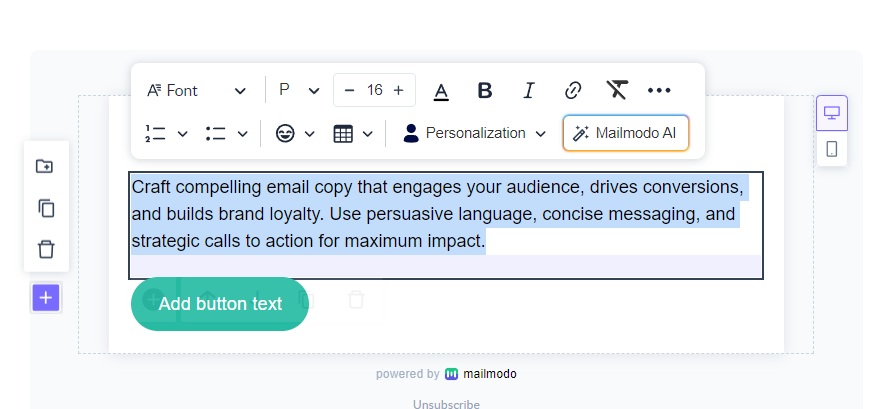
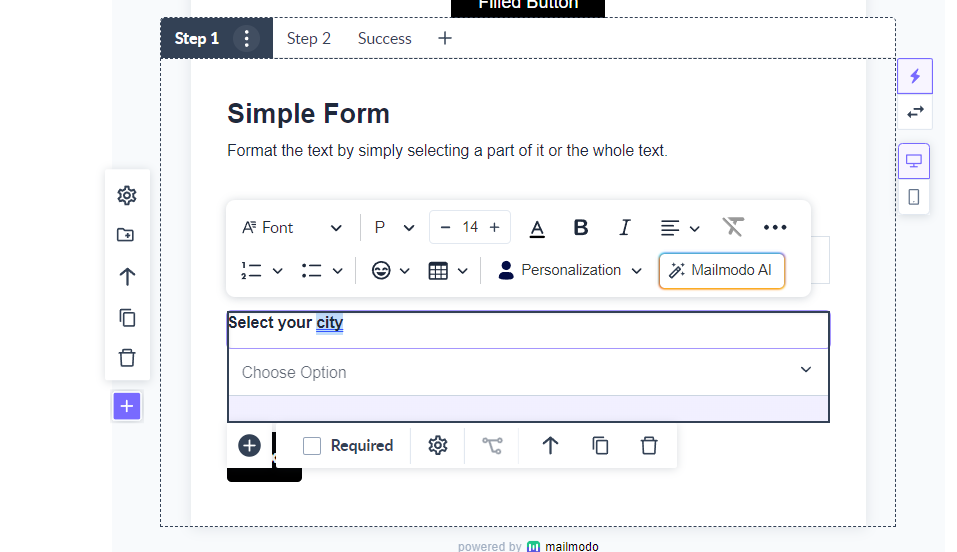
Step 2: Type the desired text in the respective field. On the pop-up highlight bar of the editor, you can find options to change font size, color, letter spacing, etc.
Alternatively, you can also select the text to get more formatting option.
Image
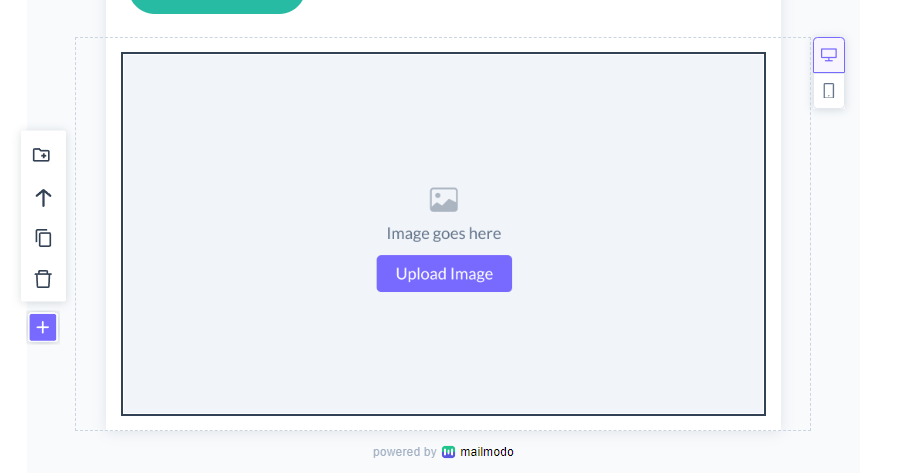
Step 1: Click on the ‘Image’ button to add your logo or any image to the template.
Step 2: Click on Upload Image.
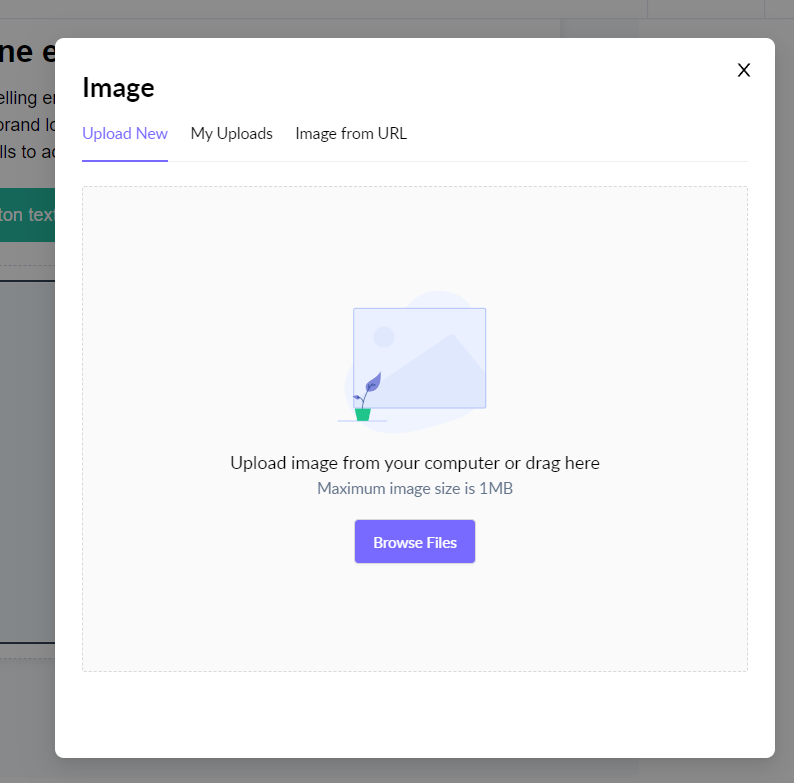
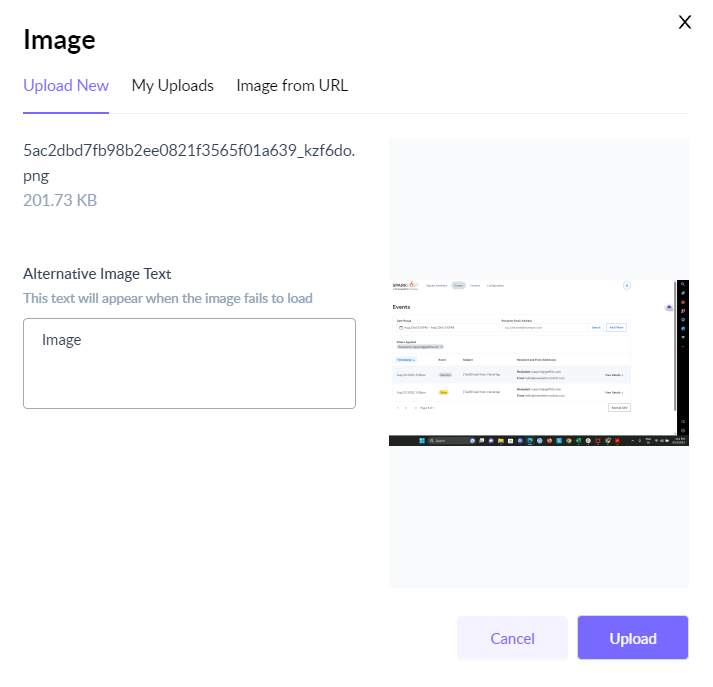
A dialogue box will open. You can upload a new image, use a previously uploaded image or fetch an image from a URL.
You also have the option to add Alternate Image Text. This text will appear if the image fails to load.
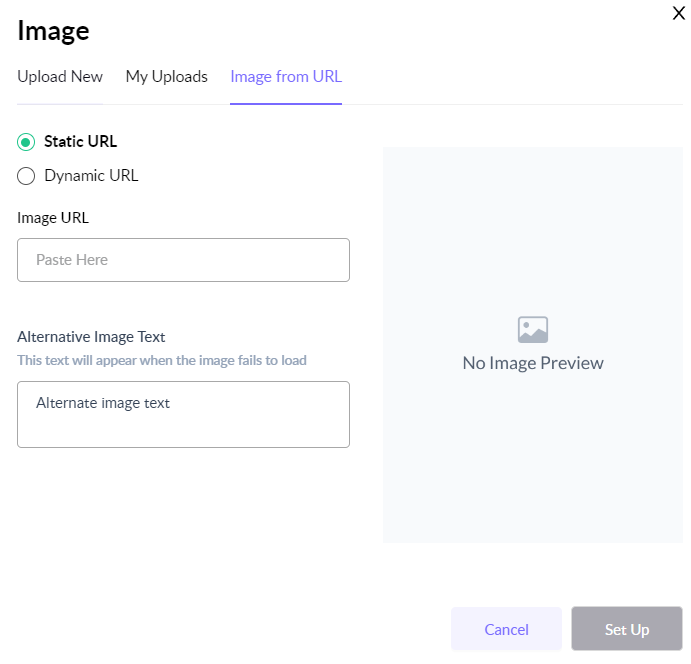
If you want to fetch an image from the internet, go to Image from URL->Static URL->Paste image URL->Add alternate image text->Set up
If you want to use dynamic images in your email, refer this guide .
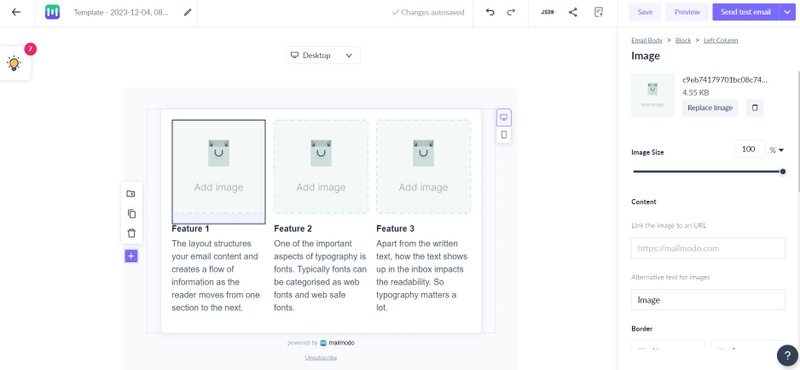
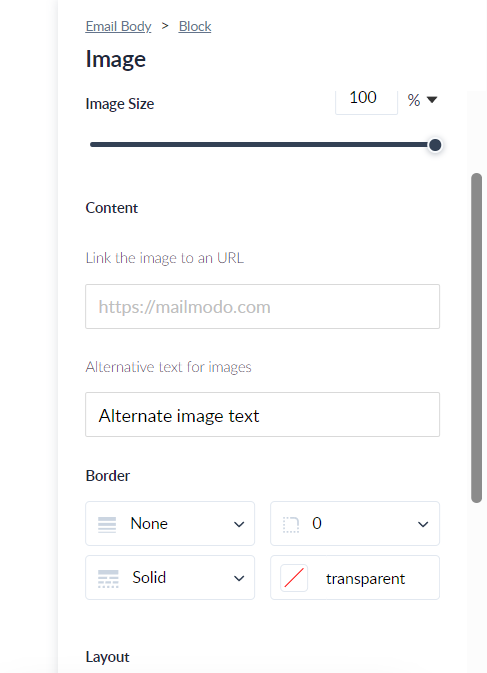
After adding an image you can do the following from the right side panel: Change the image size, replace uploaded image, link the image to a URL, edit alternate text, add border, edit layout, align image, mobile display optimisation.
Button
Step 1: Click on the Button, select desired button type.
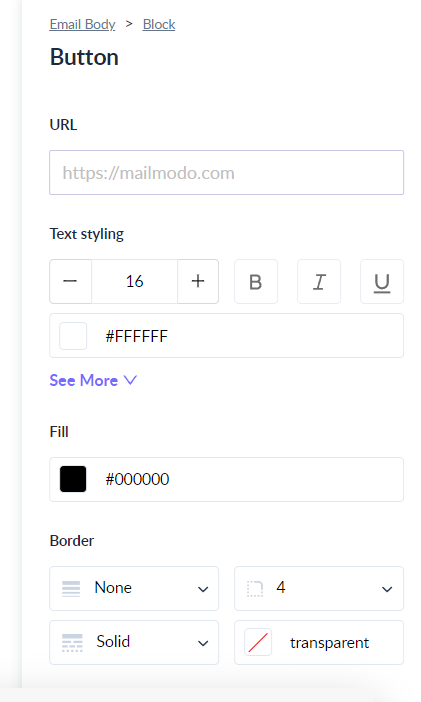
Step 2: Use the right side panel to configure the button. Add the URL that you wish to link with the button. You can also edit other features like text style, button colour, border, size and layout.
Forms
You can insert forms in emails to drive user engagement and conversions.
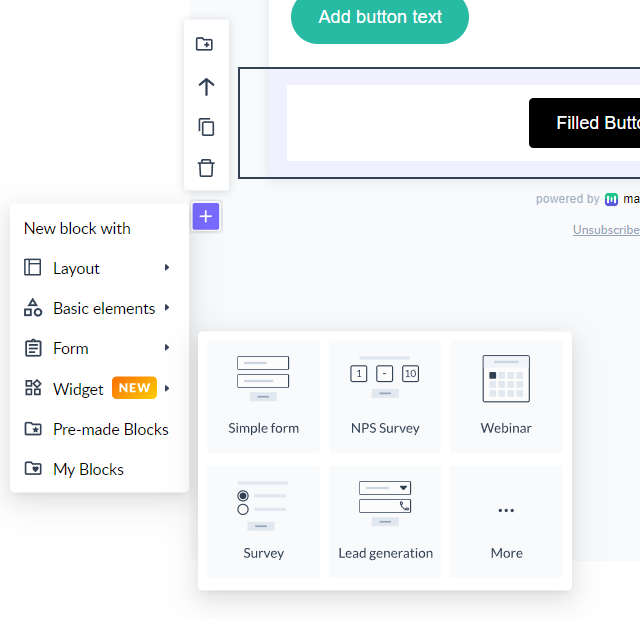
Step 1: Click on Sell all under Forms and choose the type of form that you want to add to the template.
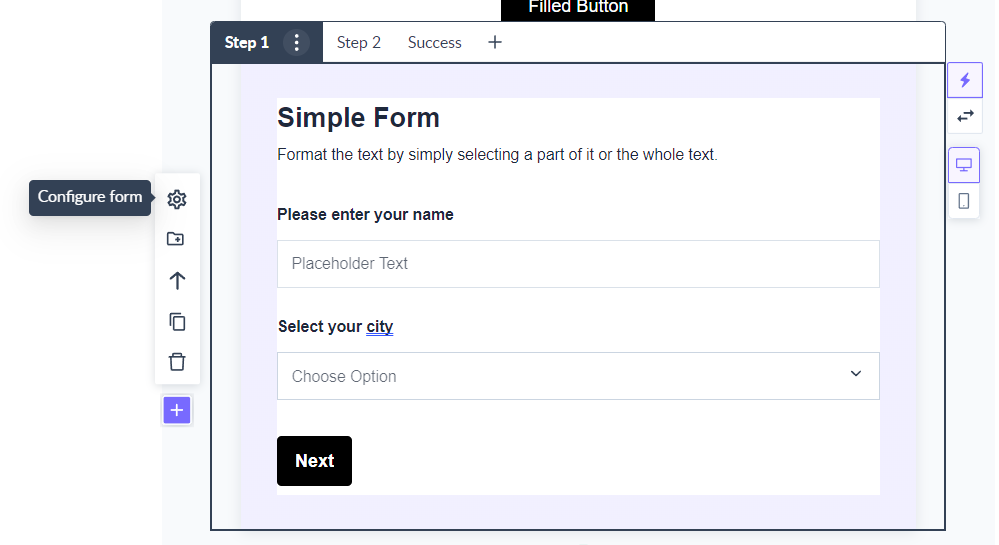
Step 2: Once you have added a form, select a question block and click on the plus button to add a question. You can also add a step by clicking on the plus button at the top.
To edit the existing questions, click on the respective elements and type desired text.
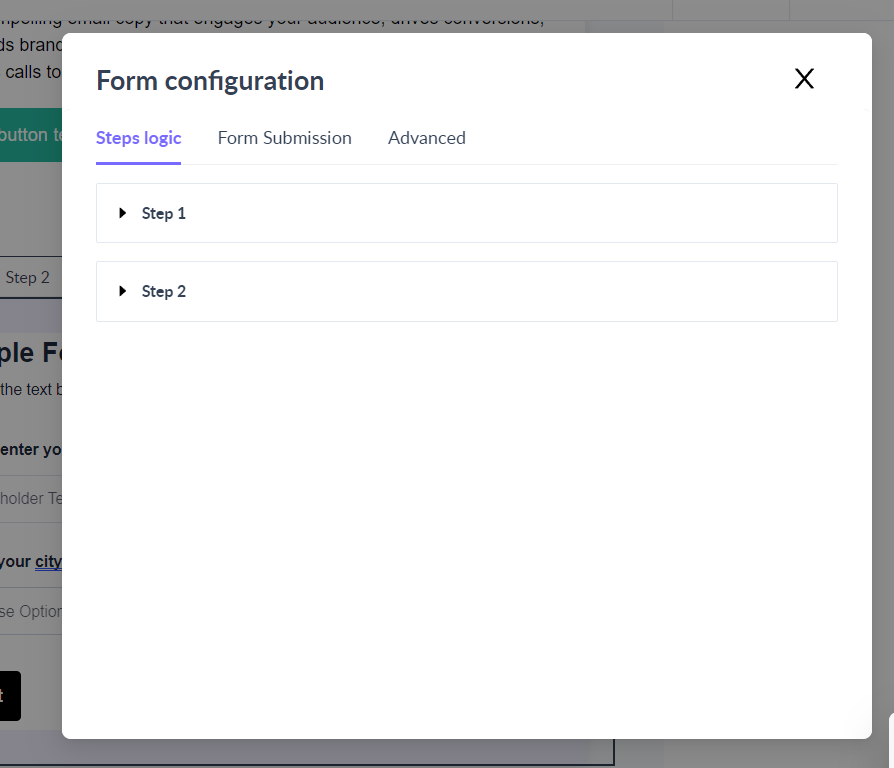
Step 3: Click on Gear icon to Configure Form.
Step 4: You can configure steps logic , export form submission to external apps and use dynamic forms here.
Widgets
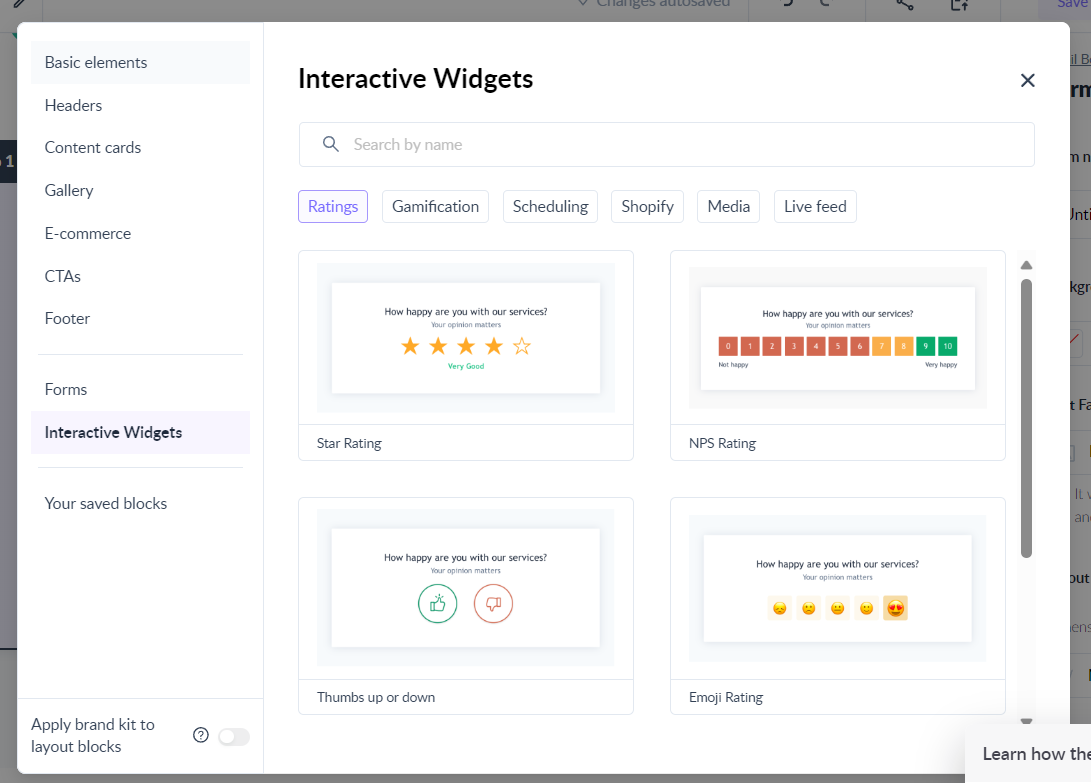
You can add different widgets to your email like Calendly , Zoom Webinar registration , Shopify Cart abandonment , Shopify Product Recommendation , Poll , Live Price Ticker . Widgets give the email recipient access to these services right inside their email.
Step 1: Under Interactive widgets -> See all. A dialogue box will open.
Step 2: Go to Interactive widgets. Insert desired widget.
Pre-made blocks
Mailmodo offers a range of pre-made blocks for different use cases.
Step 1: Click on See all under Pre-made blocks. A dialogue box will open. You can choose a content block from different categories like Headers, Newsletters, Products, Footers and Forms.
Saved blocks
You can save custom (created) blocks in the editor and use it later in other templates.
Step 1: Click on See all under Interactive widgets. A dialogue box will open. Go to Your saved blocks. You can choose a desired content block from the saved blocks.
Once added, these blocks can be customized as per your requirements.
Mobile customization options
The mobile view allows you to customize mobile-optimized messages using the editor. This mode simplifies adjusting your content for various devices:
- Hide on mobile/Hide on desktop – Choose to hide specific content blocks when your message is viewed on a particular device.
- Stacking on mobile – This setting will help you display the content in the block either stacked side by side, vertically, or in reverse in the mobile
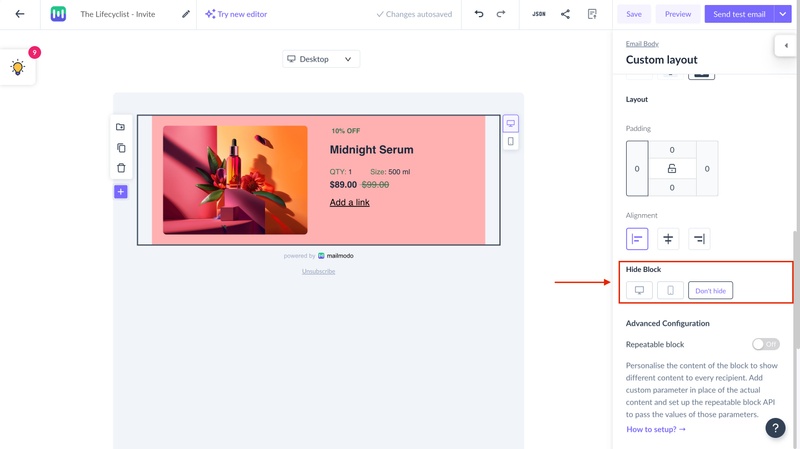
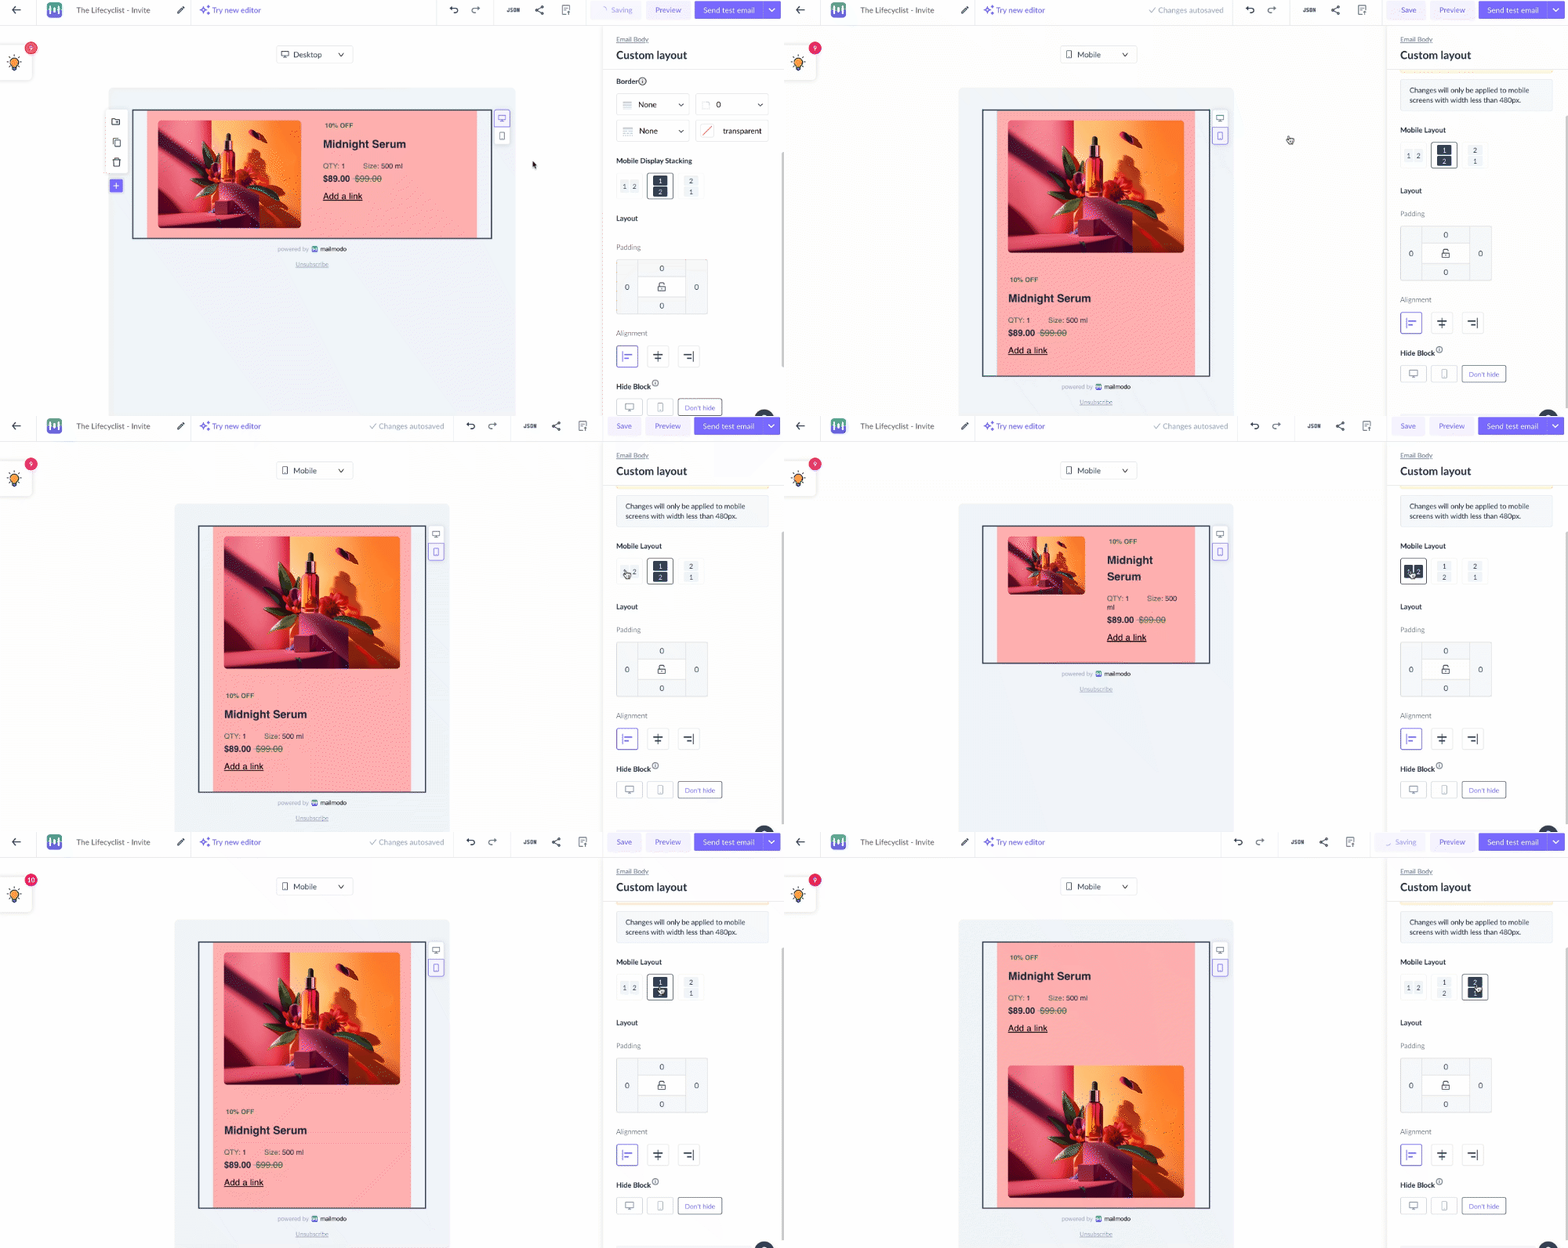
To preview your template on mobile, simply click the mobile icon at the top left of the editor and adjust individual elements to enhance their mobile appearance.
Other features
With Mailmodo's template editor, you can make use of features like undo/redo , export form submissions and Template Suggestion.
Once your design is finalised, you can preview your email. If you plan to send the campaign later you can save the template.
Use the search bar in our Help Center to find quick guides and walkthroughs. If you have any queries, then reach out to us via the chat icon on the bottom right corner of your screen while using Mailmodo. Or reach out to us at Mailmodo Support and share your thoughts at Mailmodo Product Feedback.


