

Adding Social Media Sharing Widgets in Email
Last updated July 4, 2025
The Social media widget let you easily share the email’s content on platforms like Facebook, Twitter, LinkedIn, and Instagram. With a click, you can quickly post the content to your social media profiles, sharing it with your network.
How to add social media widgets?
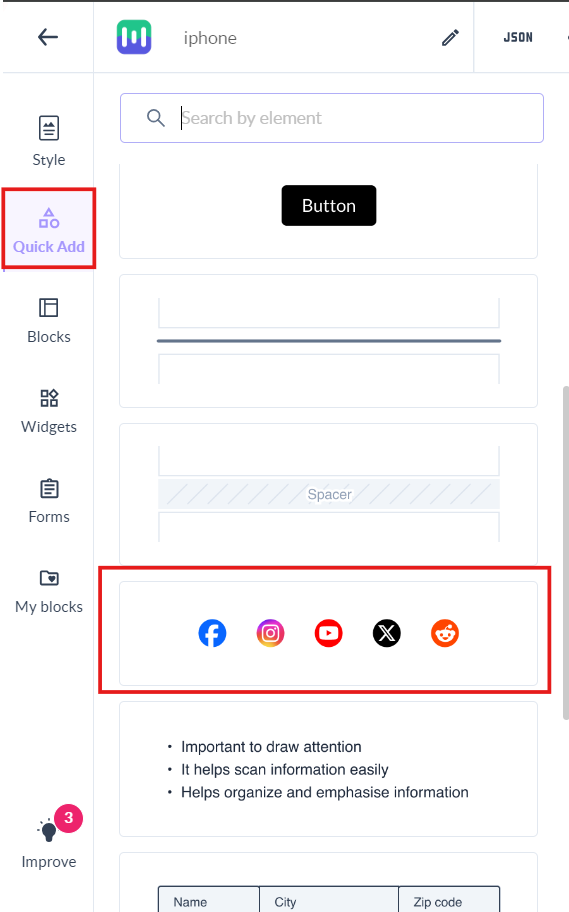
In the editor, click on Quick Add and drag and drop the element having social media icons.
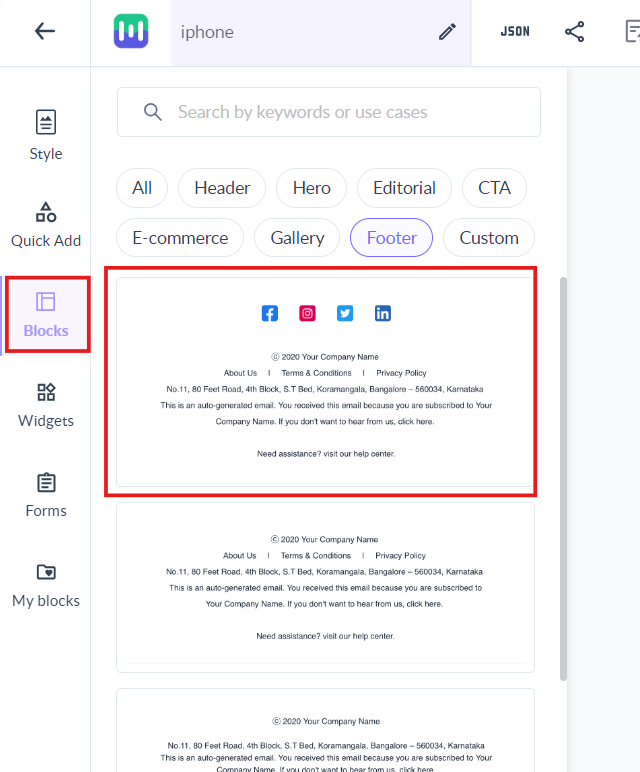
Or, if you want the social media widgets to be part of the footer, then go to Blocks. Click on Footer and drag and drop the footer having the social media icons.
Editing the widgets
Block level
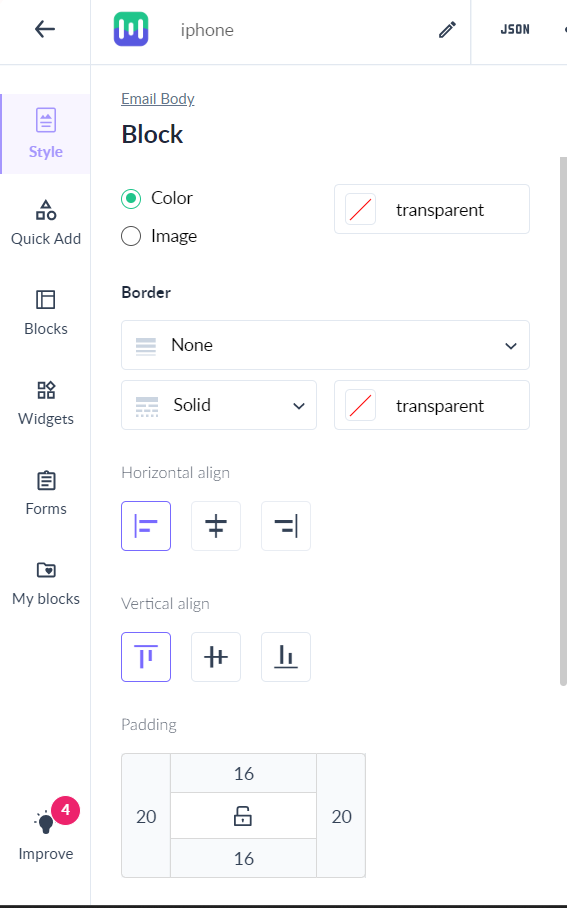
You can edit the background of the block such as changing colour, or adding image. You can also change how the border looks and the horizontal or vertical alignment. You can set the padding according to your preference and hide the blocks or make them repeatable.
Element level
You can perform these actions from the left panel.
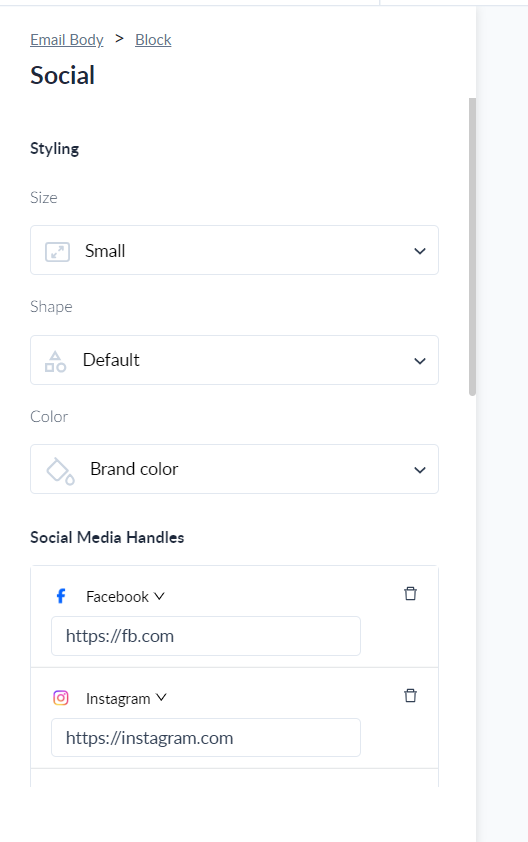
Styling
Size
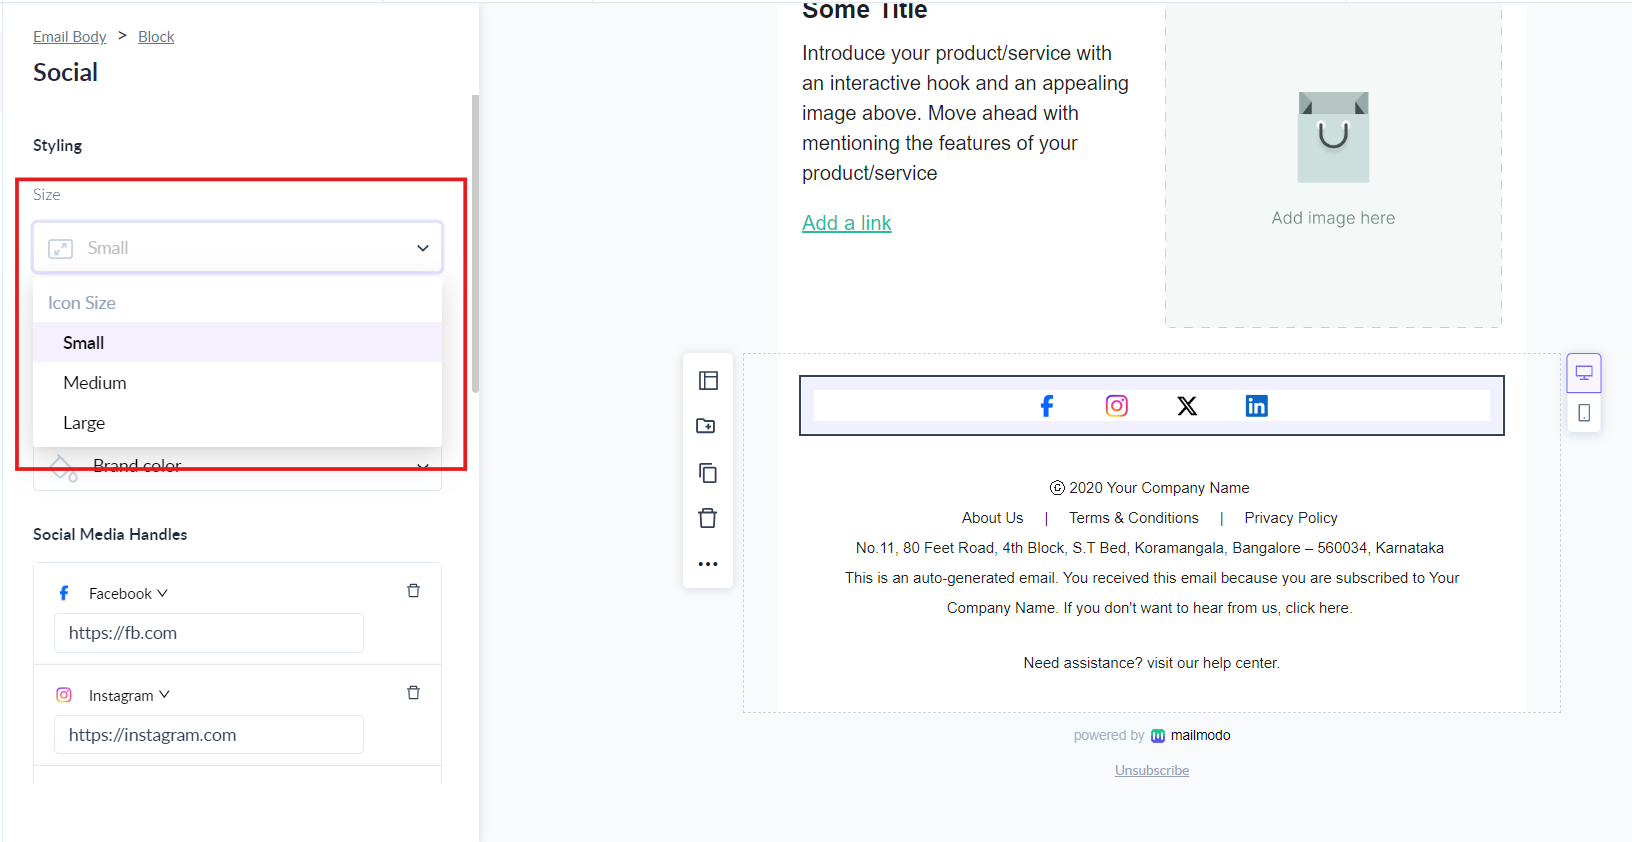
You can change the size of the icons to Small, Medium and Large, from the drop down menu.
Shape
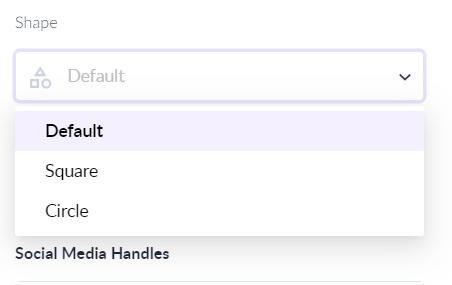
You can change the shape from Default to Square.

Or to Circle shape.

Color
You can choose from the following 4 options:
- Brand colour

- Black

- White

- Gray

Social Media Handles
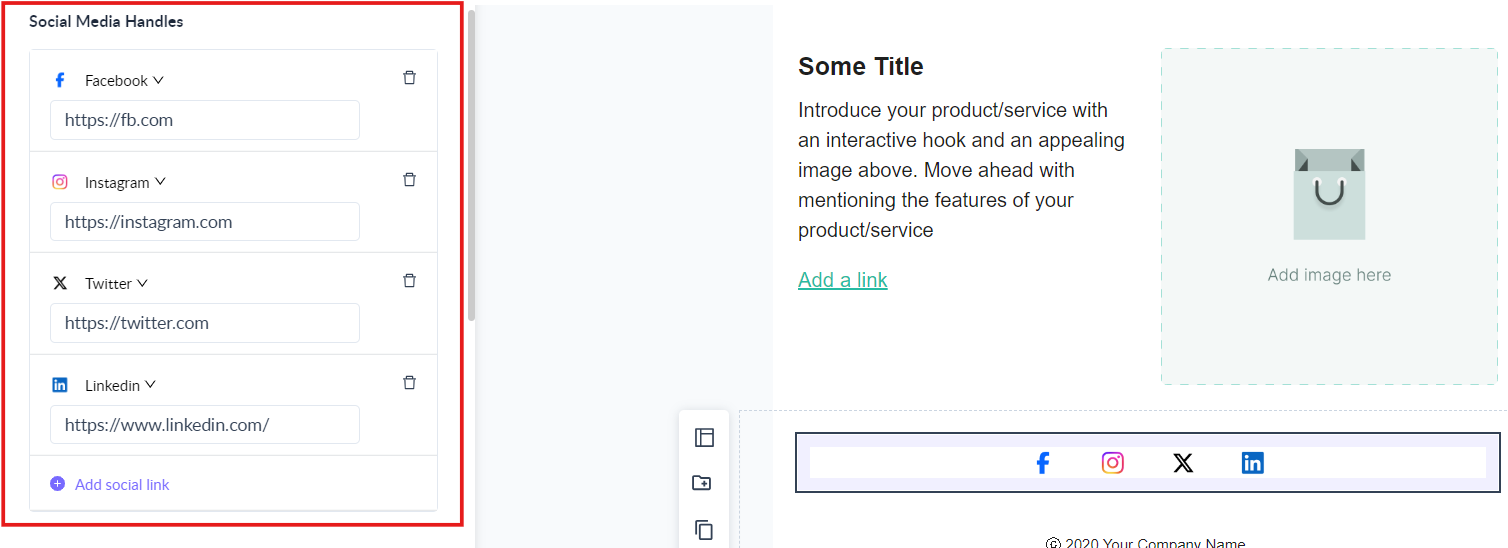
You can add or remove social media handles, according to your preference. If you click on Add social link, then a random handle will be added.
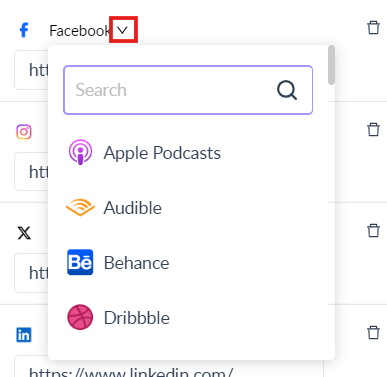
You can change a social media platform with another by clicking on the downward arrow on the right side of the handle name. Search and click on the social media handle you want, and it will be automatically replaced. We have 44 platform from among you can choose.
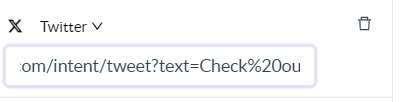
You can change the URL according to your preference. You can edit the URL to make text appear straight for posting in your recipients social media handle.
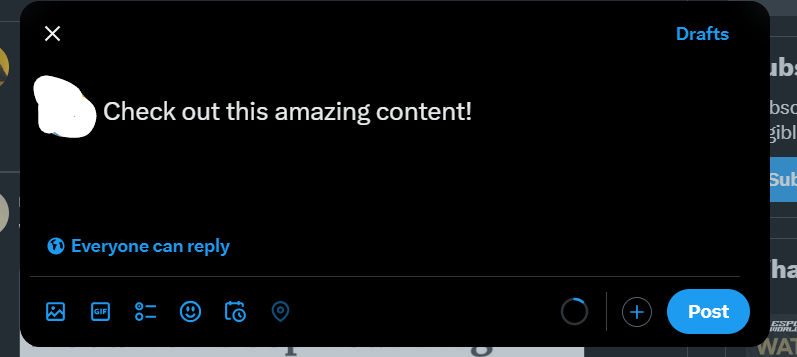
For example, editing URL for X as: https://twitter.com/intent/tweet?text=Check%20out%20this%20amazing%20content! . Now when I send the email, and click on X. It opens straight in X for posting.
Layout
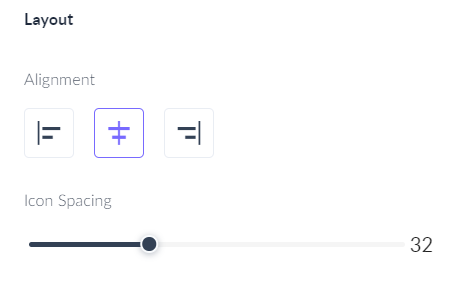
You can change the alignment (left, middle, right) of the icons as well the as space between them very easily.
Fill and Padding
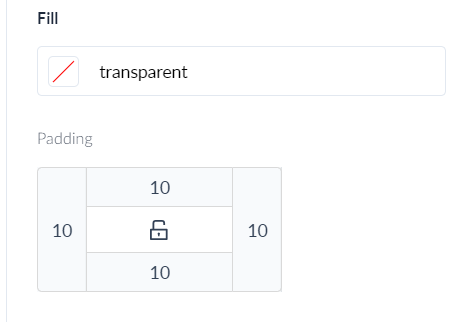
You can change the background colour behind the icons, using Fill. And padding helps setting the distance from other elements in your email body.
Use the search bar in our Help Center to find quick guides and walkthroughs. If you face any problem then reach out to us at Mailmodo Support or share your thoughts at Mailmodo Product Feedback .