

Setup and Send Bulk Campaign
Last updated November 4, 2025
With your email template all ready, how do you get it across to your target audience? Mailmodo offers you extensive options to accomplish this task smoothly. This article takes you through all the steps required to test and set your campaign live.
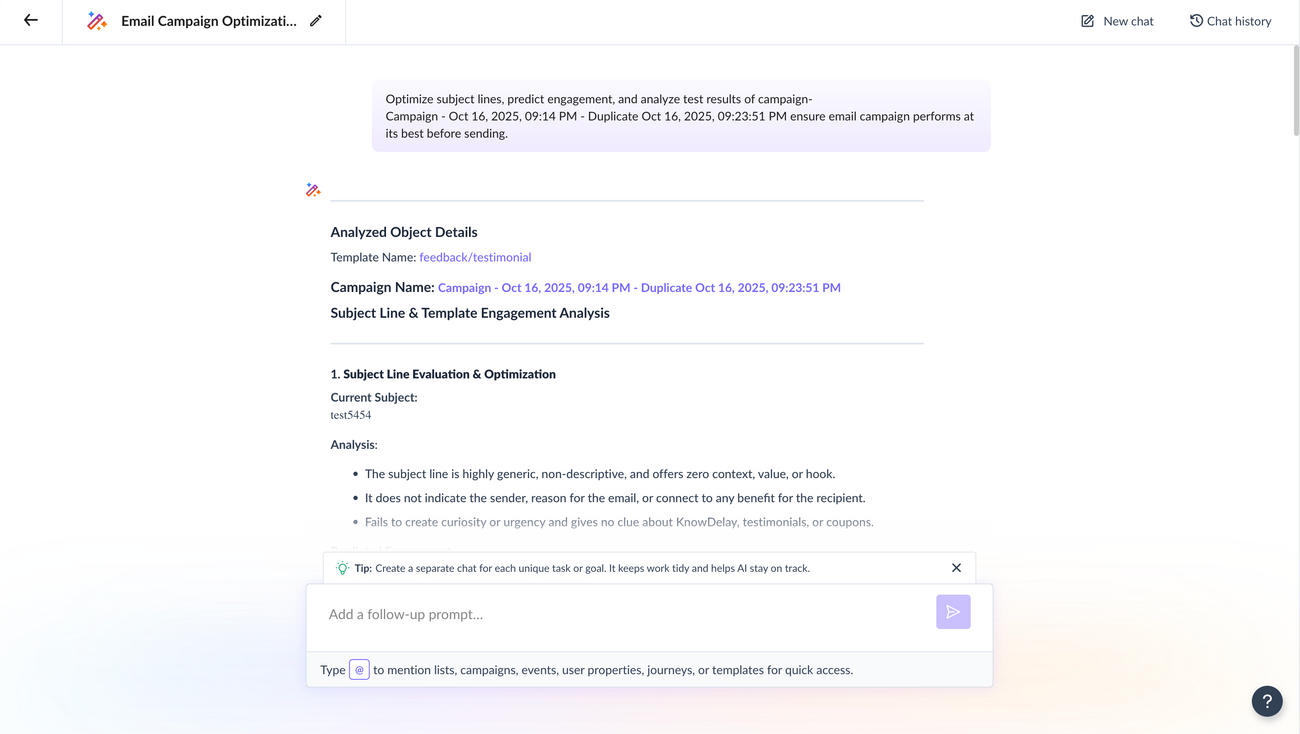
✨ Powered by Mailmodo AI Use Mailmodo AI to optimize your campaign’s subject lines, preview test results, and predict engagement before sending. Try it out today →
If you’re still rusty on how to create an email template, try reading Create an Email Template or Using the Editor .
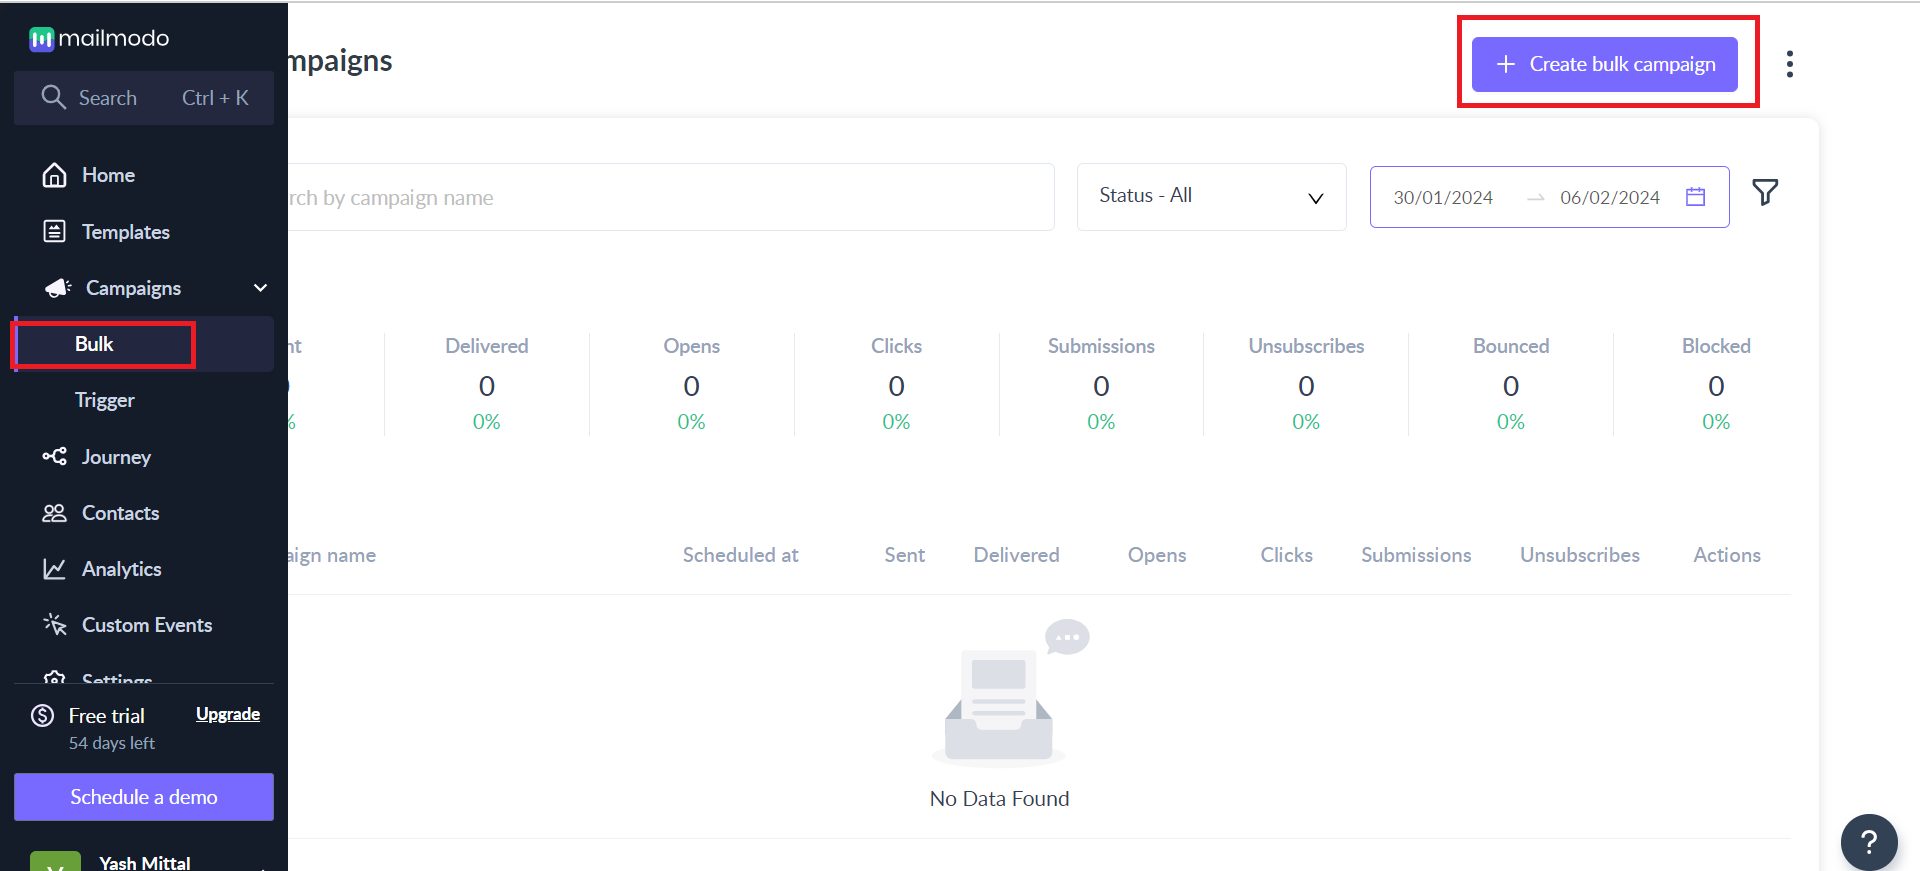
Step 1: Click on 'Bulk' under the ‘Campaigns’ icon on the sidebar. Next, click on ‘Create bulk Campaign’.
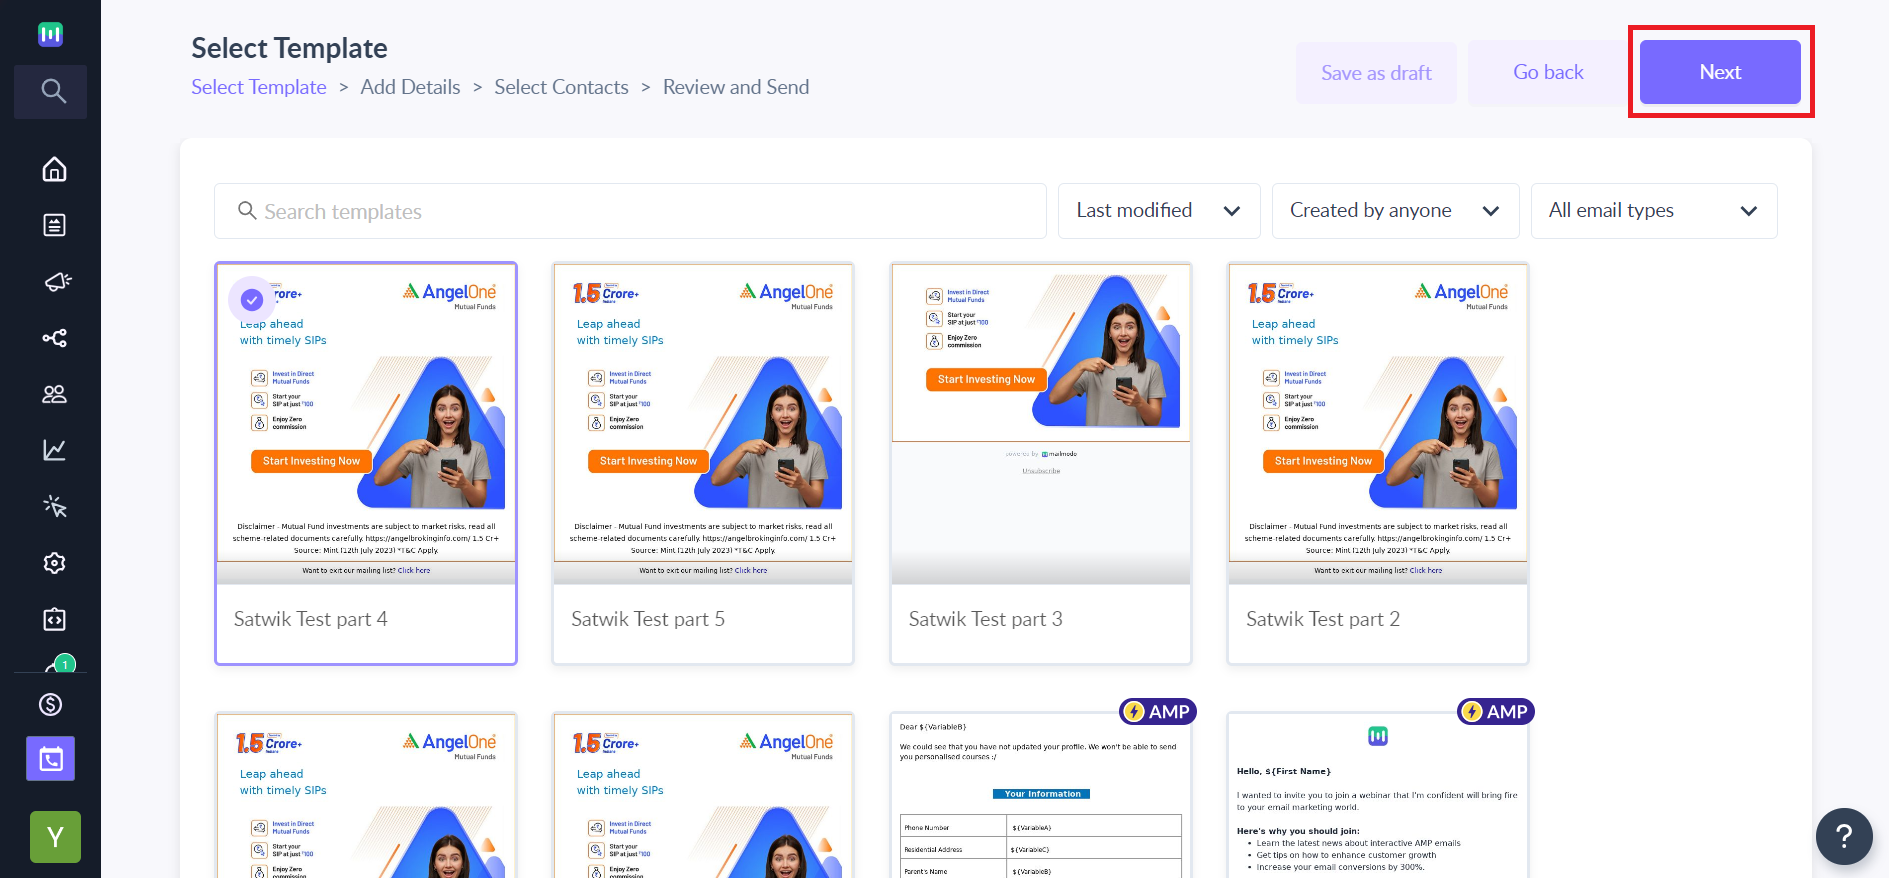
Step 2: Choose an Email Template from the Saved Templates section. These are the templates you designed and saved using Mailmodo. Click the ‘Next’ button on the top-right corner (you also have the option to create a new template)
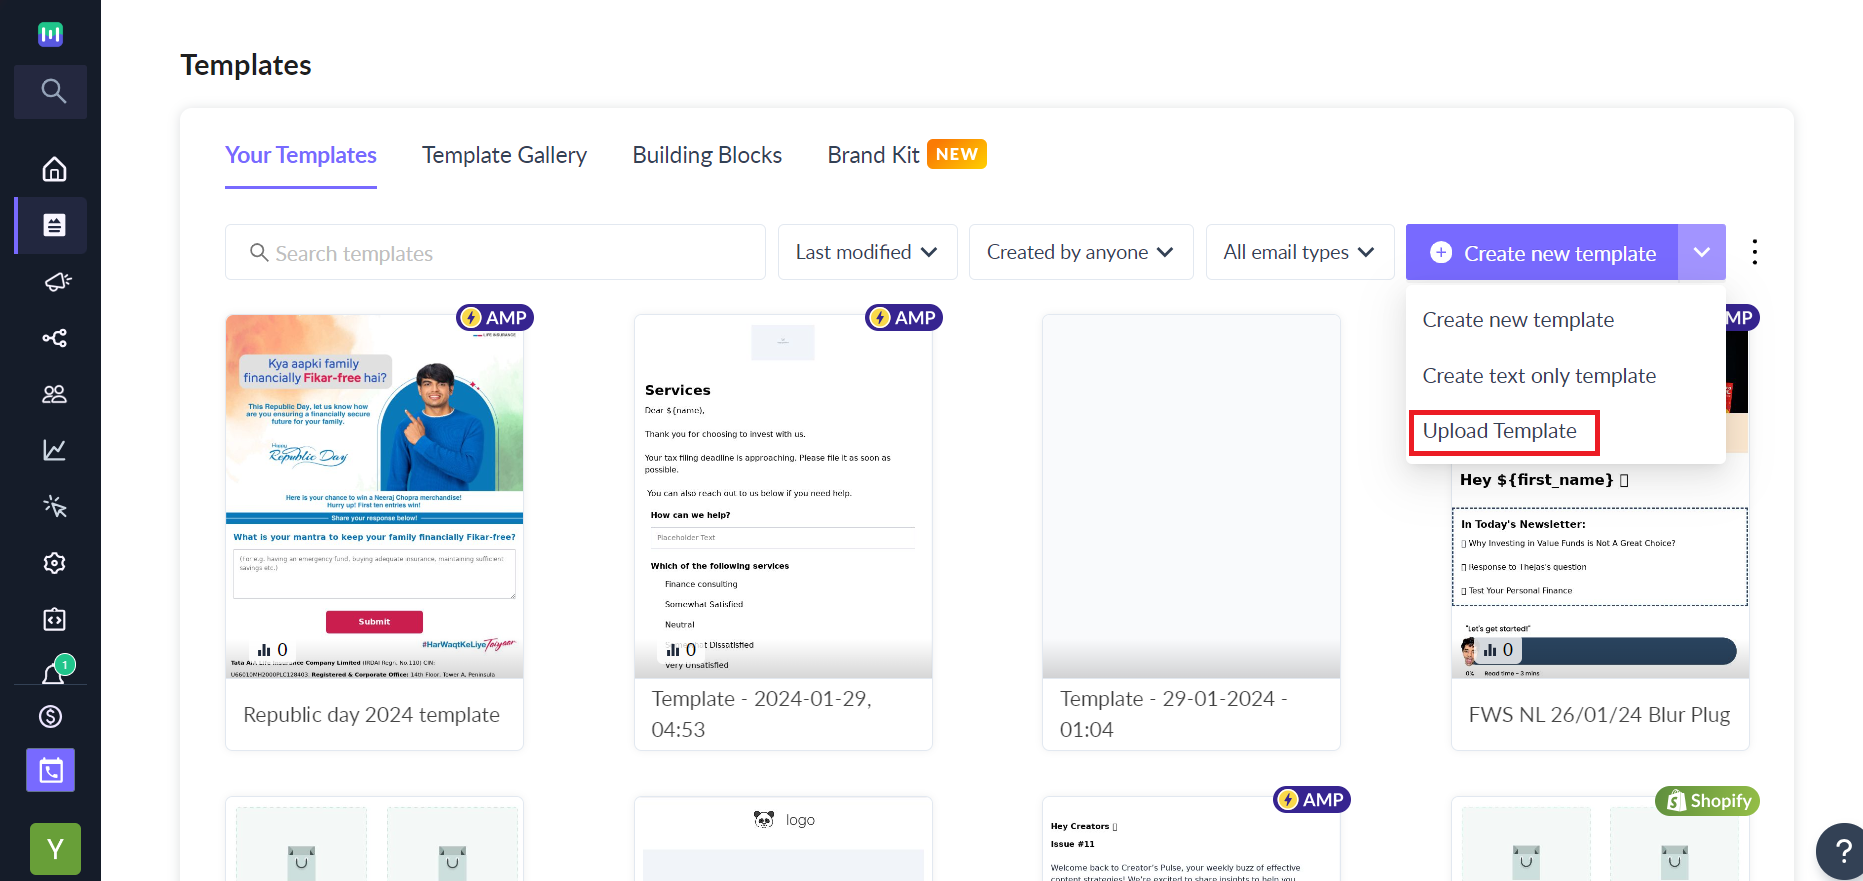
Alternatively, you can also upload an externally designed email template using the Upload Templates tab. Click the Next button once you have uploaded the template.
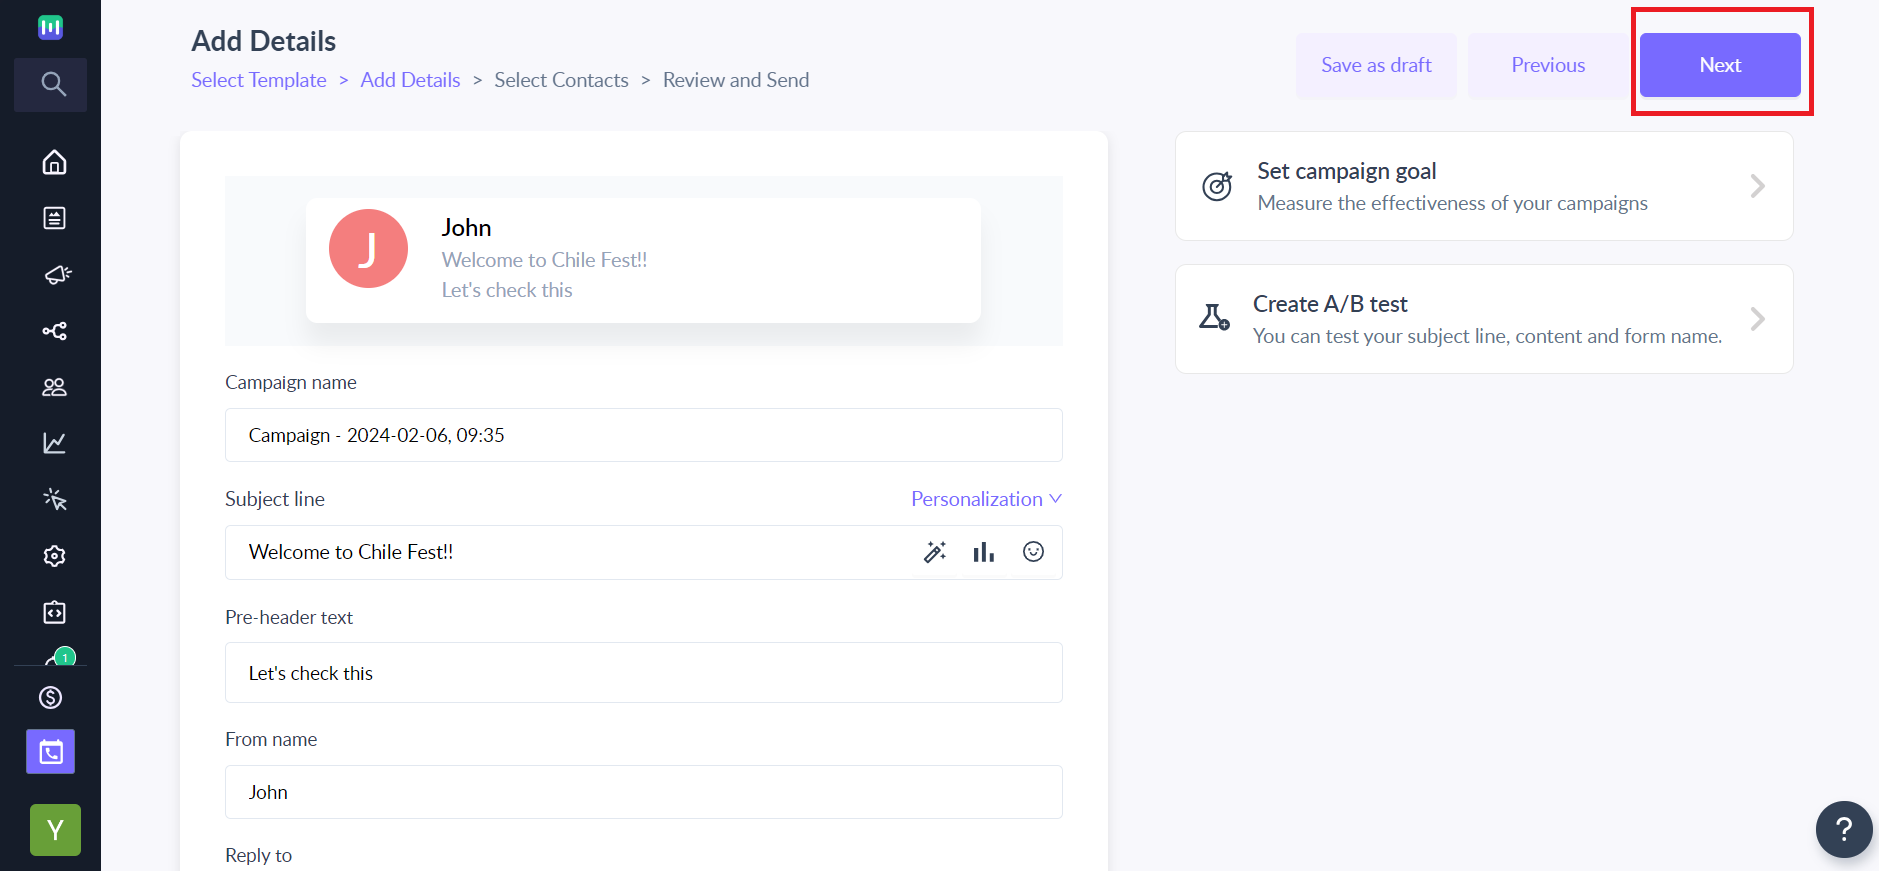
Step 3: Create the header by adding your Campaign Name, Subject line, and Pre-header Text. You can also personalise the subject line, by clicking on the ‘Personalisation’ option. Enter the sender address and reply address. Click Next.
You can save it to draft by clicking on the "Save as Draft" button available from the "Add details" step. All the details entered in the campaign will be saved and can be edited at any given time and by any of your team members.
Step 4: Select the contacts whom you wish to send the campaign. There are multiple ways you can do so:
- You can select a list from the list of contacts you have already uploaded.
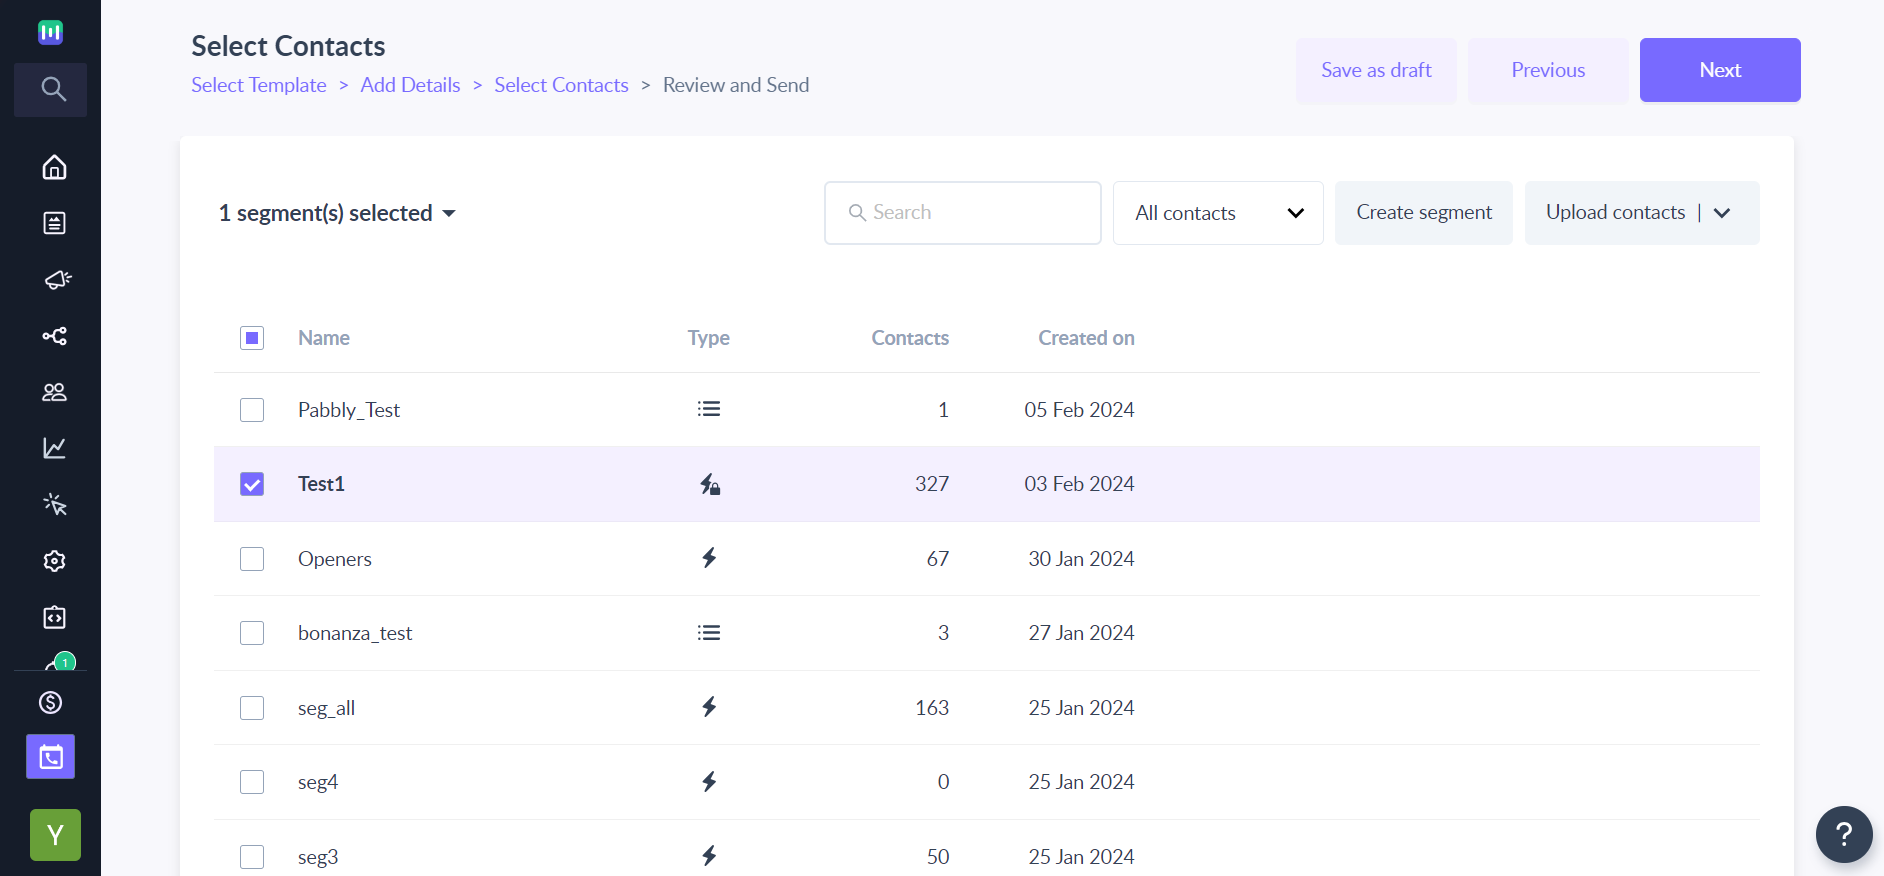
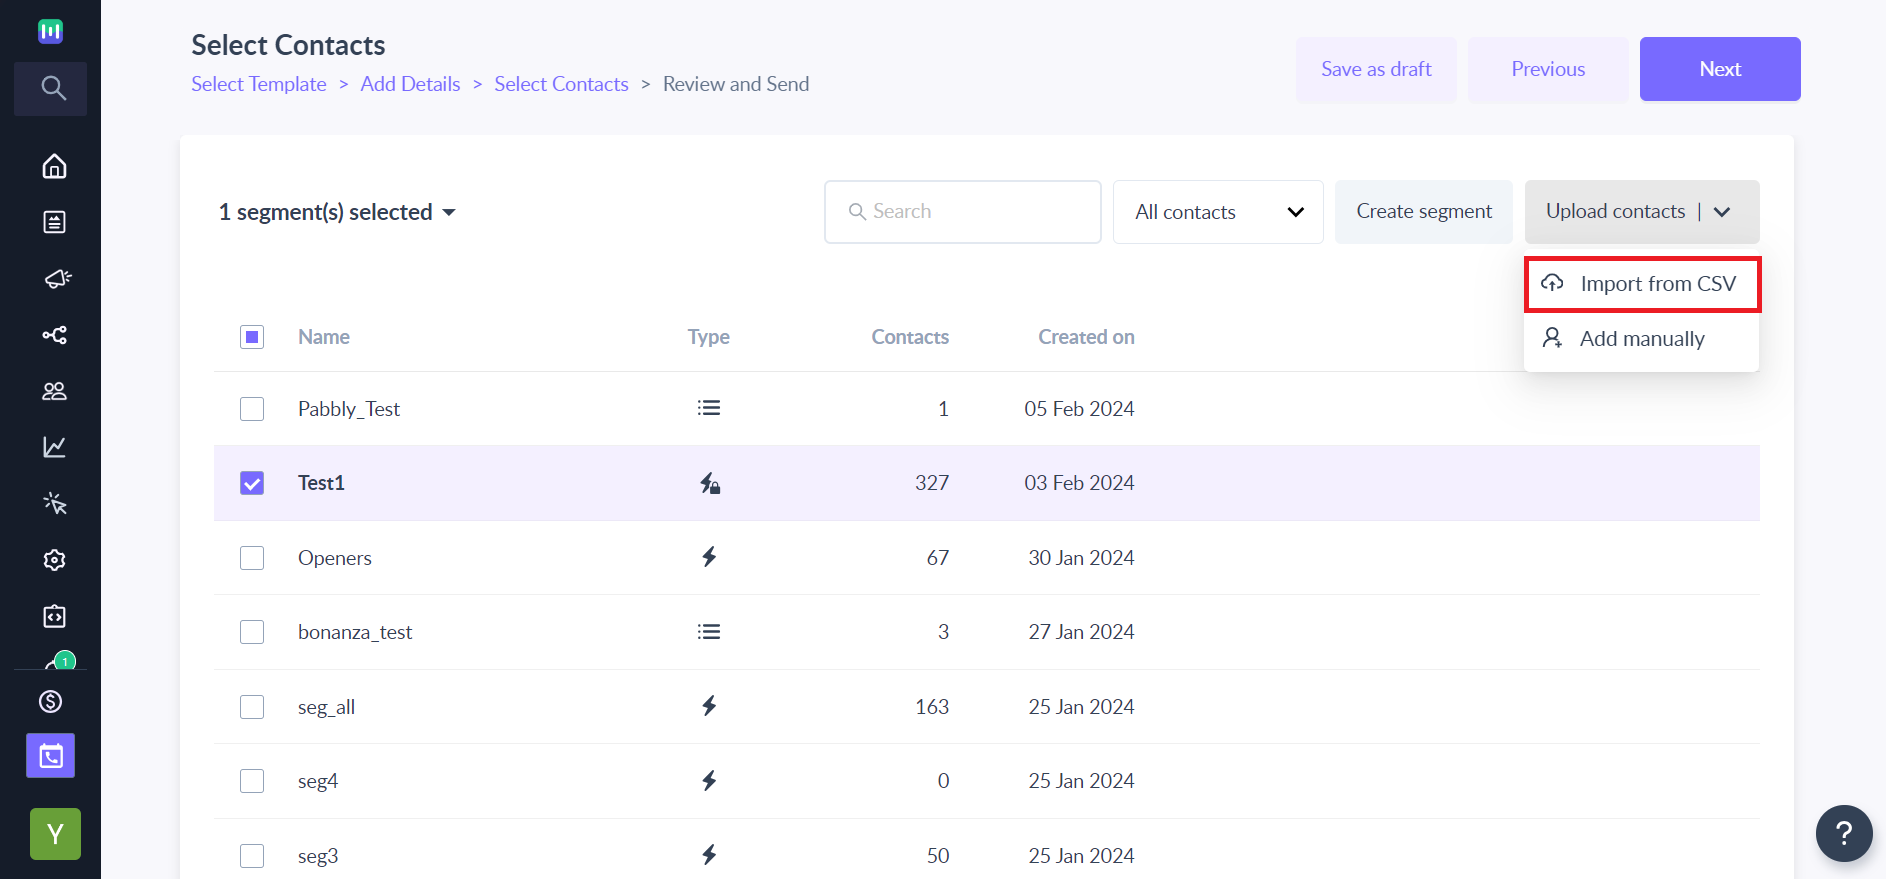
- You can also add a new list by clicking Upload Contacts. Here, you can add contacts manually or upload a CSV file.
- Create Segment option lets you create a more specific target list based on certain attributes or user activity.
To set up a trigger campaign , you can select one of the triggers from the list of available platforms and enable the campaign.
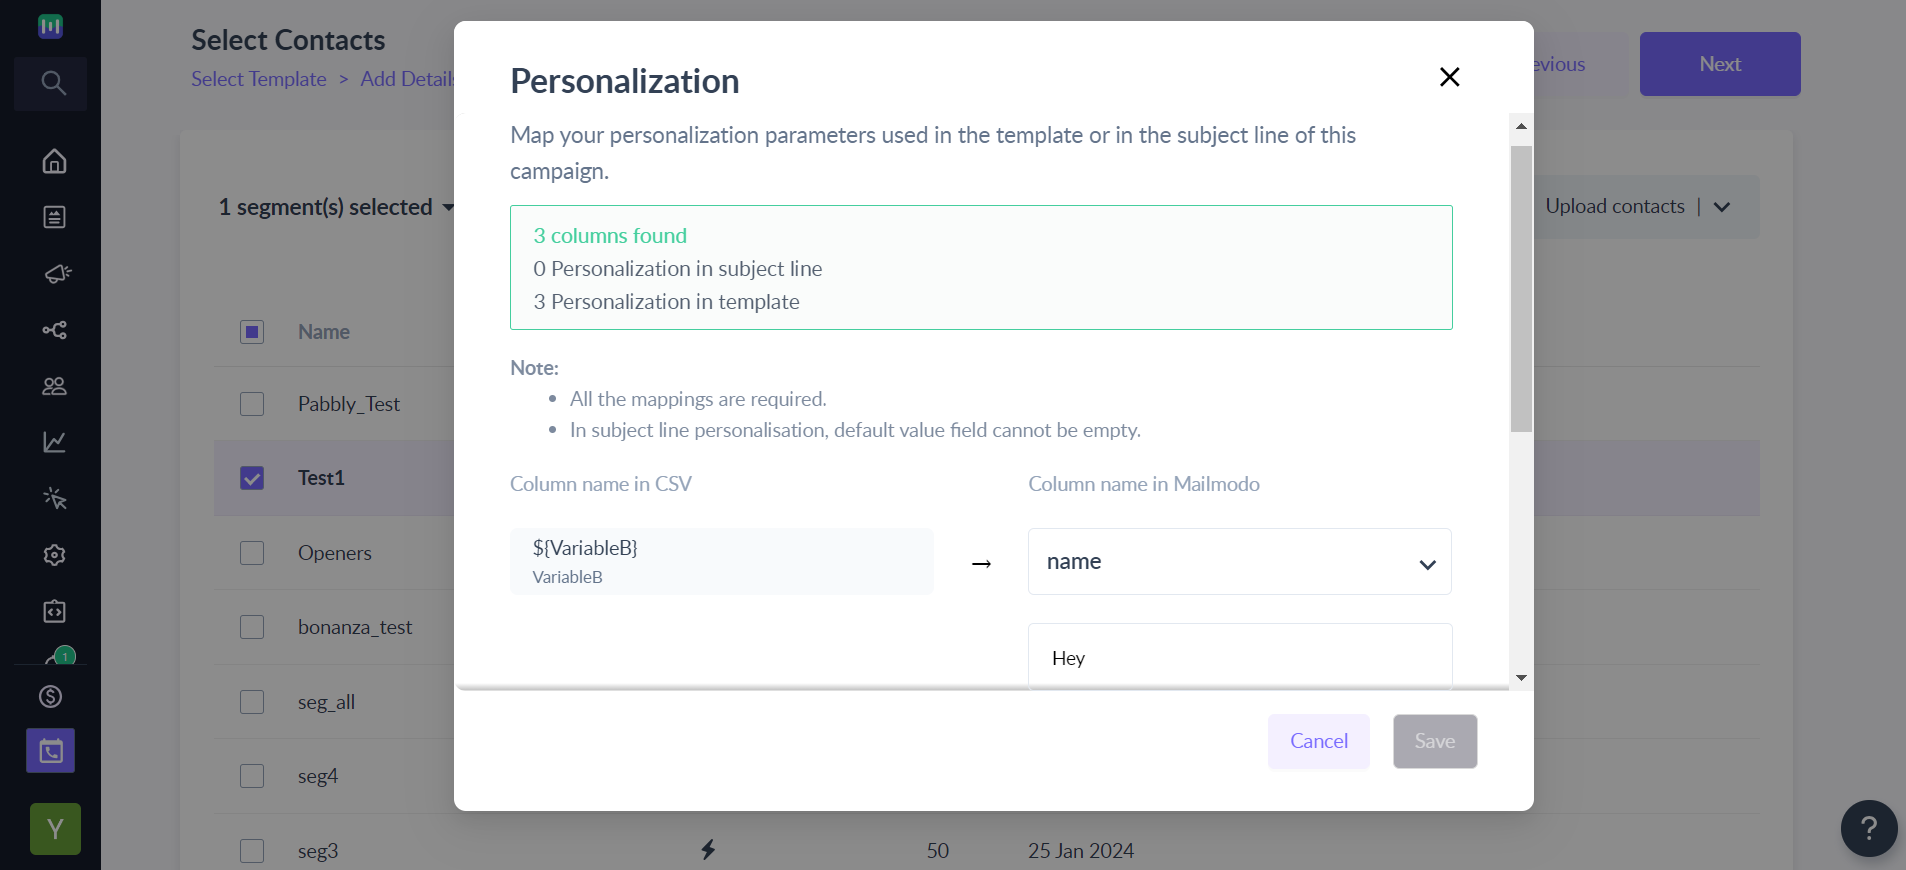
Step 5: Click on the ‘Next’ button.
If you have used any personalisation parameters in your template or subject line, a dialogue box will appear. Fill in the relevant fields to map the personalization.
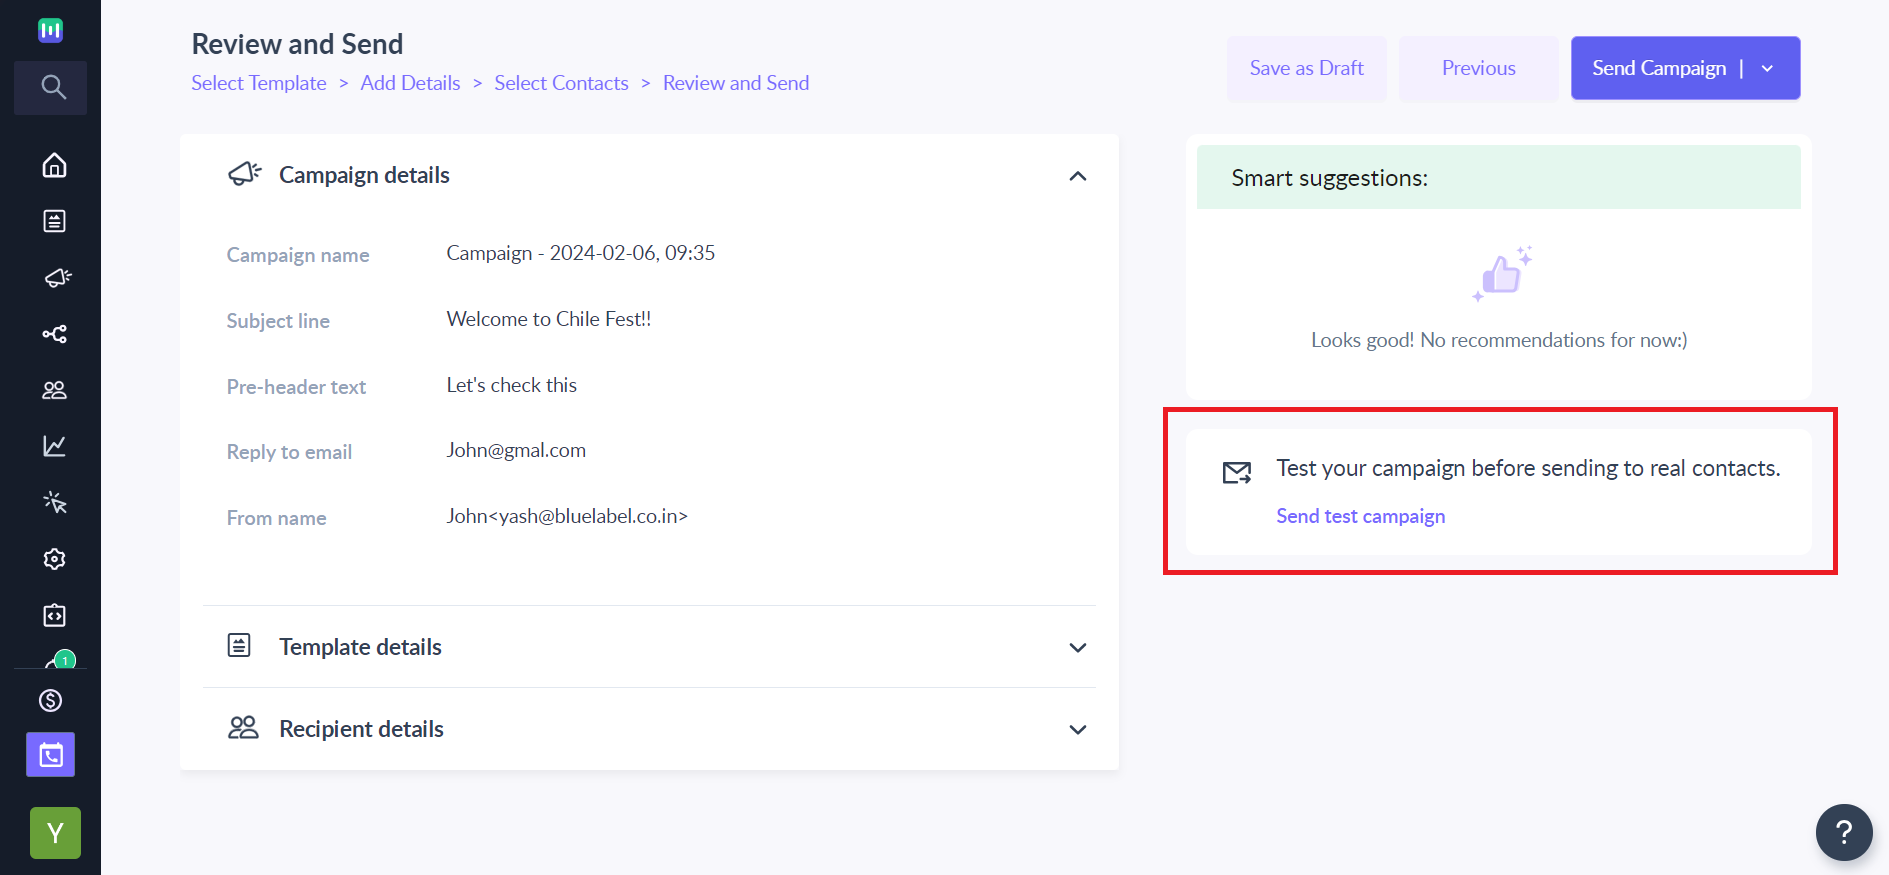
Step 6: A preview of your email appears. You have the option to send a test campaign. This allows you to check how your campaign appears in an inbox.
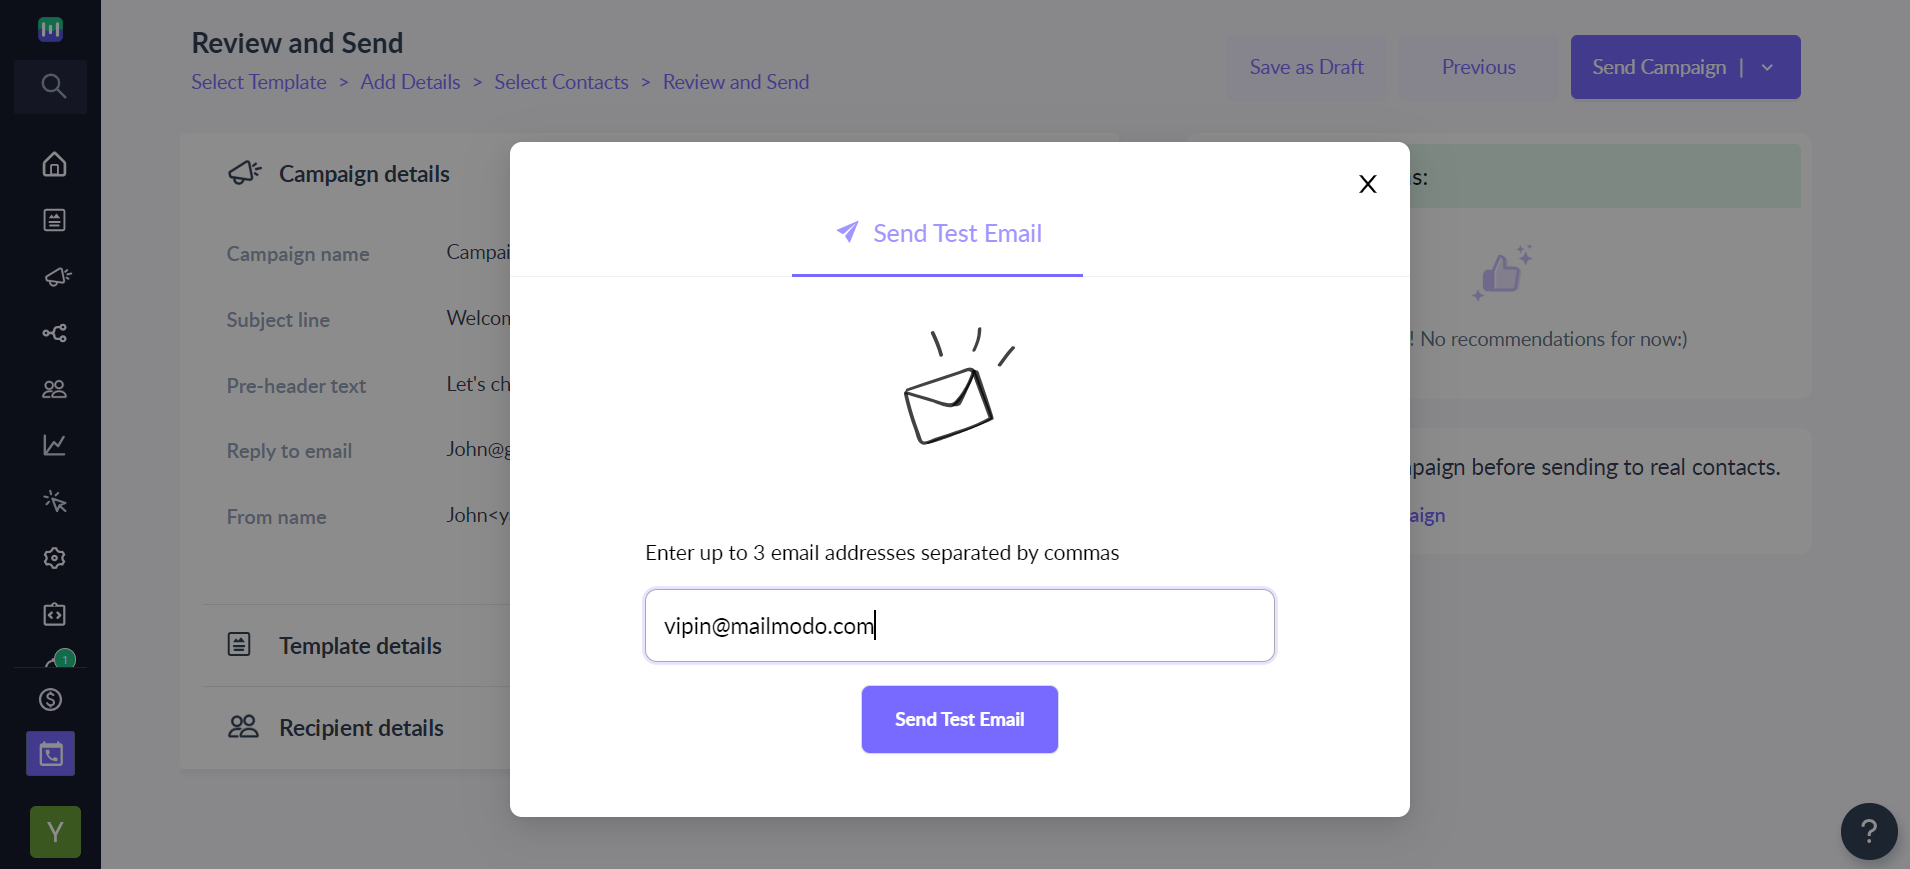
Step 7: Enter the email address of the test recipient in the dialogue box that appears.
For campaigns with personalization, check details of personalized fields. Click ‘Change’ to make corrections.
Step 8: You can also see the form responses under the ‘Submission’ tab. The test recipient(s) need only fill out the form in the AMP version of the test mail. Each response is reflected under this feature.
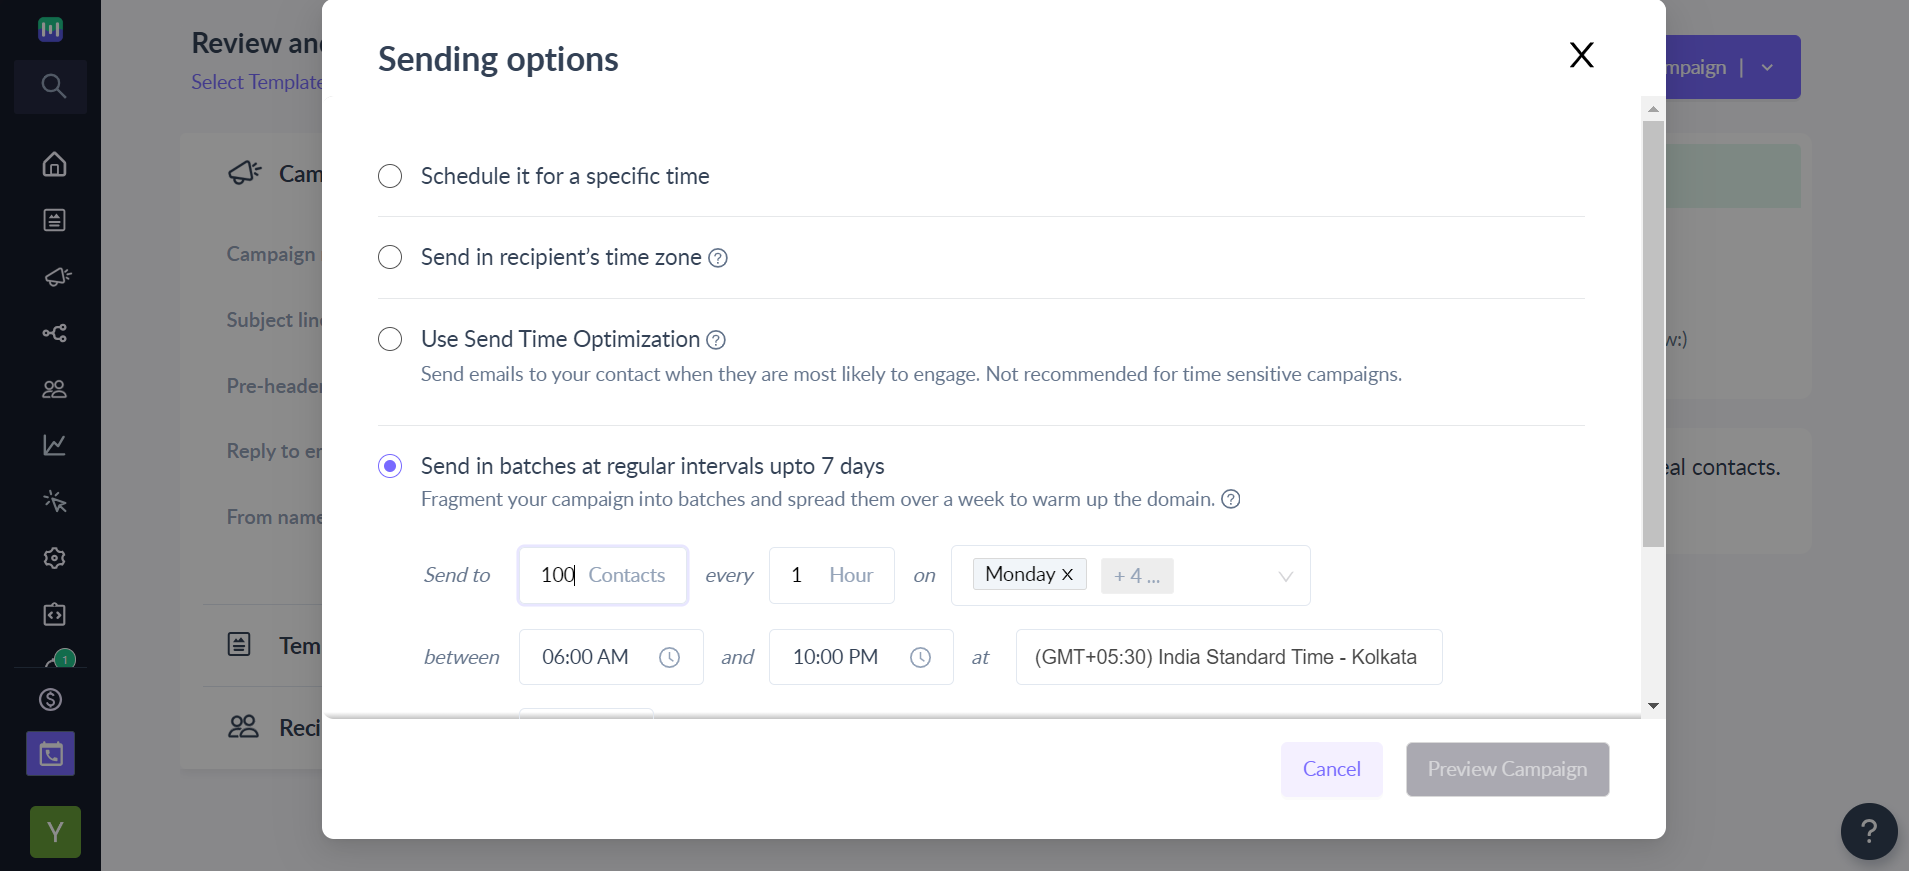
Step 9: Once satisfied with your campaign set-up, click on Schedule or Send.

You can either send the campaign now, schedule it for later or send it in batches .
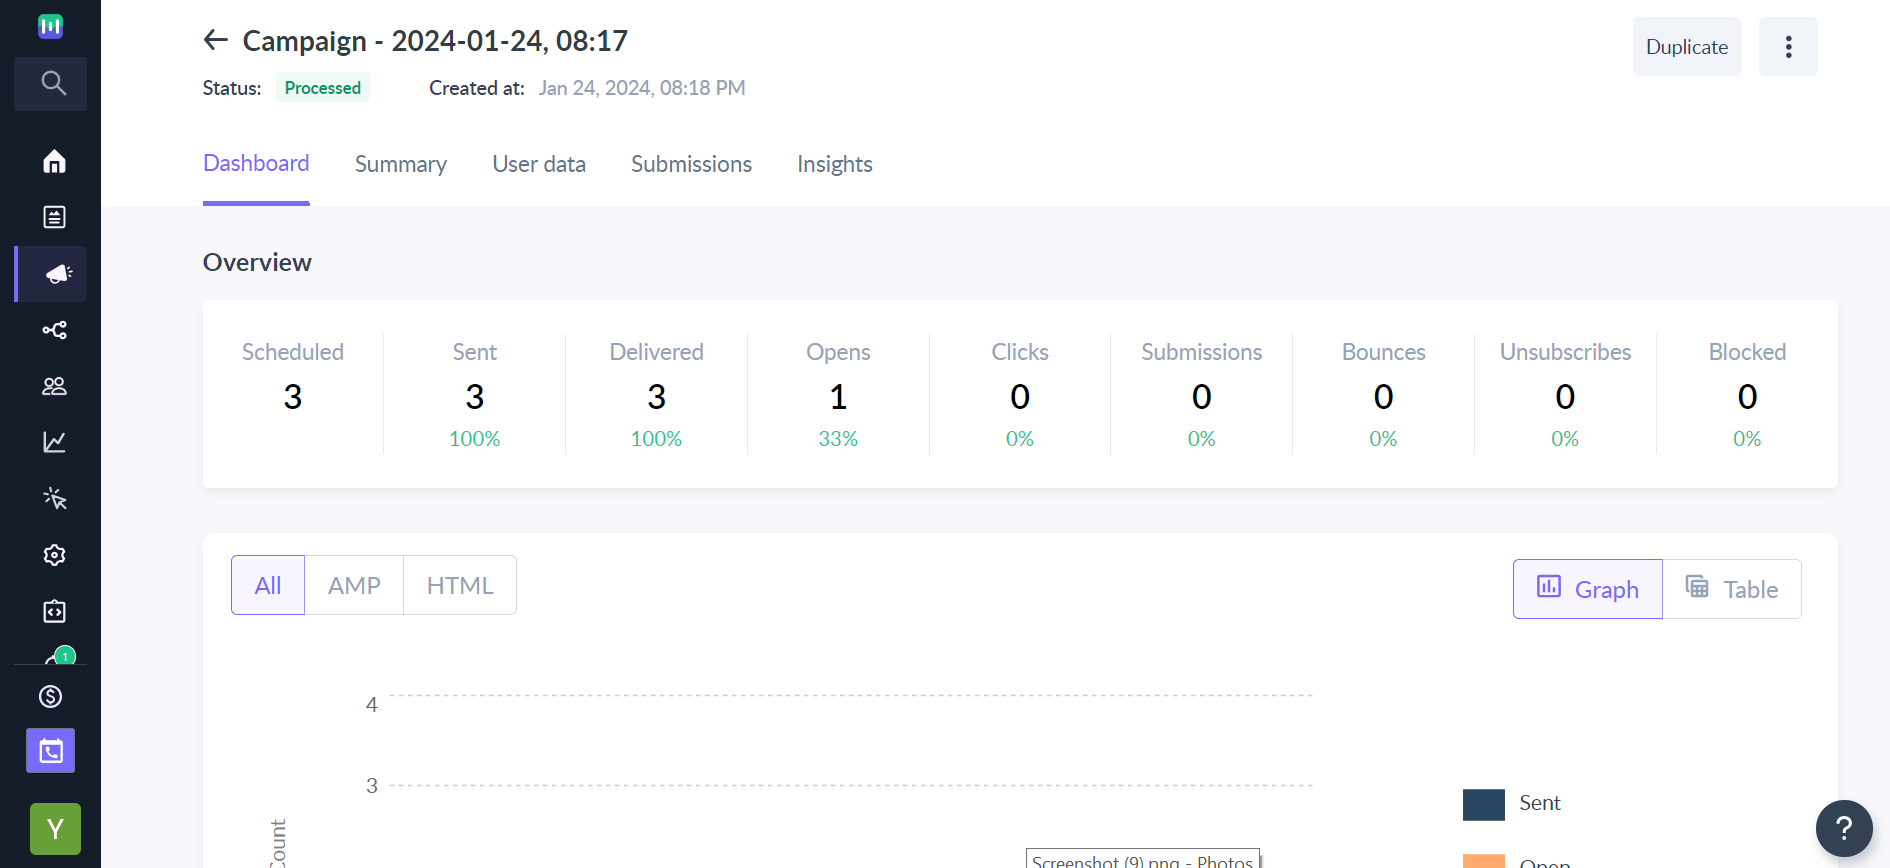
Your campaign is now live. You can track its progress and user responses in the campaign summary that is generated.
To track your campaign's performance in the future go to campaigns->select relevant campaign.
Note: Our typical sending speed is 20 emails/sec for Mailmodo SMTP and 12 emails/sec for AWS SMTP.
Use the search bar in our Help Center to find quick guides and walkthroughs. If you have any queries, then reach out to us via the chat icon on the bottom right corner of your screen while using Mailmodo. Or reach out to us at Mailmodo Support and share your thoughts at Mailmodo Product Feedback.