

Trigger campaigns through Messagebird in Mailmodo
Last updated November 29, 2023
In this article we will see how we can configure transactional campaigns in Mailmodo, triggered by events recorded in MessageBird flow.
How to create a Transactional Campaign in Mailmodo?
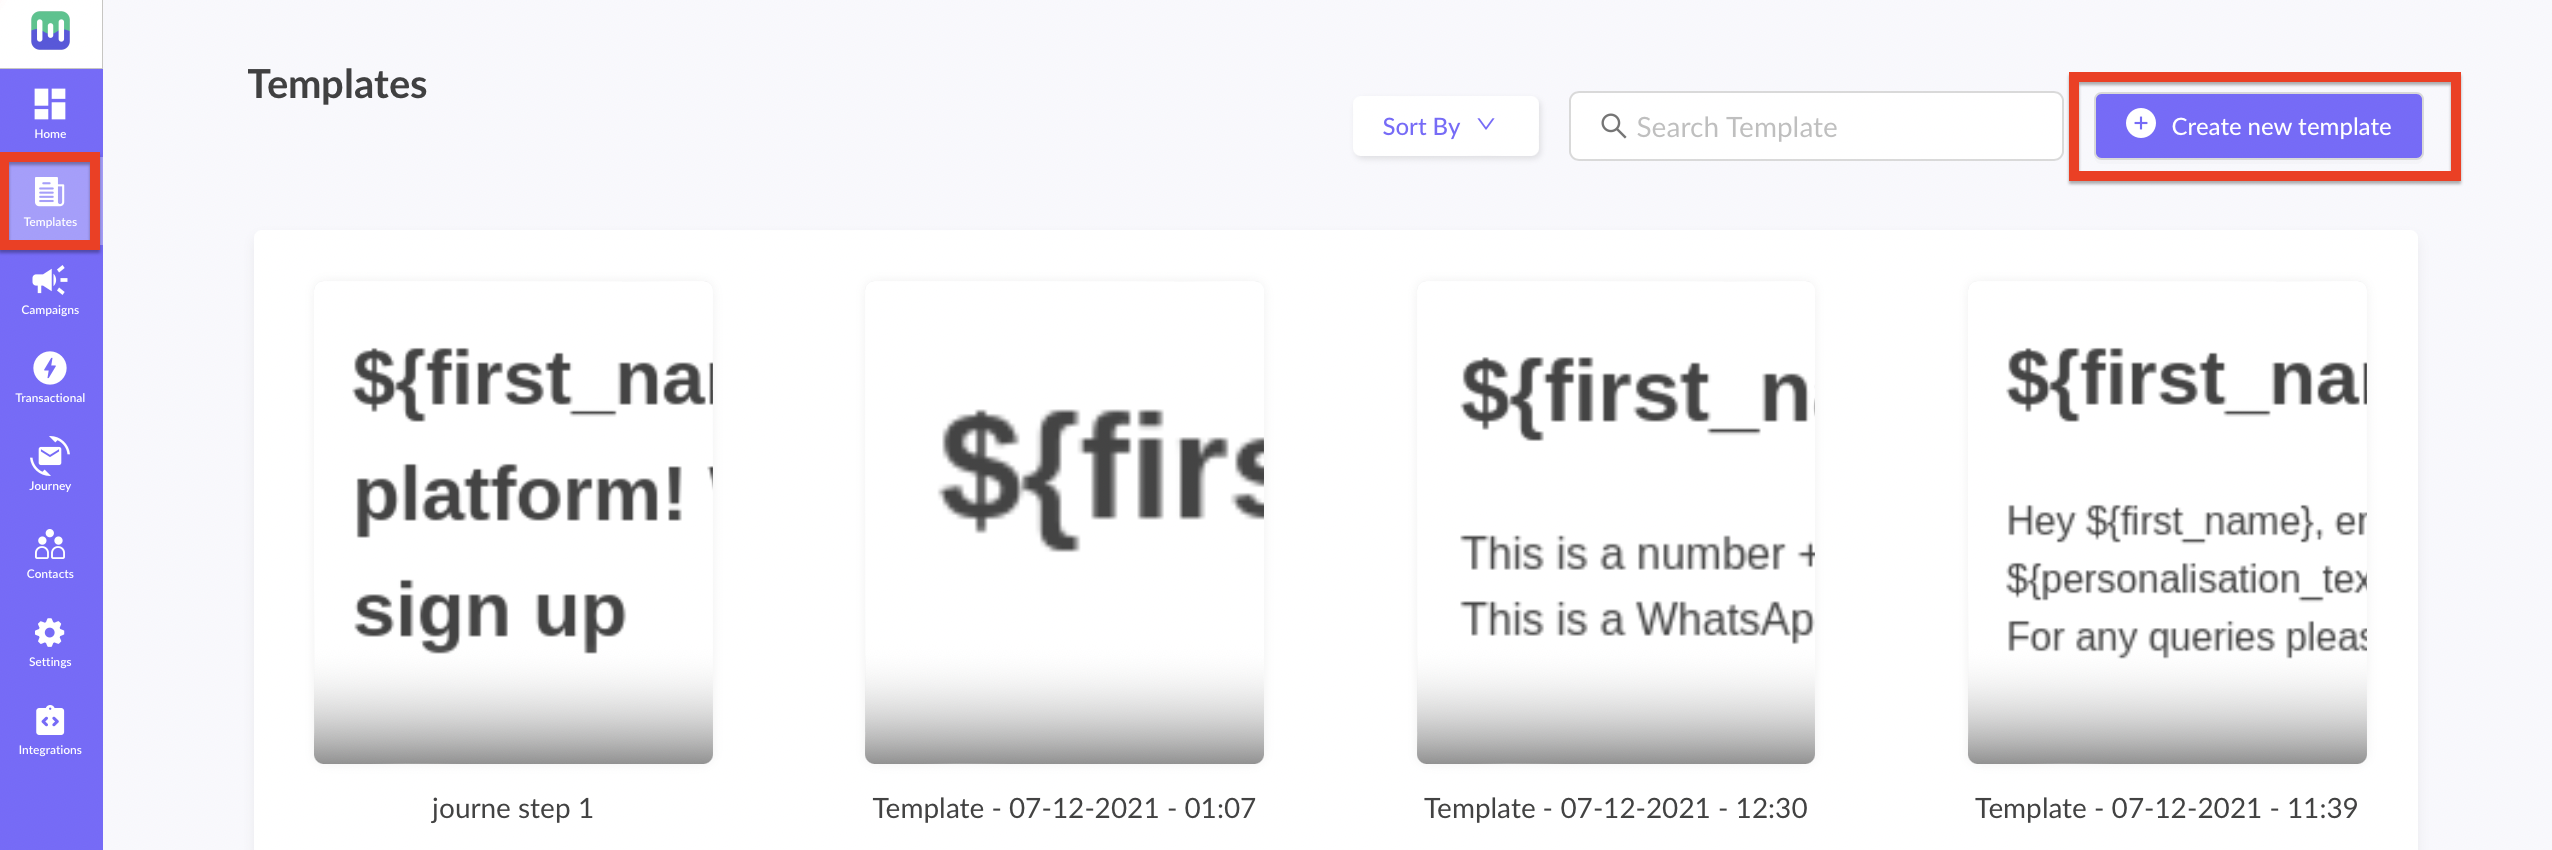
Step 1: Go to templates from the vertical menu on the left side. Click on create new template.
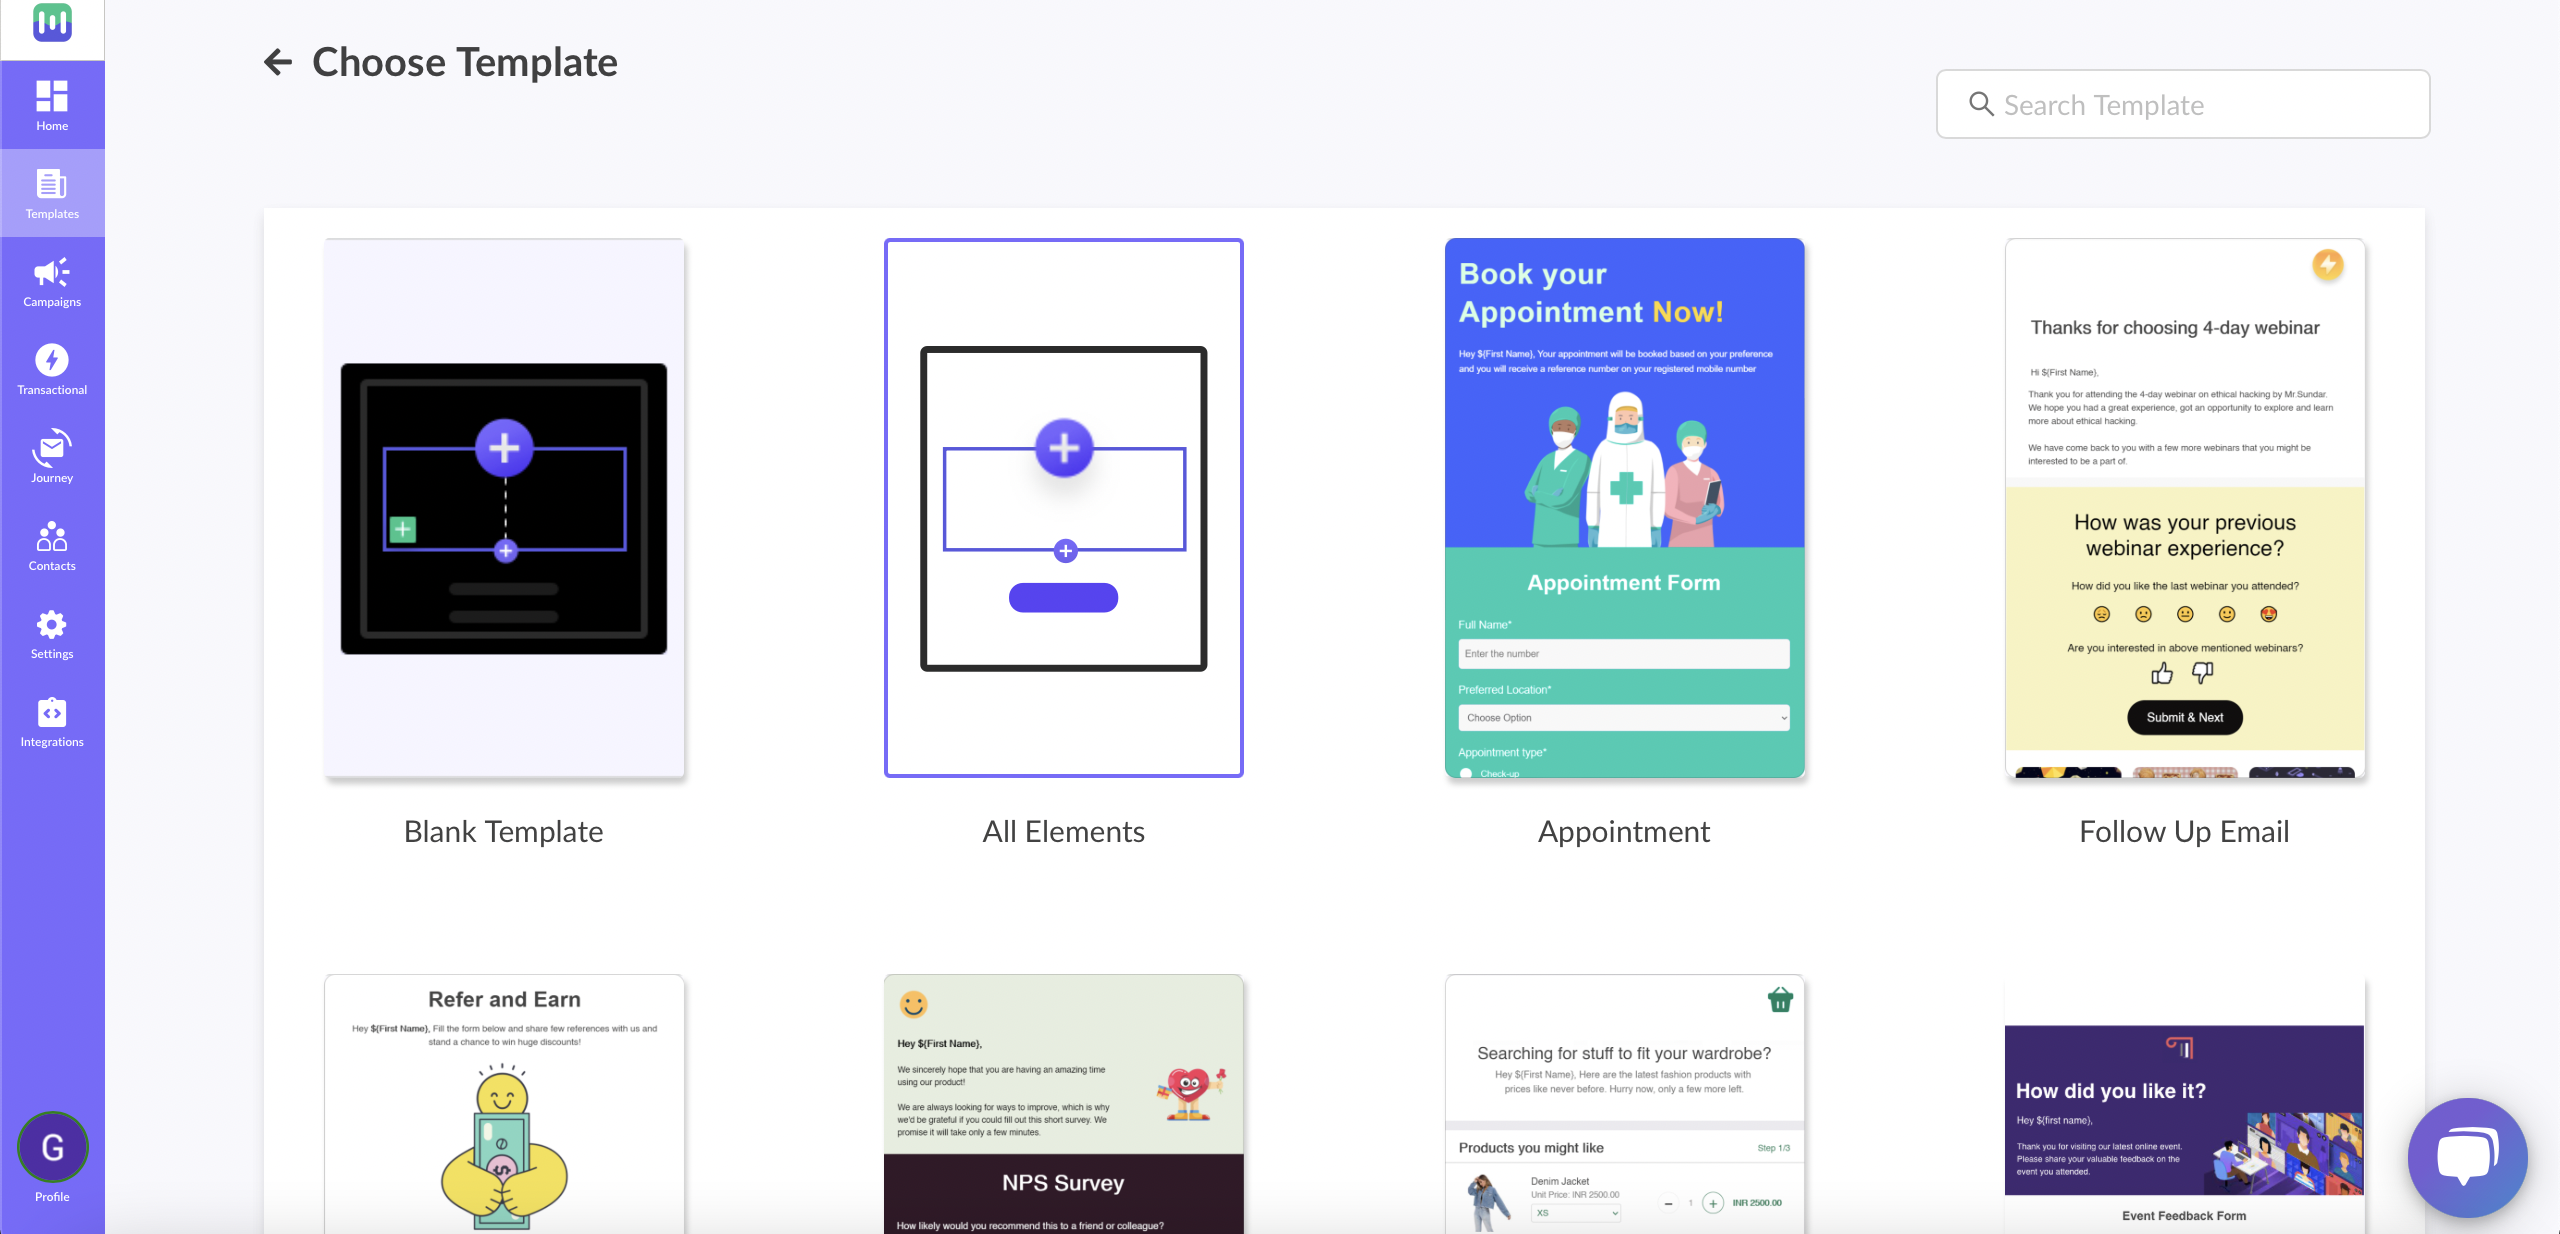
Step 2: Either select a blank template or a pre made template
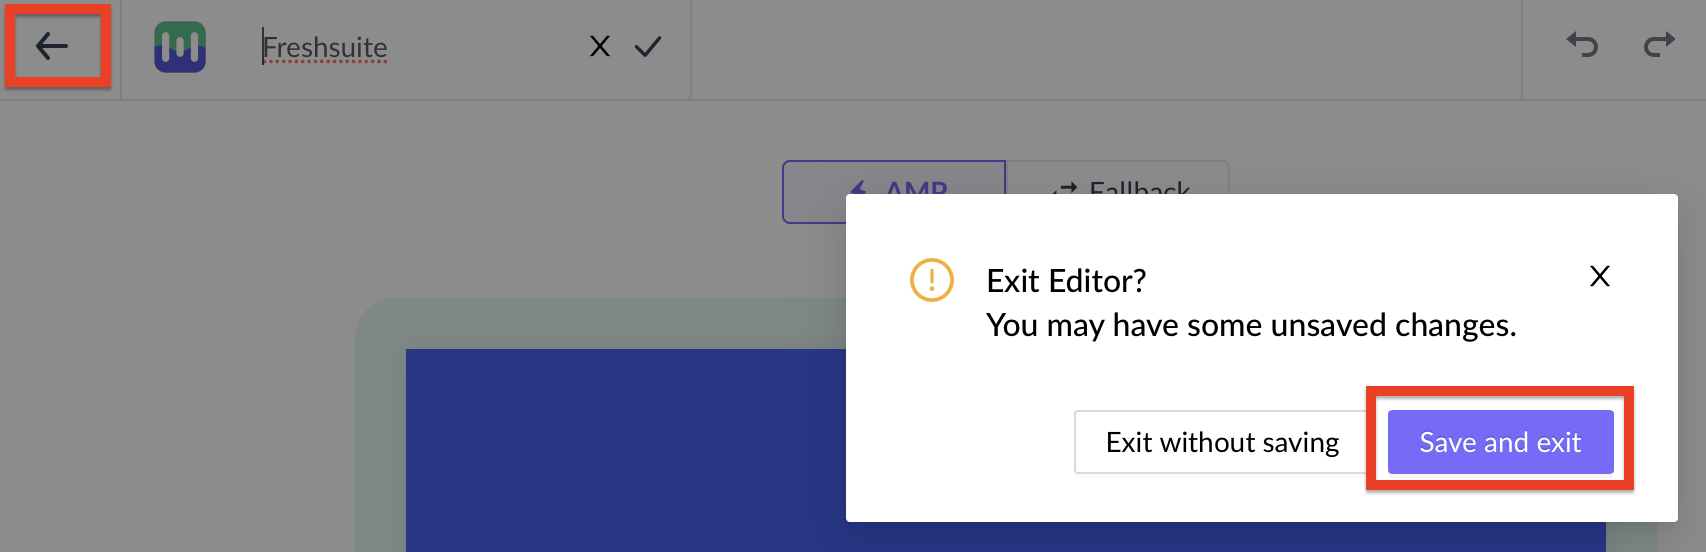
Step 3: Use the editor to edit the template. Save and rename the template upon completion. After saving, click on back arrow.

Step 4: Click on save and exit.
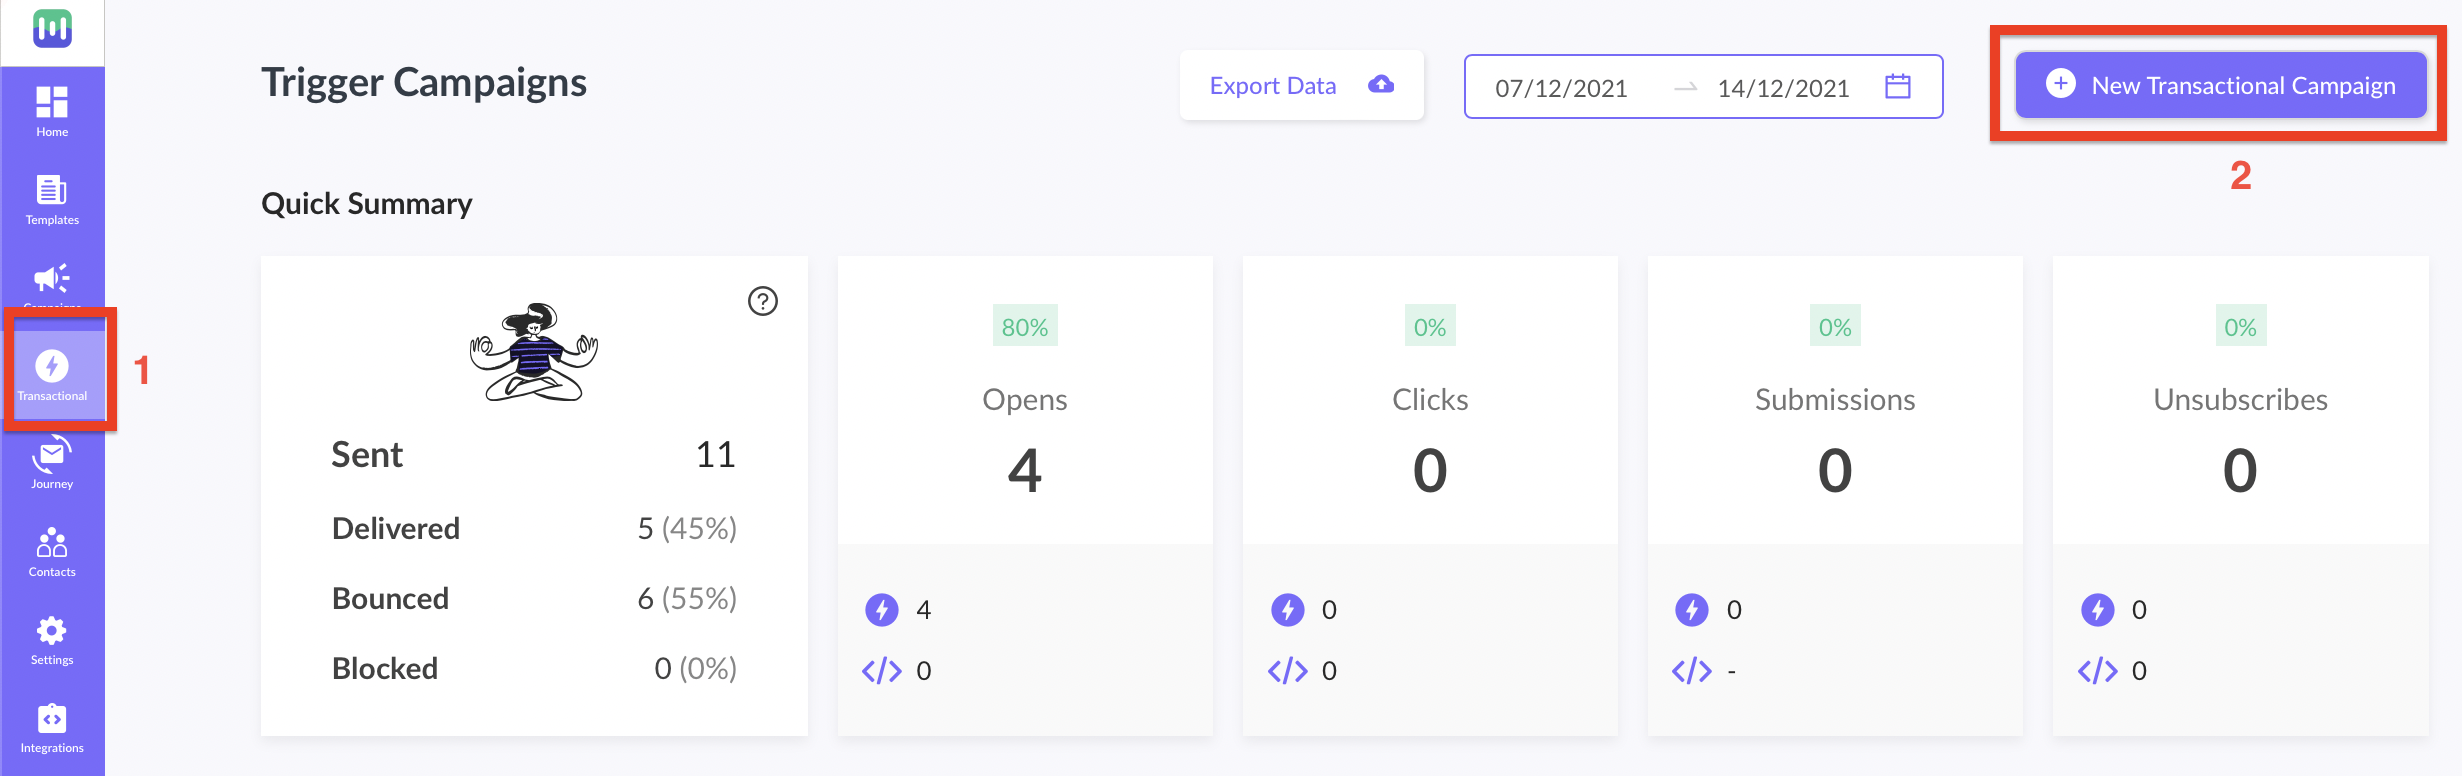
Step 5: You will be redirected to the home page. Click on Trigger under Campaigns from the vertical menu on the left. Next, click on Create trigger campaign.
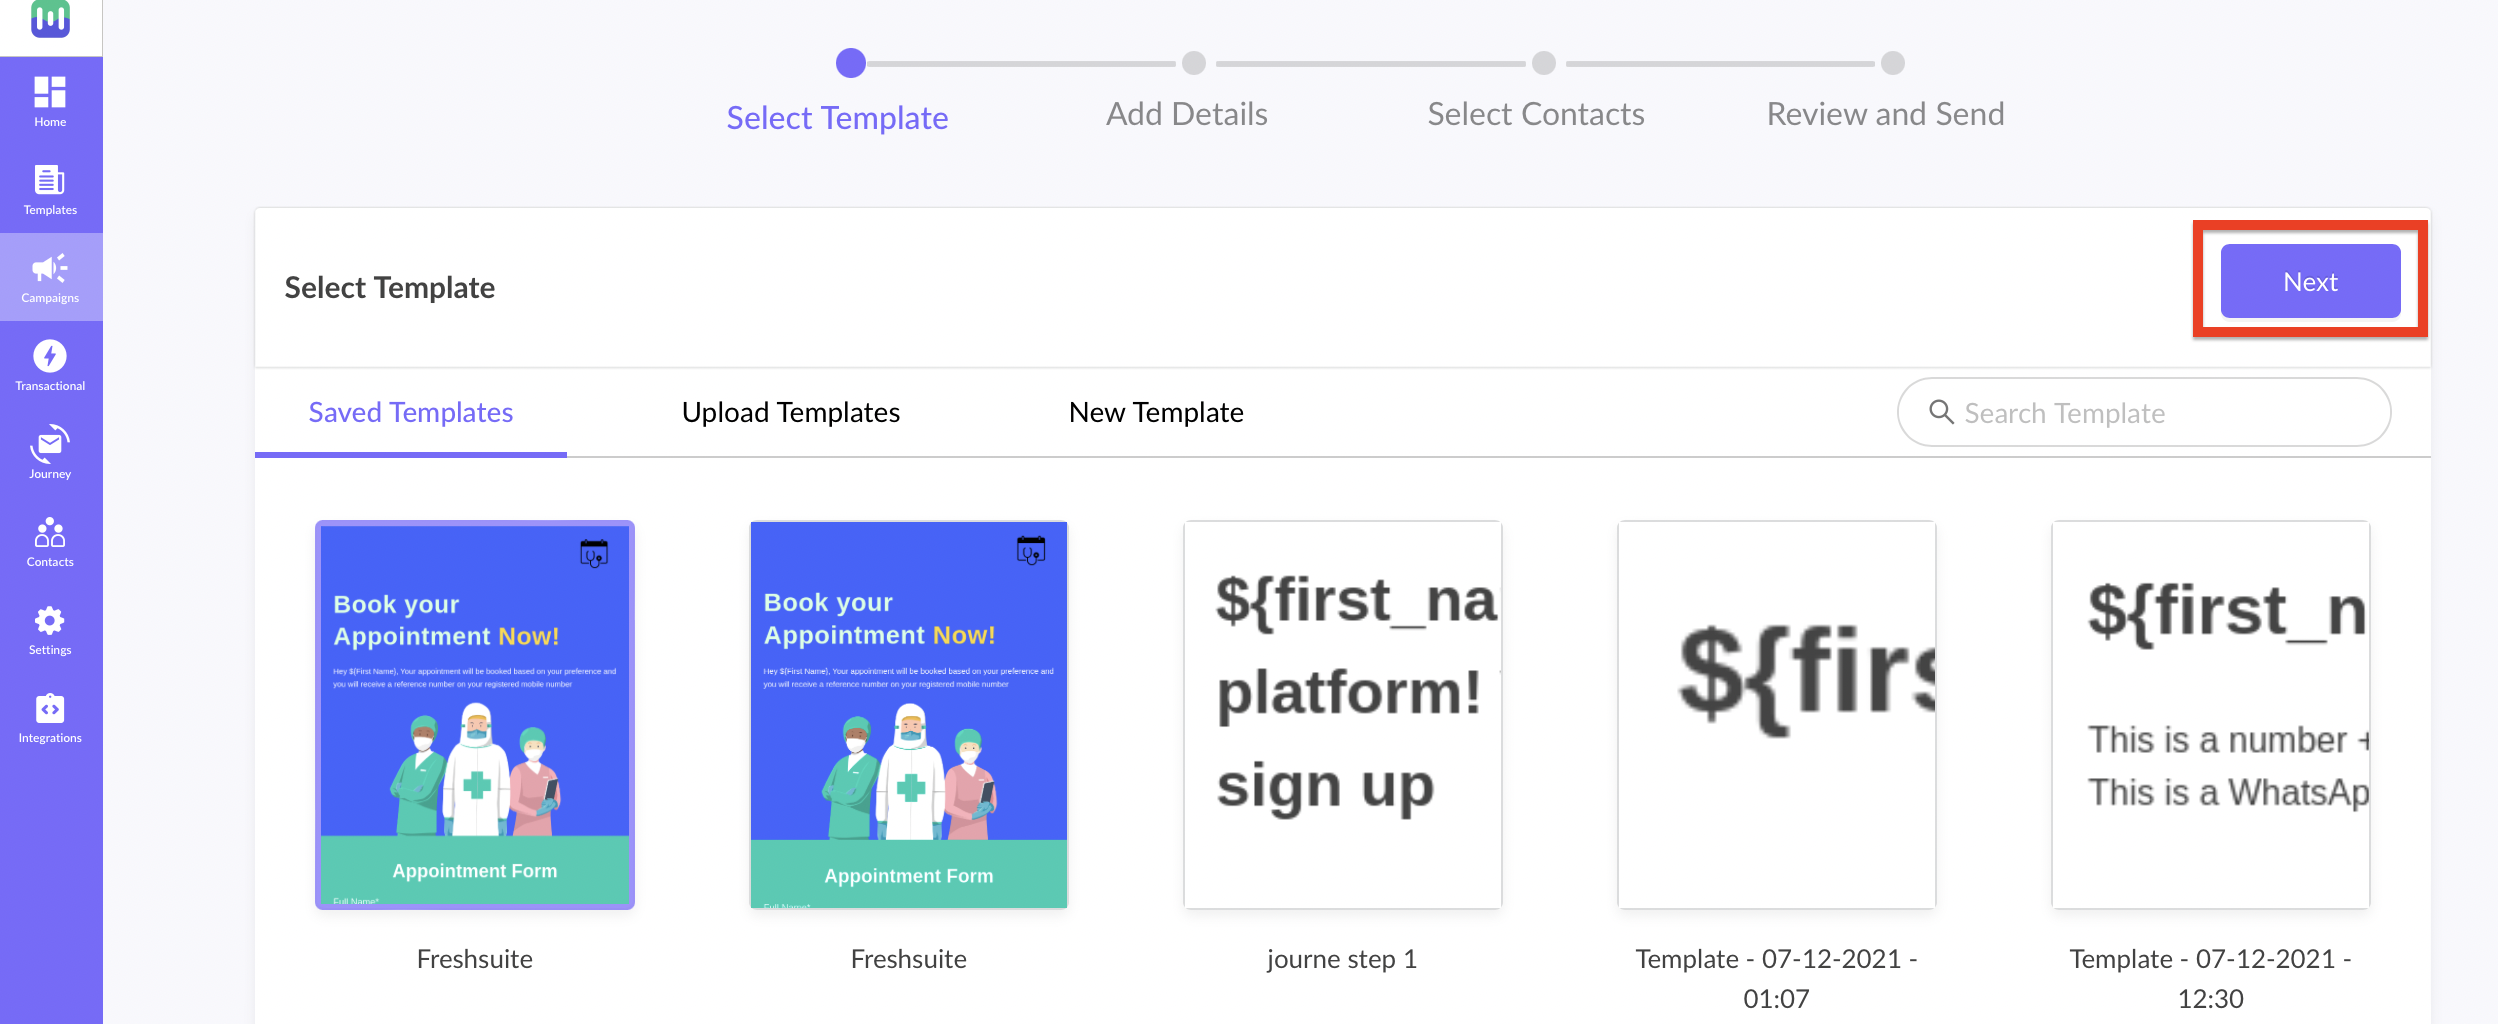
Step 6: Select the template you saved before. Click on next.
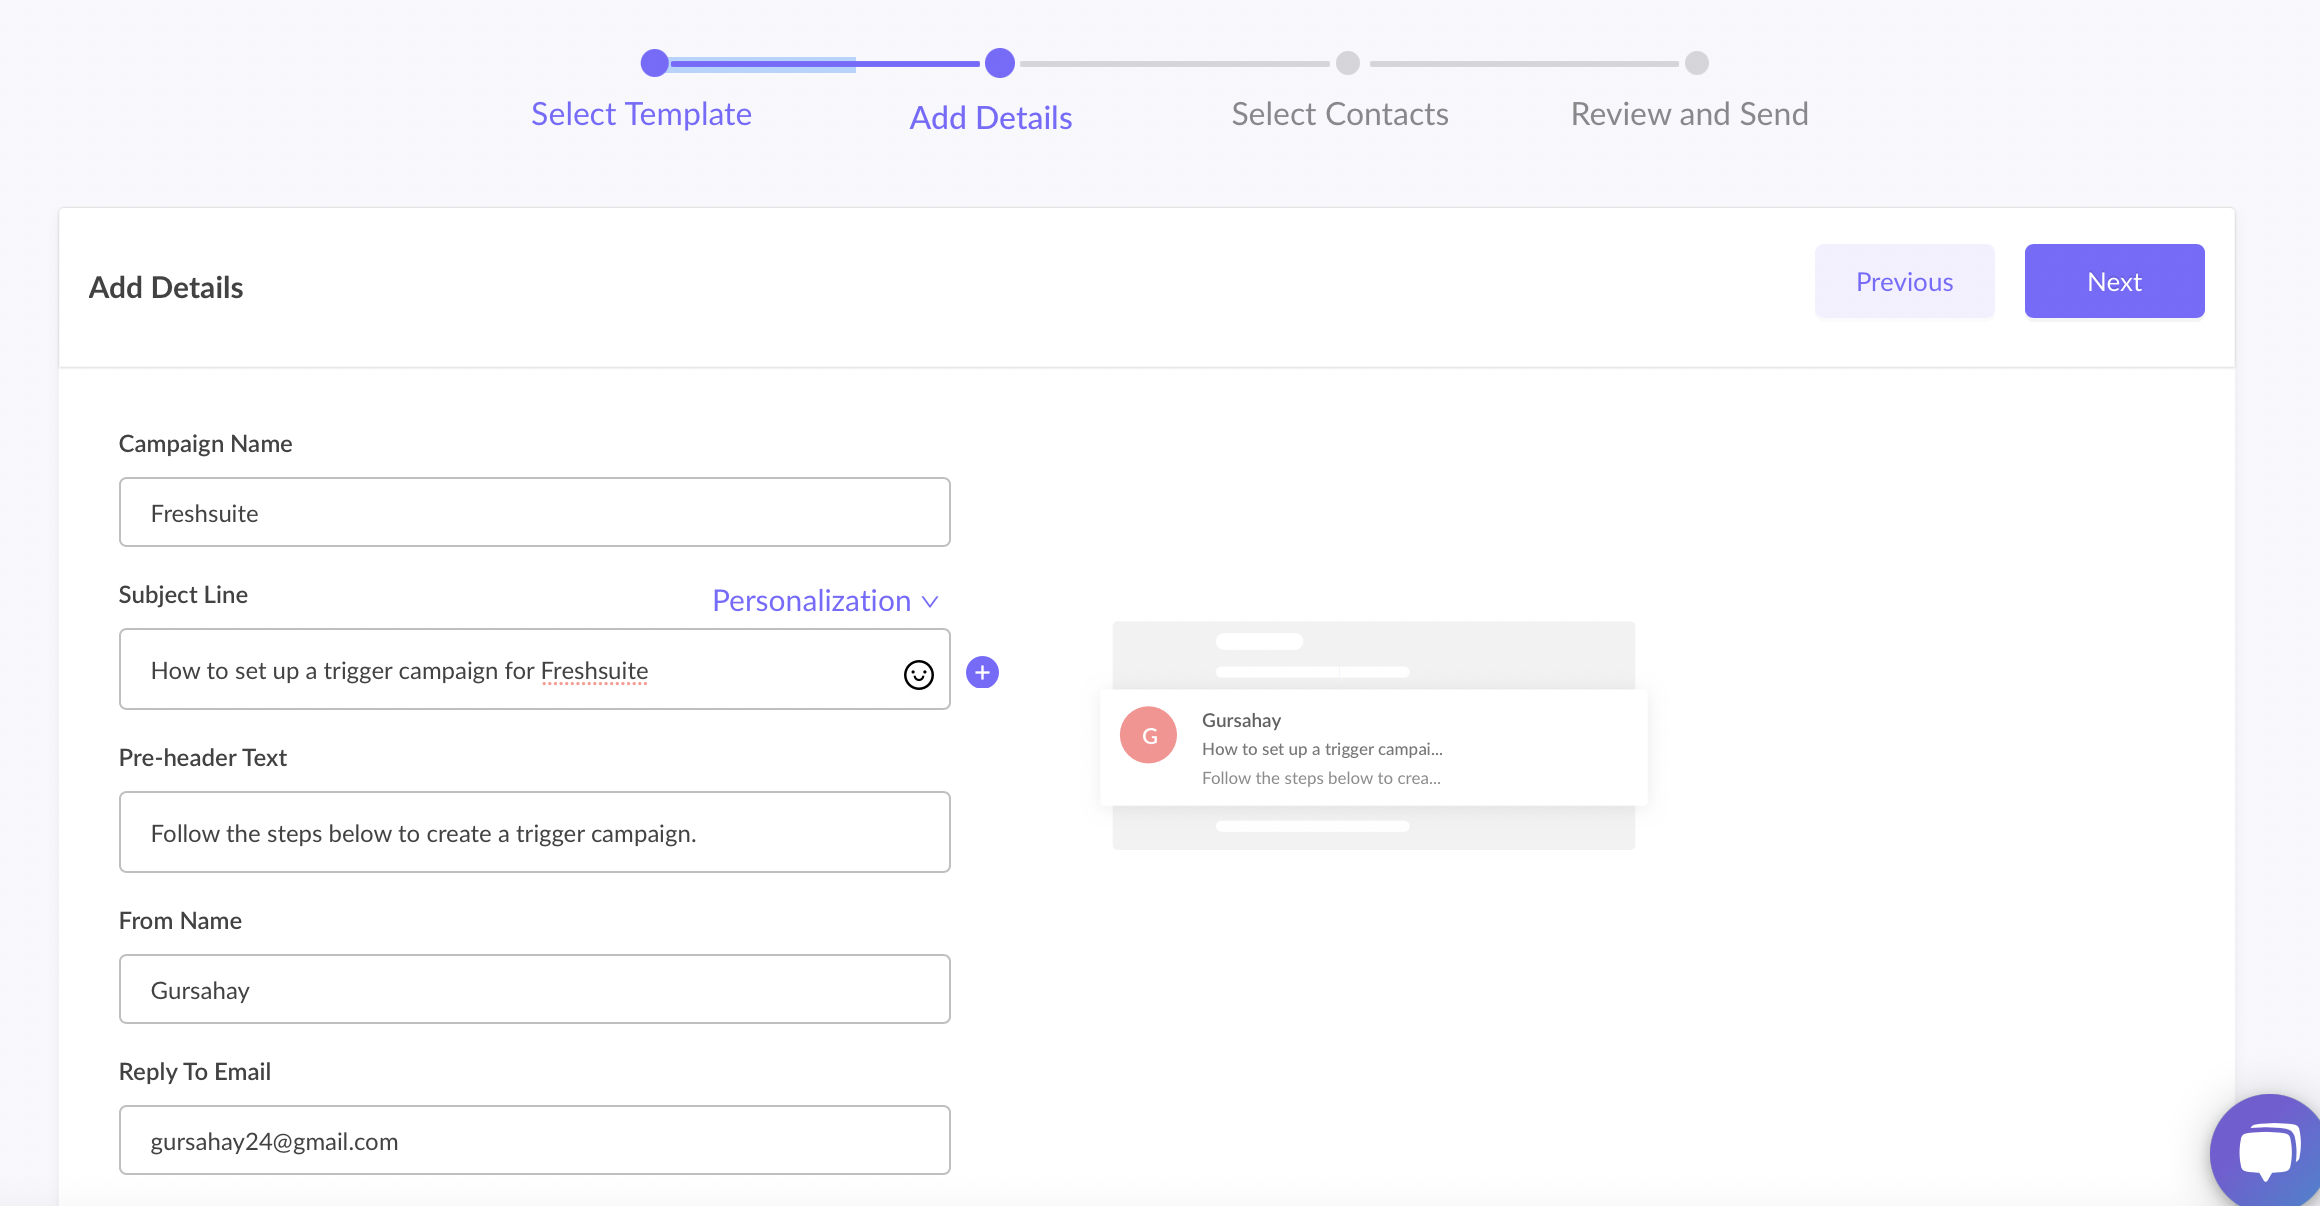
Step 7: Add Subject Line, Pre-header text, From name and Reply to email. Click on next.
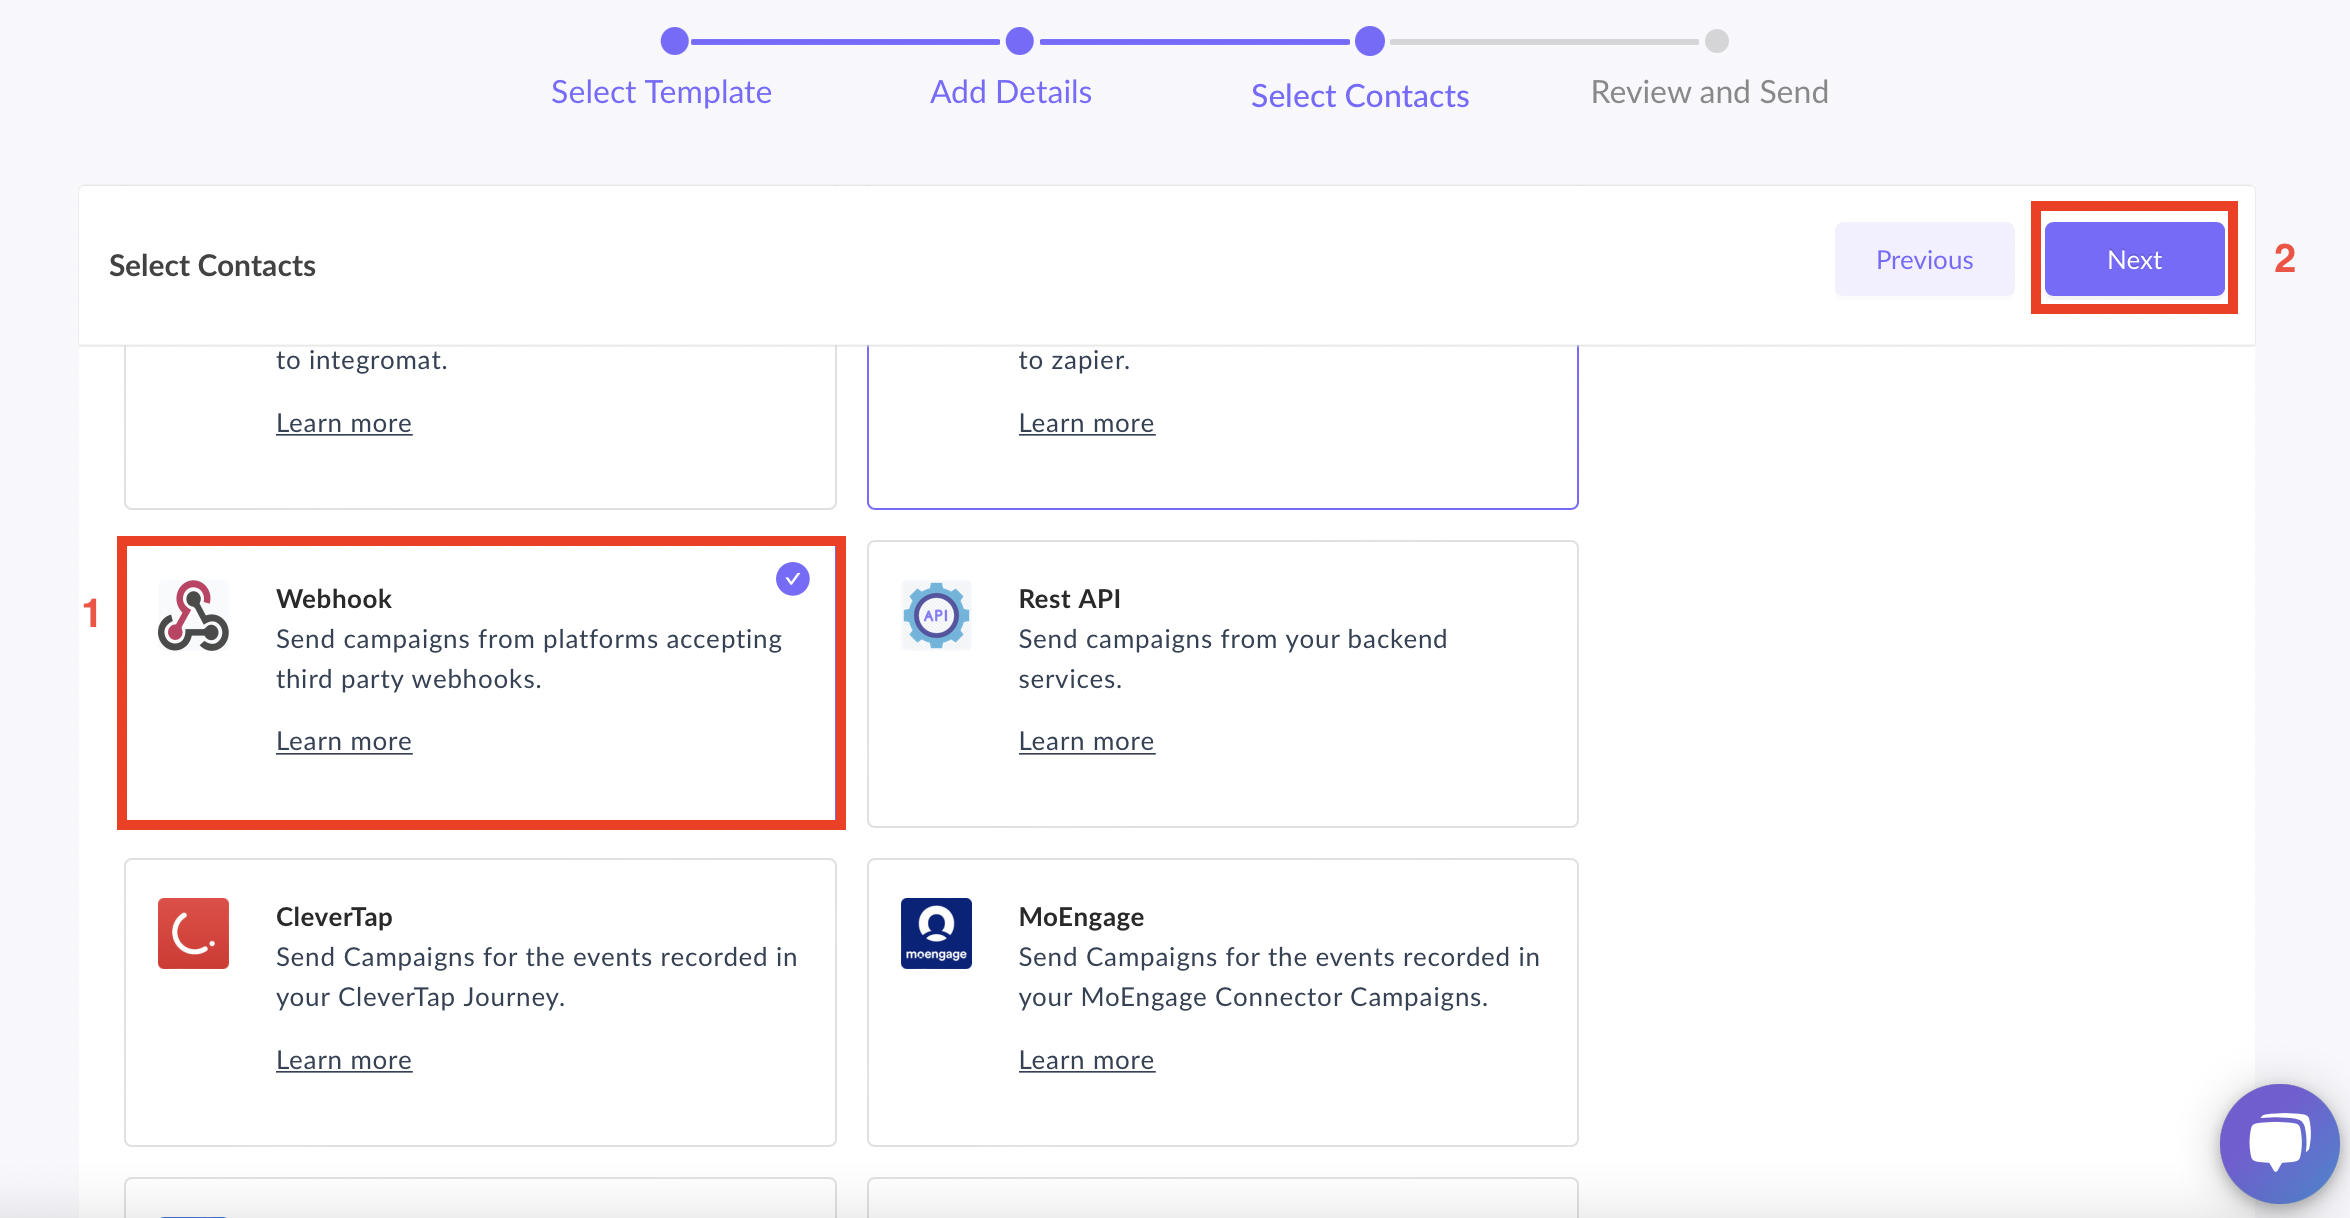
Step 8: You will be redirected to trigger on events. Select Webhook from the list of platforms. Click on next.
Step 9: Review and test your campaign. To test, click on send test campaign->enter email ID->send test email.
Once tested and reviewed, click on enable campaign.
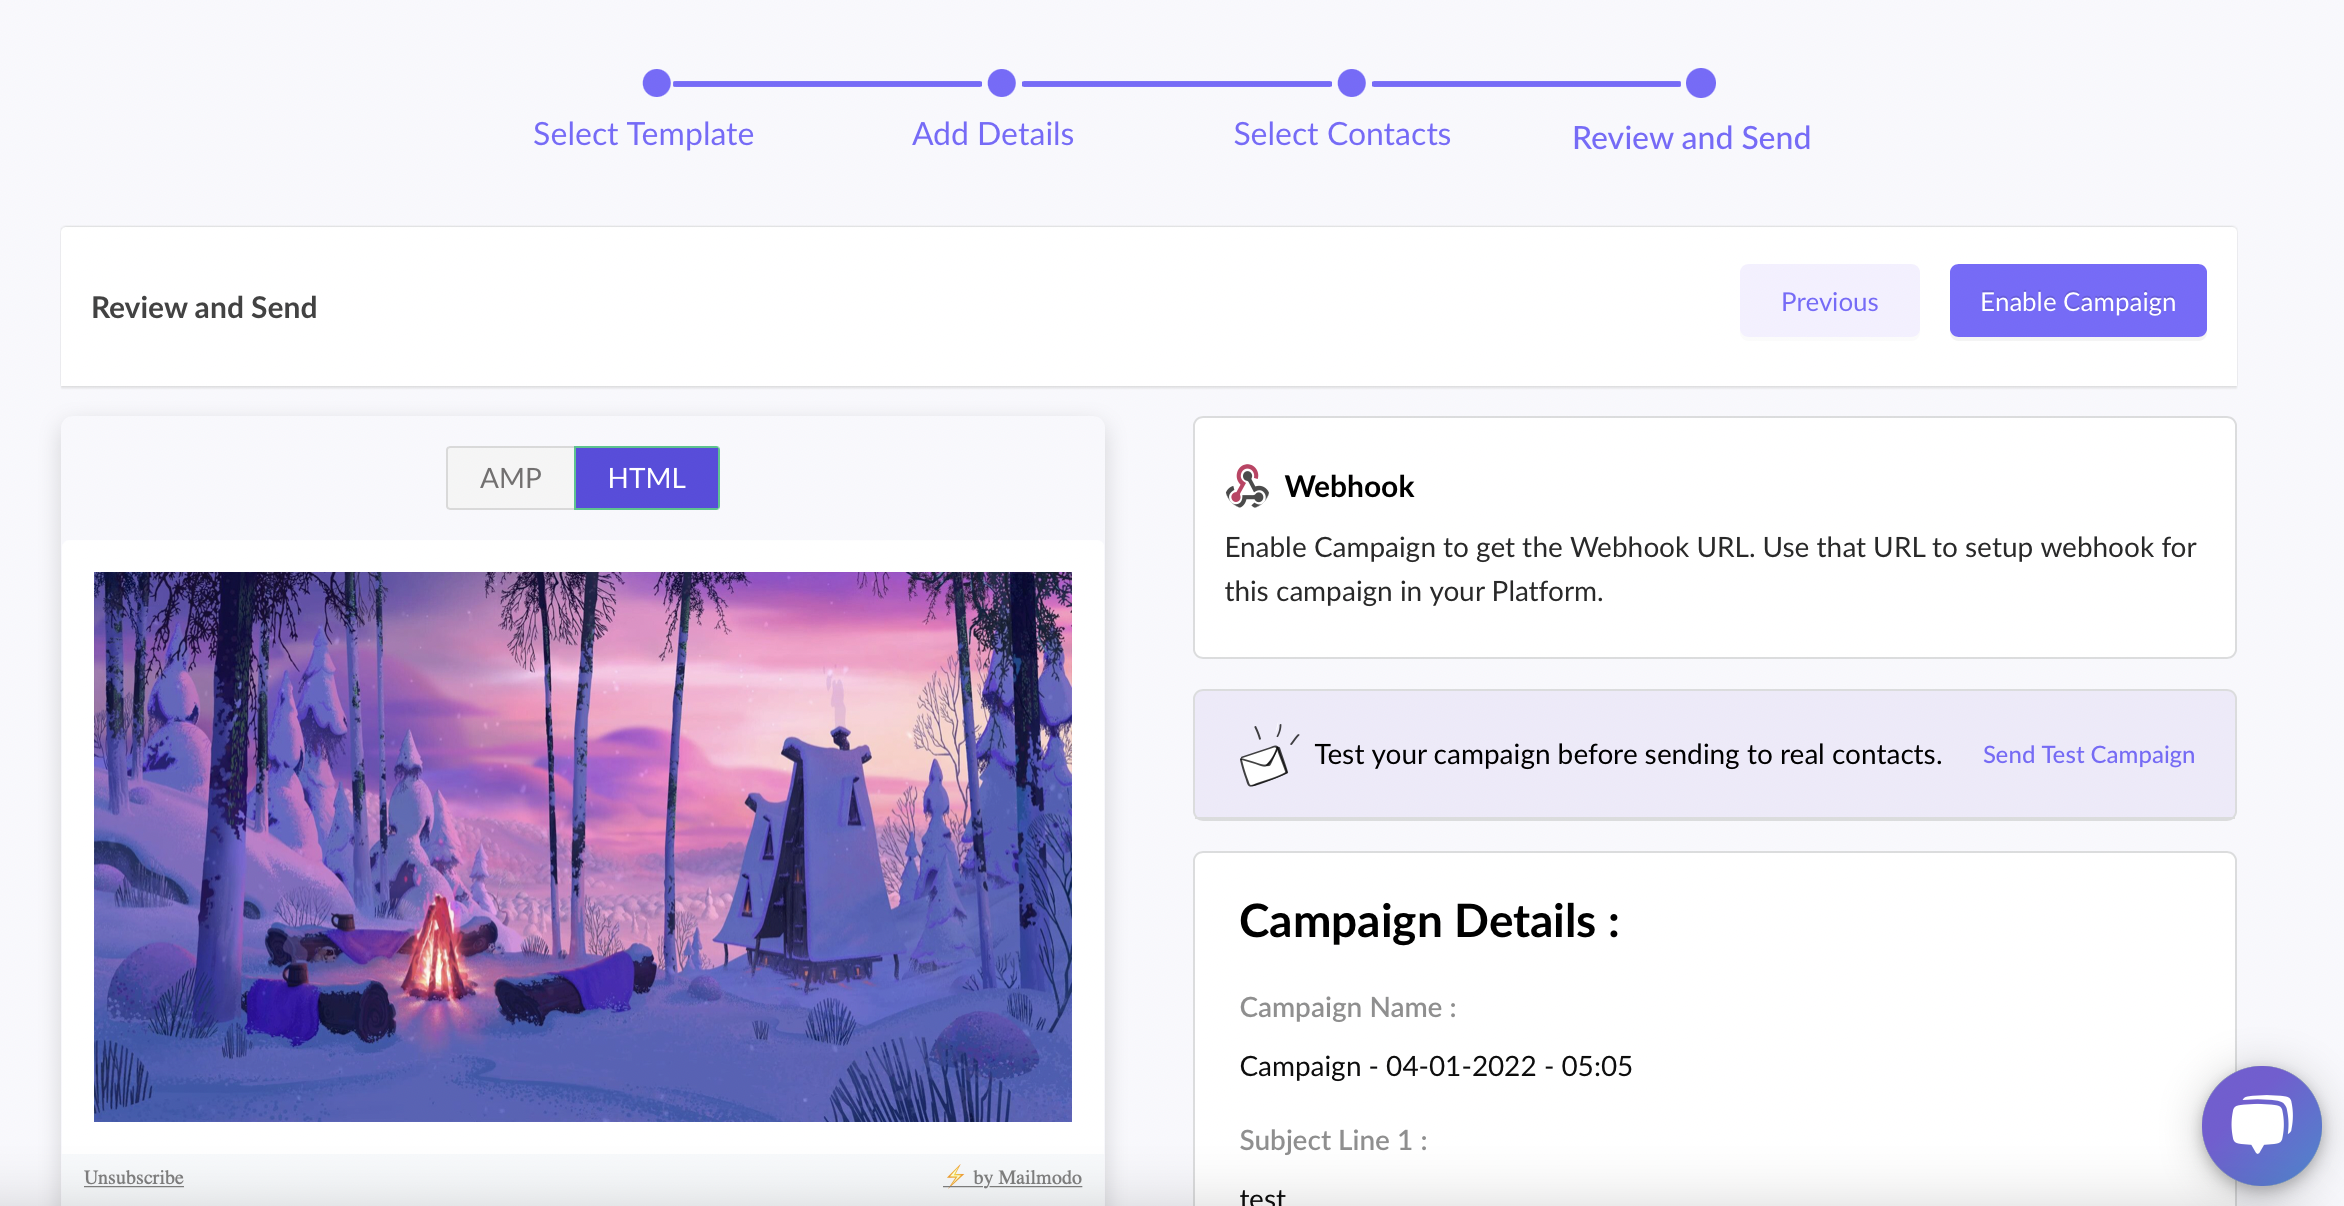
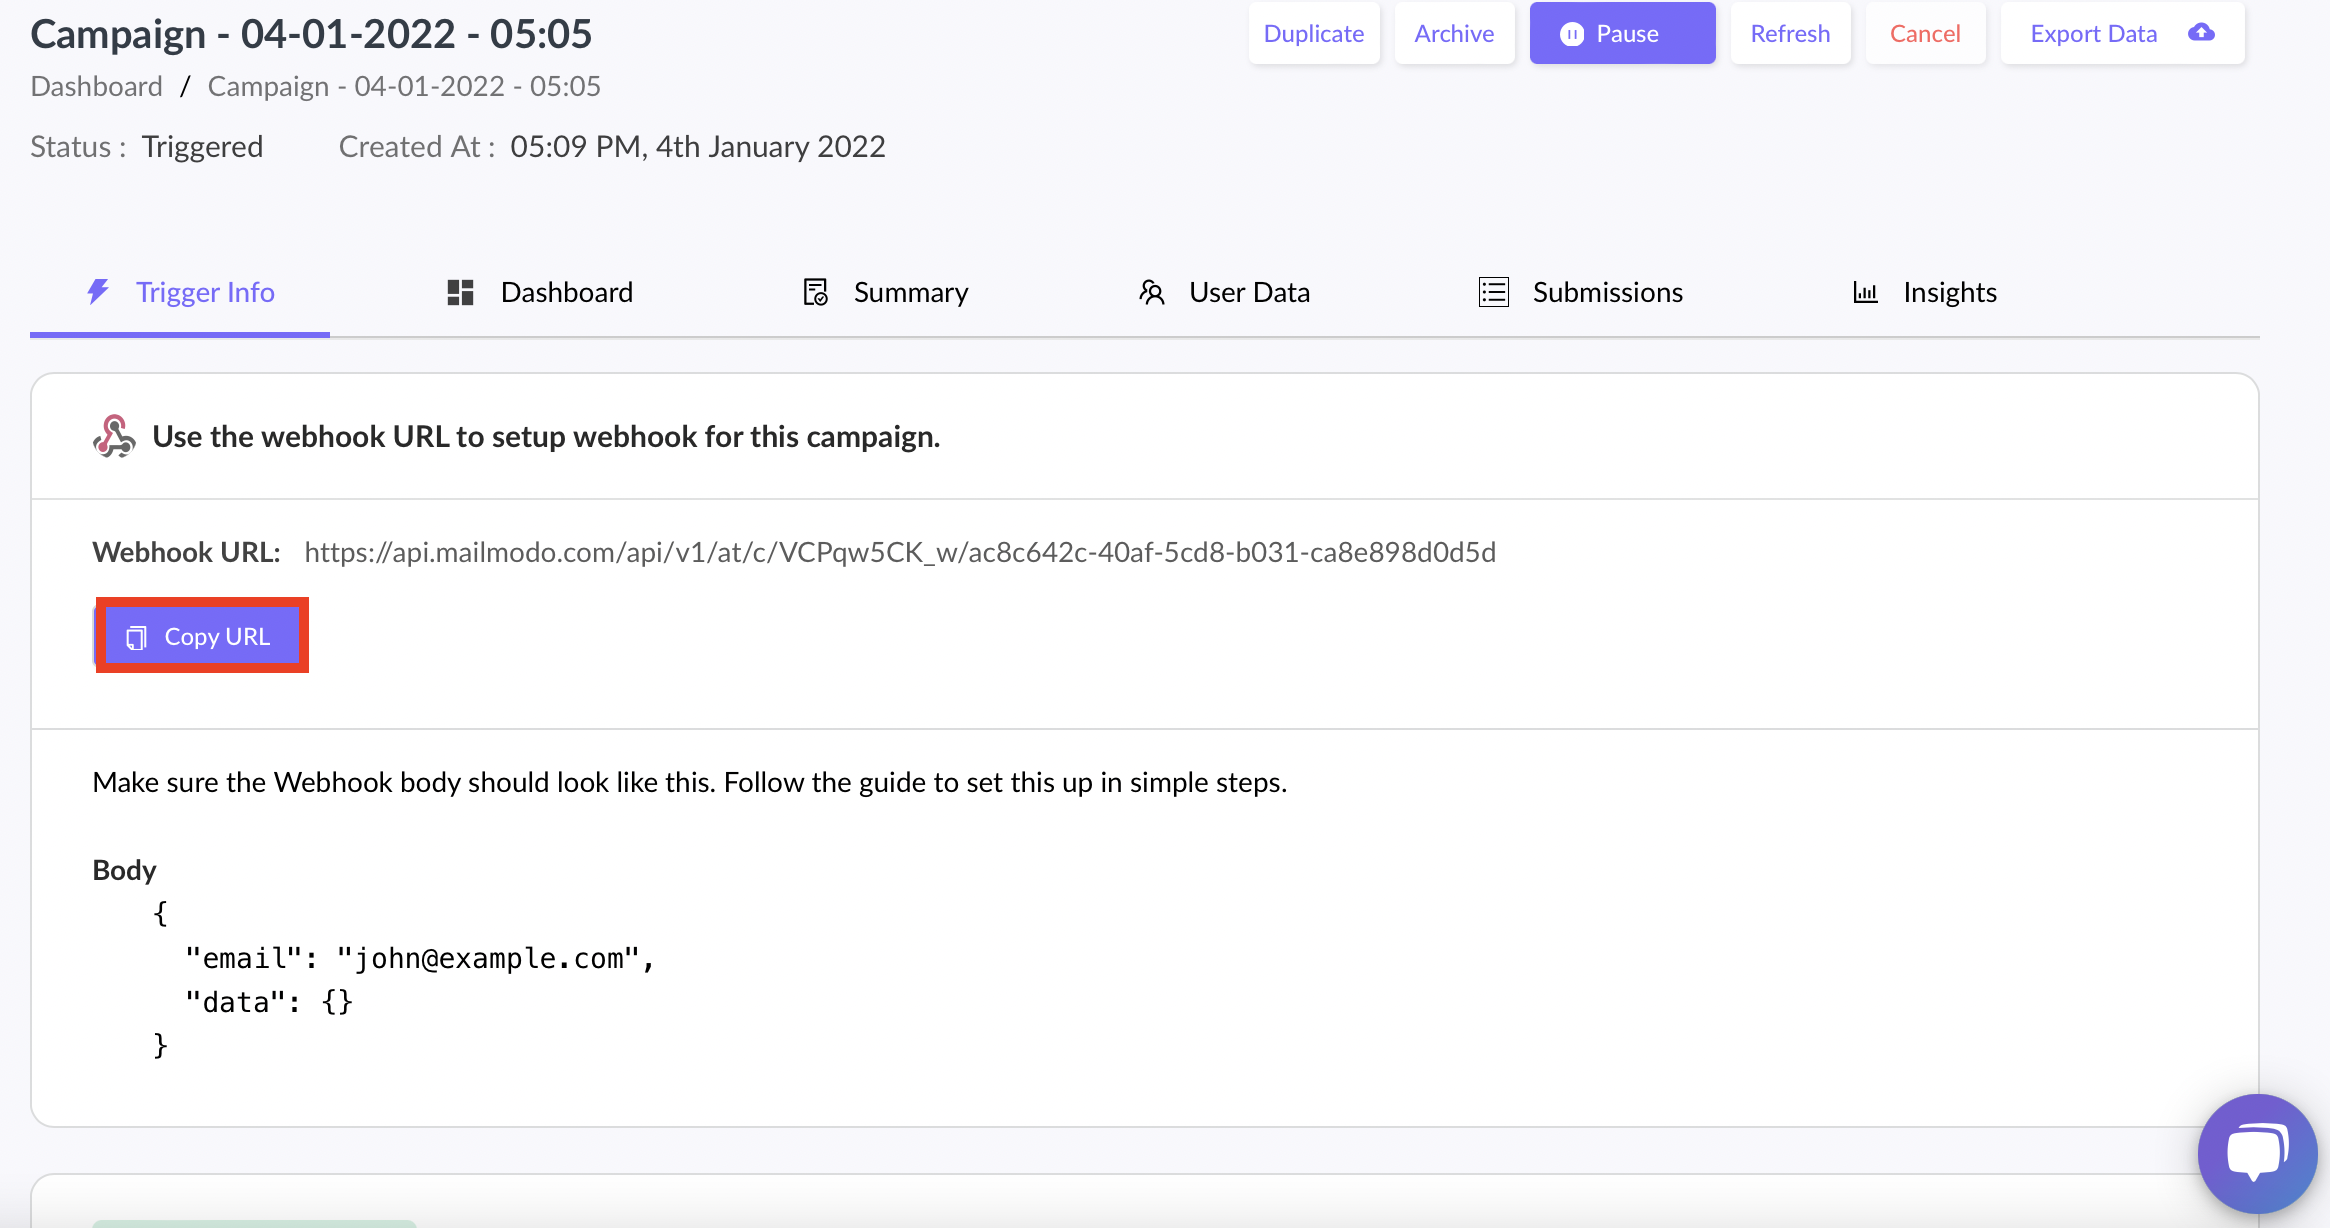
Step 10: A Webhook URL will be generated which can be accessed from setup steps.
Click on Copy URL. We will use this web hook url in the Messagebird flow.
How to build a Flow and trigger Webhook in MessageBird?
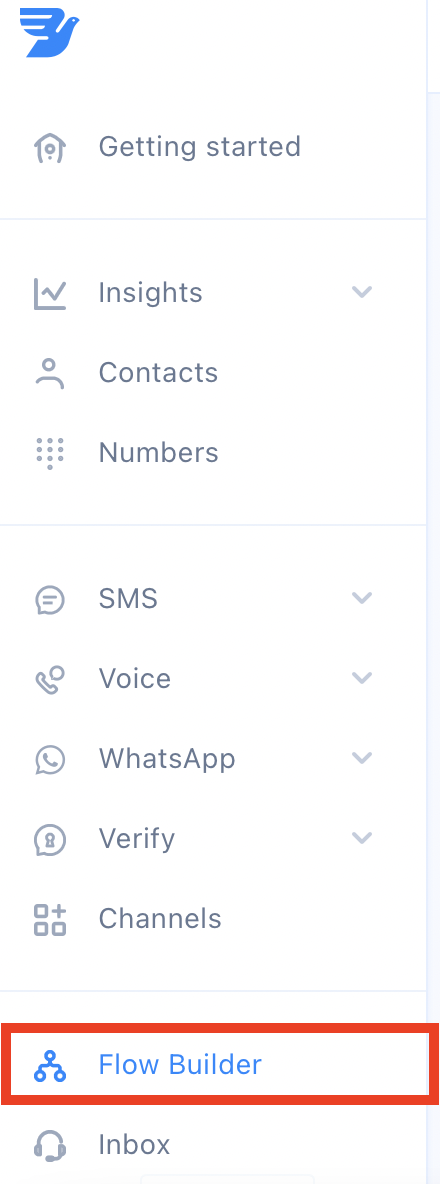
Step 1: Select Flow Builder from the dashboard on the left.
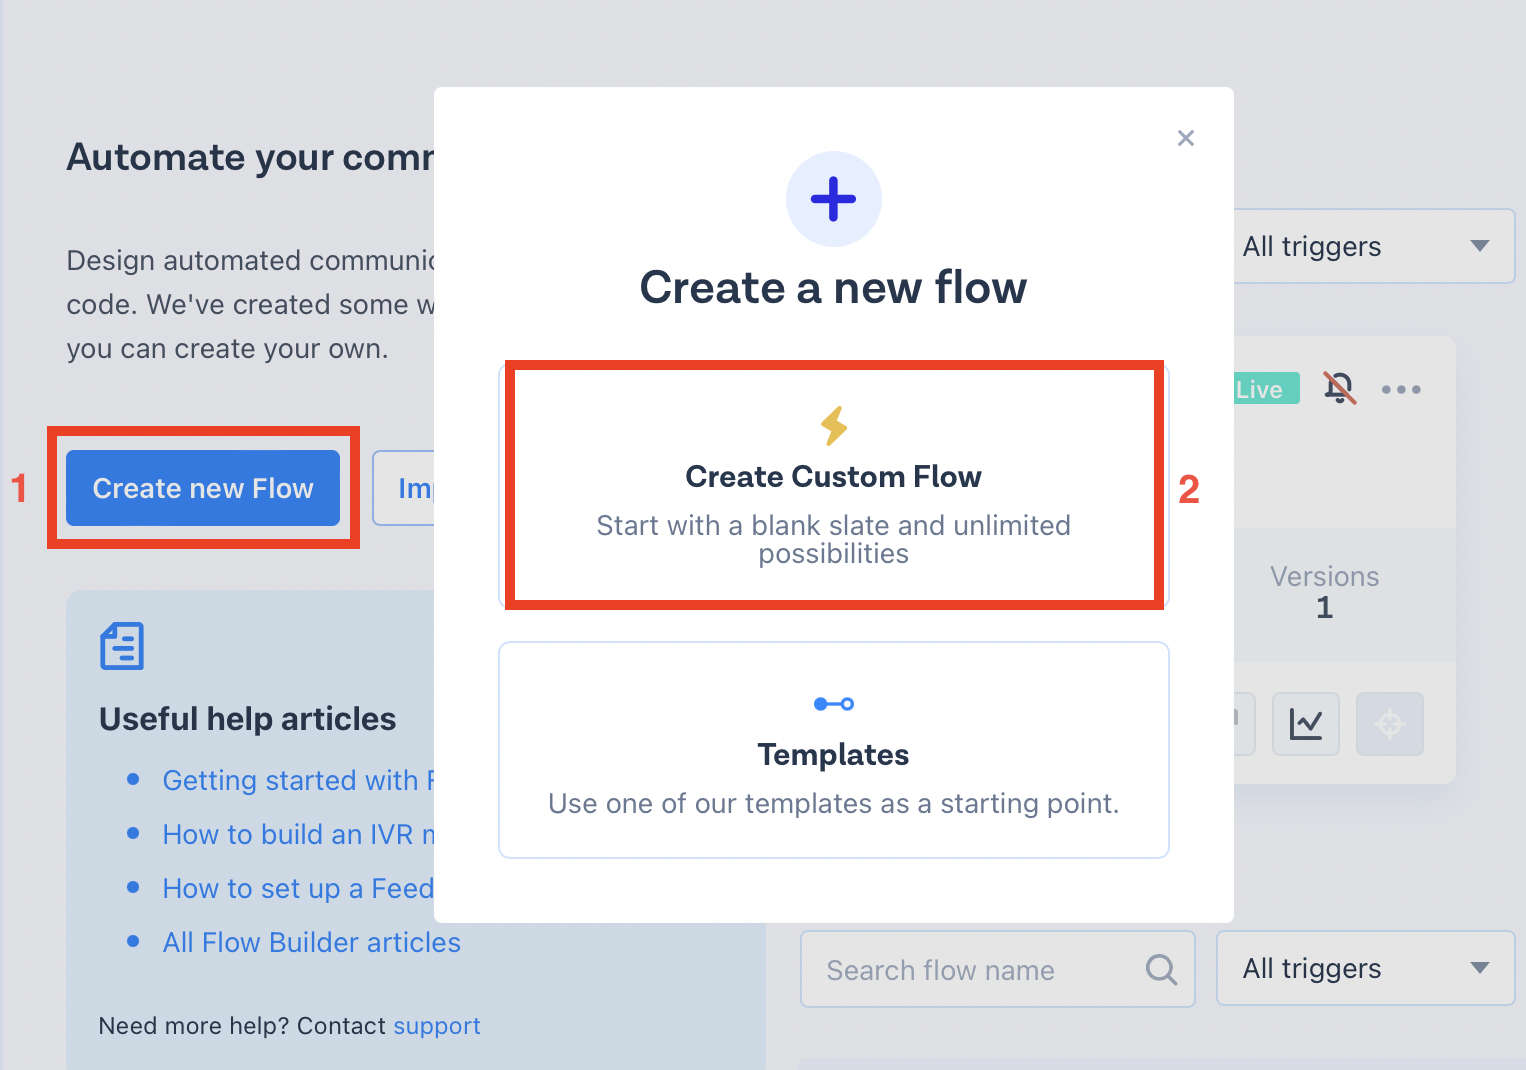
Step 2: Click on Create new Flow. A pop up will open. Click on Create Custom Flow.
Step 3: Select a Trigger which will initiate your flow.
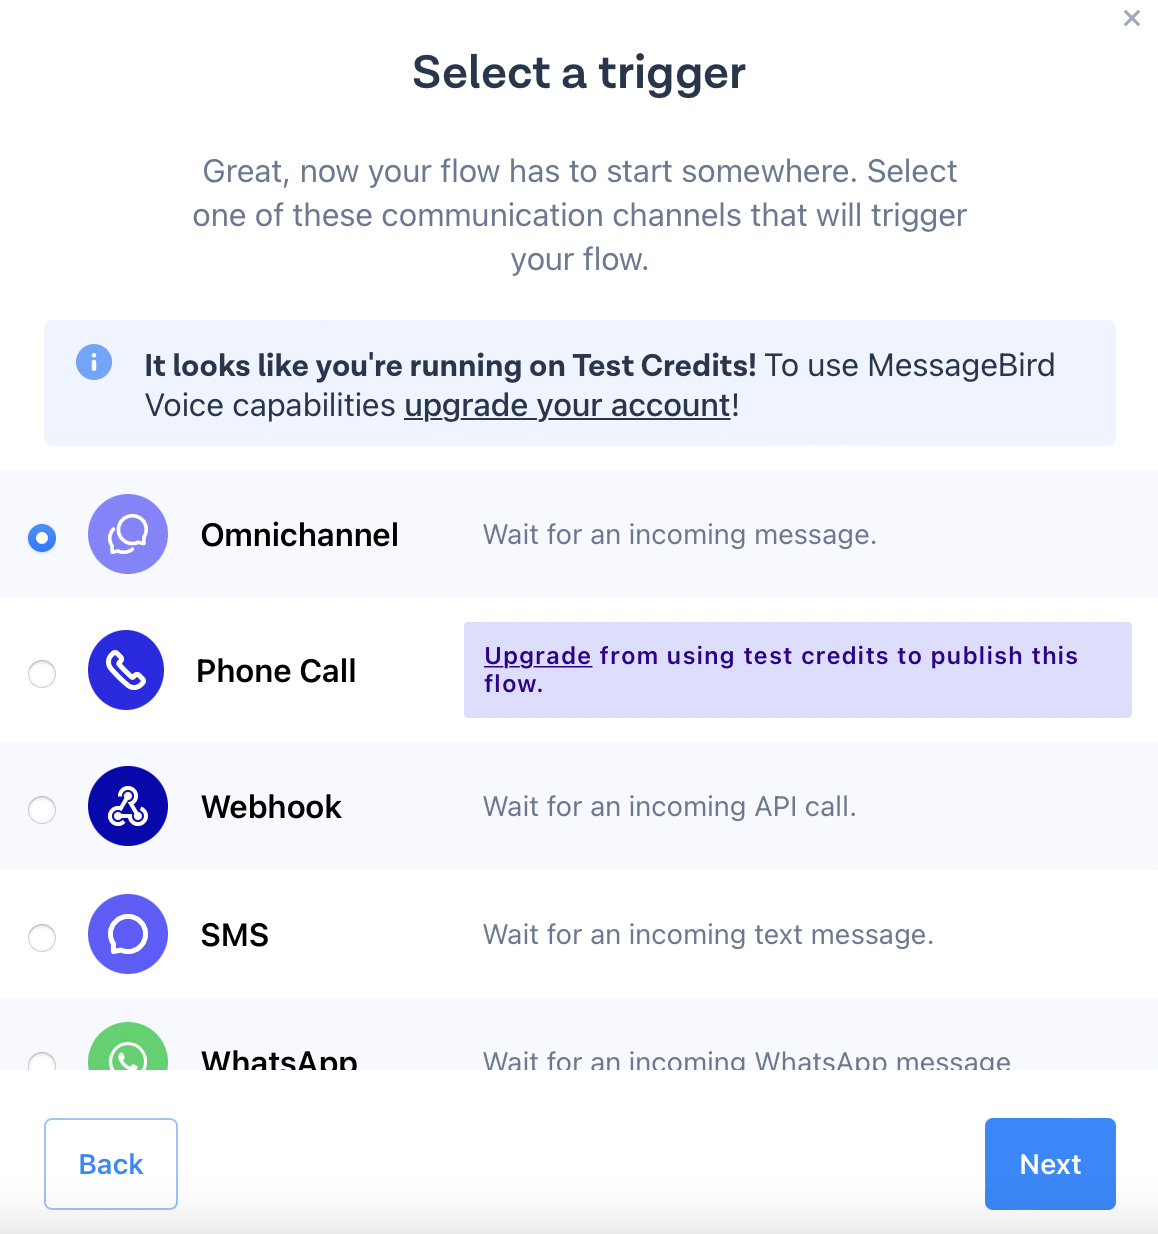
Step 4: Create desired flow.
For example, let's take the 'Omnichannel' option where we would set up a flow, that whenever a message is received the email should go from Mailmodo.
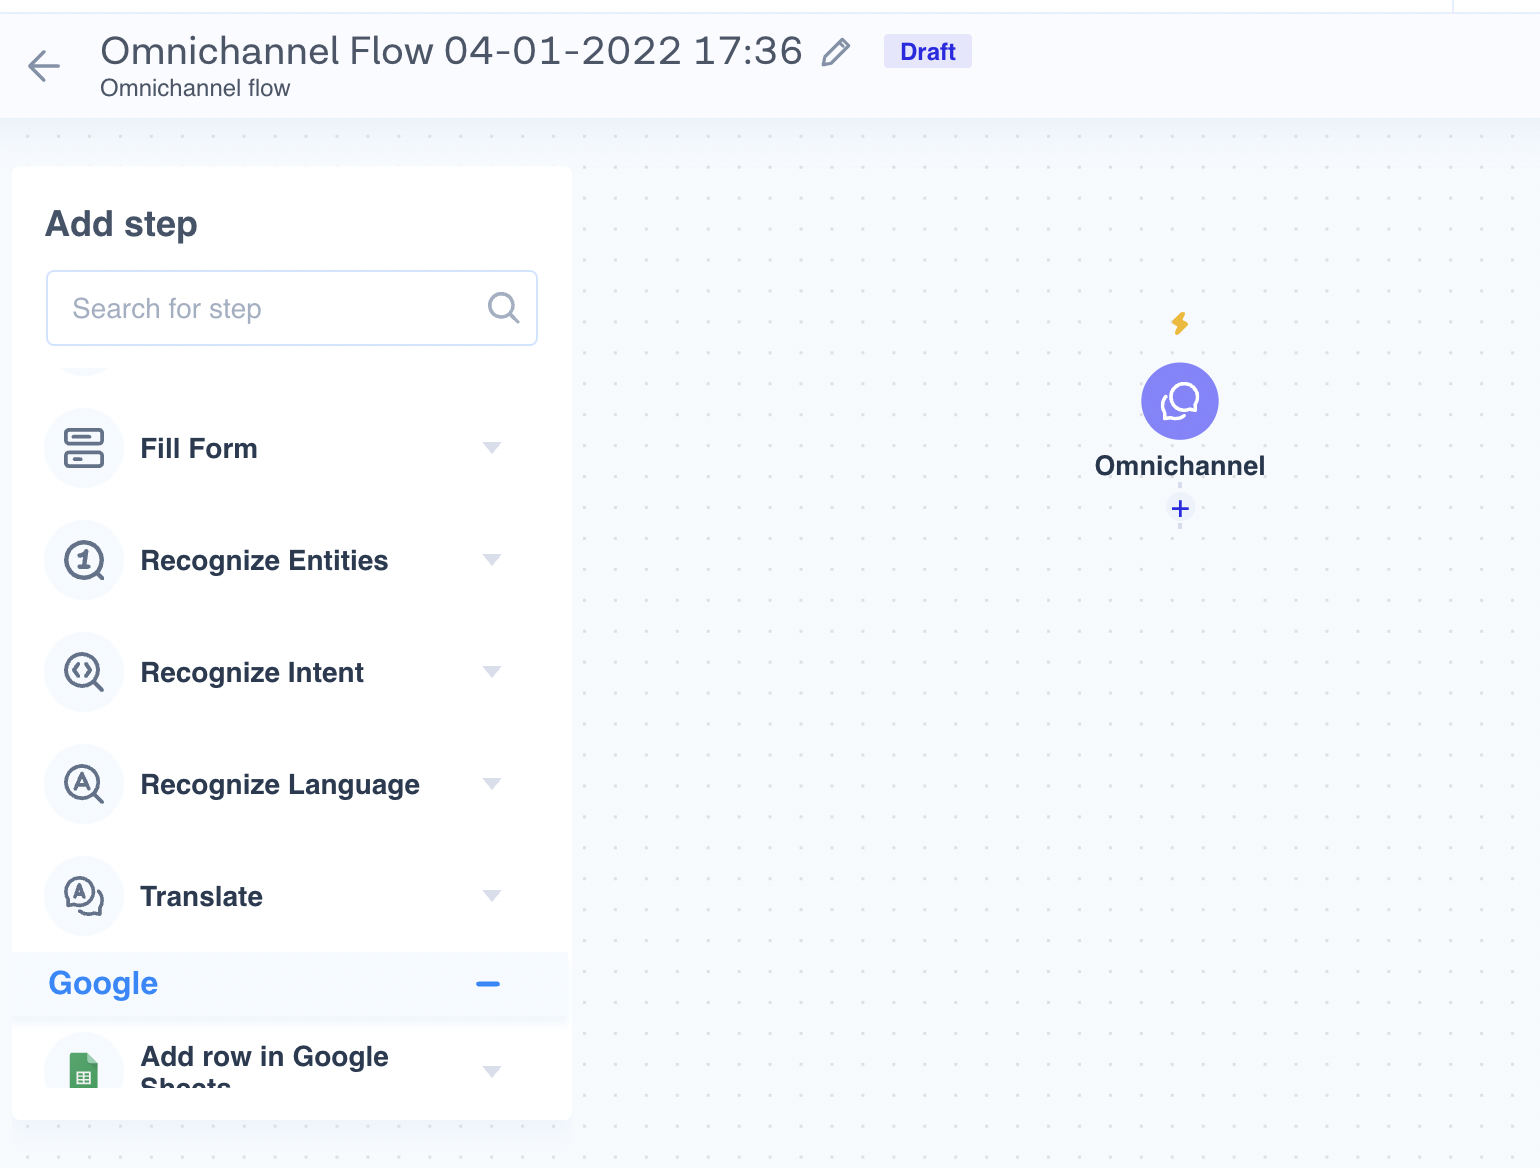
Step 5: Click on Plus (+) option to add HTTP as an action to this flow.
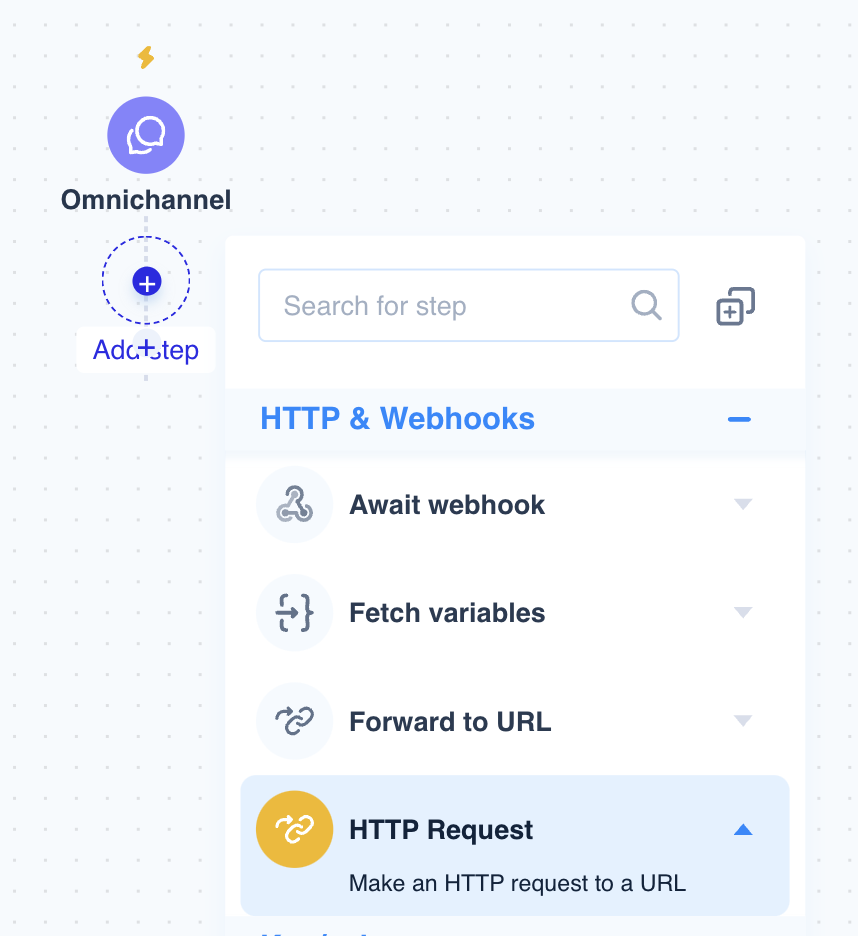
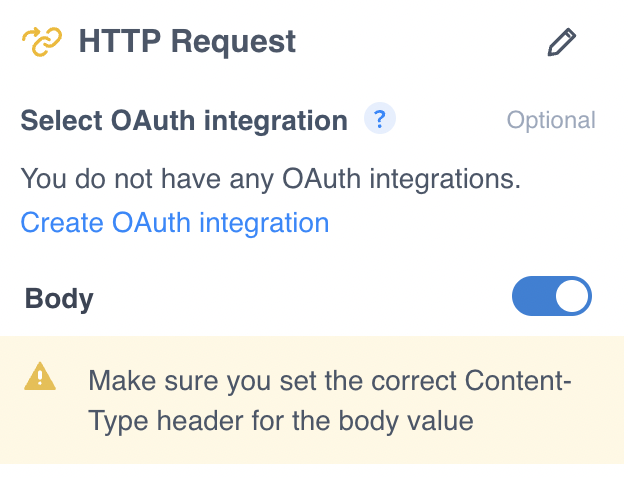
Step 6: Click on HTTP Request option to enter the webhook details.
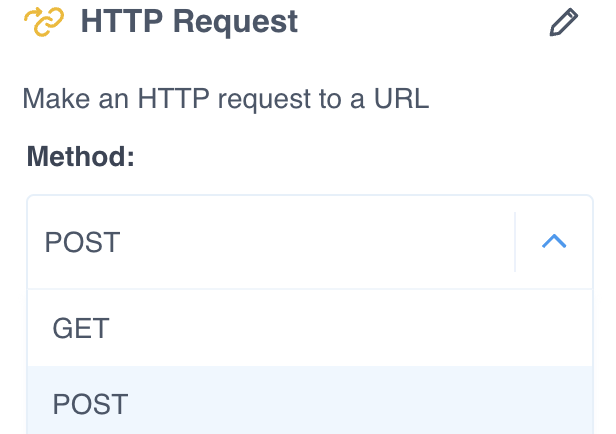
Step 7: Select Method as Post.
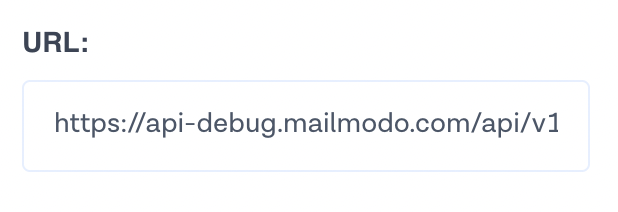
Step 8: Copy the URL from the Mailmodo trigger info page and add in the URL section of the Webhook.


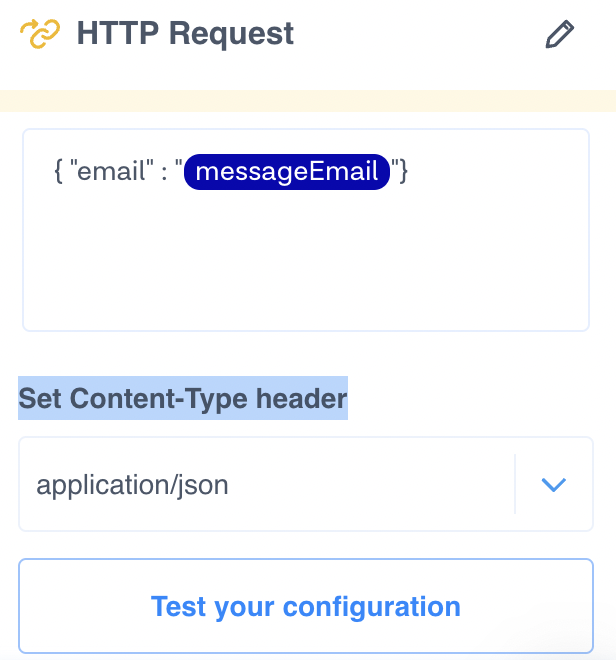
Step 9: Switch On the Body option to write the custom payload of the Webhook.
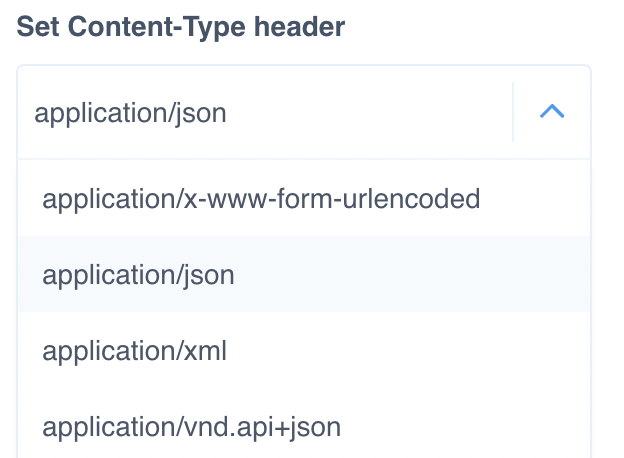
Step 10: Set Content-Type header as application/json.
Step 11: Enter the custom payload by copying the Webhook structure from the Mailmodo trigger info page.
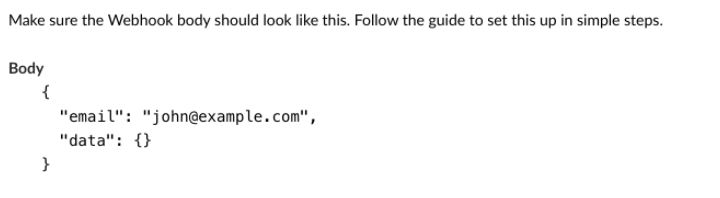
And paste it in the body of HTTP Request in MessageBird.

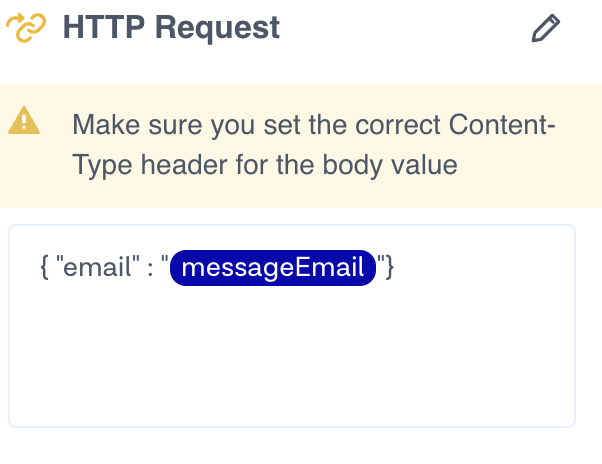
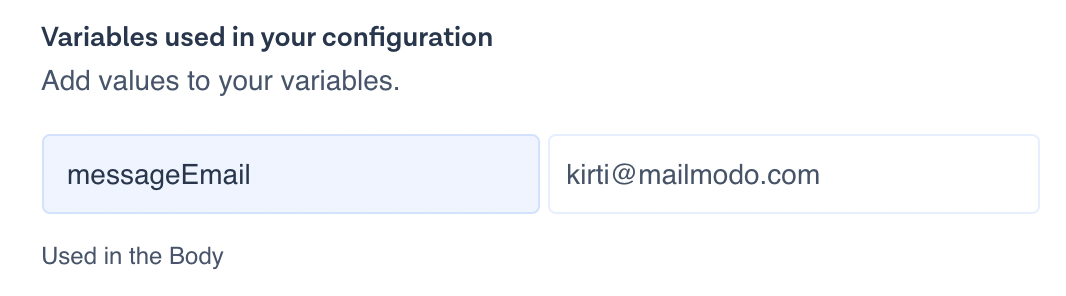
Map the value for email with the MessageBird available variable to pass the email address of the contact to Mailmodo.
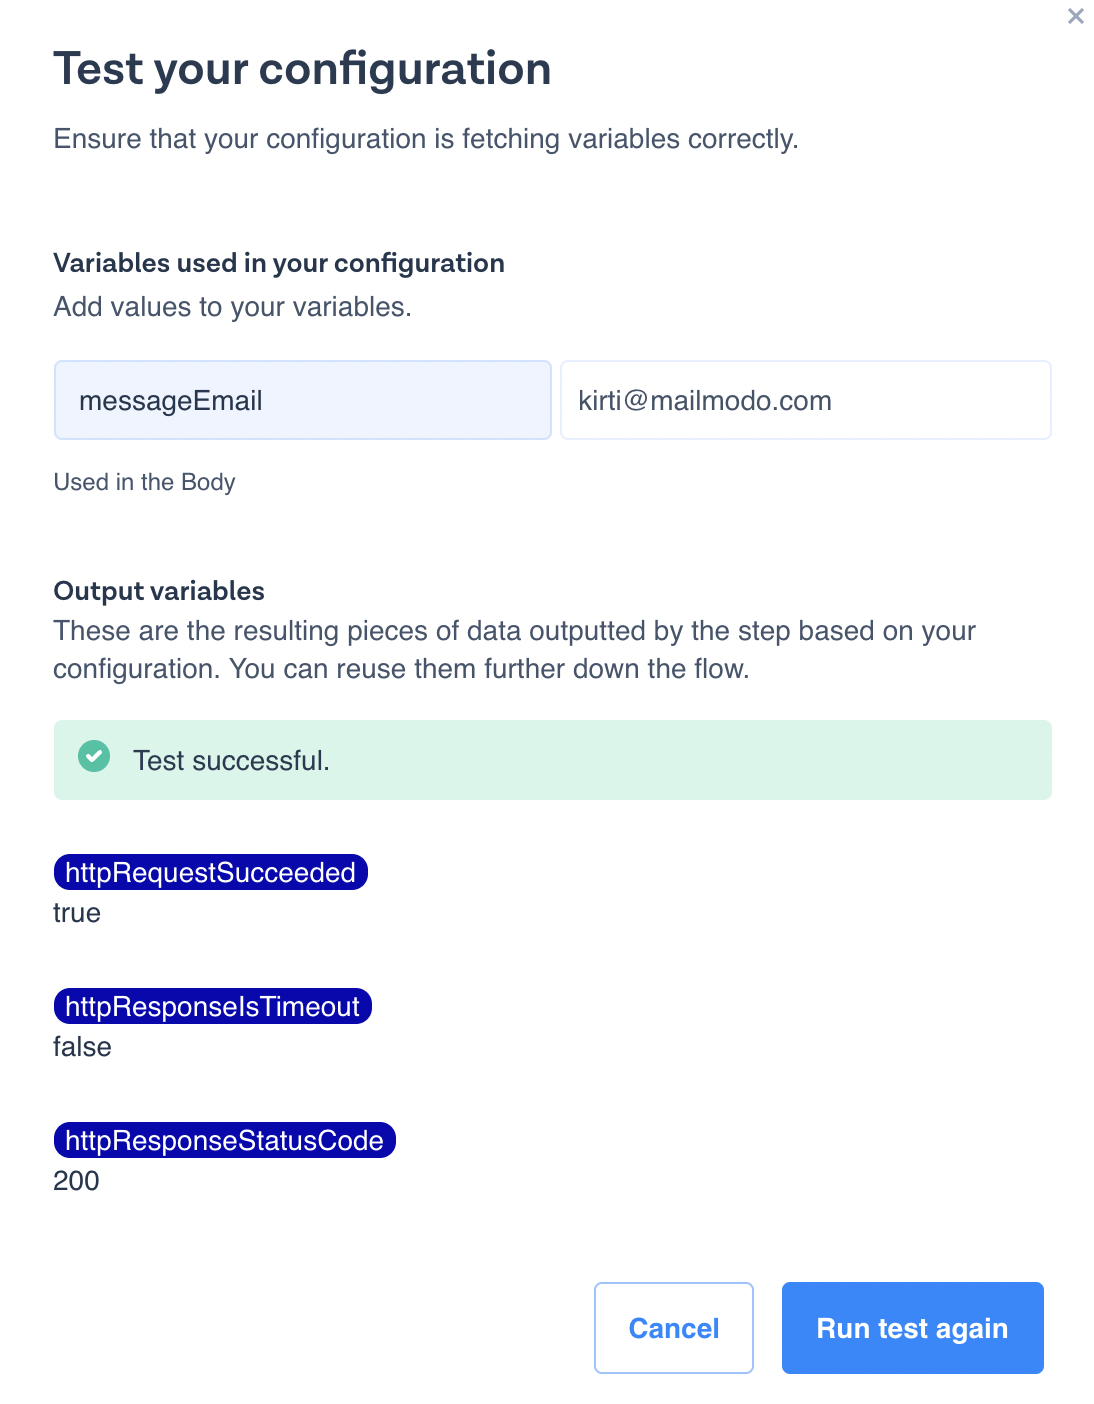
Step 12: Click on Test Configuration to test the Webhook.
Step 13: Add a default value (your email address) in the email field to receive the email triggered from configured Webhook.
Once it shows the Success message, it is ready to get published.
Step 14: Click on Publish to set the flow live.
