

Journey in Mailmodo through SureTriggers
Last updated February 8, 2024
SureTriggers integration with Mailmodo allows you to:
- Add contact to Mailmodo
- Trigger an email campaign in Mailmodo
- Trigger journey in Mailmodo (focus of this article)
Pre-requisites: To carry out the aforementioned functions, you need to first integrate SureTriggers with Mailmodo. To do that, follow the steps mentioned in Mailmodo-SureTrigger Integration .
Note: We have used Google Form as trigger, but user can choose their own trigger depending on use case.
Step by step guide for triggering journey in Mailmodo using SureTriggers
Step 0
Having the following things ready before starting on the workflow will make the whole process smoother.
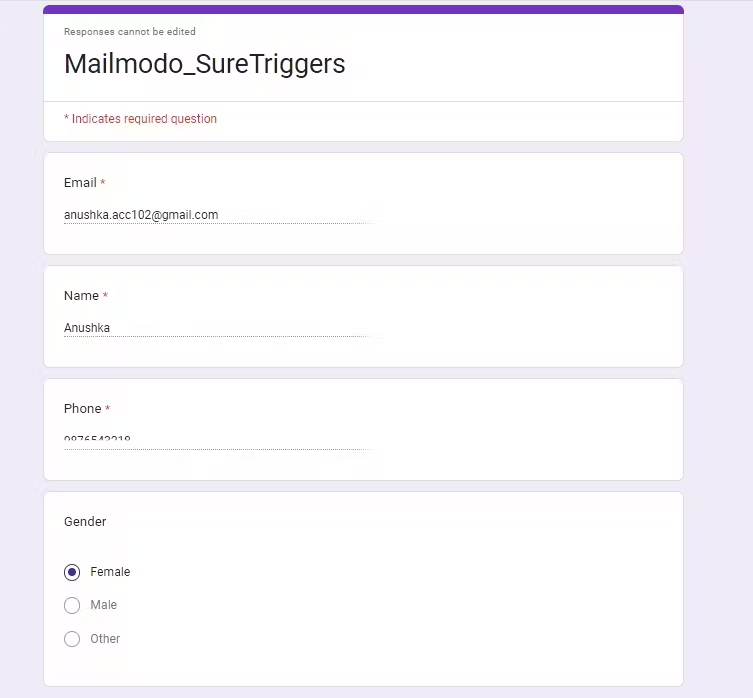
- Create a google form to gather email and other information. And submit at least one response with working email for testing purposes in below steps.
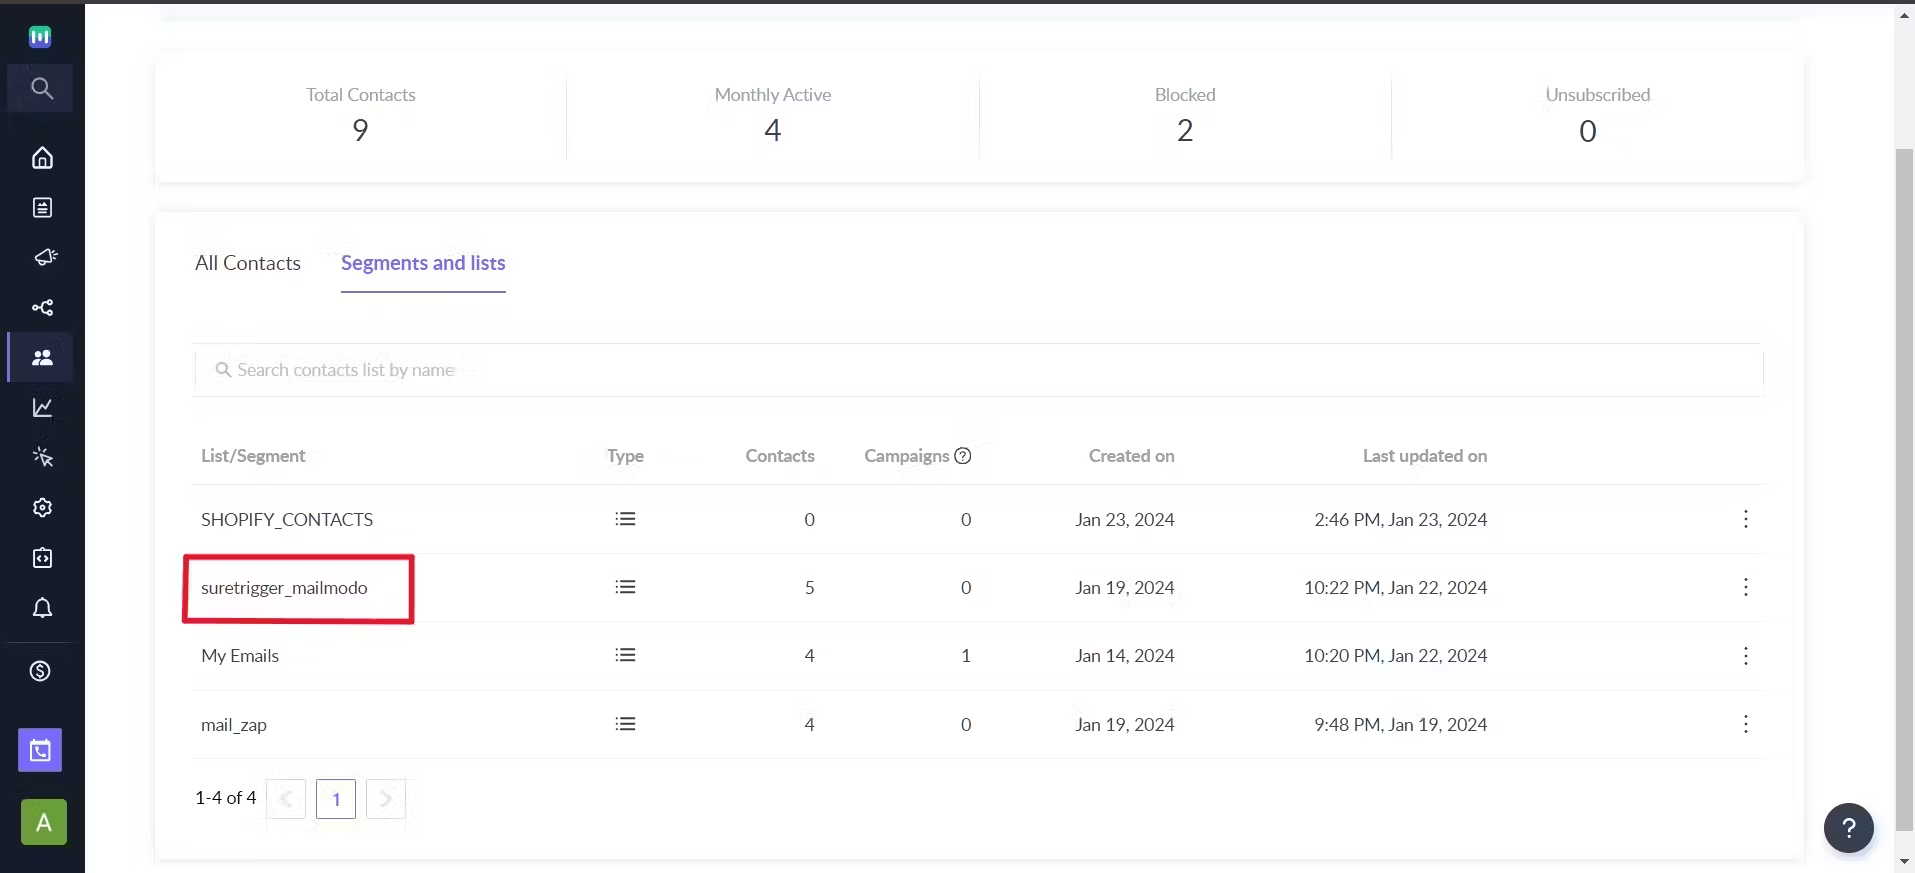
- In Mailmodo, create a distinct contact list for the purpose of adding contacts from SureTriggers or keep in mind which preexisting list you would prefer for this purpose. ( Info. on contact lists )
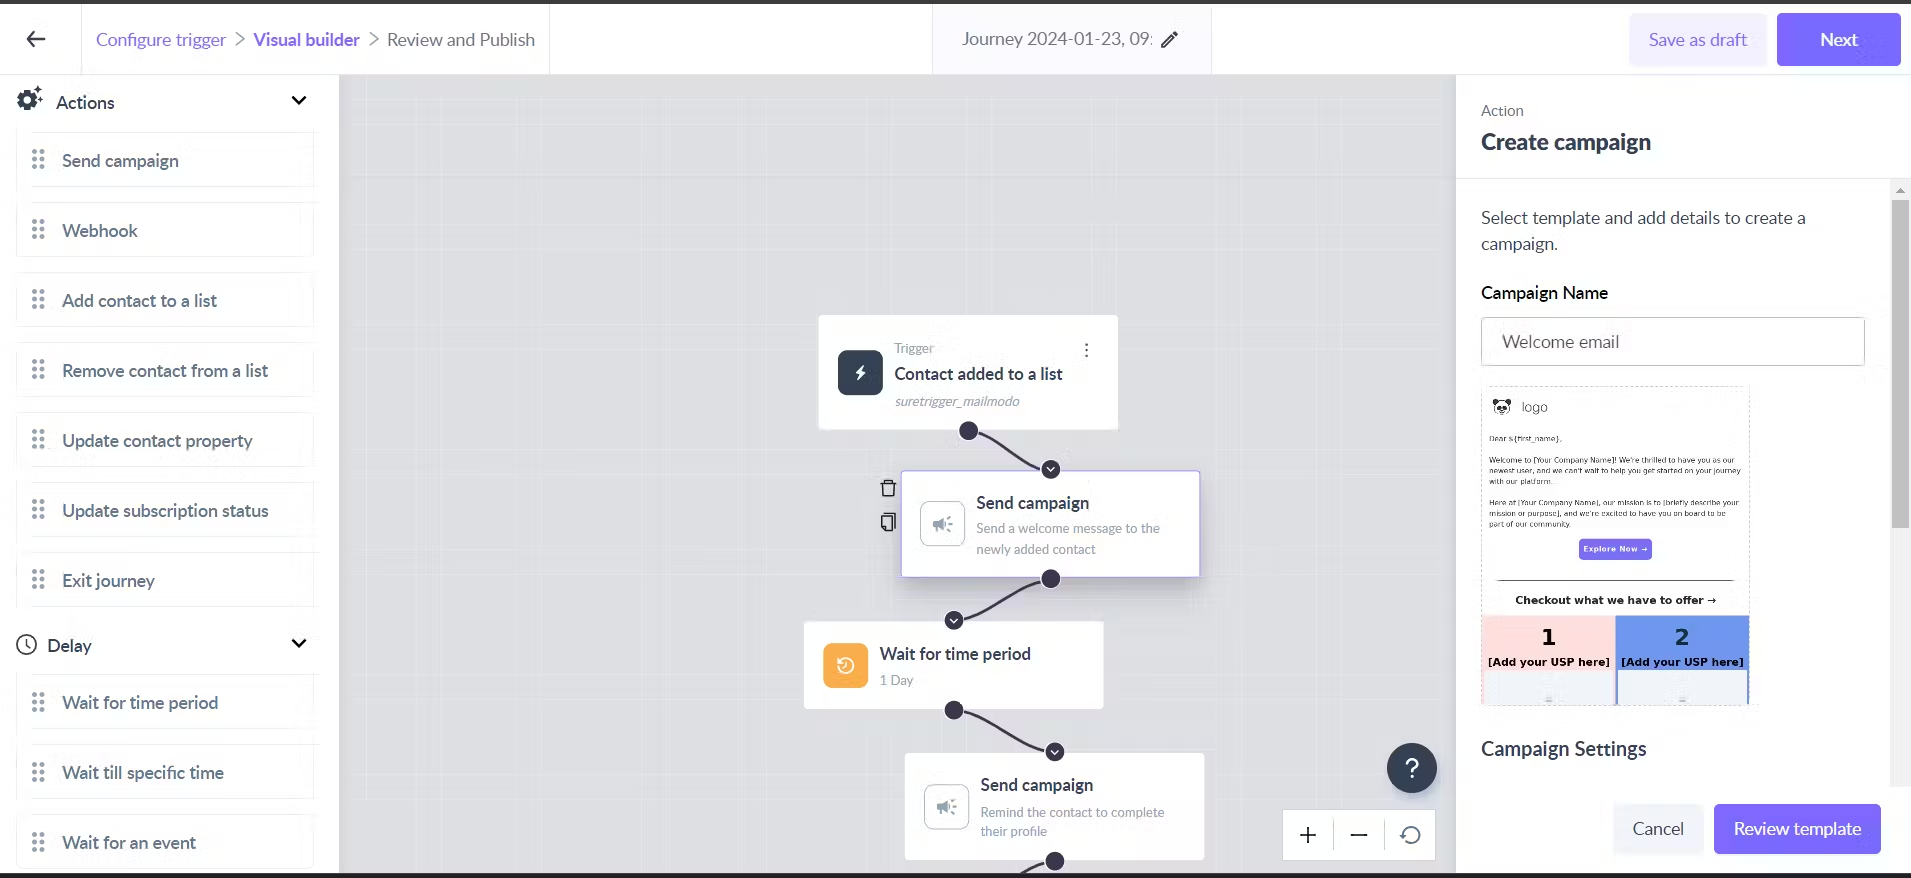
- In Mailmodo, have a journey ready. ( To read more about journey )
Step 1
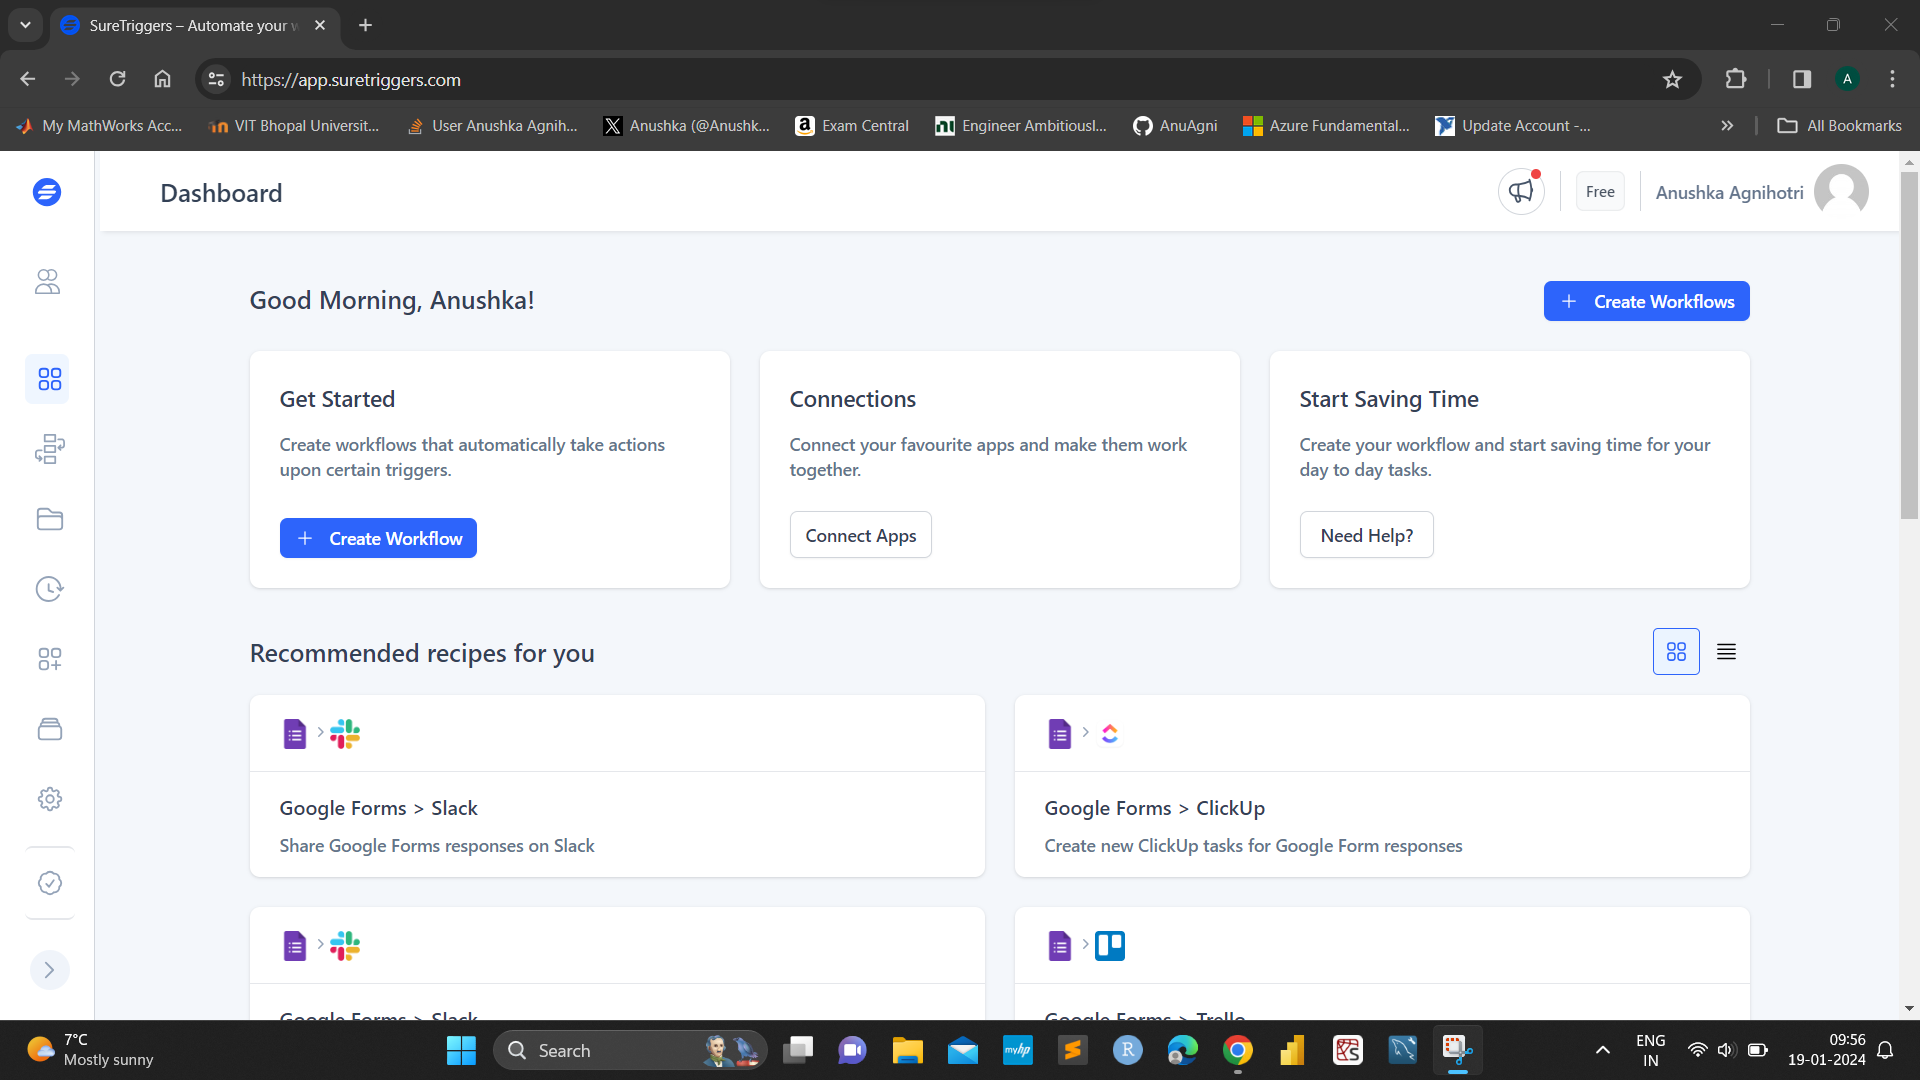
Login to SureTriggers, click on ‘Create Workflows’ and give a name to the workflow, and click on ‘Start Building'.
Step 2: Adding Trigger
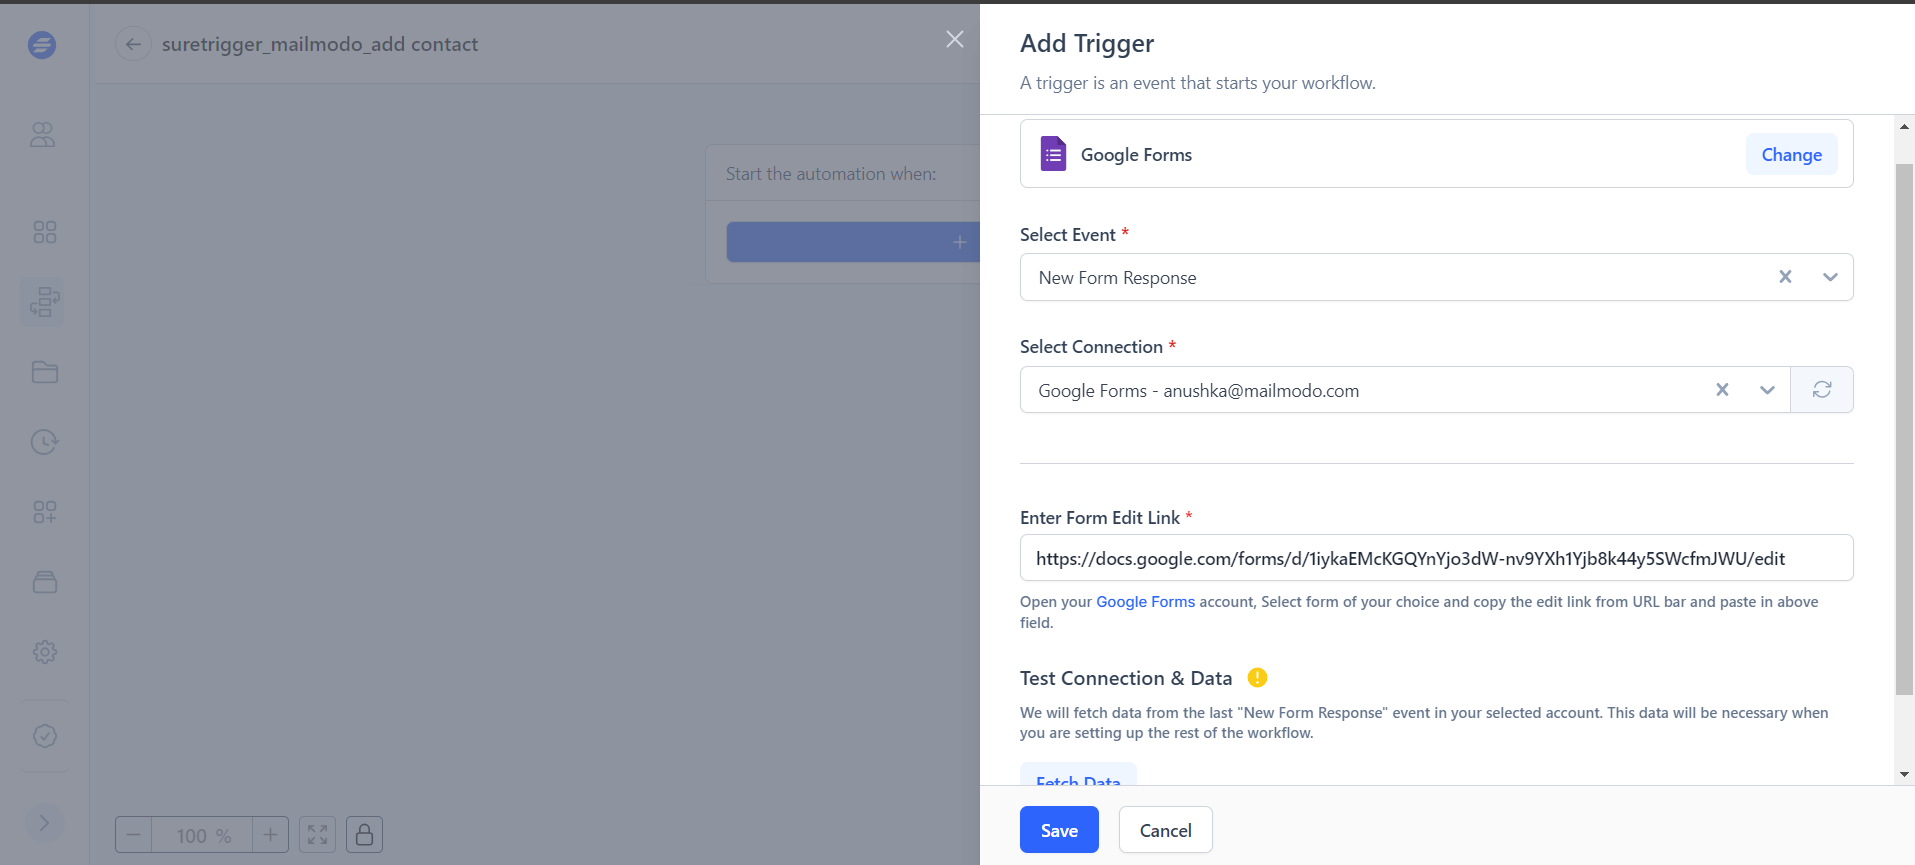
- Click on ‘Add Trigger’, search for ‘Google Form’ and select it.
- Under ‘Select Event’ select ‘New Form Responses’.
- Under ‘Select Connection’ either the user can choose a preexisting connection or ‘Create New Connection’.
- To ‘Create New Connection’ follow the following steps:
- Choose the Google account from which the form can be accessed
- Click on ‘Continue’
- Choose ‘Select all’ for what SureTriggers can access and click on ‘Continue’,
- Connection will be formed successfully
- Copy paste the form edit link (form should be from the same account chosen above).
- Note: The URL which is visible while creating the form is the edit link.
- Under Test Connection & Data click on ‘Fetch Data’.
- Click on ‘Save'.
Step 3: Adding Action
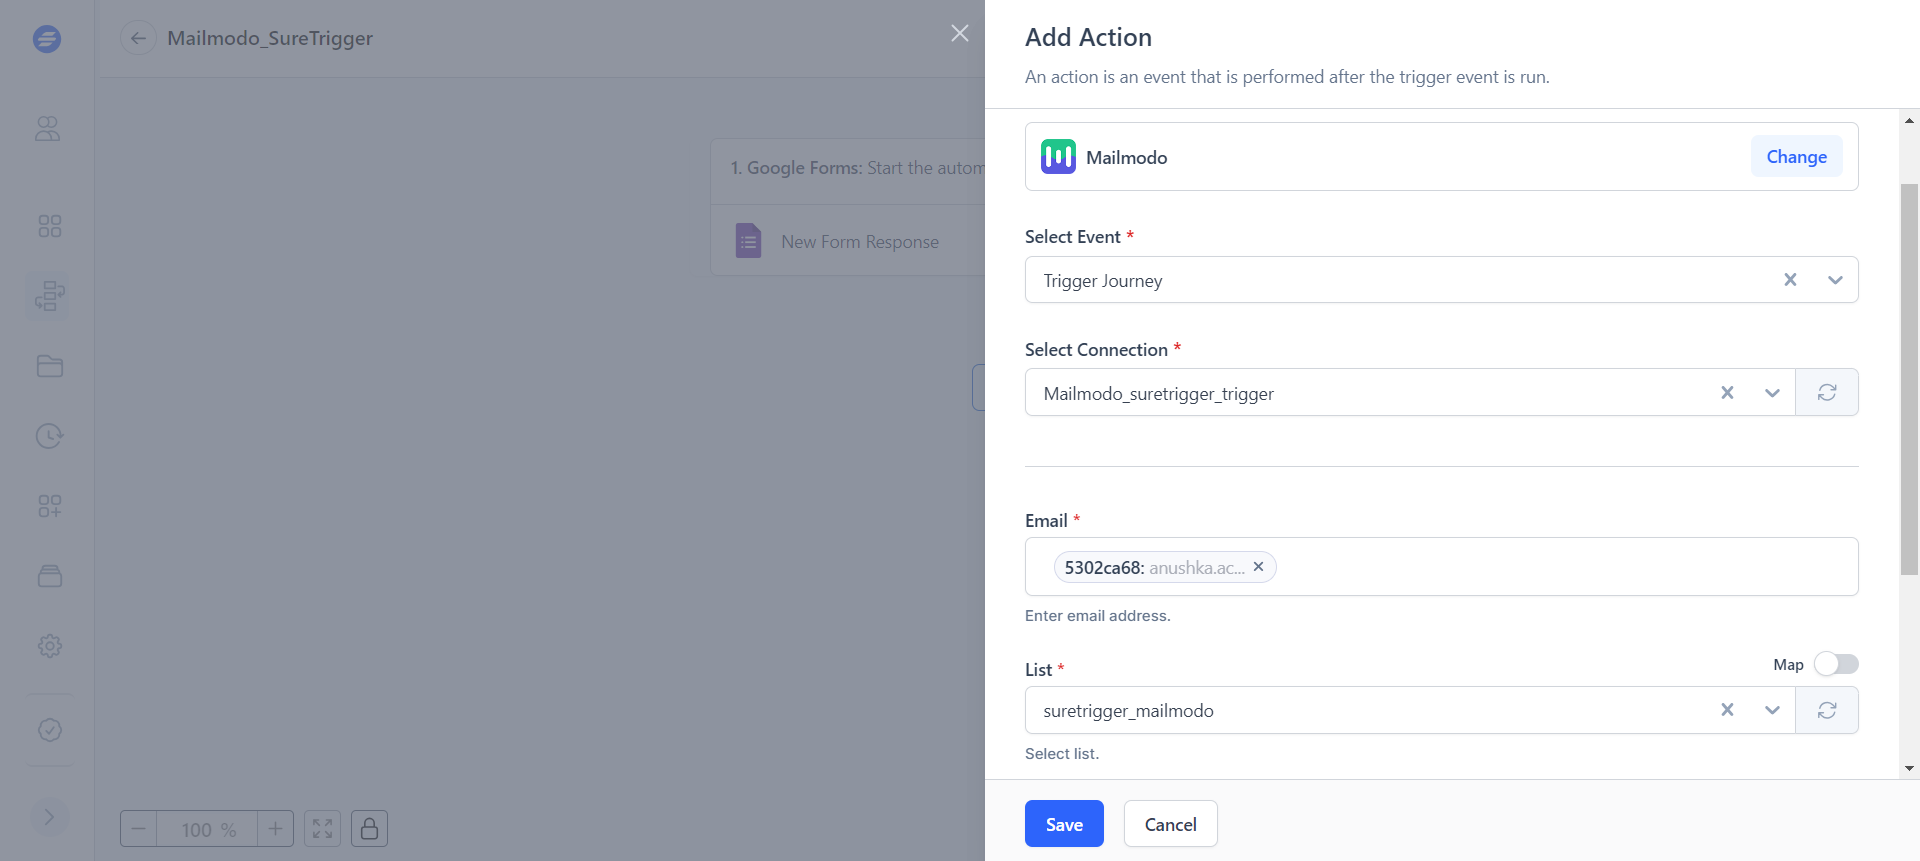
- Click on plus sign and search for Mailmodo and select it.
- Under ‘Select Event’ choose ‘Trigger Journey’.
- Under ‘Connection’ select either a preexisting connection or ‘Create New Connection’ ( Integration of SureTriggers with Mailmodo )
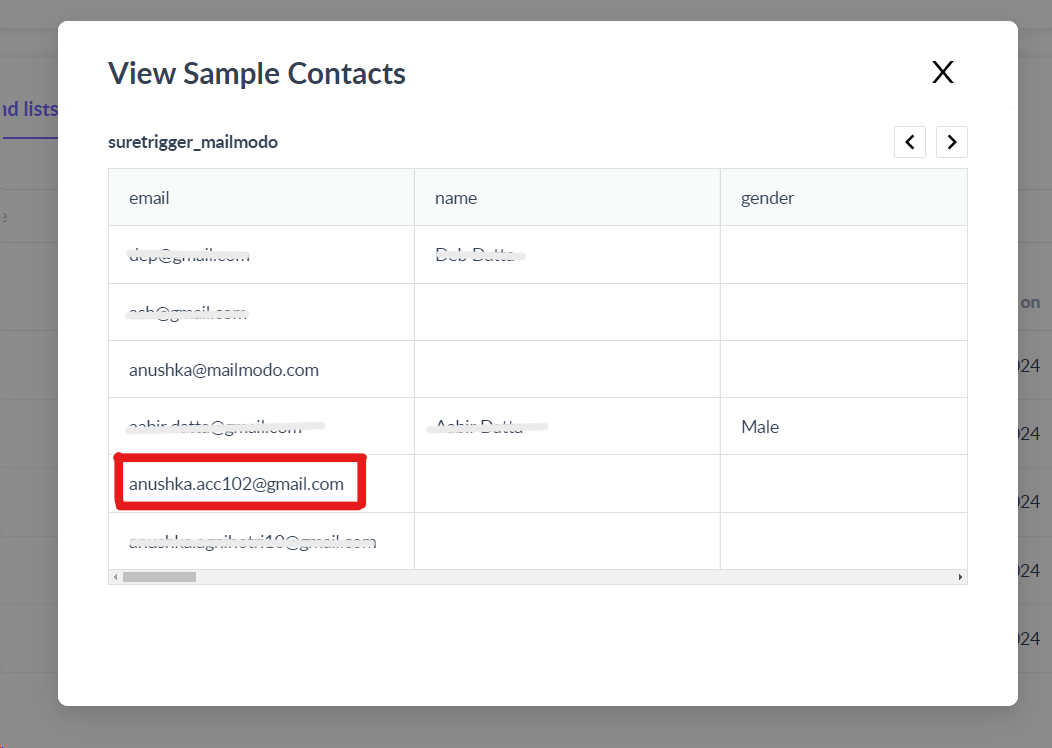
- Under ‘Email’, type @ and select the column having email addresses (will be shown as result from trigger testing above).
- Under ‘List’ choose one of the list from dropdown menu. (as mentioned in Step 0)
- Under ‘Journey ID’ copy paste the ID from Malmodo. ( How to get journey id ) (Mentioned in Step 0)
- Click on ‘Test Action’.
- Click on ‘Save’ button.
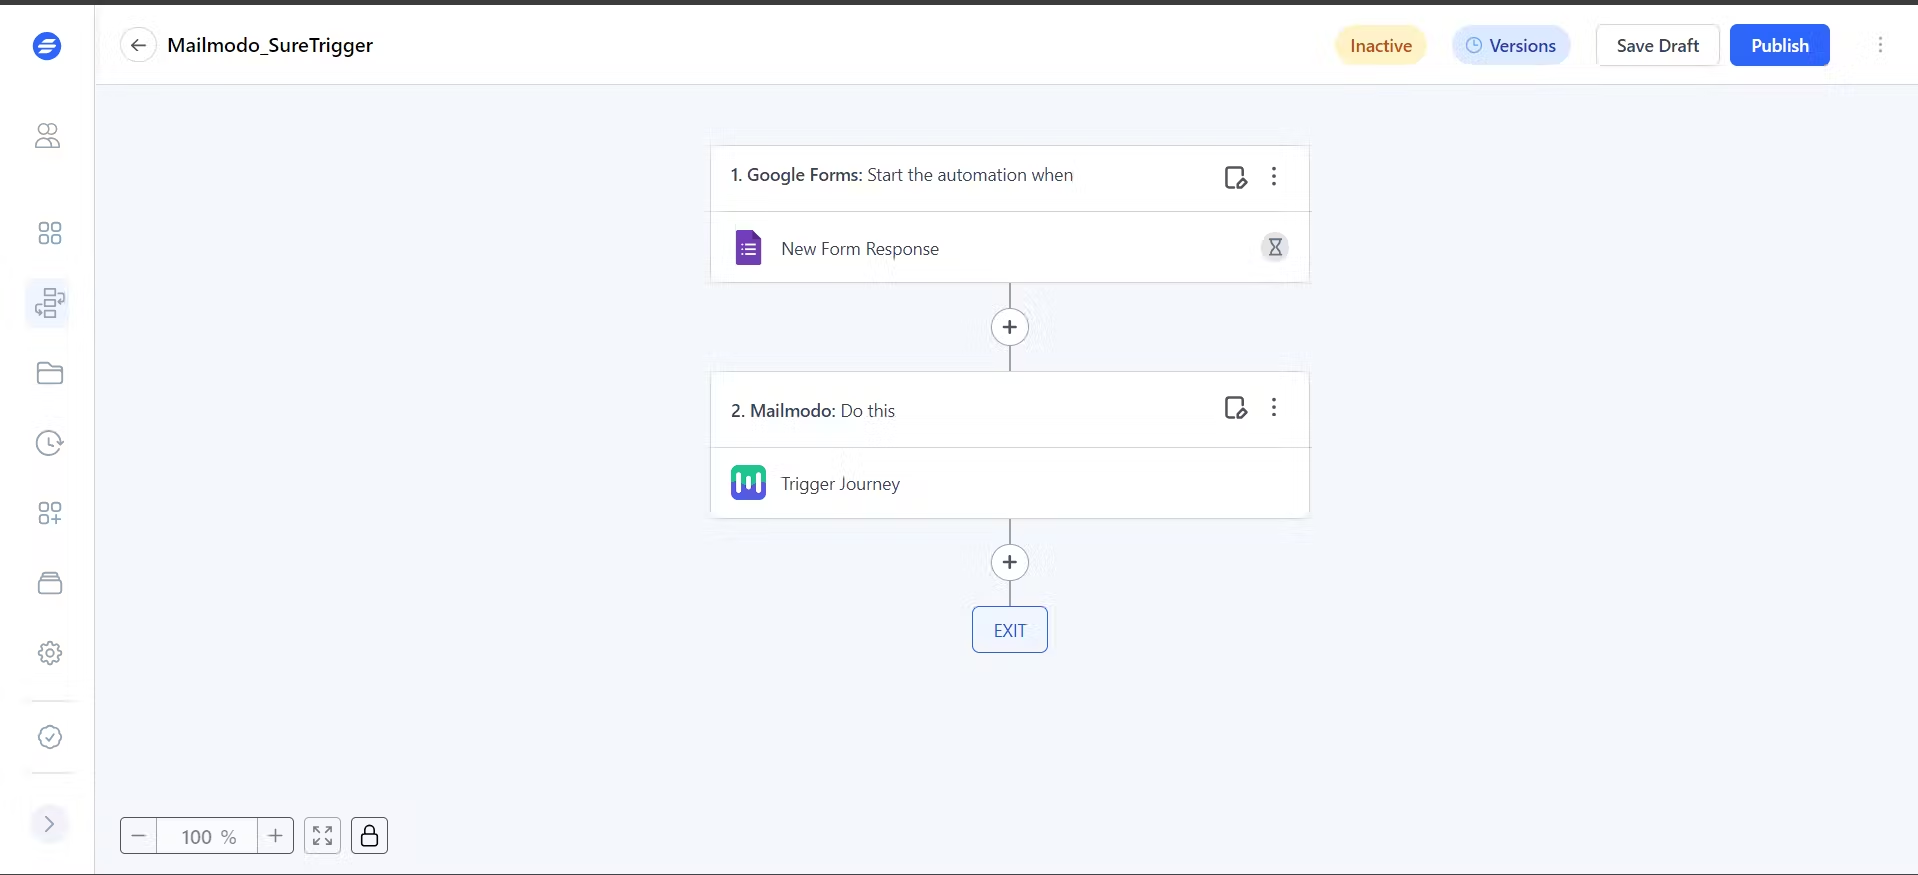
Step 4
Click on ‘Publish’, to change status to ‘Active’.
If you face any problem then reach out to us at Mailmodo Support or share your thoughts at Mailmodo Product Feedback .