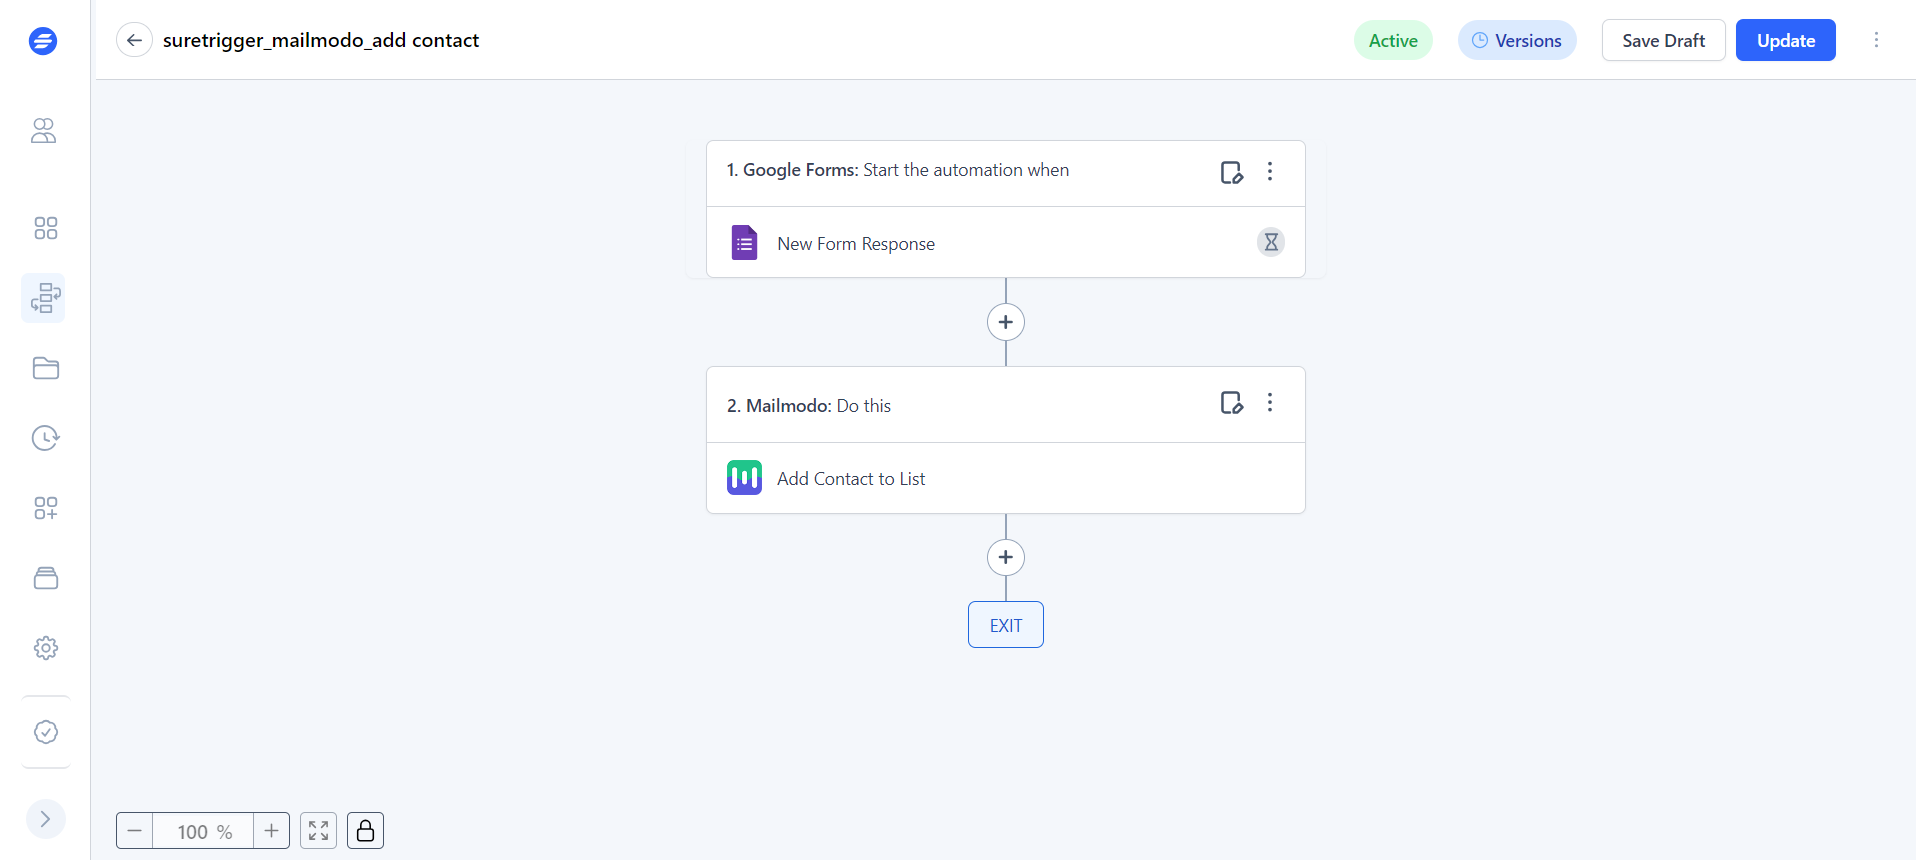
Add contact to list using Suretriggers
Last updated June 26, 2025
SureTriggers integration with Mailmodo allows you to:
- Trigger a campaign in Mailmodo
- Trigger journey in Mailmodo
- Add contact to Mailmodo (focus of this article)
Pre-requisites: To carry out the aforementioned functions, you need to first integrate SureTriggers with Mailmodo. To do that, follow the steps mentioned in Mailmodo-SureTrigger Integration .
Note: We have used Google Form as starting trigger in SureTriggers, but user can choose their own.
Step by step guide for adding contacts in Mailmodo using SureTriggers
Step 0 : Pre- requisites
Having the following things ready before starting on the workflow.
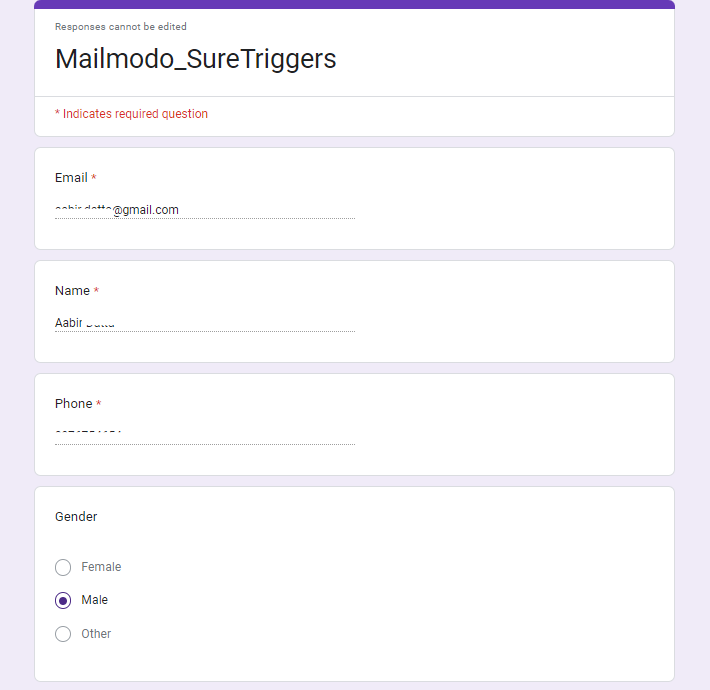
- Create a google form and submit a response.
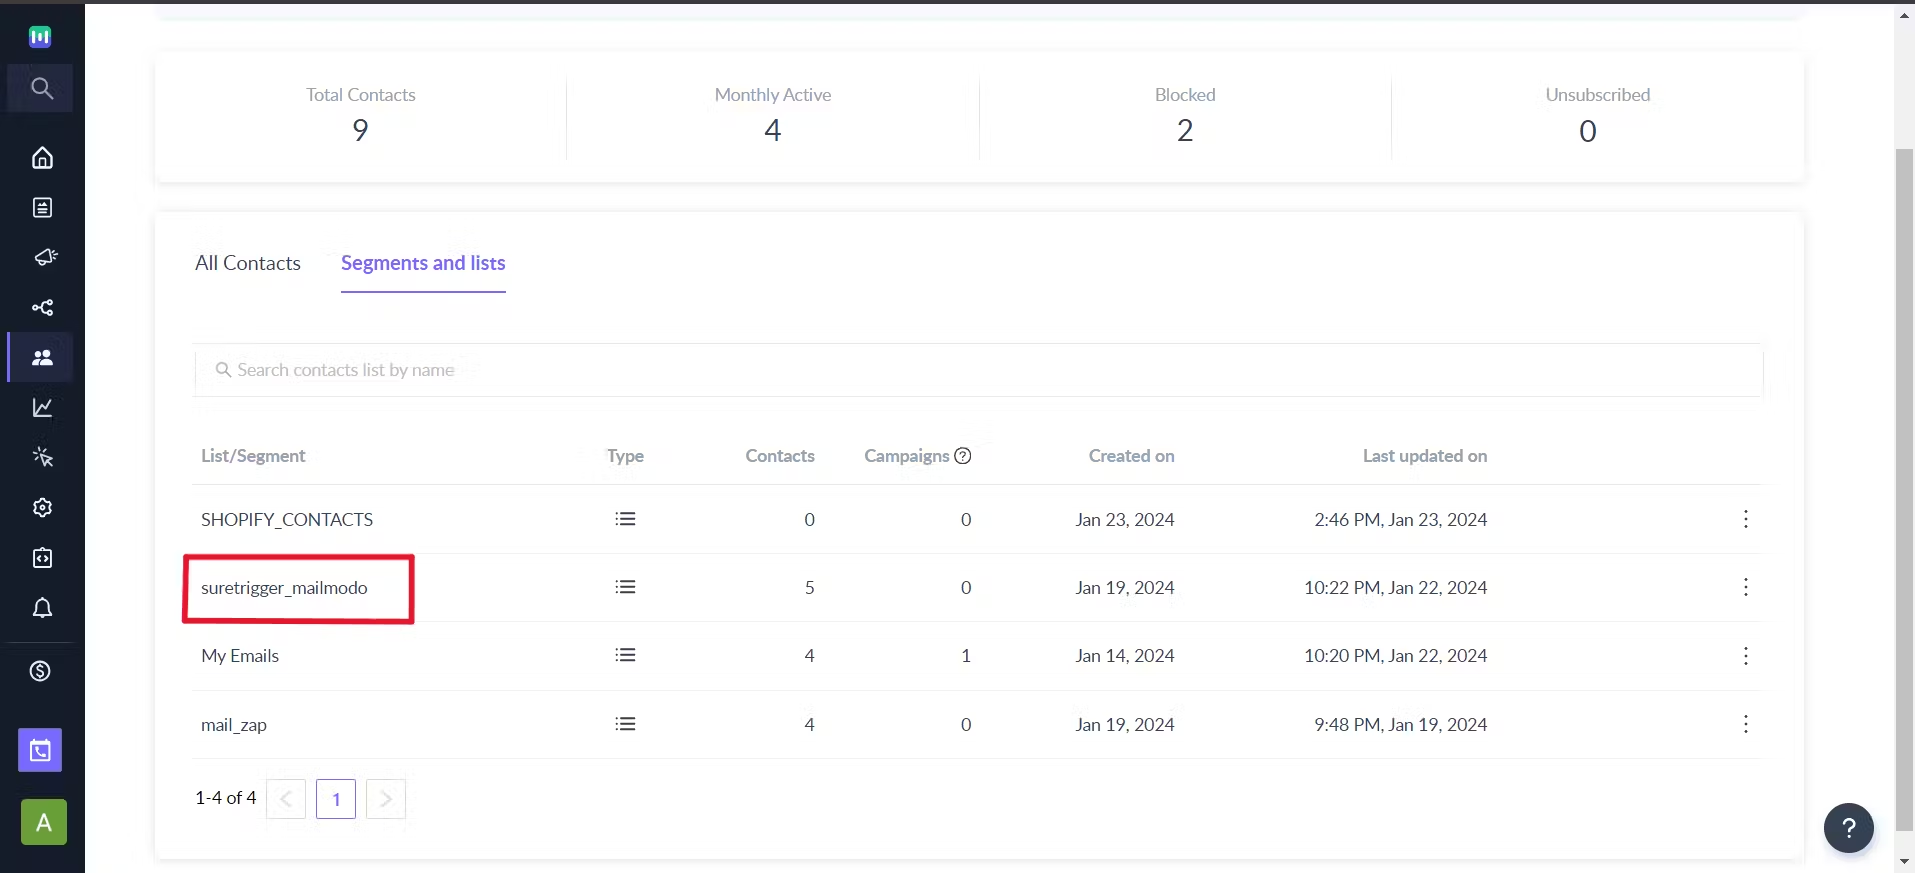
- In Mailmodo, create a contact list for the purpose of adding contacts from SureTriggers or keep in mind which preexisting list you would prefer for this purpose.
Step 1 :Create workflow
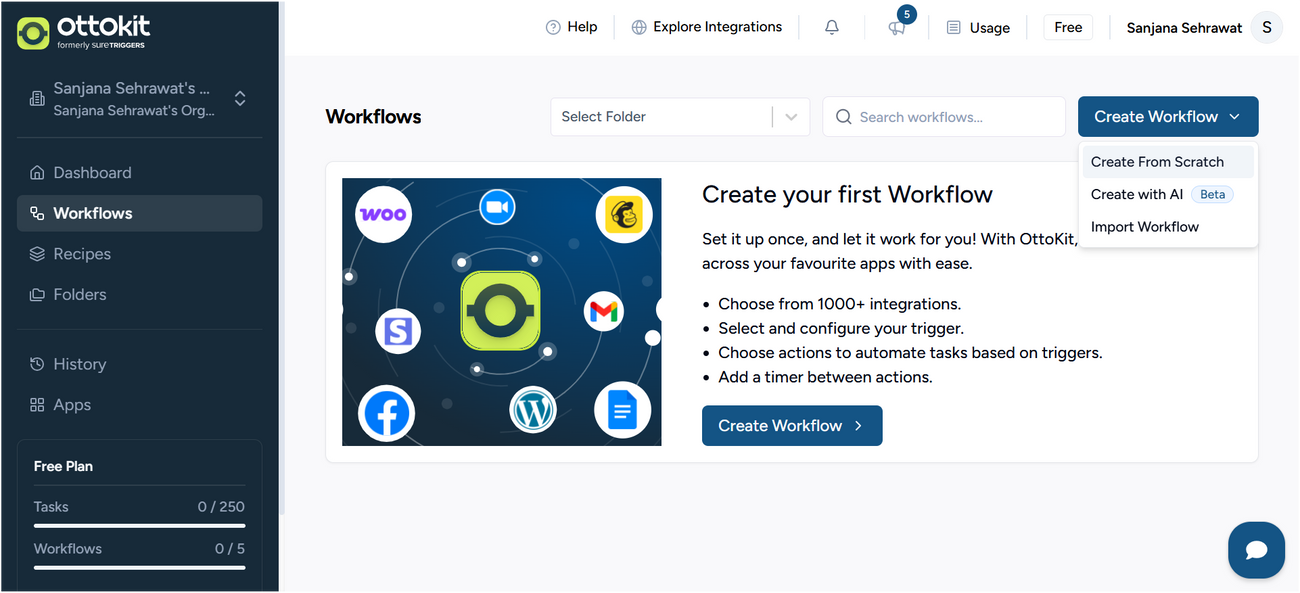
Login to SureTriggers, click on ‘Create Workflows’ and give a name to the workflow, and click on ‘Start Building’.
Step 2: Adding Trigger
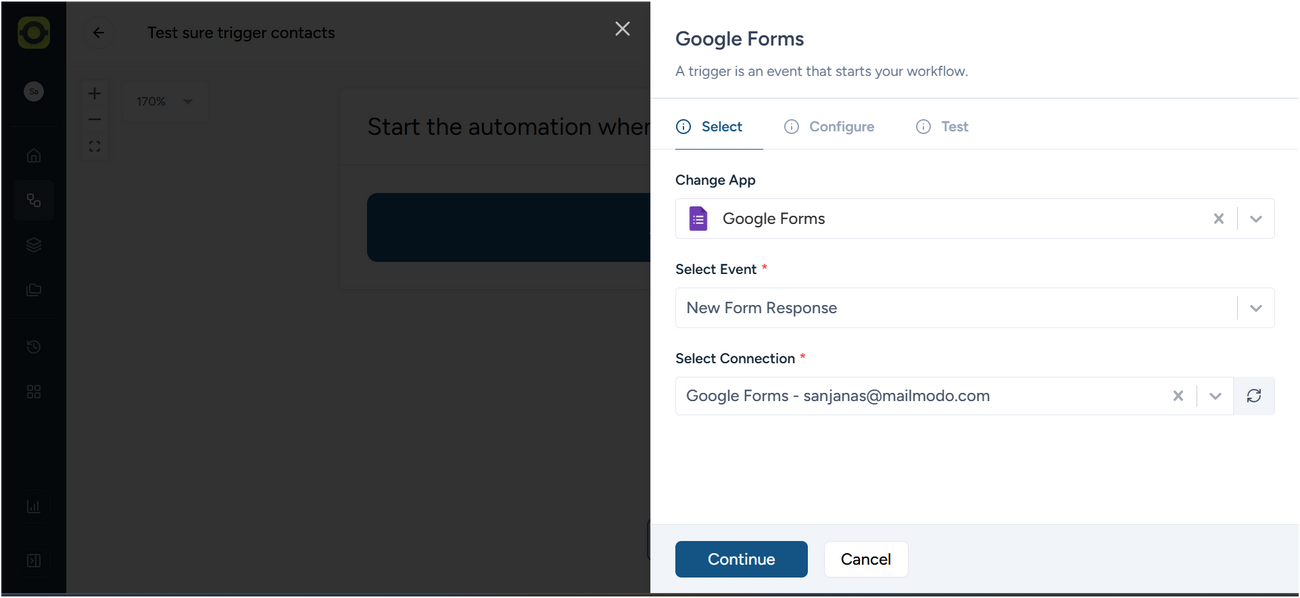
- Click on ‘Add Trigger’, search for ‘Google Form’ and select it.
- Under ‘Select Event’ select ‘New Form Responses’.
- Under ‘Select Connection’ either the user can choose a preexisting connection or ‘Create New Connection’.
- To ‘Create New Connection’ follow the following steps:
- Choose the Google account from which the form can be accessed
- Click on ‘Continue’
- Choose ‘Select all’ for what SureTriggers can access and click on ‘Continue’,
- Connection will be formed successfully
- Copy paste the form edit link (form should be from the same account chosen above).
- Note: The URL which is visible while creating the form is the edit link.
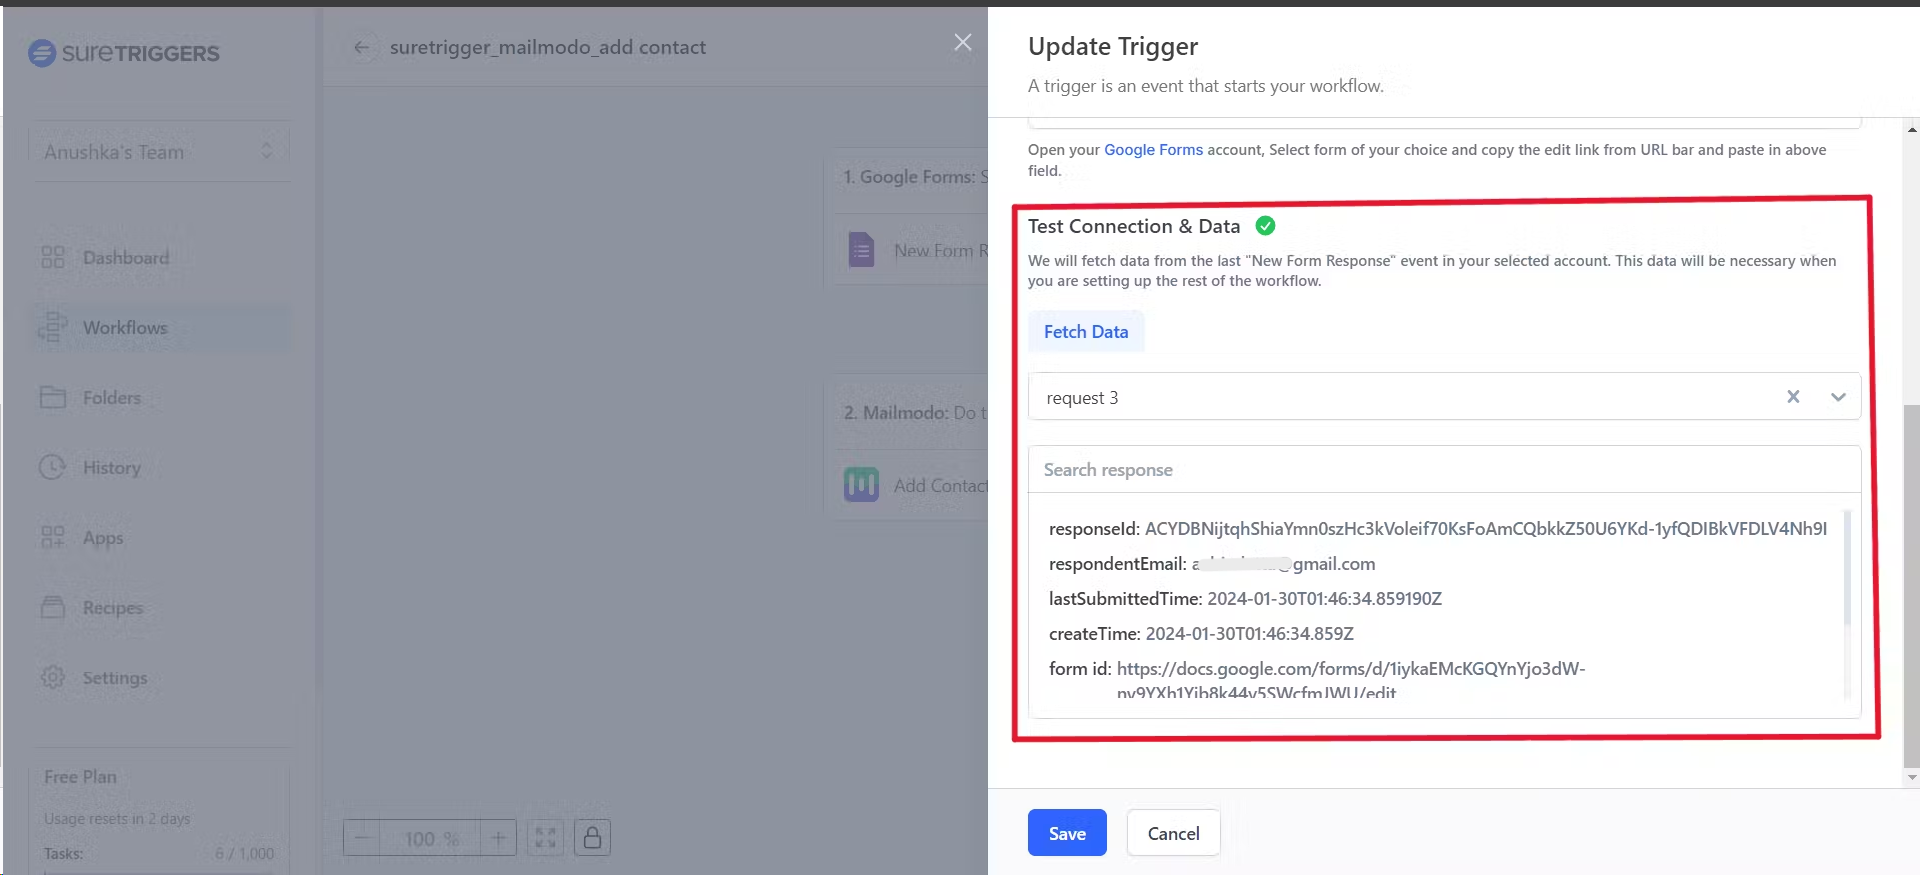
- Under Test Connection & Data click on ‘Fetch Data’.
- Click on ‘Save’.
Step 3: Adding Action
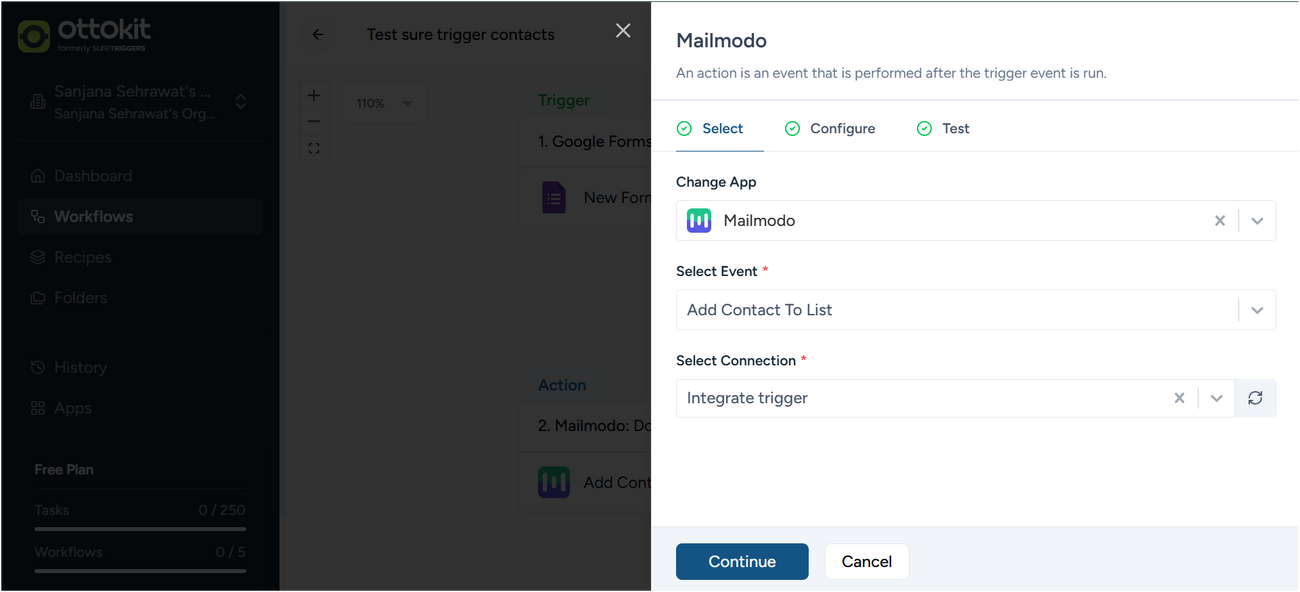
- Click on Add button, search Mailmodo and select it.
- Under ‘Event’ select ‘Add Contact to List’.
- Under ‘Connection’ select either a preexisting connection or ‘ Create New Connection ’.
- Under ‘List’ choose one of the list from dropdown menu.
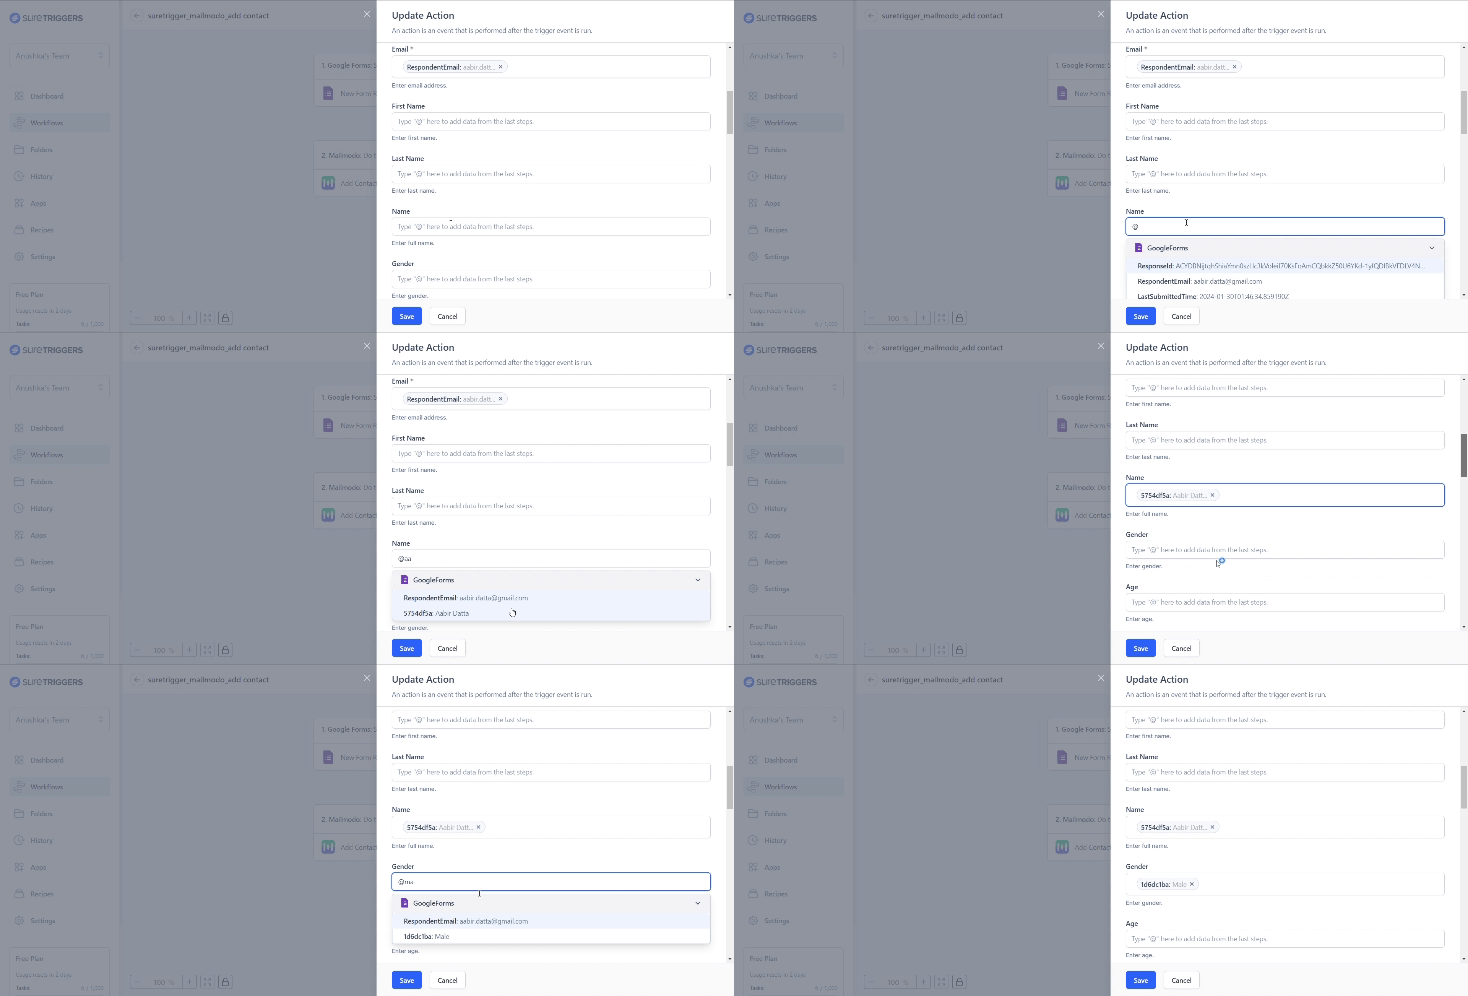
- Under ‘Email’, type @ and select the column having email addresses (will be shown as result from trigger testing above) which you want to add in Mailmodo contact list. You can perform the same for other columns as well, such as First Name, Last Name, etc.
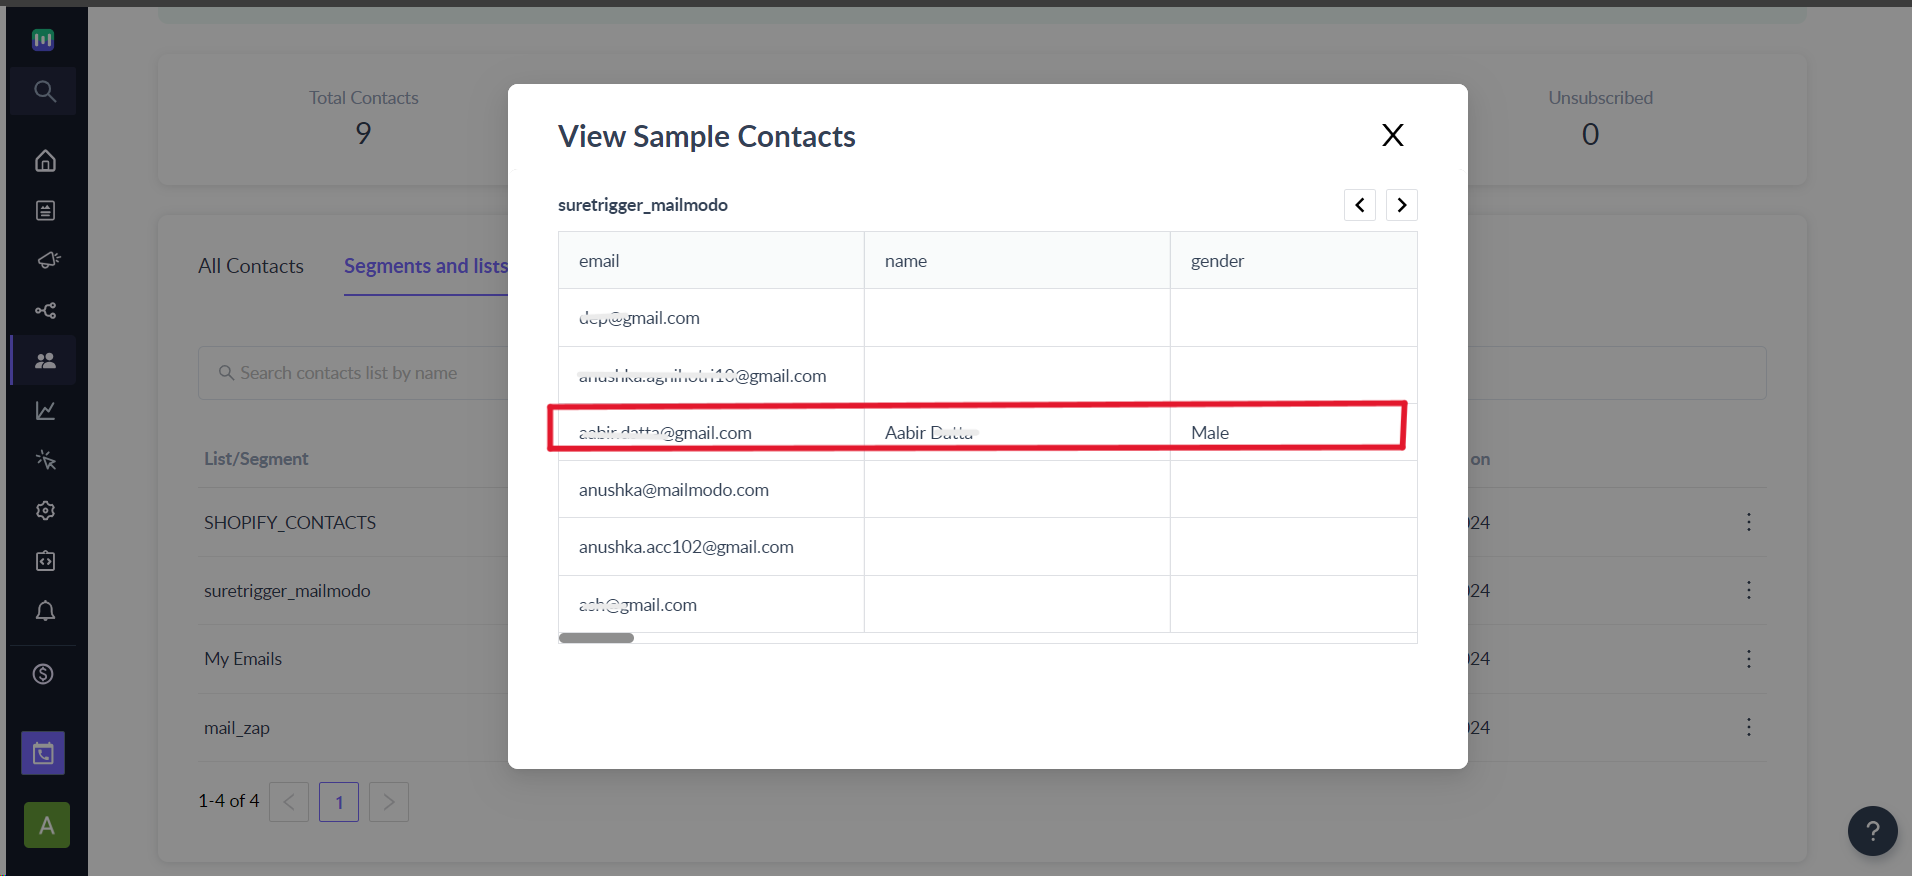
- Click on ‘Test Action'. The name will be added to contact list in Mailmodo.
- Click ’Save’
Step 4 : Publish
Click on ‘Publish’ button and the workflow will become ‘active’.
Now that contacts are added in Mailmodo, you can start a campaign or journey to reach out and connect with your audience.
Additional Resources
If you face any problem then reach out to us at Mailmodo Support or share your thoughts at Mailmodo Product Feedback .


