

How to Send Browse Abandoned Campaigns for High Value Products
Last updated July 25, 2025
A Browse Abandoned Campaign is an automated email sequence sent to users who view a product but don’t add it to their cart or make a purchase. It reminds them of the product and encourages them to complete their purchase. To integrate Shopify with Mailmodo you can refer to this article.
Browse Abandoned Campaigns rely on Shopify Pixels. If you aren’t using Shopify’s default checkout flow or if a user has a tracking blocker installed on their browser, Shopify will not be able to send events to Mailmodo. In such cases, we won’t be able to track browse abandonments. Therefore, it’s generally recommended to use Checkout Abandoned Campaigns instead of Browse Abandoned or Cart Abandoned campaigns.
Browse Abandoned Campaign are powerful but should be used sparingly. Sending them for every product can create a poor user experience. It’s best to use them only for high-value or fast-selling products.
You’ll need to be familiar with Journeys to send Browse Abandoned campaigns. You can learn more about Journeys here: Getting Started with Journeys
In this guide, we’ll walk you through the process of creating a Browse Abandoned Flow for a specific product at Mailmodo.
STEP 1
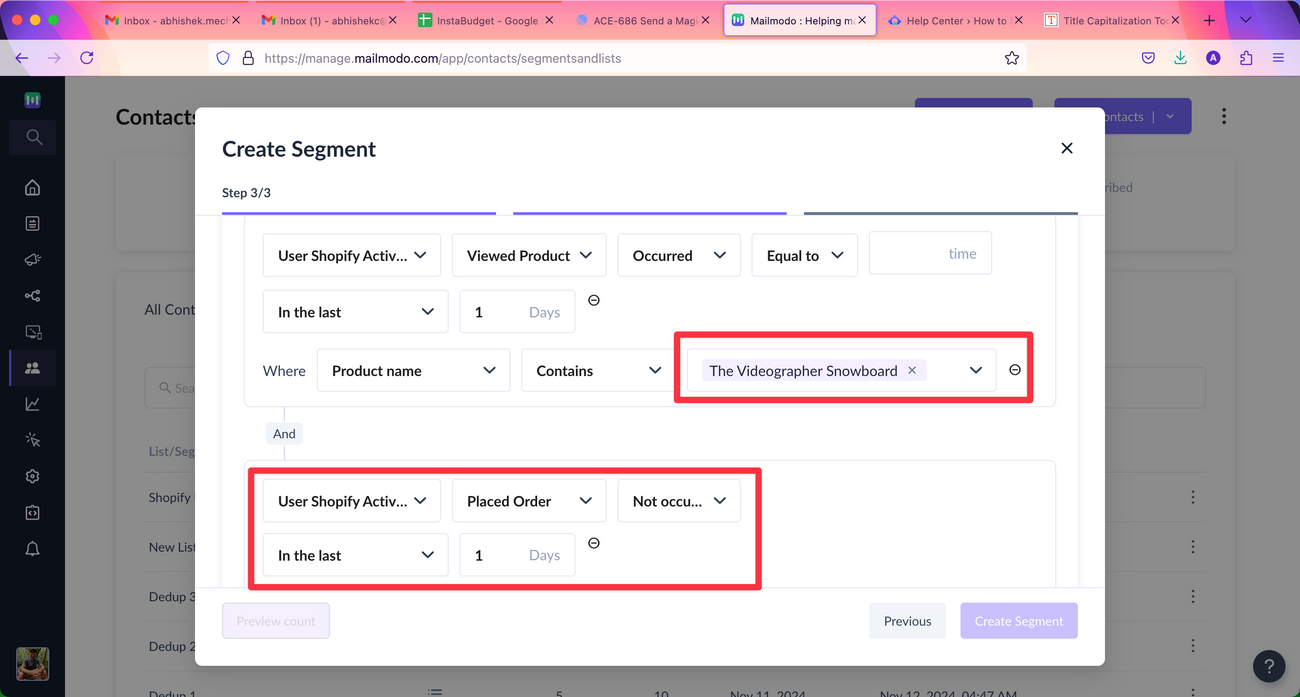
Create a segment similar to the image below and choose a valuable product for your Browse Abandoned Campaign.
In this example, we’re checking for users who viewed The Videographer Snowboard in the last day but didn’t place an order afterward. These are the users we’d want to send the Browse Abandoned Campaign to.
It’s recommended to include only one product in the segment to prevent overwhelming users with too many emails.
STEP 2
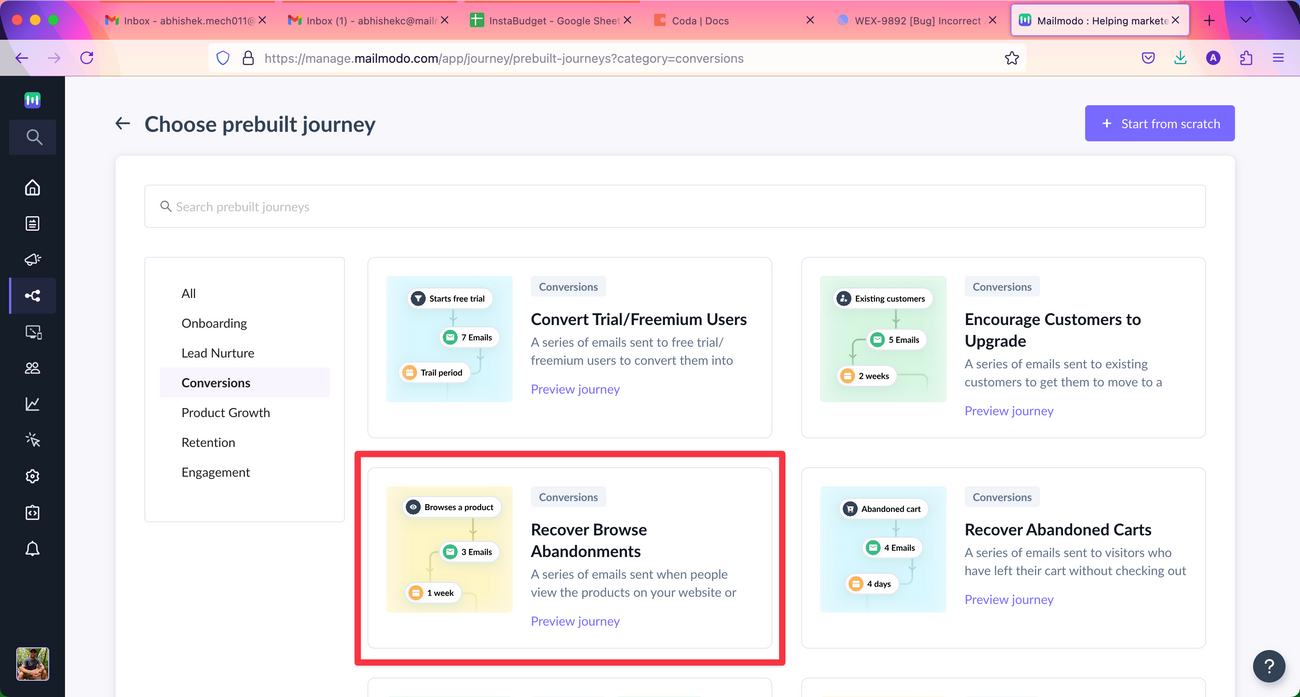
Once the segment is created, go to Journeys > Create Journey and select the prebuilt journey: “Recover Browse Abandonments.”
STEP 3
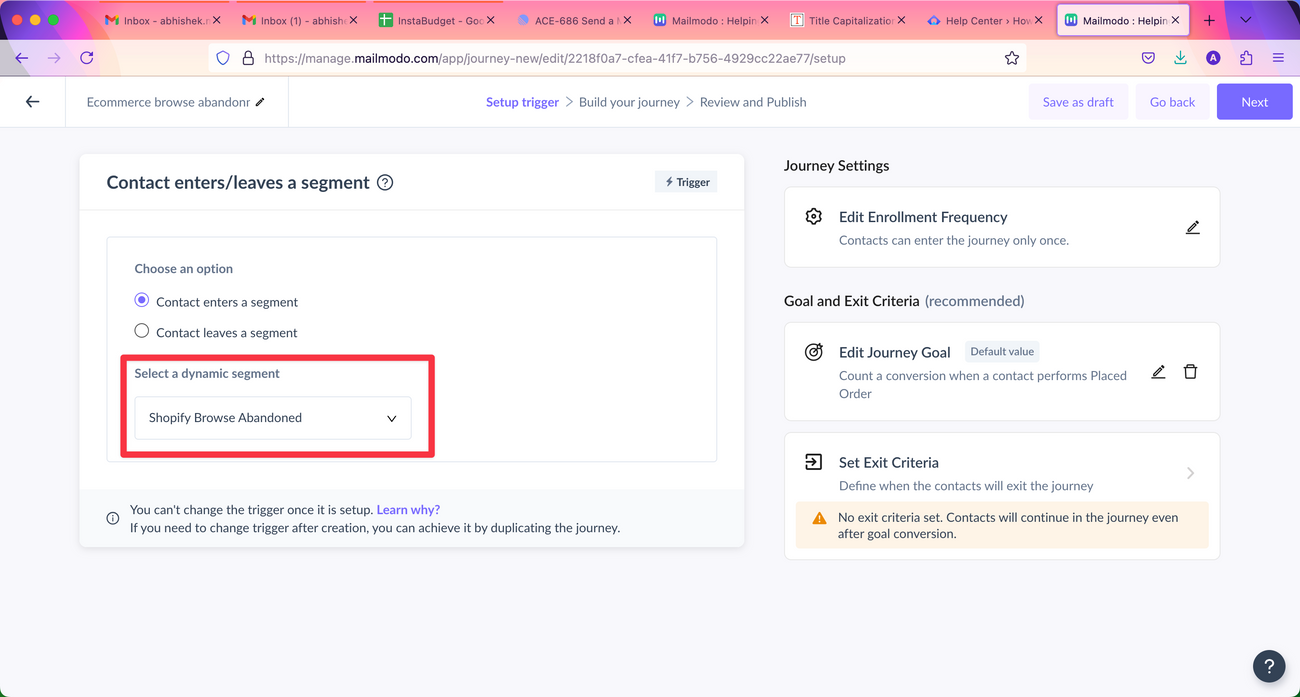
In the journey trigger setup, choose the segment you just created. In our case, it’s called “Shopify Browse Abandoned.”
STEP 4
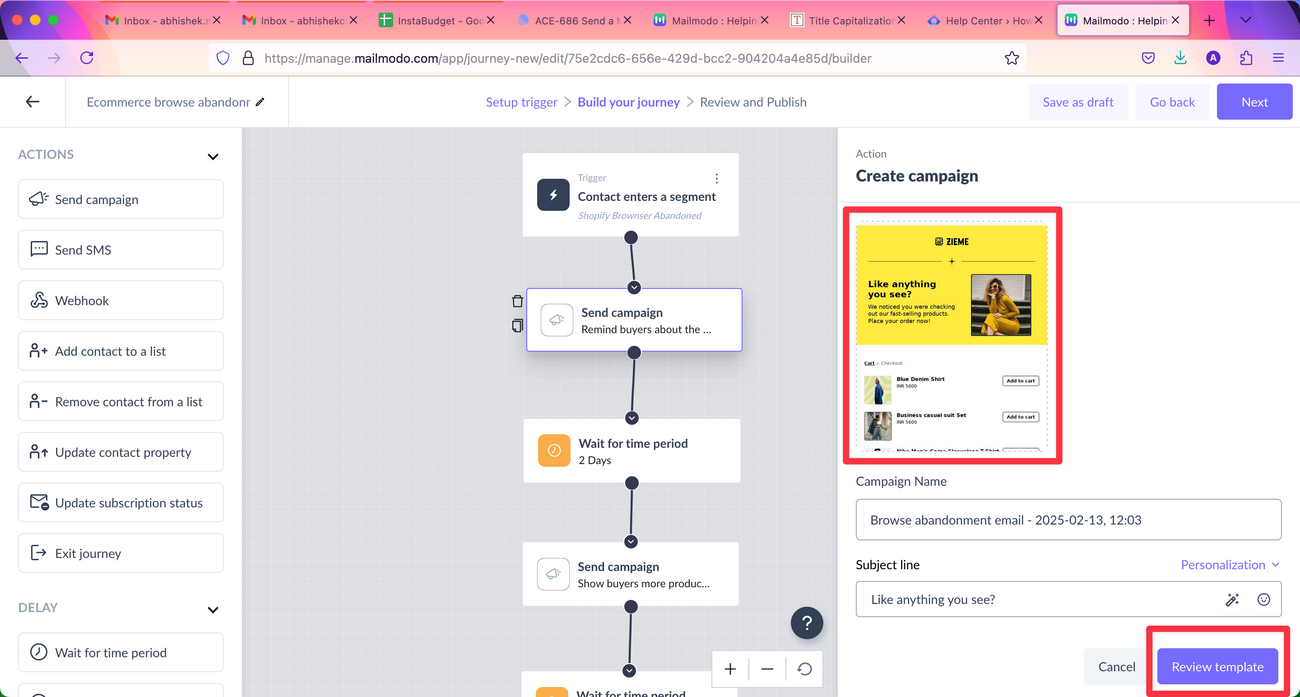
You’ll see that an email template is already added to the first campaign. Click “Review Template” to open template inside the editor.
STEP 5
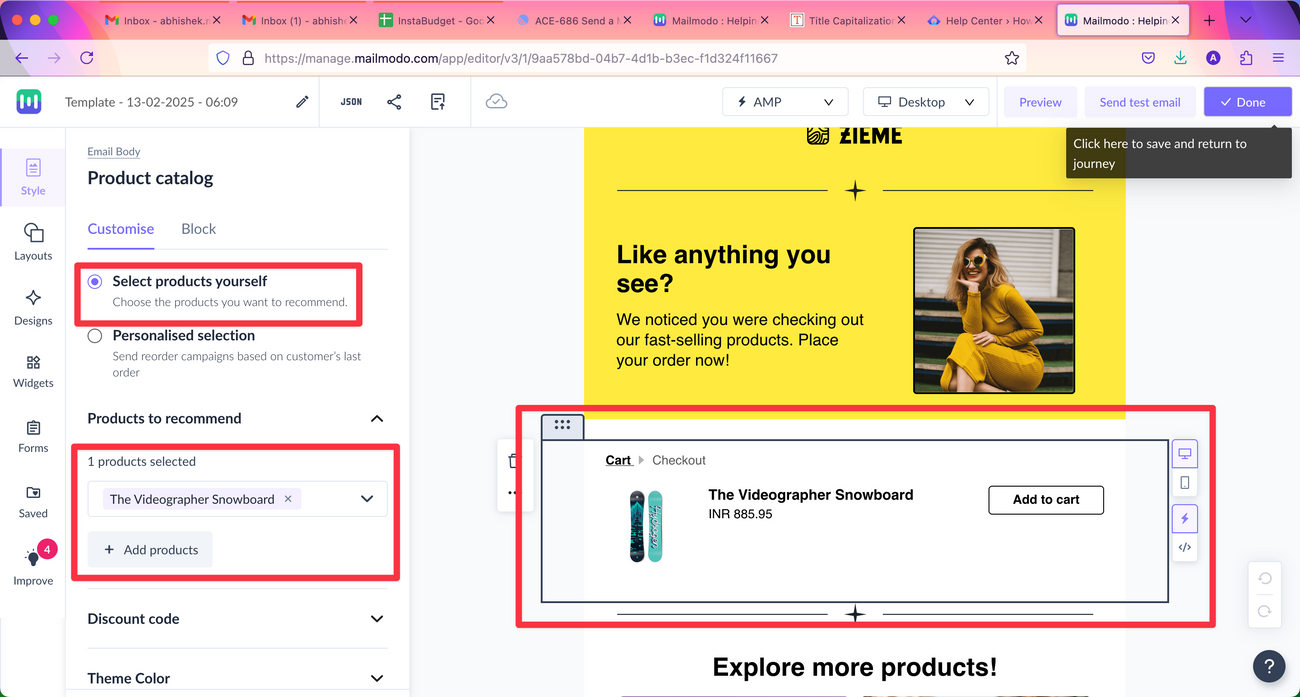
When in the editor, do the following:
- Select “Select products yourself” from the left bar inside the editor
- Click “Add Products” (also on the left bar) and add The Videographer Snowboard to the template
- Once added, it will look something like this
- Click “Done” (top right) to return to the journey builder
You can customize the template further or use a different template altogether—just be sure to include the relevant product in the template.
STEP 6
Once you publish the journey, customers who view The Videographer Snowboard but don’t purchase will start receiving Browse Abandoned emails.
To know more about journeys, check out the following relevant docs: