How to Use Prebuilt Shopify Journeys in Mailmodo
Last updated July 3, 2025
Once you have connected your Shopify store with your Mailmodo account, you will be able to see the pre-made flows specifically made using Shopify activity as a trigger. If you haven’t yet integrated your Shopify account with Mailmodo and set up email flow, learn how to integrate Shopify with Mailmodo here .
These pre-populated flows come with default templates that offer a suggested layout and example text. They are designed to fetch content via integration, incorporating dynamic data to personalize your emails for your audience.
Important flows
Firstly, prioritize setting up specific recommended flows that hold a significant impact on your customer engagement strategy. The sequence to activate these flows in order of importance includes:
- Welcome Series: This initial flow serves to acquaint new subscribers with your brand and aims to convert them into first-time customers.
- Abandoned Checkout: This flow targets potential customers who abandoned their shopping carts and can be customized based on the items left behind and the individual's customer status.
- Post-Purchase: Express gratitude to customers through this flow and introduce them to related products they might find appealing after their purchase.
- Winback: Re-engage past customers who haven't made a recent purchase by customizing this flow based on their previous purchases and shopping behavior.
It's highly recommended to review, customize, and preview all default flow messages before making them live to ensure they resonate with your brand.
Guide for pre-built Shopify journeys
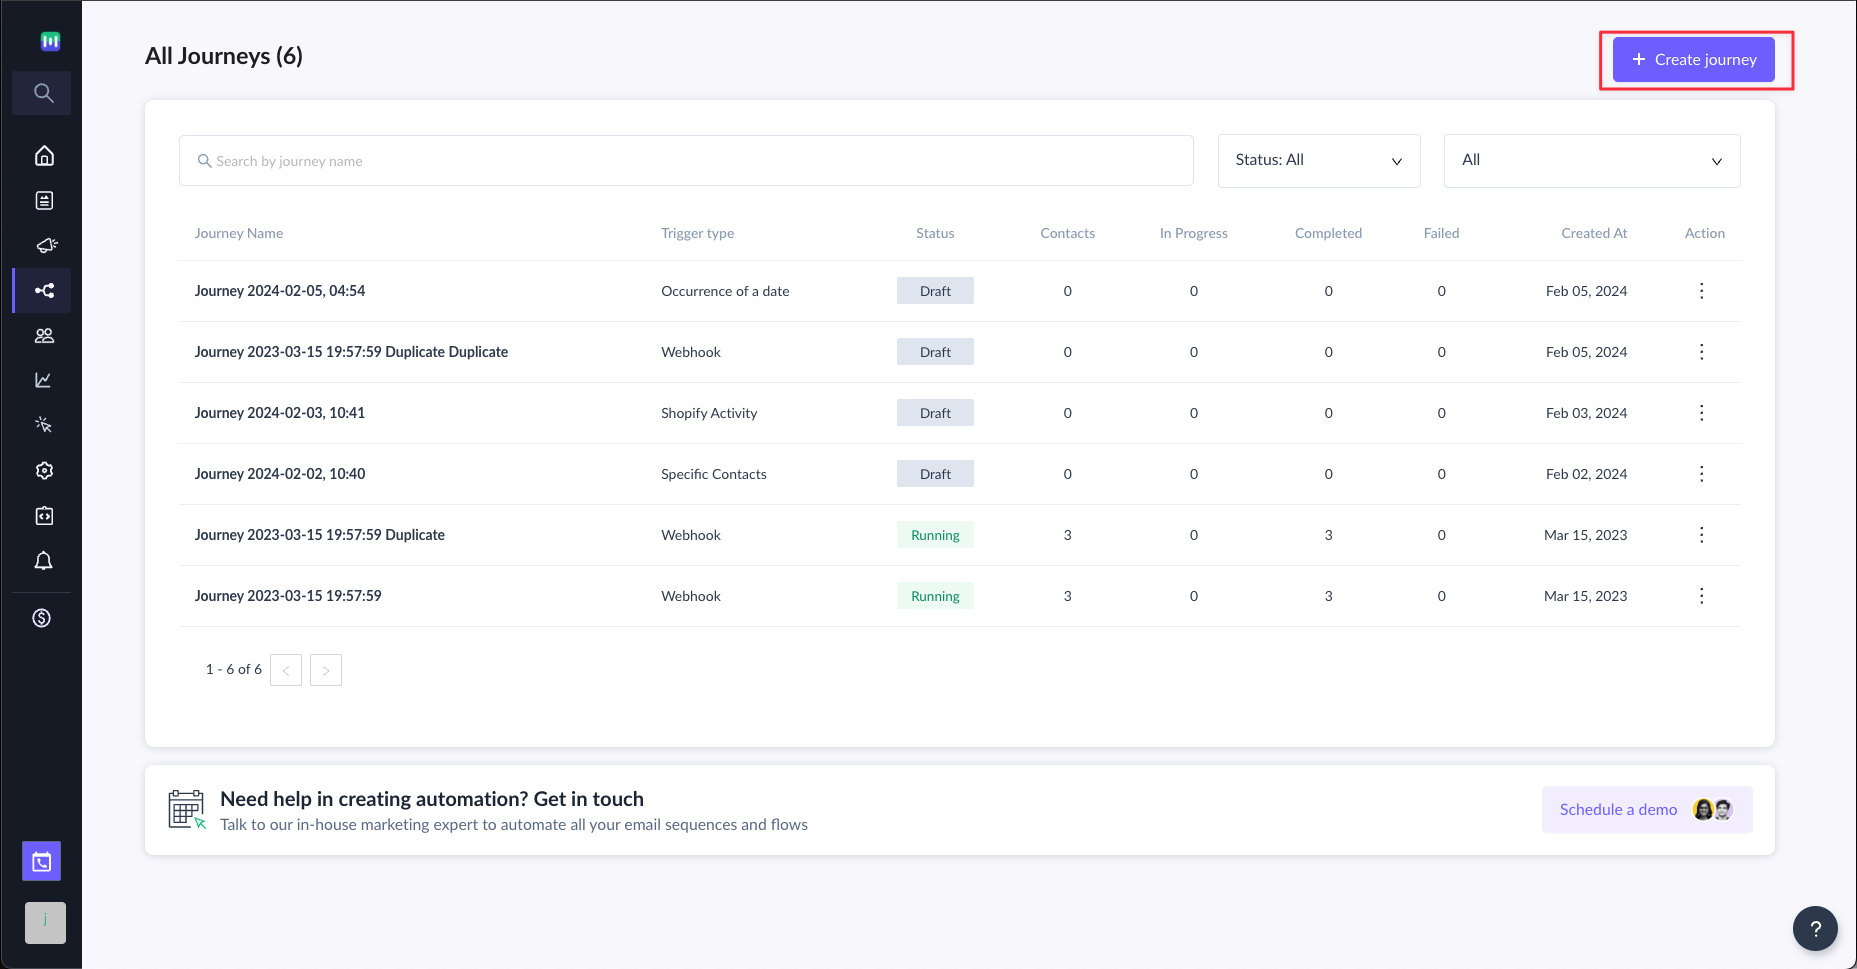
Step 1: Click on the “Create journey” button in the Journey tab.
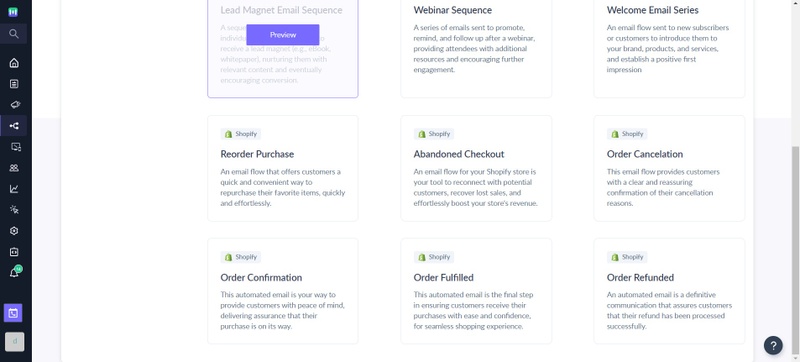
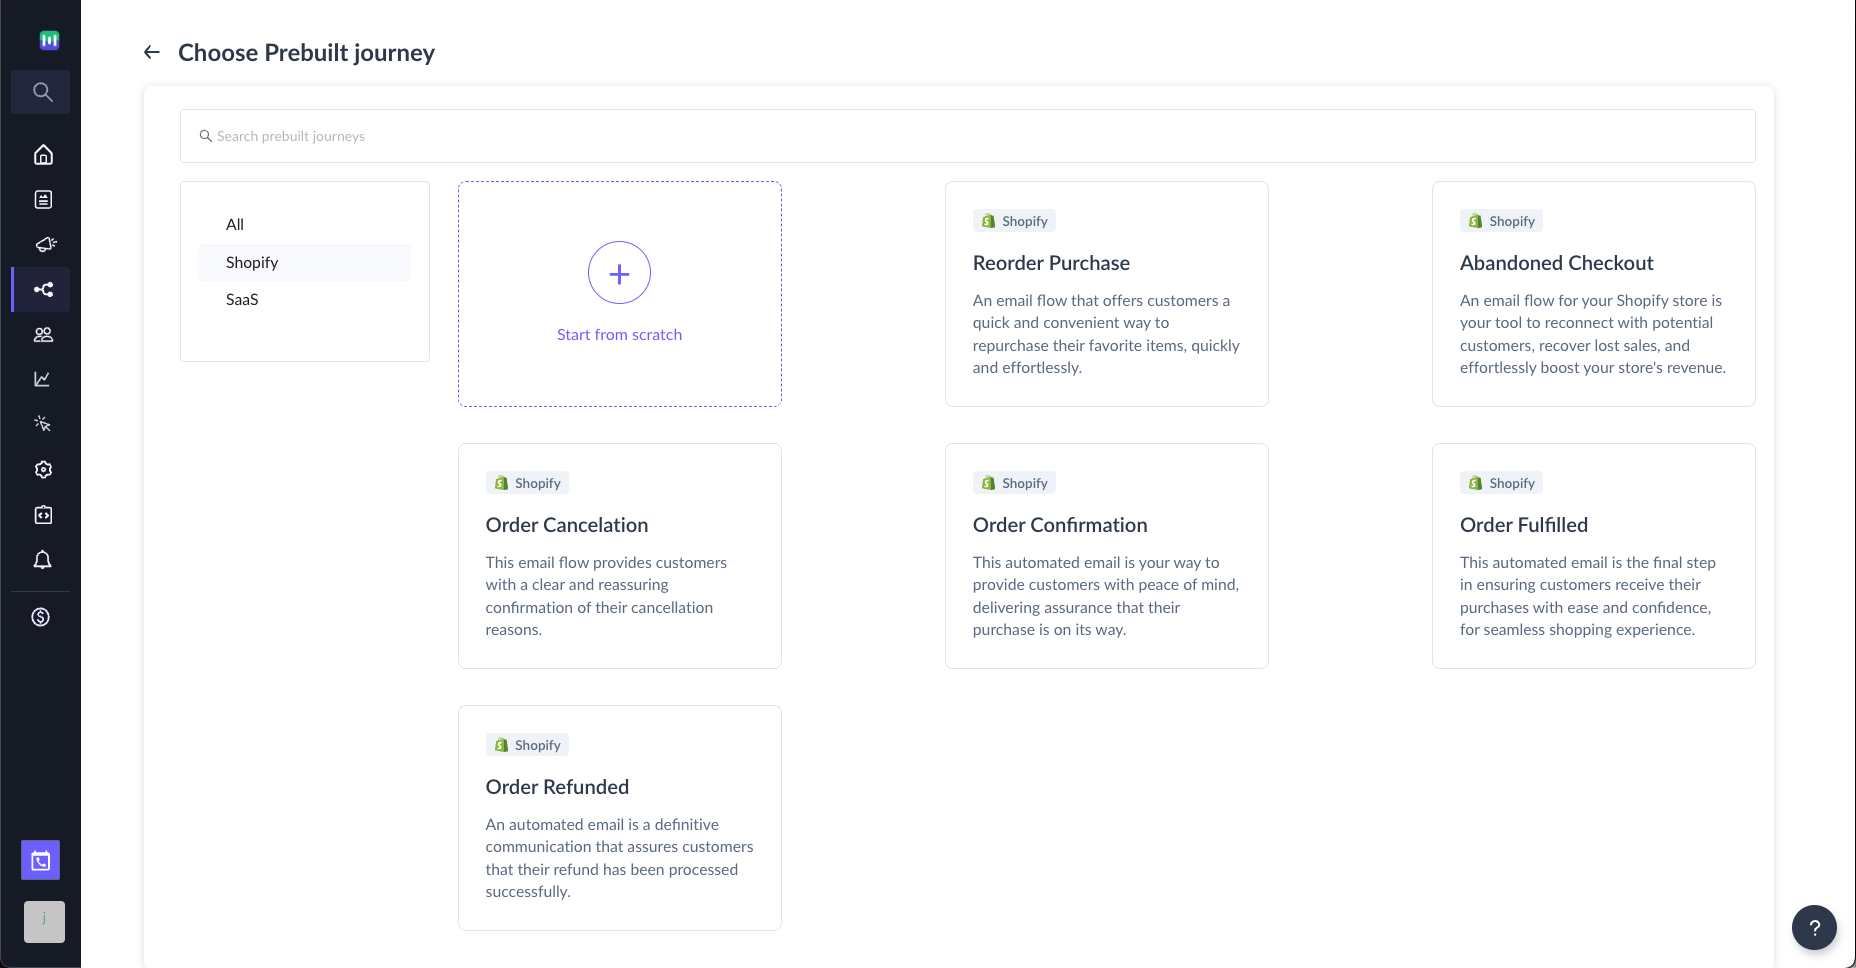
Step 2: Navigate to the “Shopify” tab and browse through various prebuilt journeys specific to Shopify.
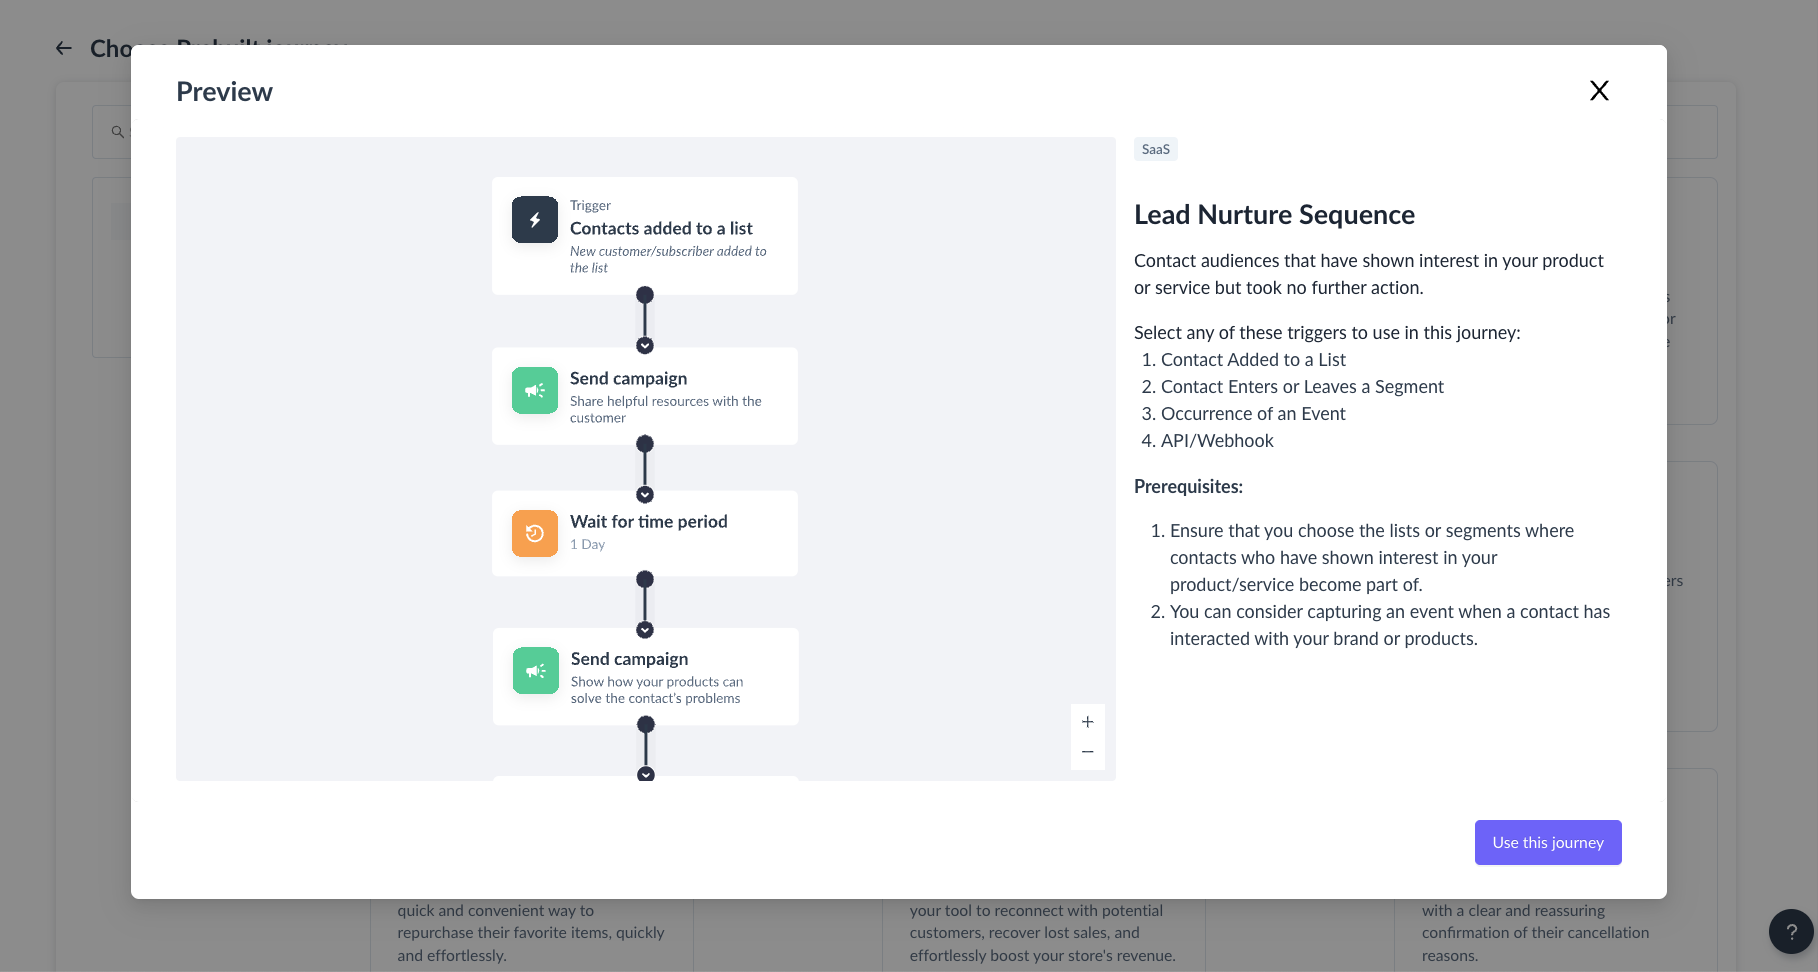
Step 4: Modify the emails and delay nodes in the journey and publish it.
If you face any problem then reach out to us at Mailmodo Support or share your thoughts at Mailmodo Product Feedback .


