Exporting Template Submissions to your software stack via Zapier
Last updated June 19, 2025
With Zapier-Mailmodo integration, you can now export submissions recorded in Mailmodo templates to your software stack.
Prerequisites
To do this, you need to first integrate your Zapier account with Mailmodo. Refer to the this guide to learn the same.
Overview
This article will cover the following-
1. Setting up the trigger app (Mailmodo)
2. Setting up the Action app
Let’s demonstrate this feature by exporting form submissions in Mailmodo to a Google Sheet.
Setting up the trigger app
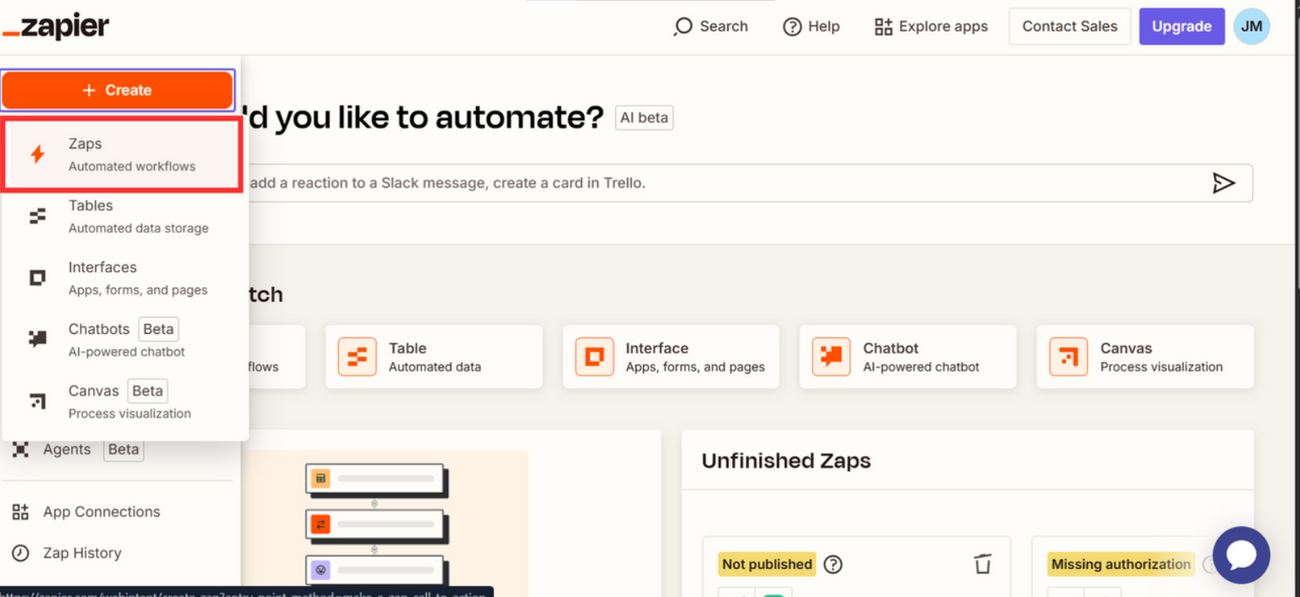
Step 1: On the Zapier dashboard, click on Create then 'Zaps'.
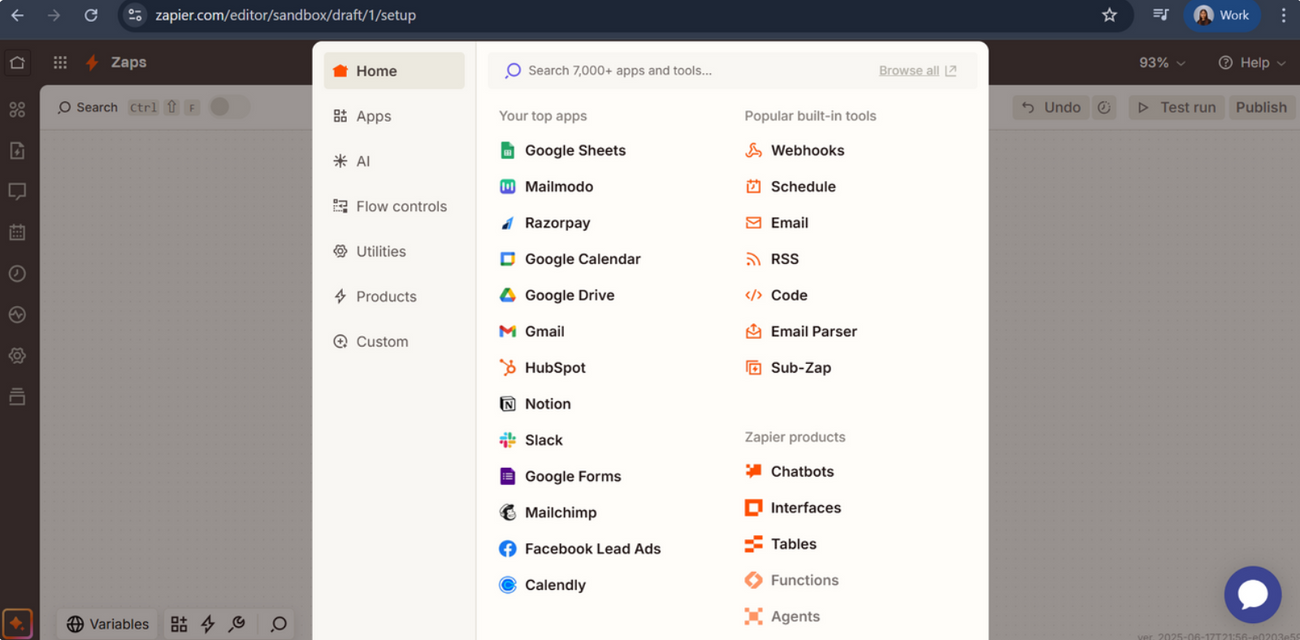
Step 2: In the ‘Trigger’ section select 'Mailmodo' as the trigger.
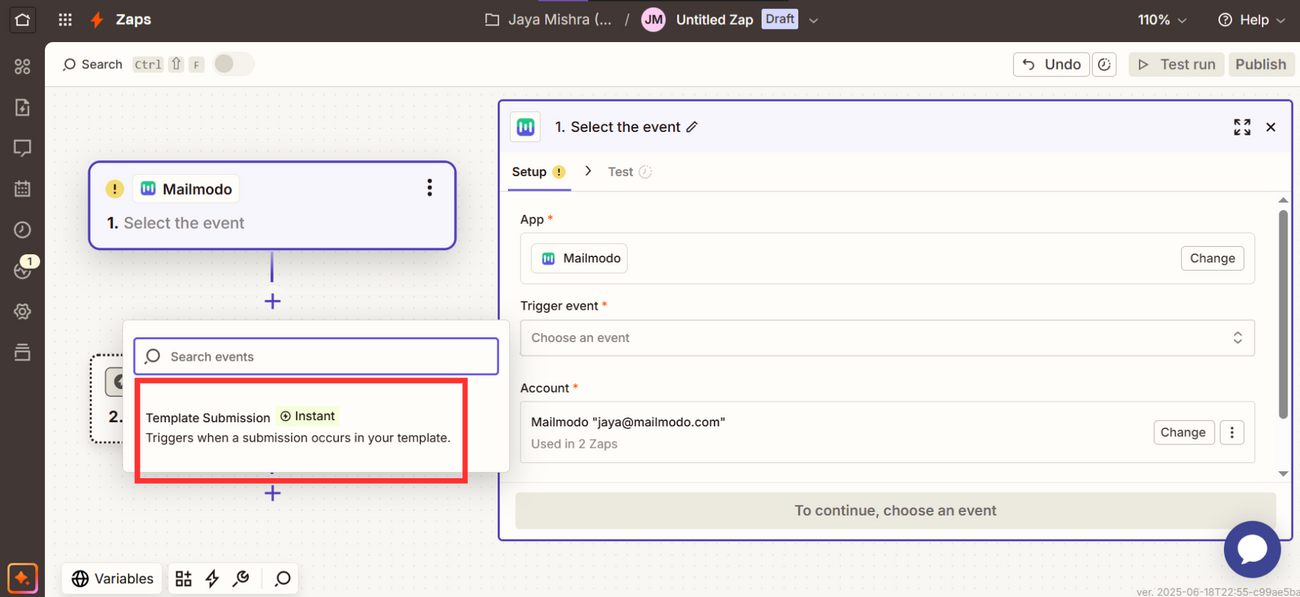
Step 3: In the ‘Trigger Event’ select 'Template Submission' and click on 'Continue'.
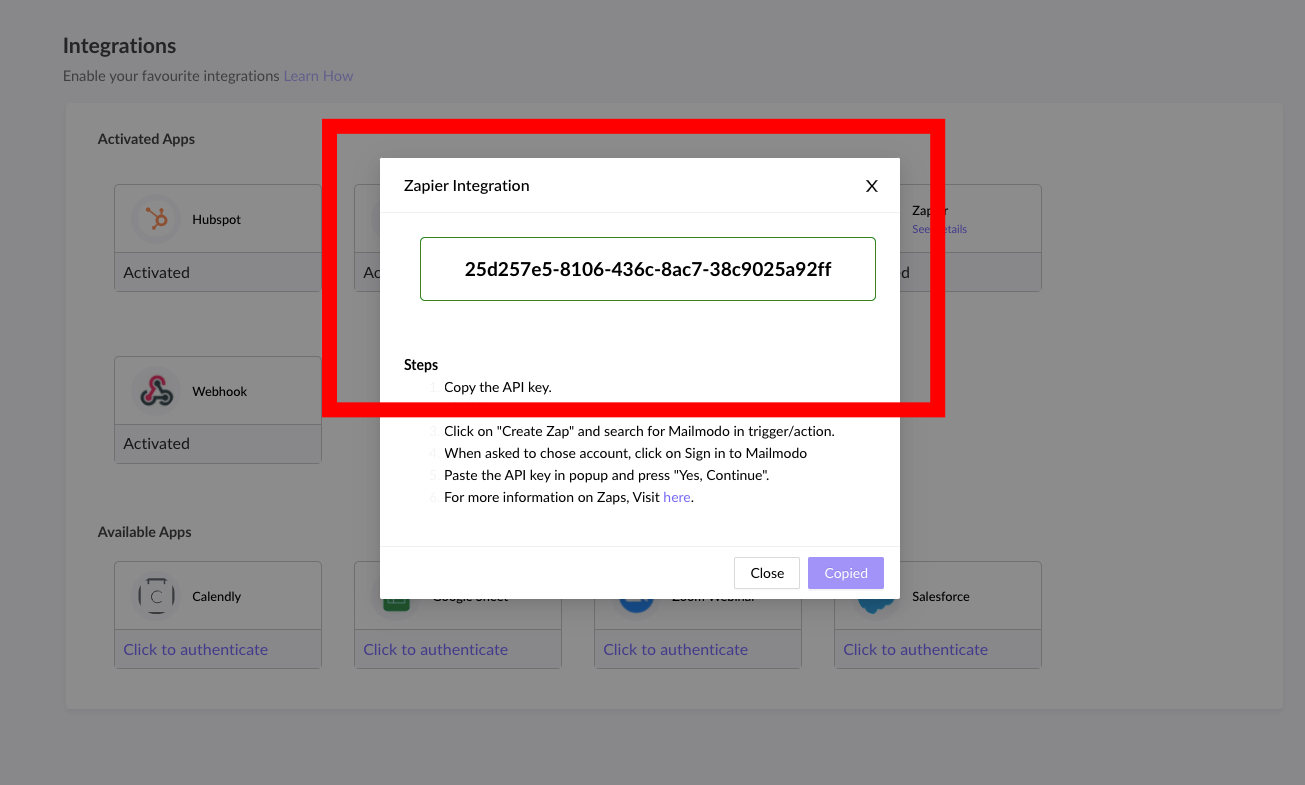
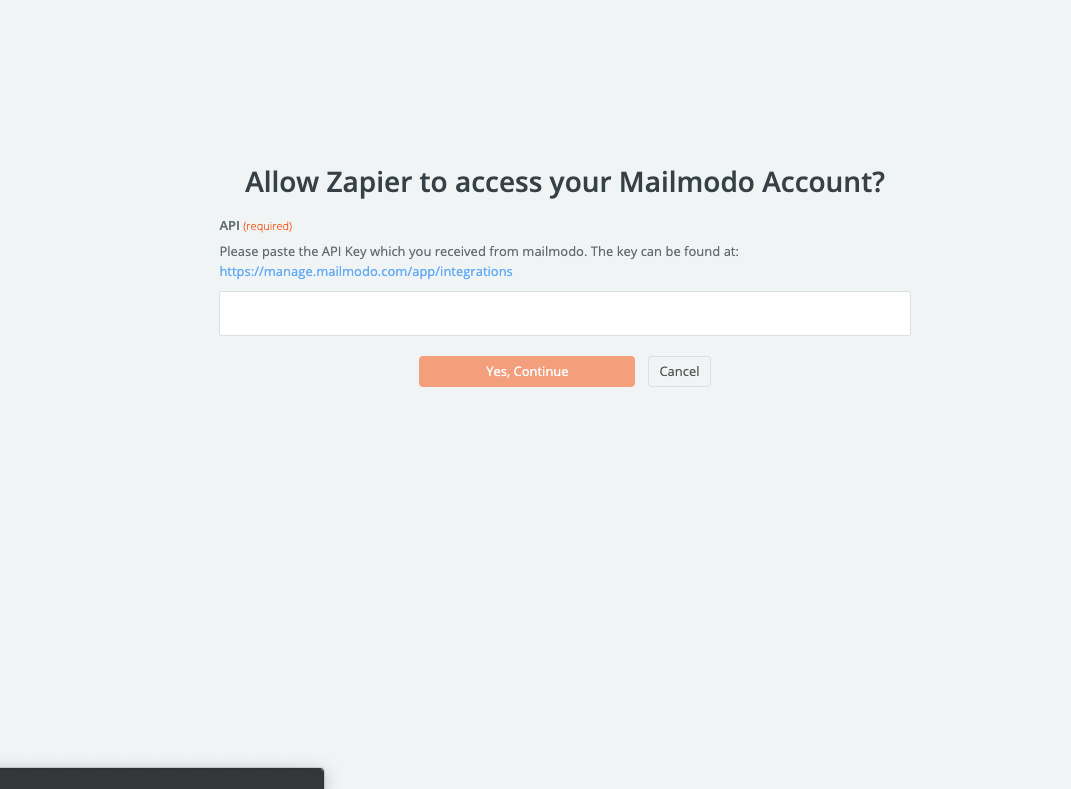
Step 4: Next select the Mailmodo account. You will be asked to sign-in in the next step. Here, you need to paste the API key that you received in Mailmodo.
You can access the API key anytime by going to the 'Integrations' tab in Mailmodo, and clicking on 'See details' under Zapier.
Step 5: Paste the API key in the box. Then click on 'Yes, Continue'.
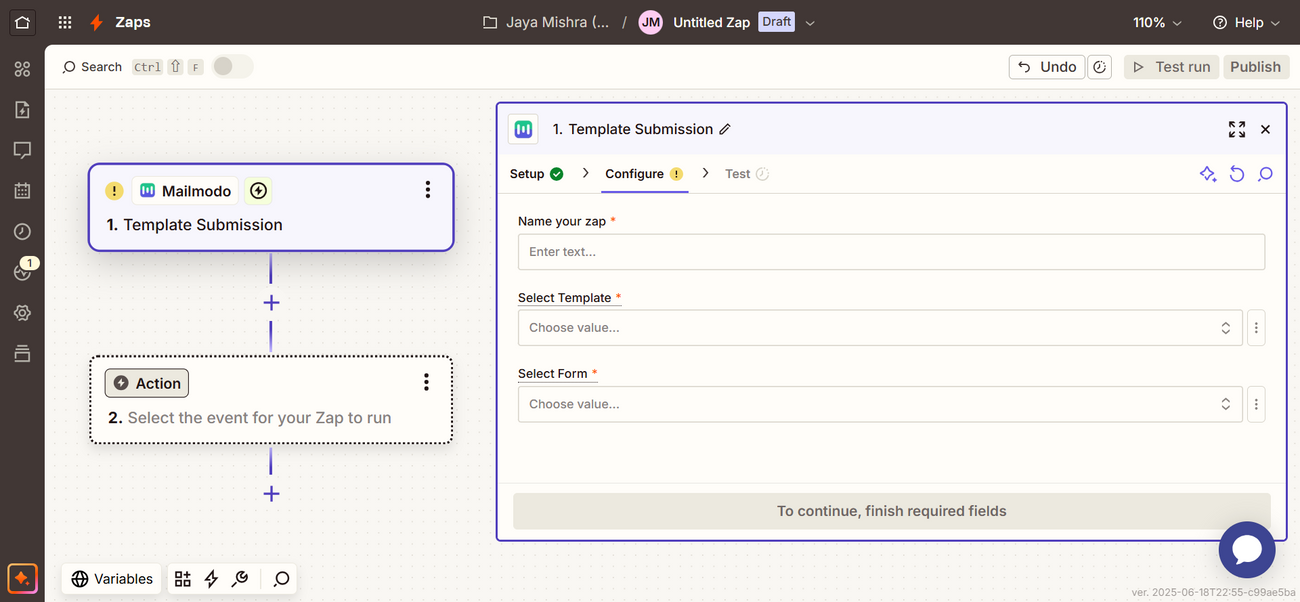
Step 6: In this step, you have to set up the trigger. Enter a name of your choice for the Zap, select the template for which the form submissions have to be exported, select the form in your template and continue.
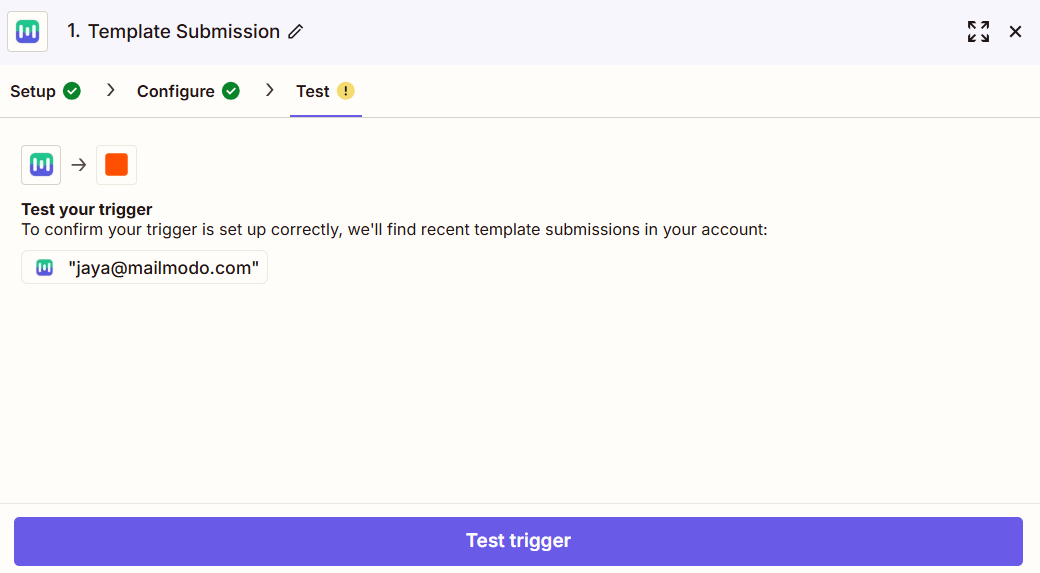
Step 7: The trigger is now set up and can be tested by clicking on 'Test trigger'.
Setting up the action event
The next step involves connecting the workflow to the software stack you want to export the data to.
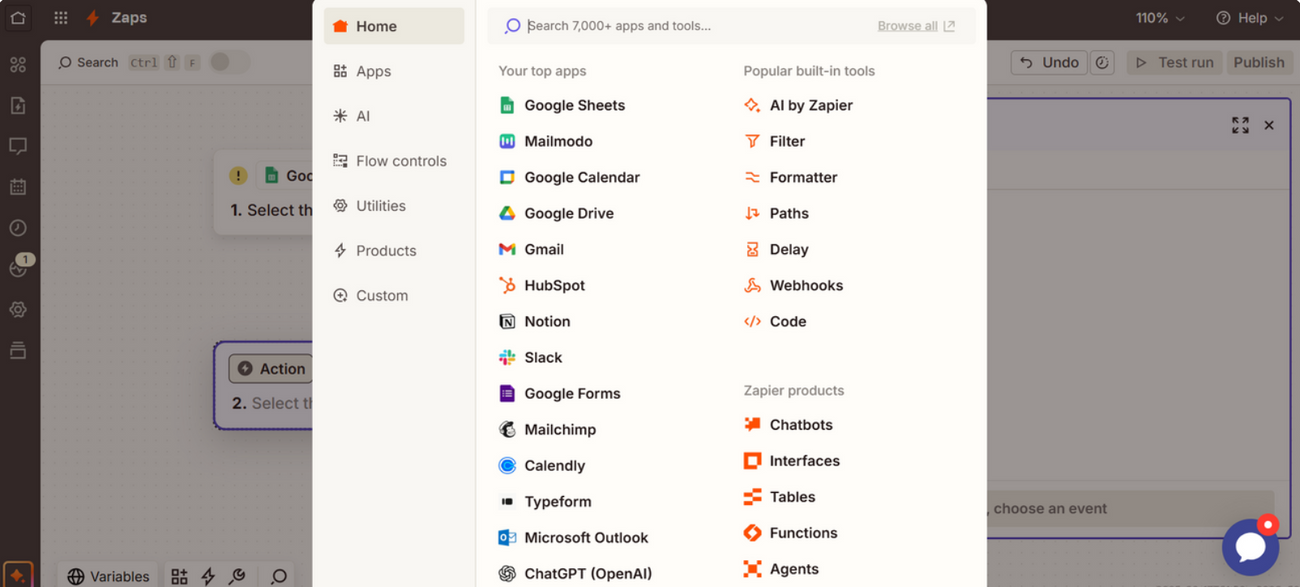
Step 1: Since we are making this Zap to export our submissions to a Google Sheet, click on Google Sheets in the ‘App event’.
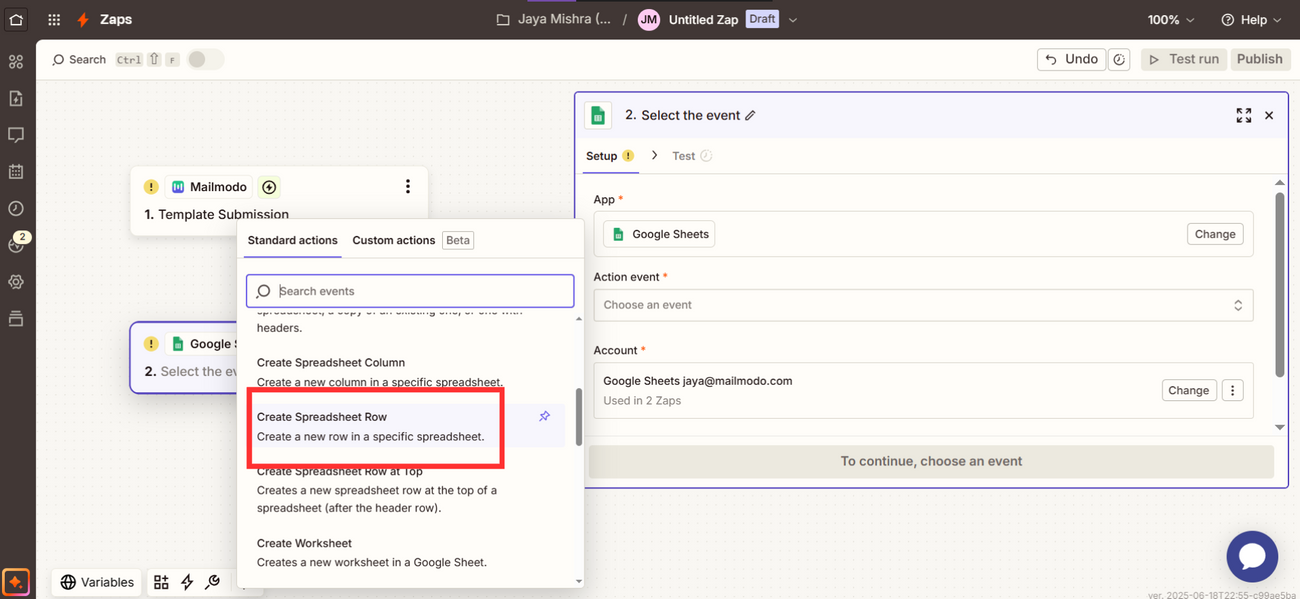
Step 2: Select the action event (this is performed when the Zap runs) as ‘Create spreadsheet row’ and continue.
Step 3: Now select the Google account you want to continue with.
Step 4: Enter the Google Drive, Spreadsheet and Worksheet details. Now, map the Worksheet column headers to the respective form fields in the template chosen and click on 'Continue'.
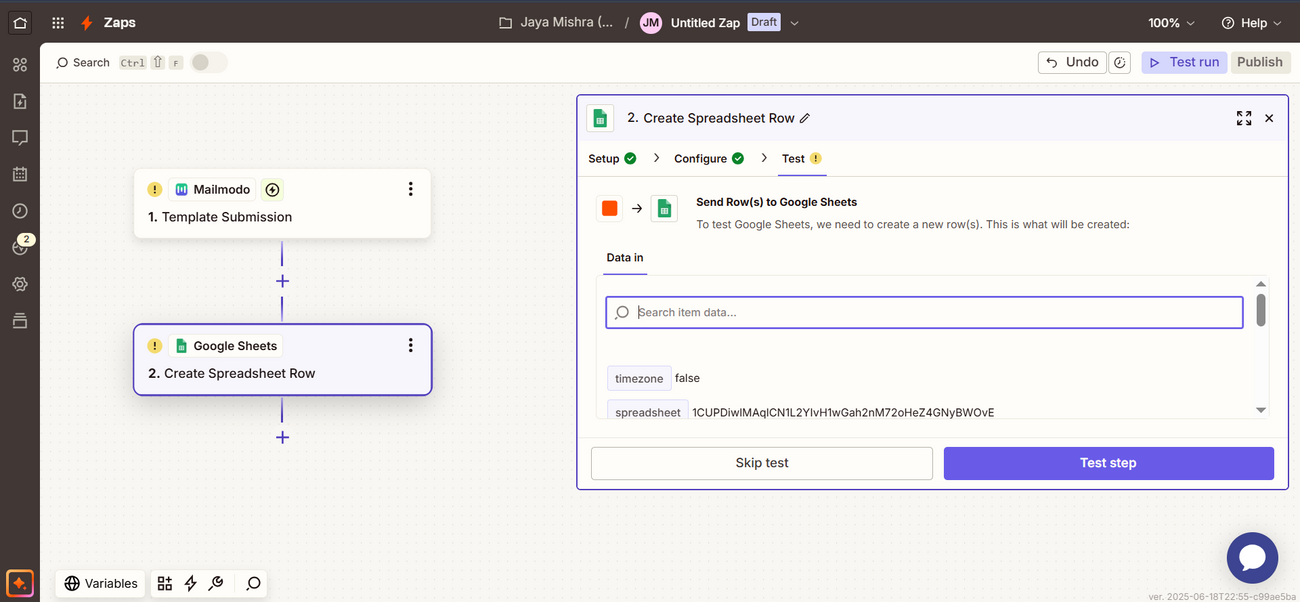
Step 5: Review the details and click on 'Test & Continue'.
The form test data will be sent to your spreadsheet. At this point, you have successfully created the zap. Now just turn on the zap and you’re done!
The Zap will be created for the chosen template and all submissions henceforth on campaigns with this template will automatically be populated in the Google Sheet.
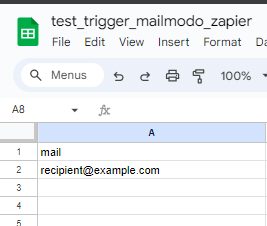
A sample submission sent to Google Sheets via Zapier is shown below.
If you face any problem then reach out to us at Mailmodo Support or share your thoughts at Mailmodo Product Feedback .


