Importing contacts to Mailmodo via Zapier
Last updated June 19, 2025
Zapier’s integration with Mailmodo allows you to:
To carry out the aforementioned functions, you need to first integrate Zapier with Mailmodo. To do that, follow the steps mentioned in this guide .
Now, to import contacts in Mailmodo from your software stack via Zapier, follow these steps:
For the purpose of this tutorial, we will import contacts from a Google Sheet.
Setting up the trigger
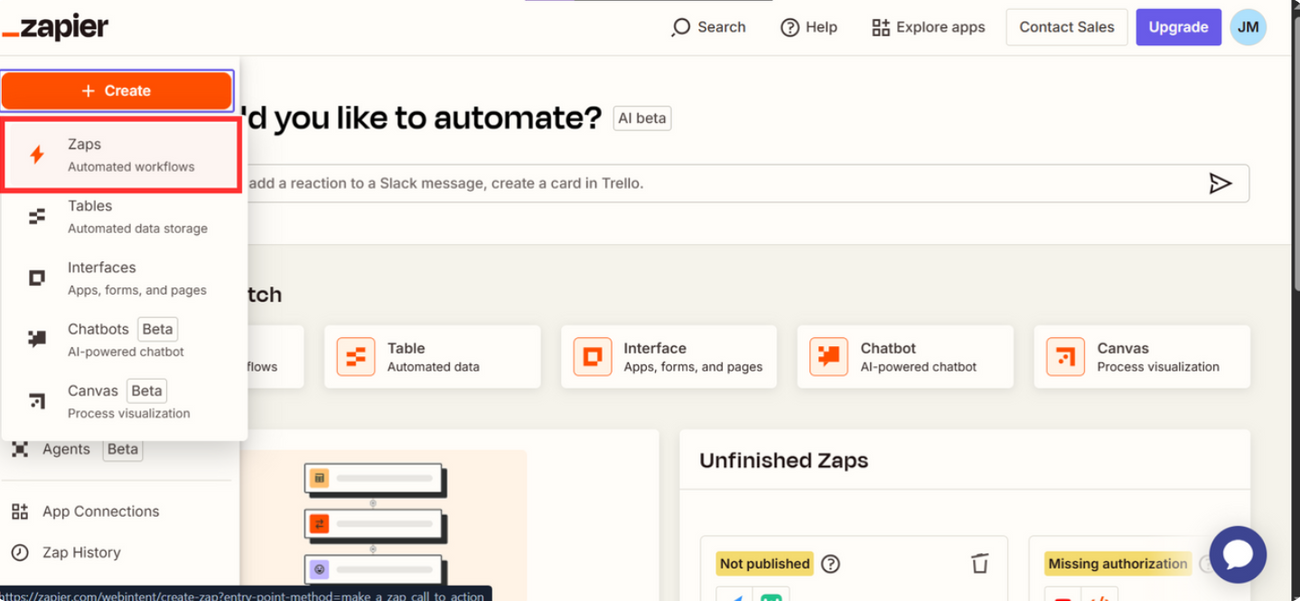
Step 1: On the Zapier dashboard, click on Create then 'Zaps'.
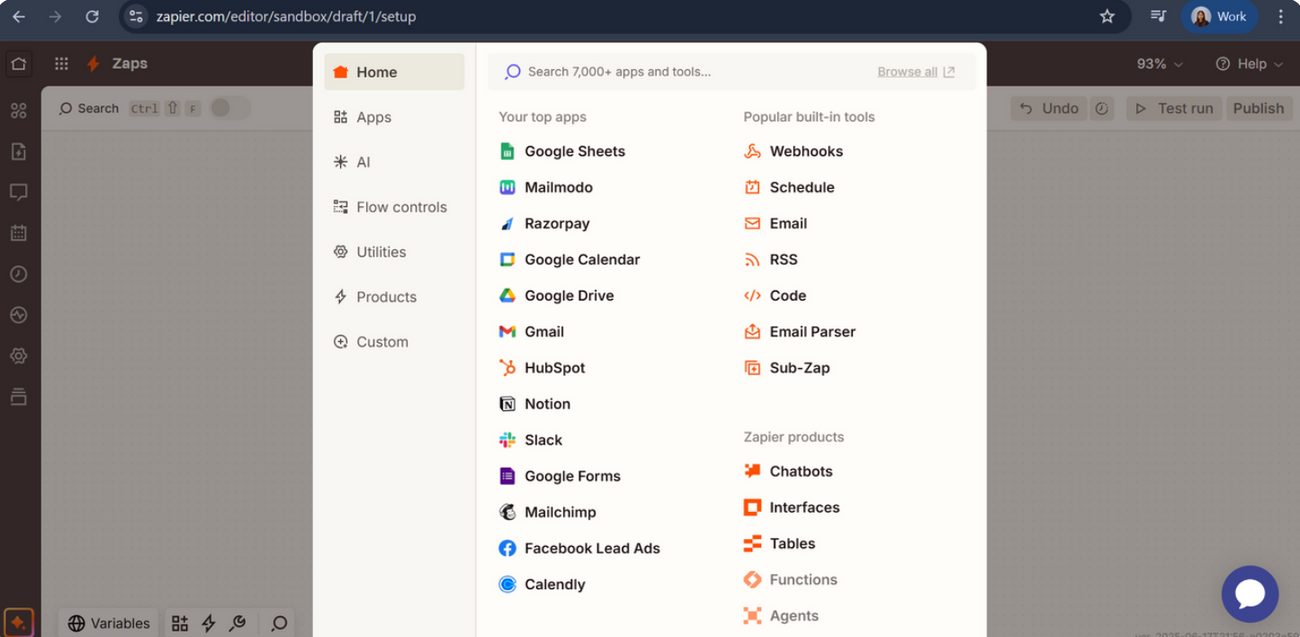
Step 2: Since contacts will be imported from a Google Sheet, the trigger event will be an addition of a row in your Google Sheets. Hence in the trigger tab, select Google Sheets:
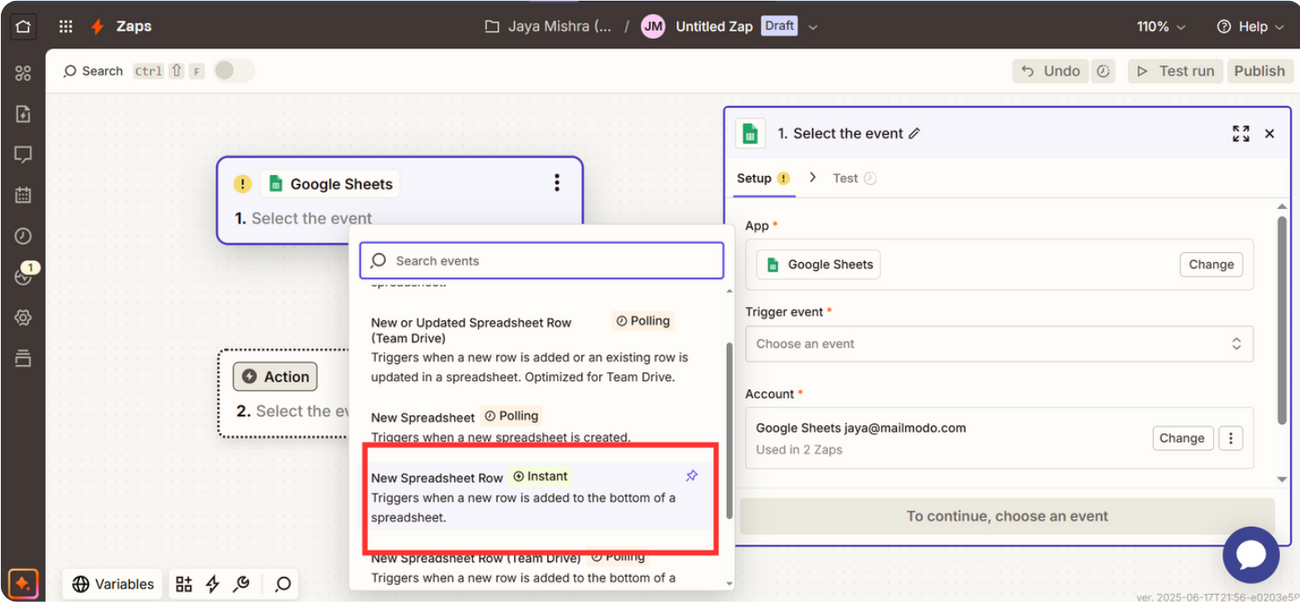
Step 3: In this case the import contacts Zap will be triggered when a new row is appended In the selected Google Sheet, so in the 'Trigger Event' section choose 'New Spreadsheet Row'.
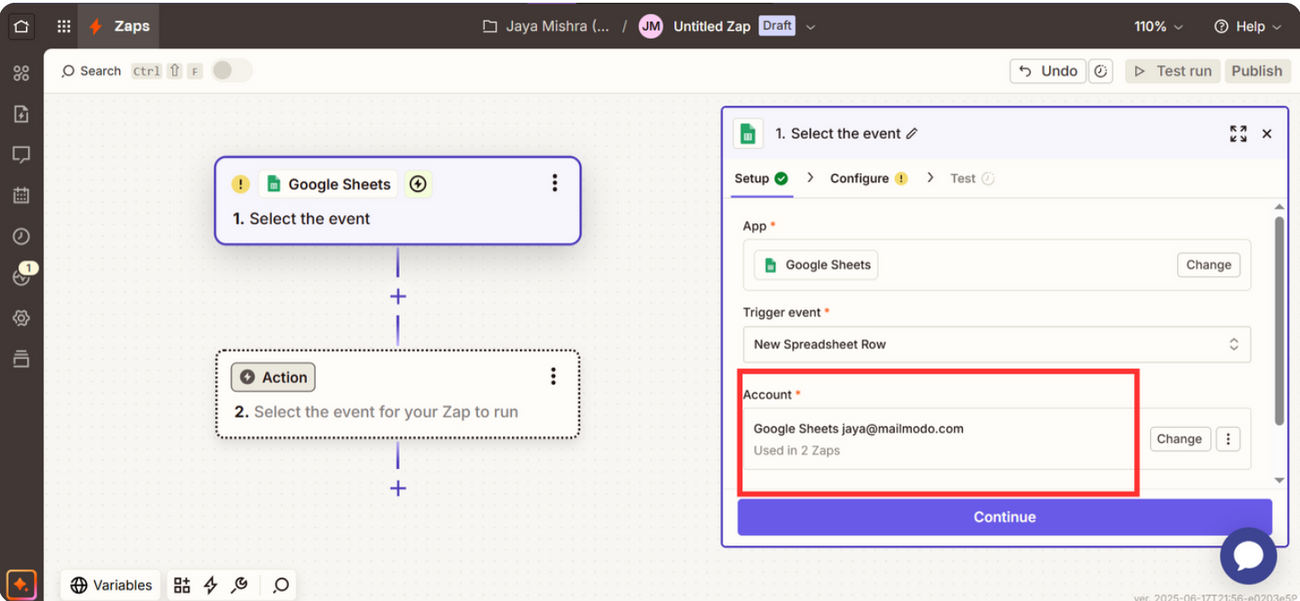
Step 4: Next, select the Google Sheets account you want to use:
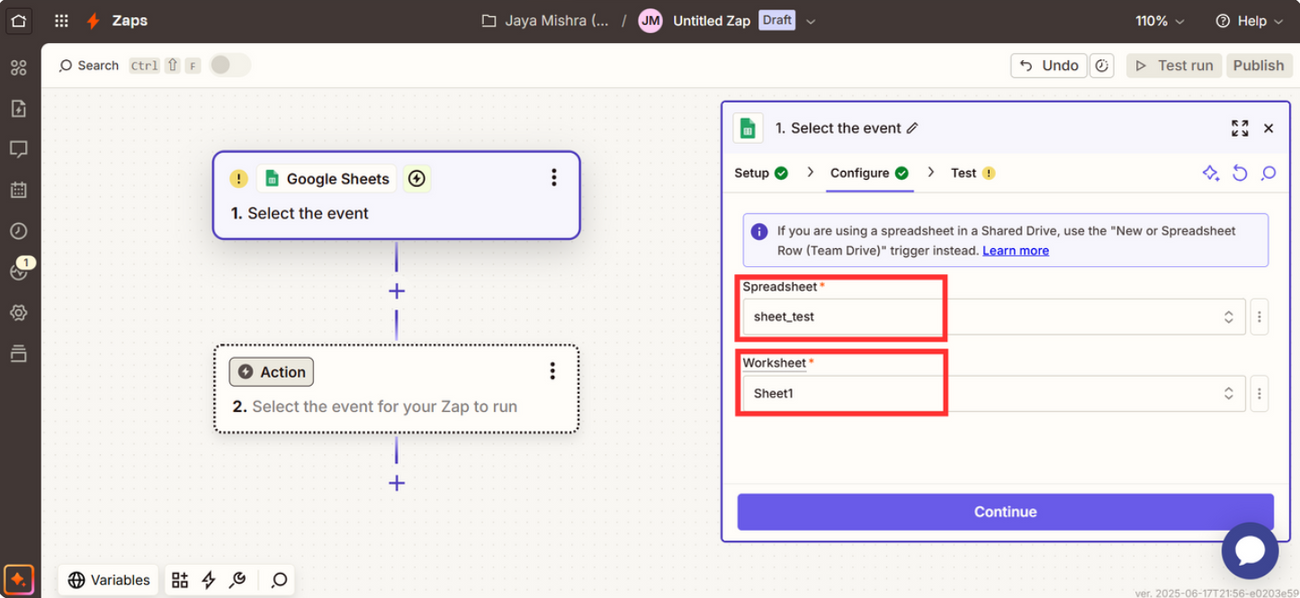
Step 5: Select the Spreadsheet and then the Worksheet in which addition of a row will trigger the Zap:
Step 6: Once the trigger setup is complete, test it by clicking on 'Test trigger'.
Setting up the Action Event
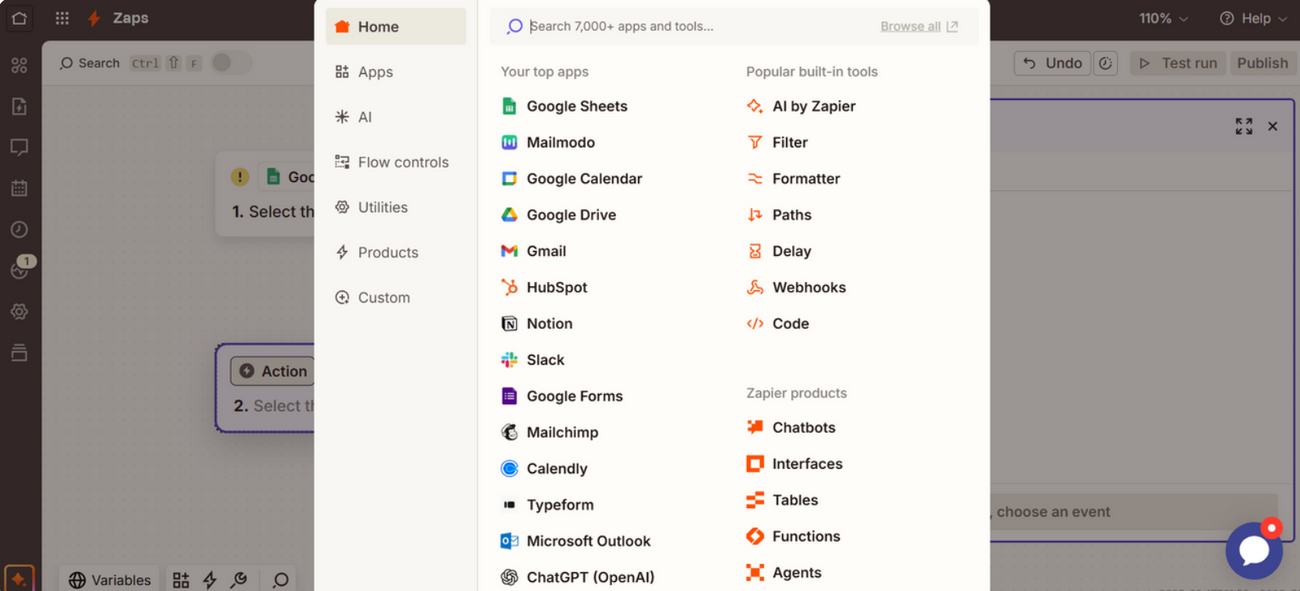
Step 1: The action will be performed in Mailmodo. As soon as a row is appended in the selected Google Sheet, the data will get exported to a contact list in Mailmodo. So, in the App Event tab, search for Mailmodo to add it as an app.
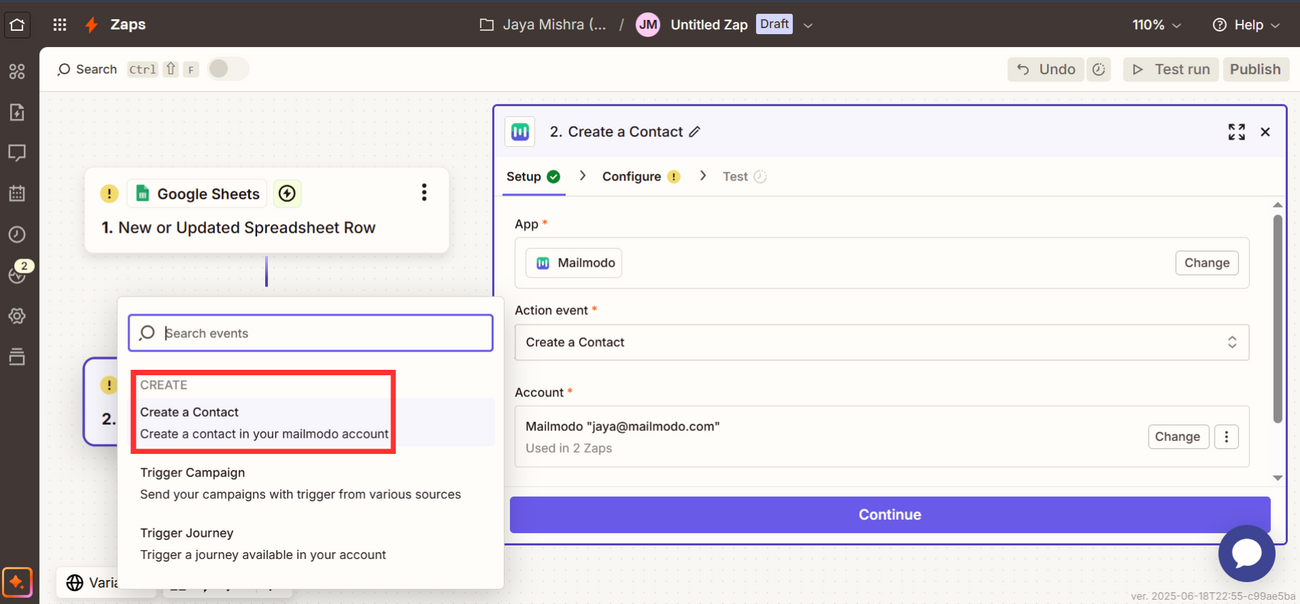
Step 2: In the Action Event tab, select 'Create a contact' and click on 'Continue'.
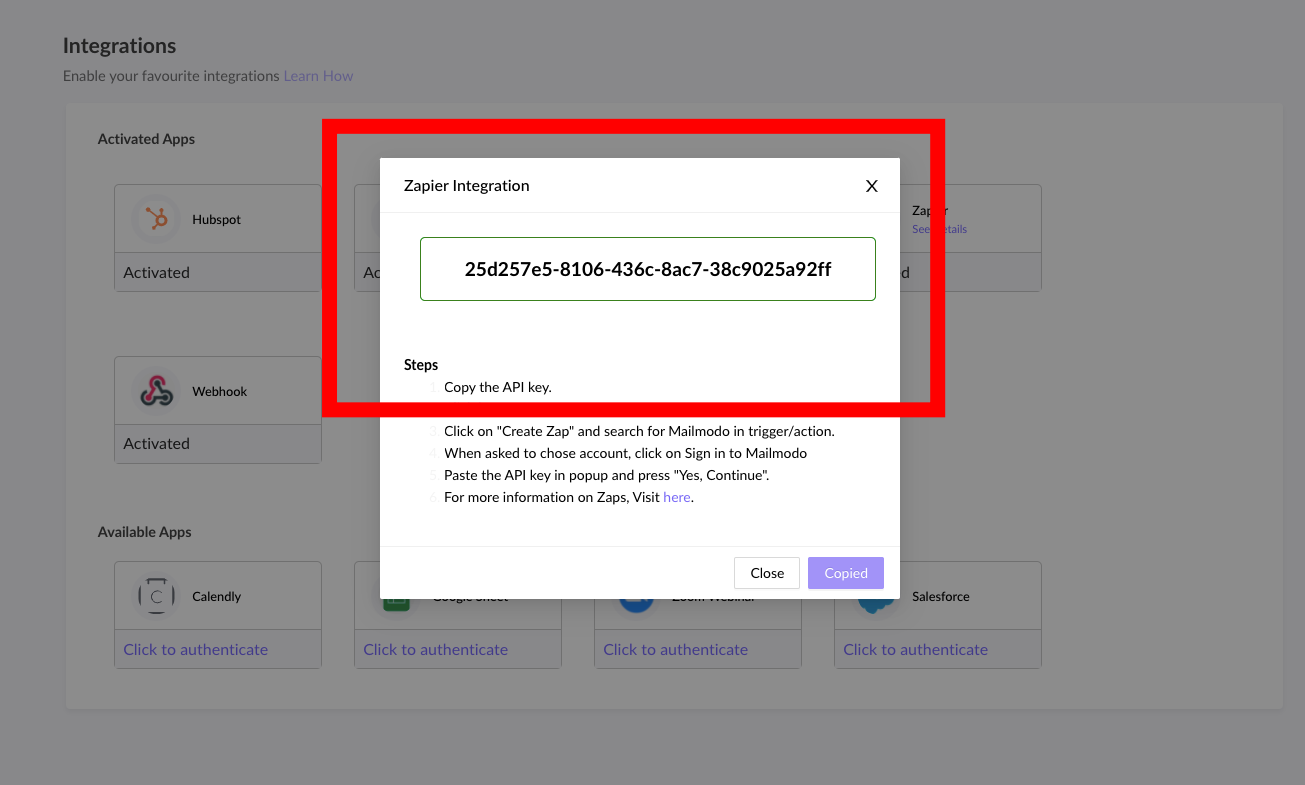
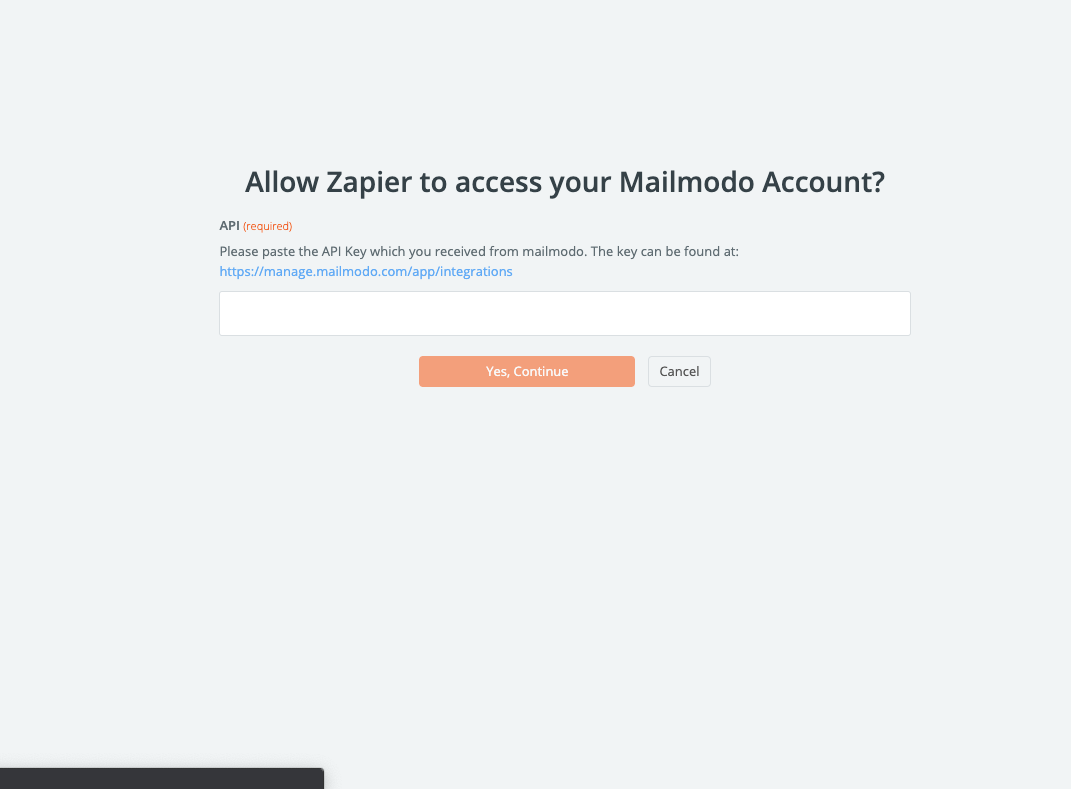
Step 3: Next select the Mailmodo account. You will be asked to sign-in in the next step. Here, you need to paste the API key that you received in Mailmodo.
You can access the API key anytime by going to the 'Integrations' tab in Mailmodo, and clicking on 'See details' under Zapier
Step 4: Paste the API key in the box. Then click on 'Yes, Continue'.
Step 5: Then after signing in to Mailmodo, on the Zapier dashboard you need to fill the details under the 'Set up action' dropdown:
Map the "Name of your recipient list" and "Email" (mandatory) to the respective columns in the Google Sheet.
- Name of your Recipient list: The name of the list to which the contacts should be imported
- Email: Email address of the recipient
You can optionally map other user properties in your Mailmodo account to the respective column in the Google Sheet. Please find below the default properties provided for mapping in Mailmodo.
| Property Name | Data type (Preassigned) | Definition |
| first_name | String | First name of the user |
| last_name | String | Last name of the user |
| name | String | Full name of the user |
| gender | String | Gender of the user |
| age | Number | Age of the user |
| birthday | ISO | Birthdate of the user in ISO format (Can also sent as UNIX timestamp) |
| phone | String | Primary phone number of the user |
| address1 | String | Line 1 of the address of the user |
| address2 | String | Line 2 of the address of the user |
| city | String | Name of the city (or district, village or town) of the user |
| state | String | State, region or province of the user |
| country | String | Country of the user |
| postal_code | String | PIN/ZIP Code of the user |
| designation | String | Designation of the user, usually related to their position at a specific company. Example: “VP of Engineering” |
| company | String | Company of the user |
| industry | String | Industry of the user |
| description | String | Description of the user |
| anniversary_date | ISO | Anniversary date of the user in ISO format (Can also sent as UNIX timestamp) |
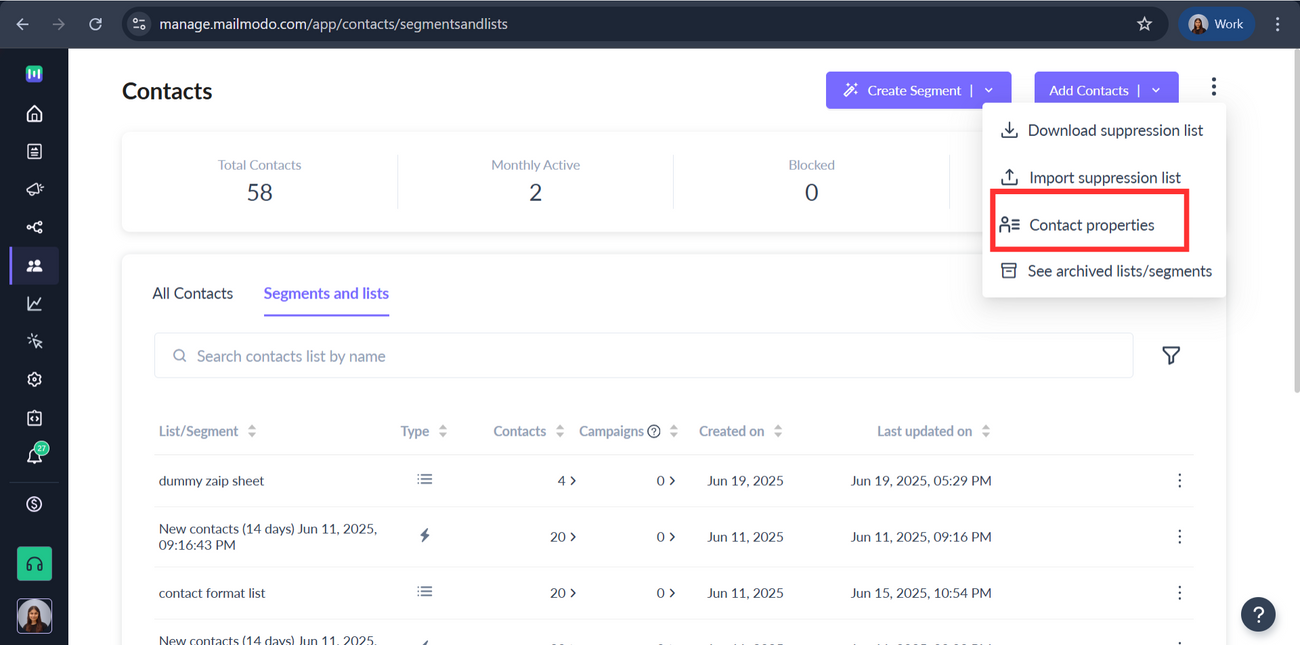
If you need to import a new property, then create a new property in Mailmodo from Contacts > Contact Properties > + Create new and use the Refresh fields option in Zapier for the field to appear in your mapping list.
Step 6: Next add the relevant properties and click on 'Continue'.
Step 7: Test the step to check if everything is working as expected, under 'Data out' we can find the details passed to Mailmodo.
Step 8: If the events have been correctly setup, following screen will appear. Click on 'Publish' and the Zap will be successfully configured.
Your Zap will run instantly each time a new a spreadsheet row is created.
Henceforth, any contact added in the selected Google Sheet will get appended to the selected Mailmodo list.


