Test your template before setting it live
Last updated April 24, 2025
It is best to preview and test an email template before you send it. With our test email feature, you can get the full experience of your live email campaign. Send a test mail to see how the final template appears in your inbox.
You may also want to check how to Create an email template , or Using the editor to refine the design of your template.
Preview
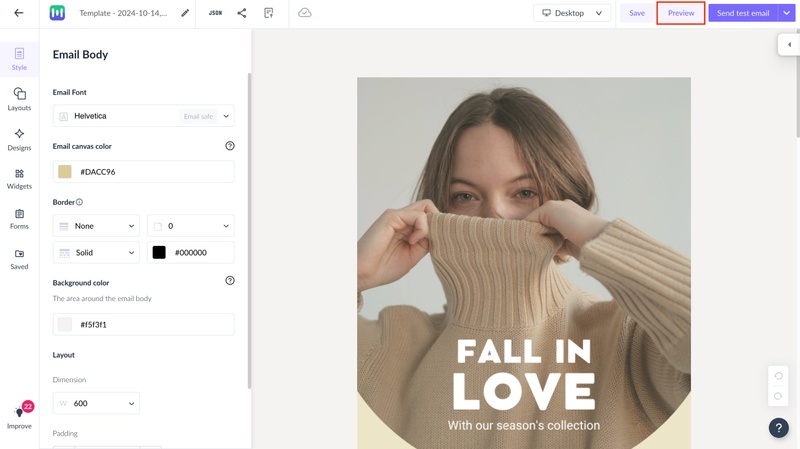
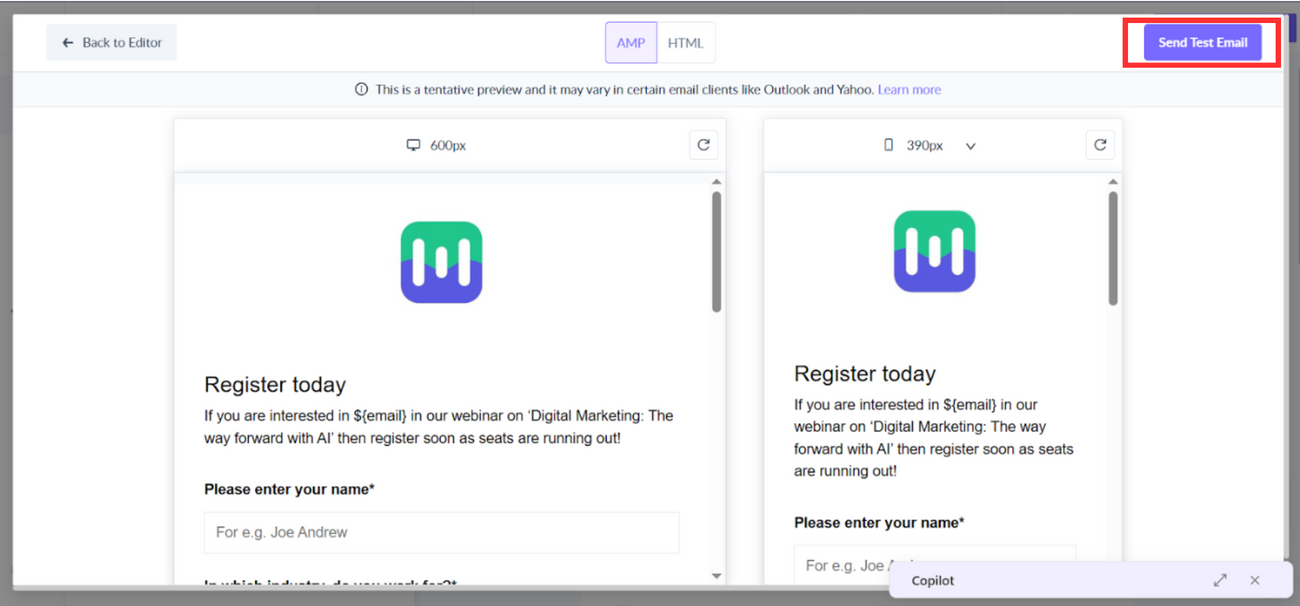
You can preview your email by clicking on the ‘Preview’ button on the top-right corner of the editor page.
The preview feature varies depending on whether you have added any AMP elements.
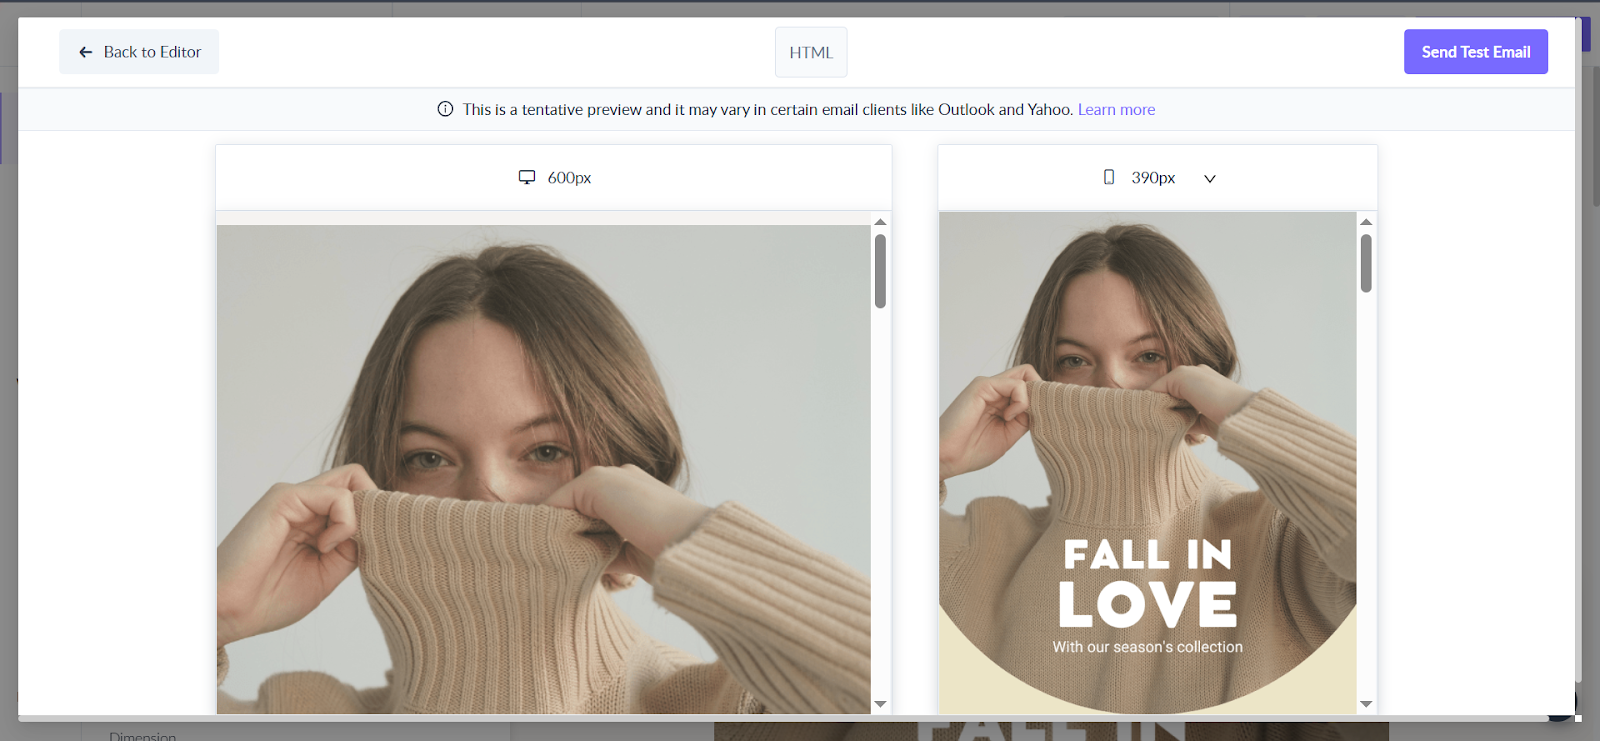
If you have not added any AMP elements, you will get a preview page with only the HTML version.
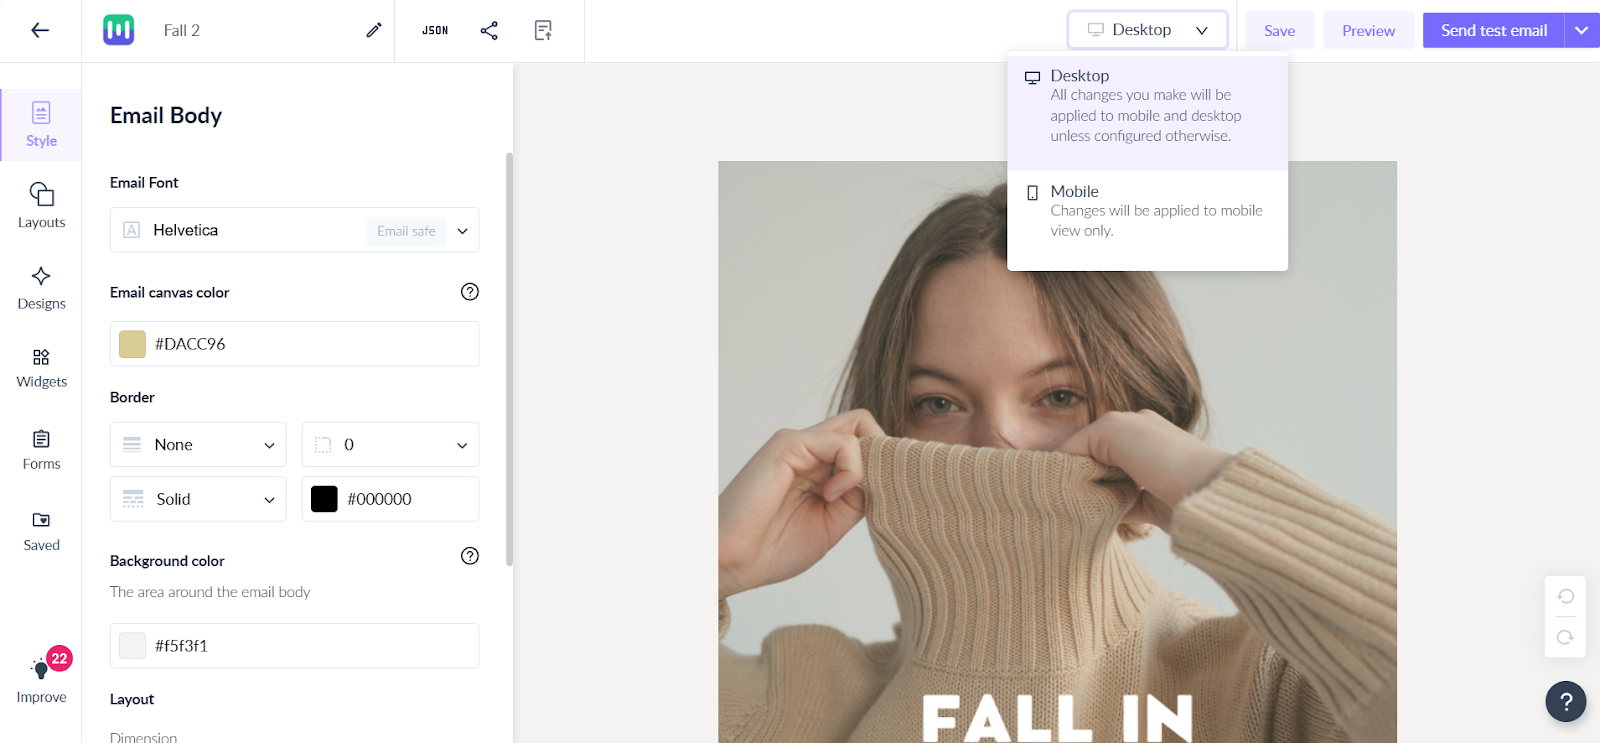
You can switch between the ‘desktop’ and ‘mobile’ from dropdown to see how your email appears on different devices.
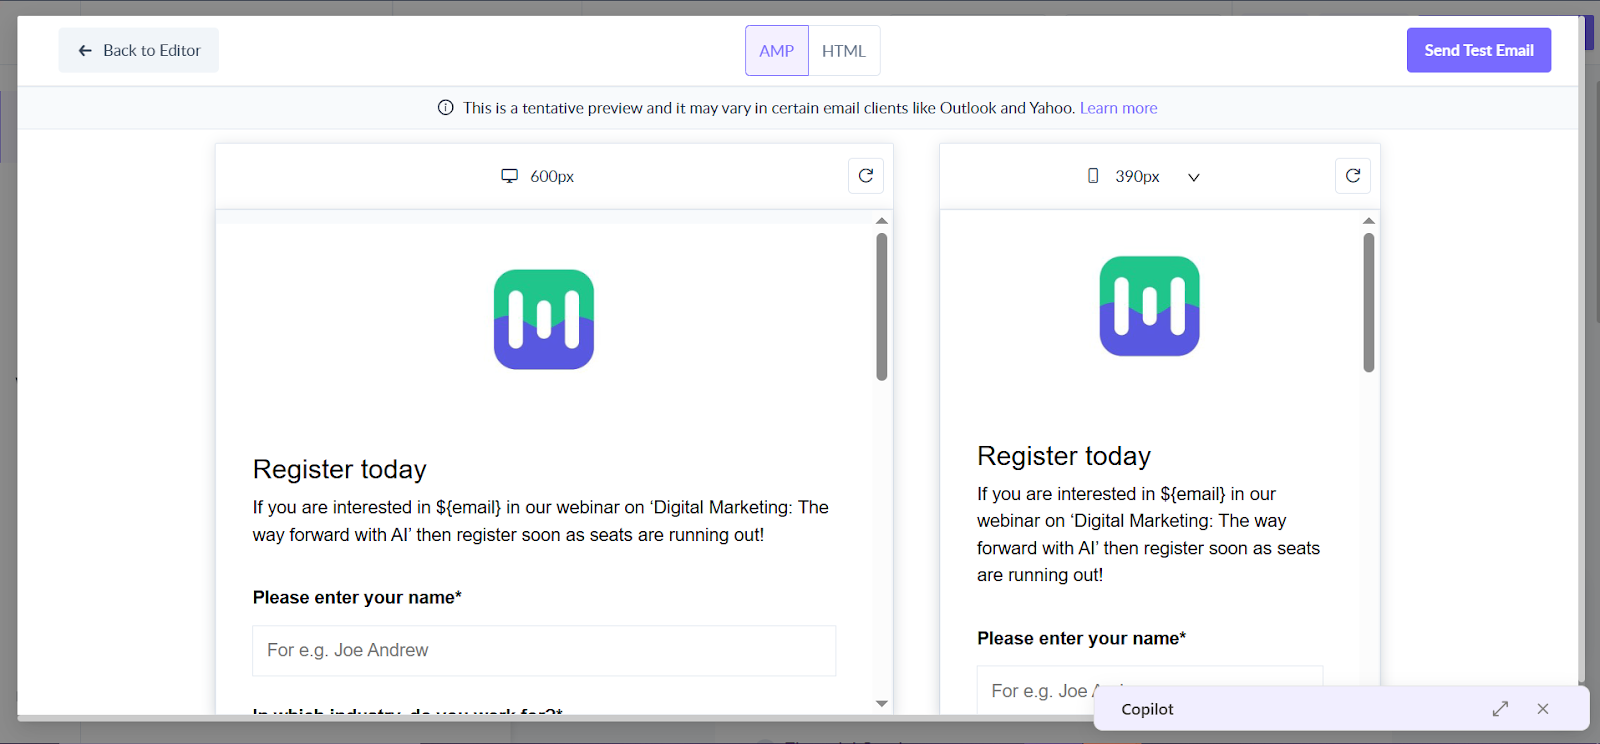
If you have added AMP elements, you will get a preview page with both the AMP and the HTML version. You can see the mobile and desktop versions for each.
Sending a test mail
Through this feature, you can test each feature of your email campaign.
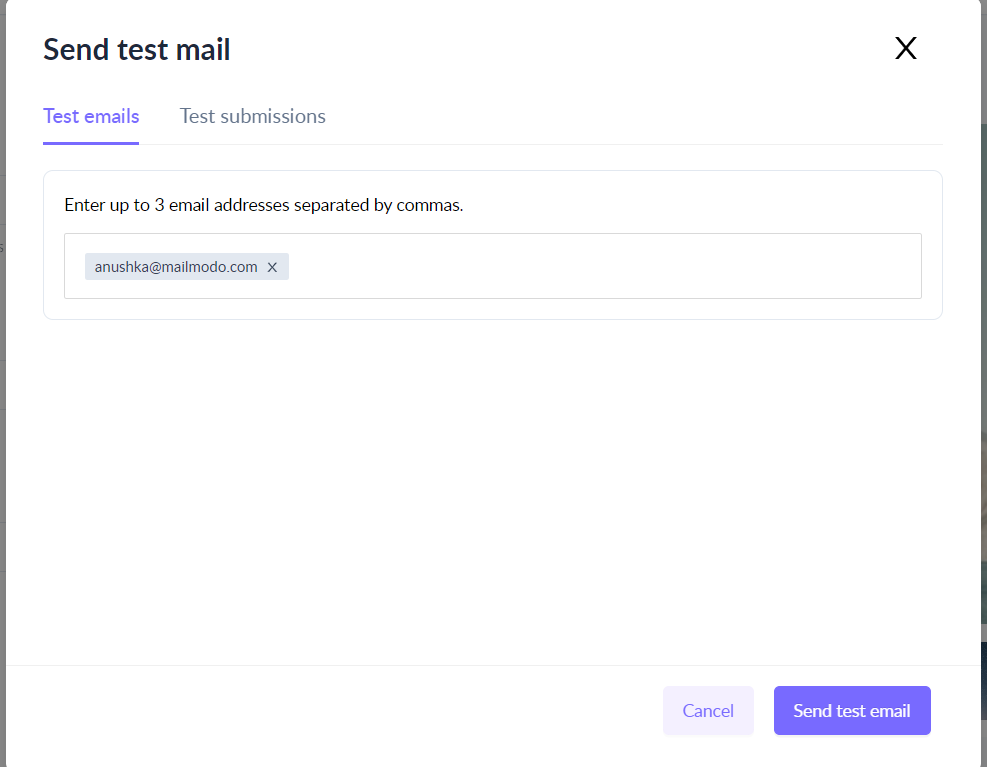
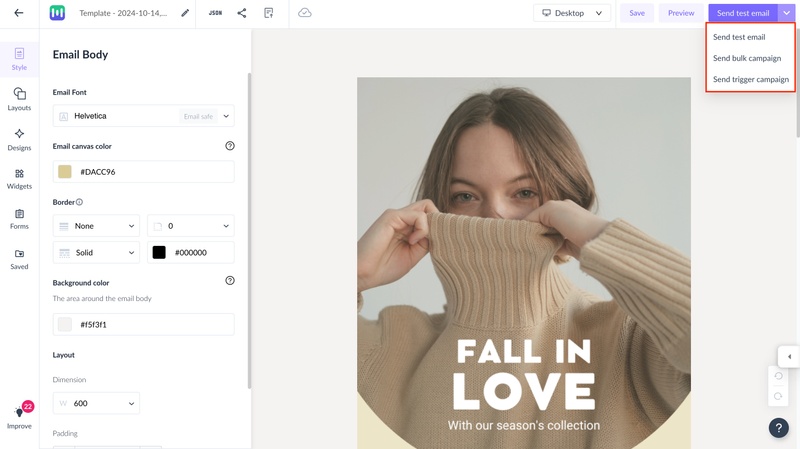
Step 1: Click on the ‘Send test mail’ button on the top-right corner.
Step 2: Enter the email address of the test recipient in the dialogue box that appears.
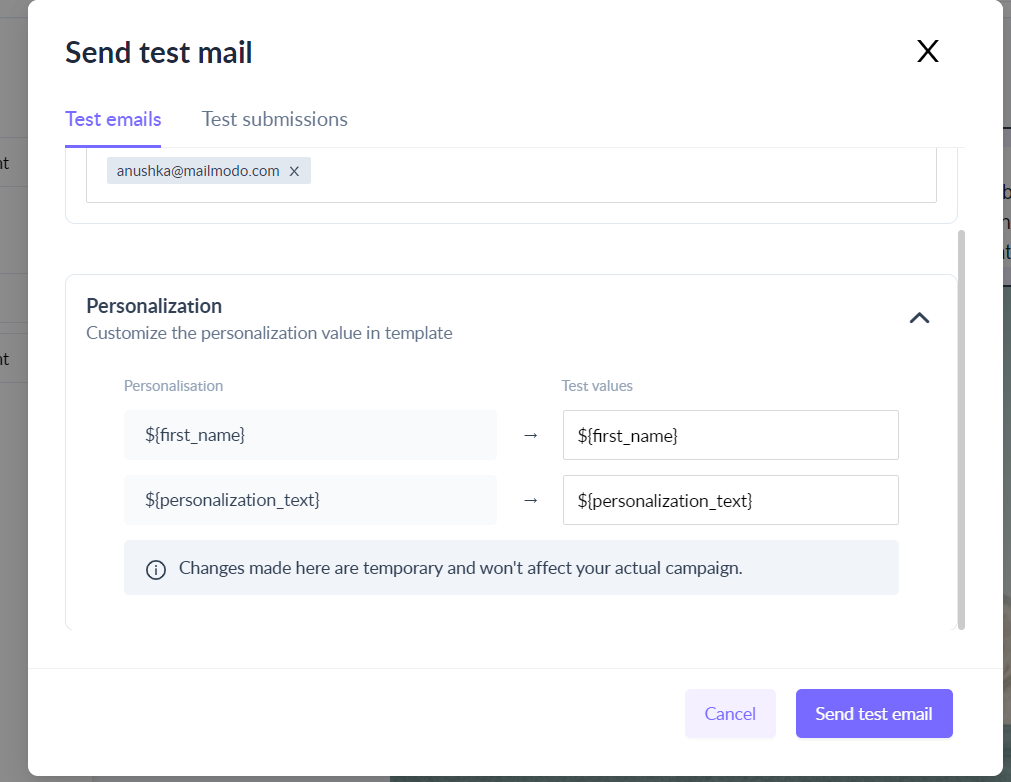
Step 3: If your template has personalization, click ‘Change’ to add the relevant details. For example, add the first name of your contact if your email has a personalized greeting.
If you have added AMP elements in your email, you will shortly receive both the AMP and HTML versions in your inbox. If your email template has no AMP elements, you only receive a single HTML version.
There might be a difference in font size between HTML and AMP mail in Gmail mobile when a user clicks on 'Show quoted text' in the test email (only). If you want to test with the original font then you need to disable the "auto-fit messages" in the Gmail settings. To change the settings: Click on the menu icon on the top left -> Scroll down to Settings -> Click on General Settings -> Scroll down to 'Auto-fit email messages' and unselect it.
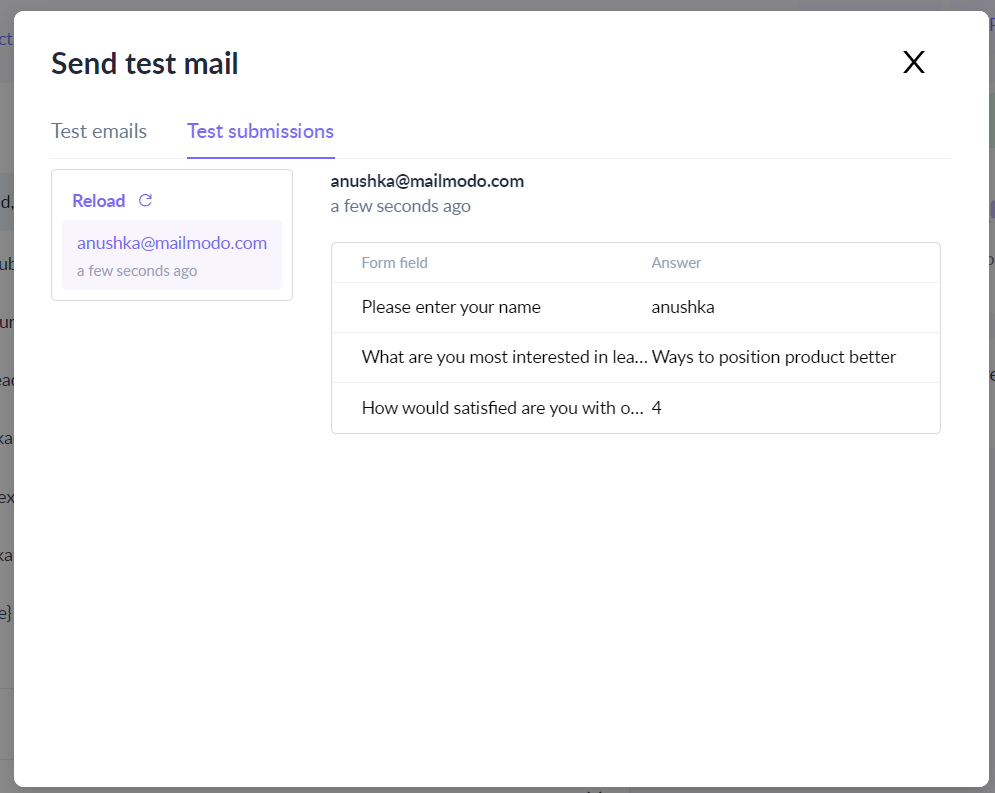
Step 4: You can also see the form responses under the ‘Submission’ tab. The test recipient(s) need only fill out the form in the AMP version of the test mail. Each response is reflected under this feature.
The Submission feature is exclusive for AMP emails and not applicable to HTML mails.
Note: You can also send a test email from the button on the upper right corner. You just need to click on Send test mail or Send Bulk/trigger Campaign > Send test email (last step) and the rest of the steps remain the same as mentioned above.
Use the search bar in our Help Center to find quick guides and walkthroughs. If you have any queries, then reach out to us via the chat icon on the bottom right corner of your screen while using Mailmodo. Or reach out to us at Mailmodo Support and share your thoughts at Mailmodo Product Feedback.


