

Getting started with WebEngage integration
Last updated March 16, 2025
WebEngage integration enables you to use the Mailmodo campaign activity data in WebEngage and this article provides an overview of the Integration and the steps to set it up.
Please visit this article if you're looking for steps to trigger emails in Mailmodo using WebEngage as an External Trigger
Why integrate WebEngage with Mailmodo?
- If you are triggering emails in Mailmodo using WebEngage as External Trigger , by setting up the WebEngage integration, Mailmodo will be able to send the trigger campaign activity data back to WebEngage which can be used to create segments, campaigns, flows, or dashboards in WebEngage in few simple clicks.
- Sample use cases include triggering a push notification or SMS campaign in WebEngage for all the users who didn't open or click a particular Mailmodo campaign, or creating a segment of all the users submitting a particular AMP form in Mailmodo. For e.g. in the screenshot below, you can see a the Mailmodo campaign activity sent to WebEngage as custom events.
What data is synced between WebEngage and Mailmodo?
Once the integration is enabled, for every campaign triggered from WebEngage, Mailmodo will push the follow set of campaign activity data back to WebEngage as Custom Events .
| Event Tracked in WebEngage | What does it represent? |
| MM Email Opened | Opend event sent to WebEngage whenever recipient opens an email triggered from Mailmodo. |
| MM Email Link Clicked | Click event sent to WebEngage whenever a recipient clicks on a link inside an email triggered from Mailmodo. |
| MM Email Form Submitted | Submit event sent to WebEngage whenever a recipient makes a submission for the AMP form or widget inside an email triggered from Mailmodo. |
| MM <Template Name> Form Submitted | Form submission data (aka responses) sent to WebEngage whenever a recipient makes a submission for the AMP form or widget inside an email triggered from Mailmodo. |
| MM Email Bounced | Bounce event sent to WebEngage whenever a triggered email from Mailmodo bounced for the recepient. |
| MM Email Unsubscribed | Unsubscribe event sent to WebEngage whenever a recipient unsubscribe from an email triggered from Mailmodo. |
| MM Email Marked as Spam | Marked as Spam event sent to WebEngage whenever a triggered email from Mailmodo is marked as spam by the recipient. |
For each event, we will send additional properties to help with further categorization and refinement. For e.g. for open event we will send additional information like campaign name, subject line, campaign type, email type, etc. for filtering.
Please note : Mailmodo needs WebEngage user_id (ID) of the email recipients to push the campaign data back to WebEngage as custom events. So, you need to ensure that webengage_id property is set in the JSON body while setting up the trigger campaign in WebEngage. For more information, please refer to the Step - 4 of the Trigger campaign using WebEngage help article under WebEngage Setup.
Step by step guide on how to setup WebEngage integration
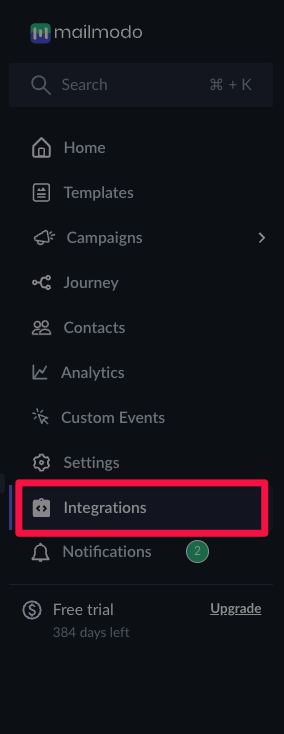
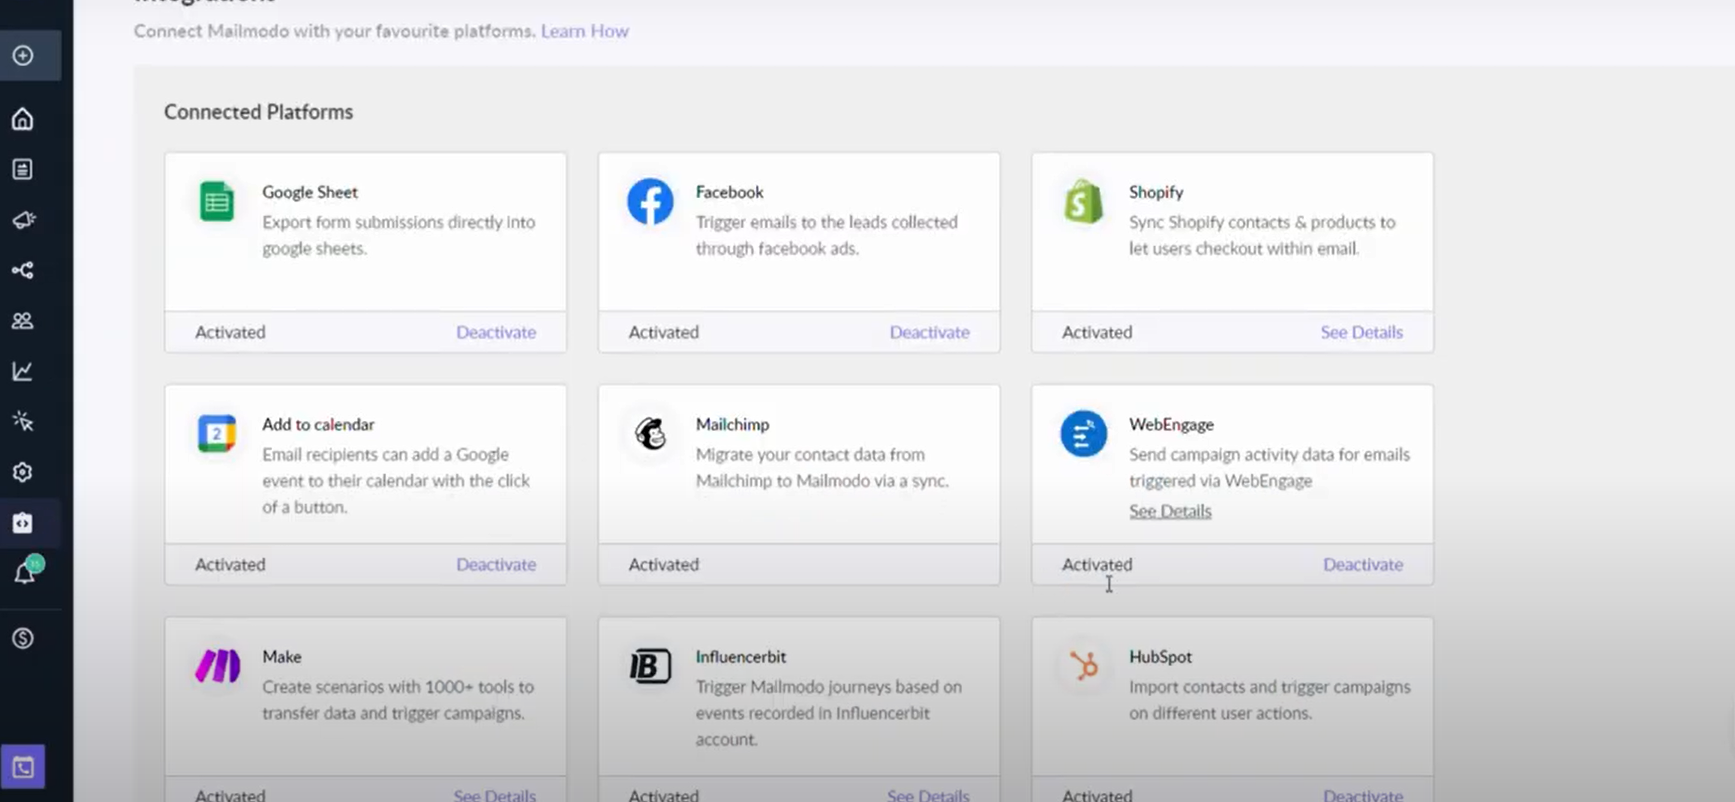
Step 1: Go to Integrations from the left navigation menu.
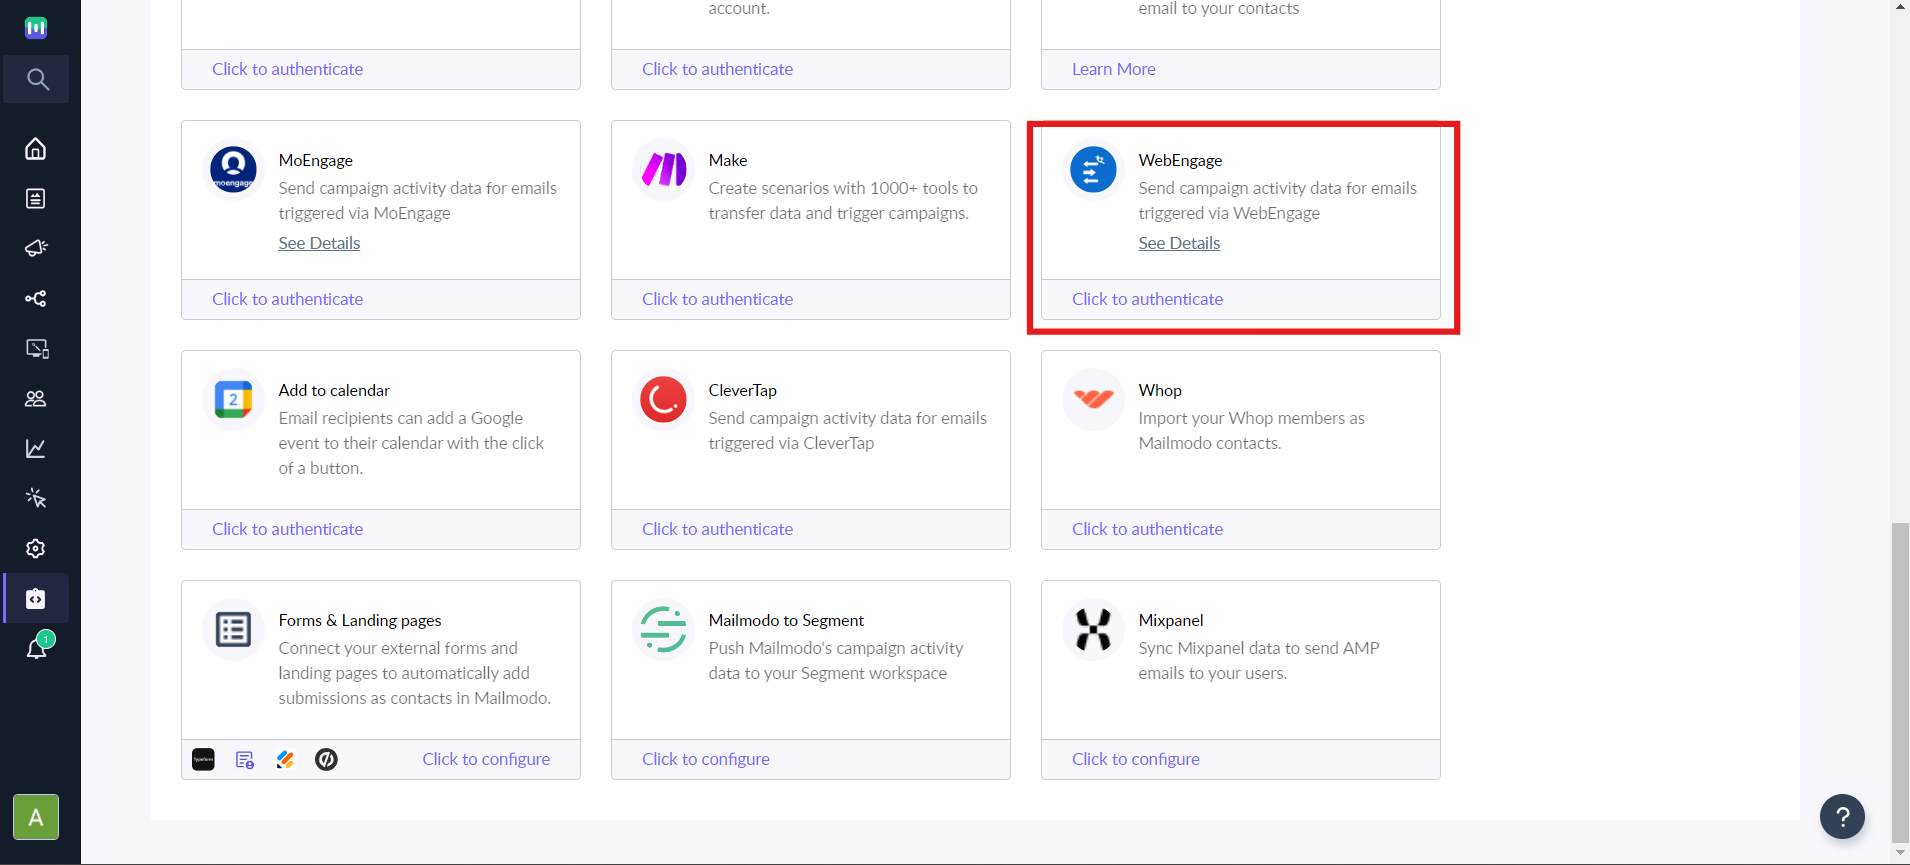
Step 2: "Click to Authenticate" on the WebEngage card from the Available For Connection section.
Step 3: Select your Rest API Host from the drop-down.
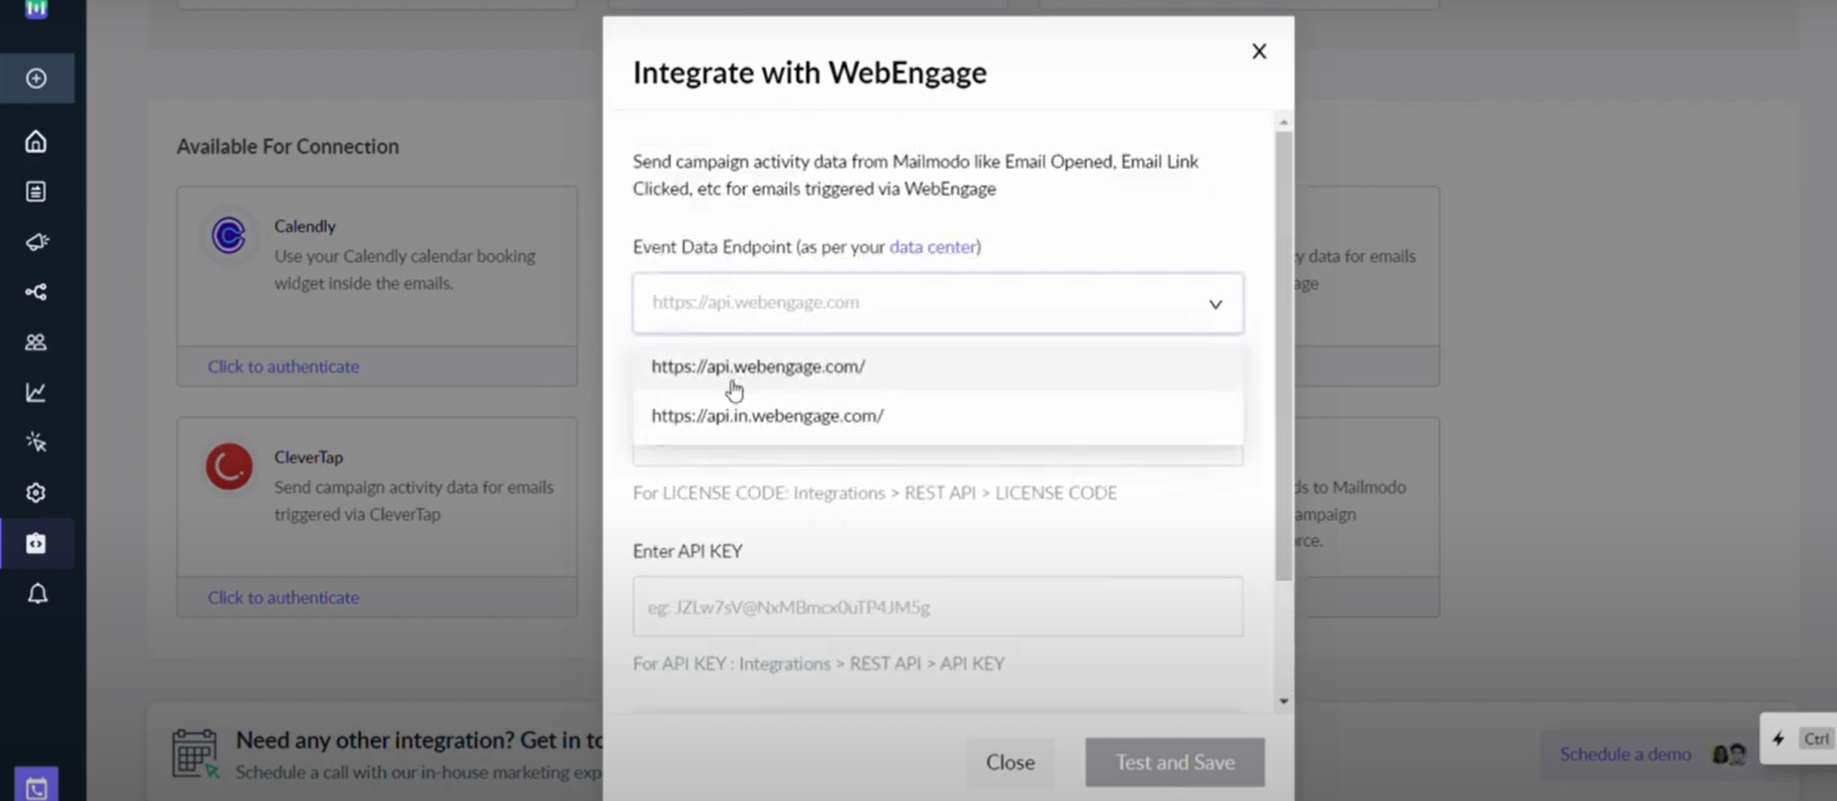
Please select the Rest API Host as per your Dashboard URL. The following table describes the dashboard URL, and the REST API hostname associated with it.
| https://dashboard.webengage.com/ | https://api.webengage.com/ |
| https://dashboard.in.webengage.com/ | https://api.in.webengage.com/ |
Step 4: For the getting the APP ID and Data API Key, Go to Data Platform > Integrations > Rest API in WebEngage.
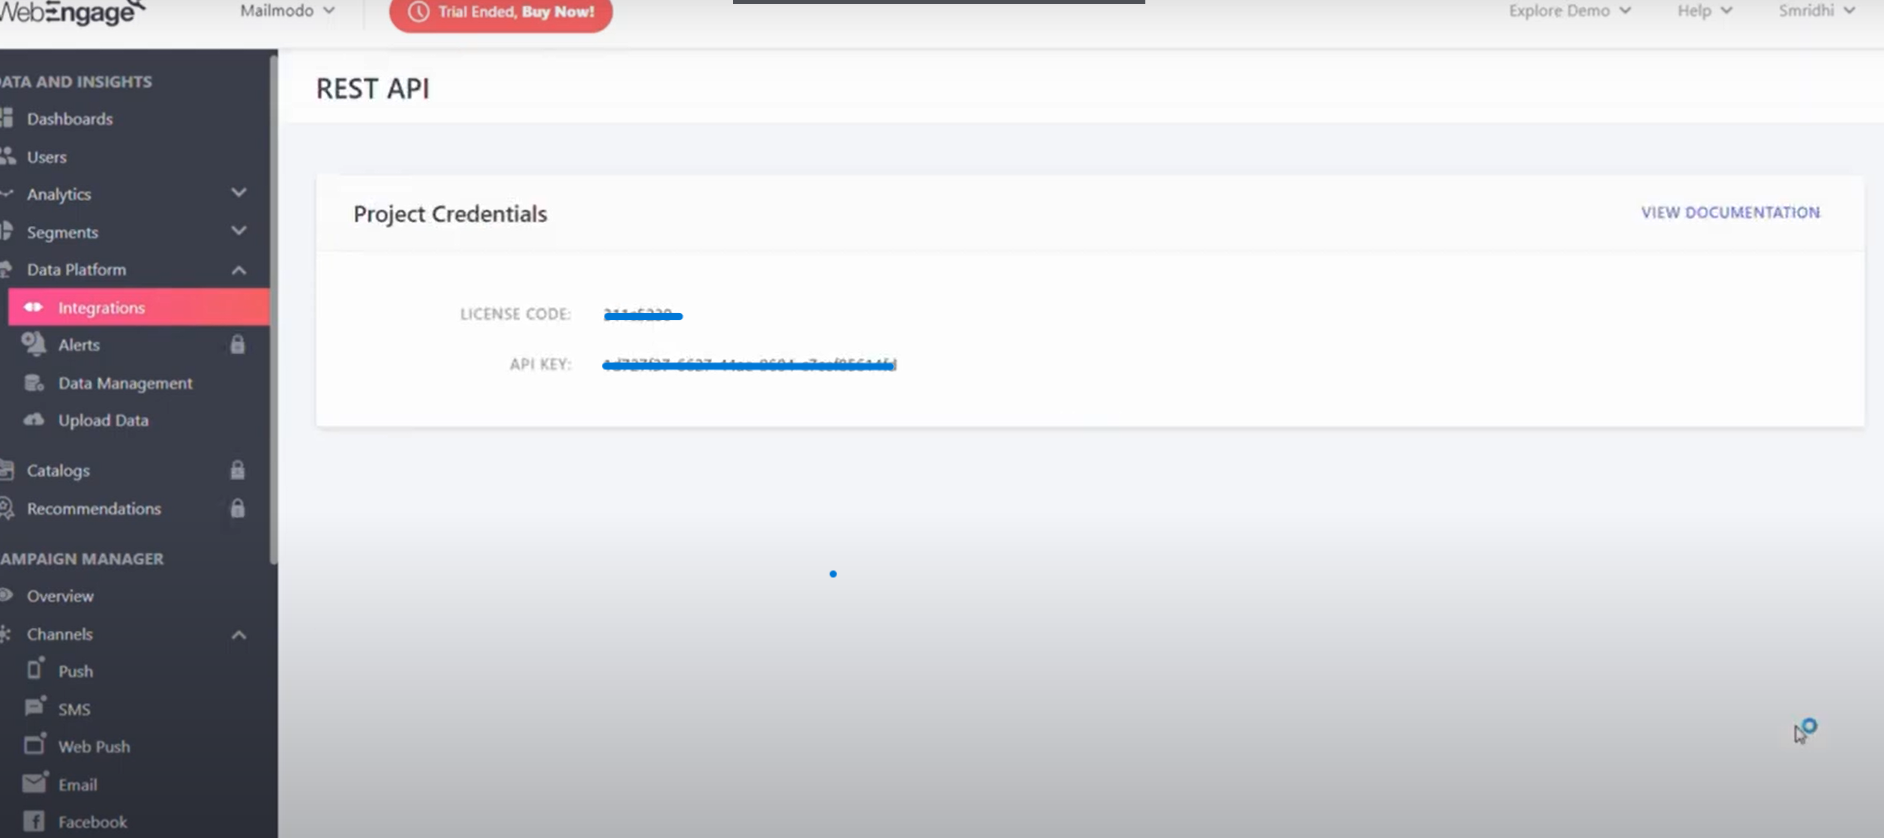
Step 5: Paste the key in Mailmodo.
Step 6: Click on Test and Save.
You're all set! If WebEngage sends a successful response, you'll see a "Setup successful" message and the WebEngage card will move to the Connected Platforms section.
For testing we'll send a sample event with name "MM Email Opened" with customer_id as "hello@mailmodo.com" to WebEngage. You can verify the same in your WebEngage dashboard.
How to access the data sent from Mailmodo in WeEngage?
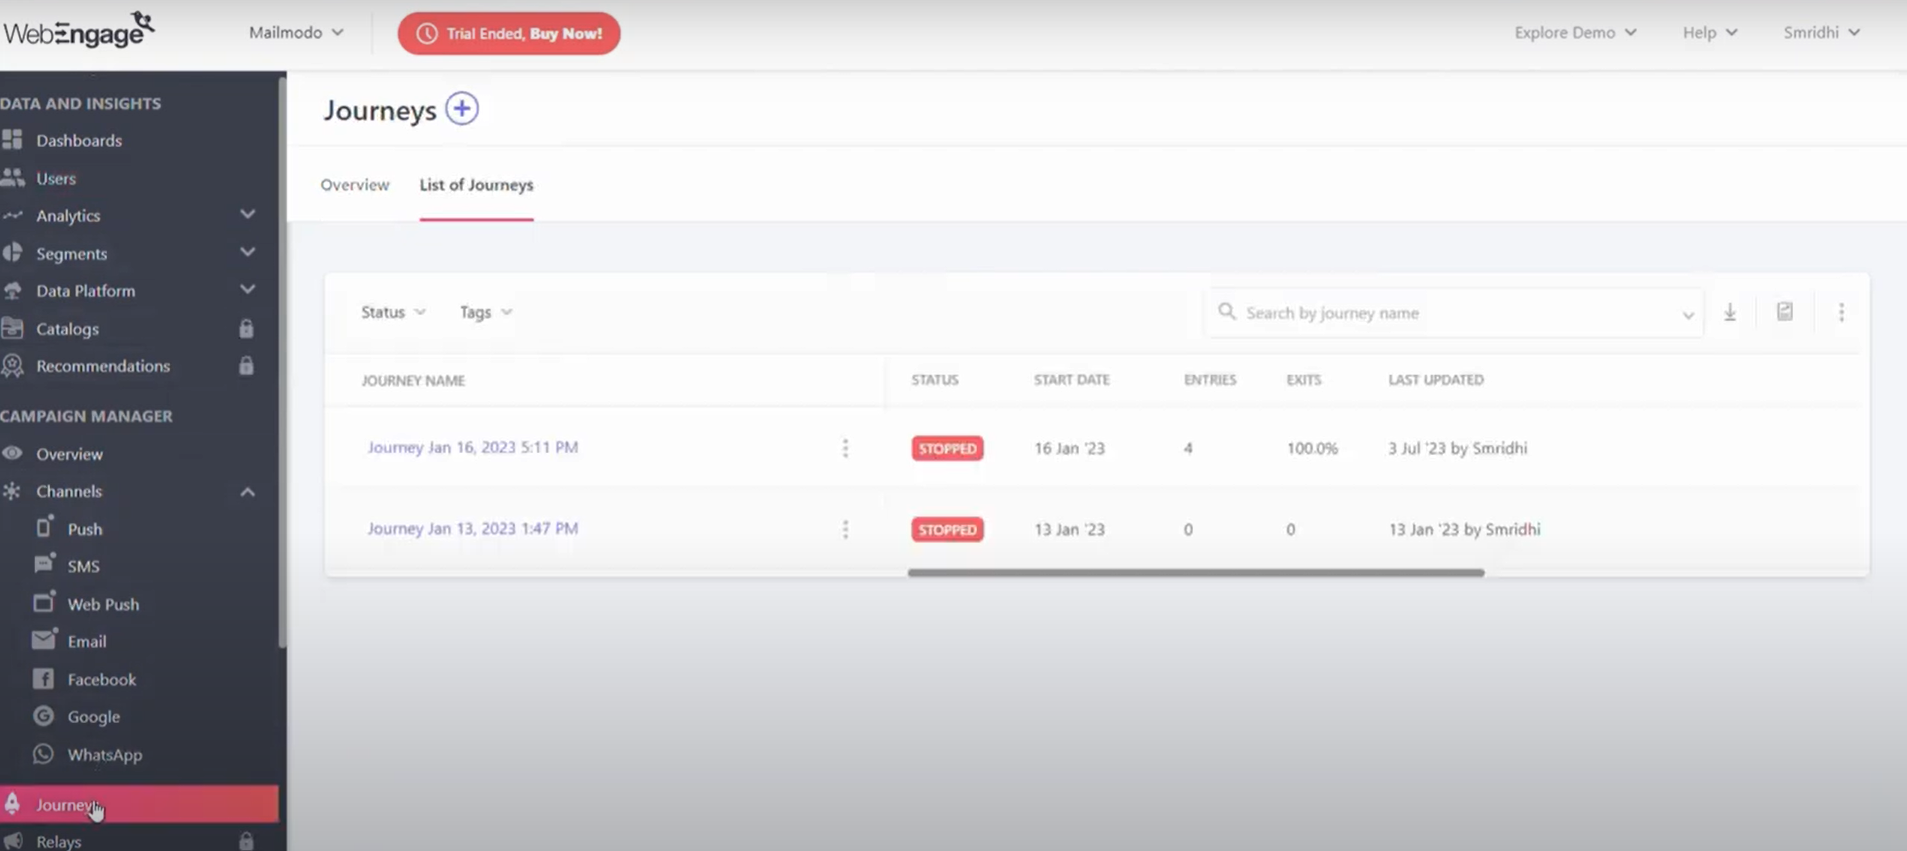
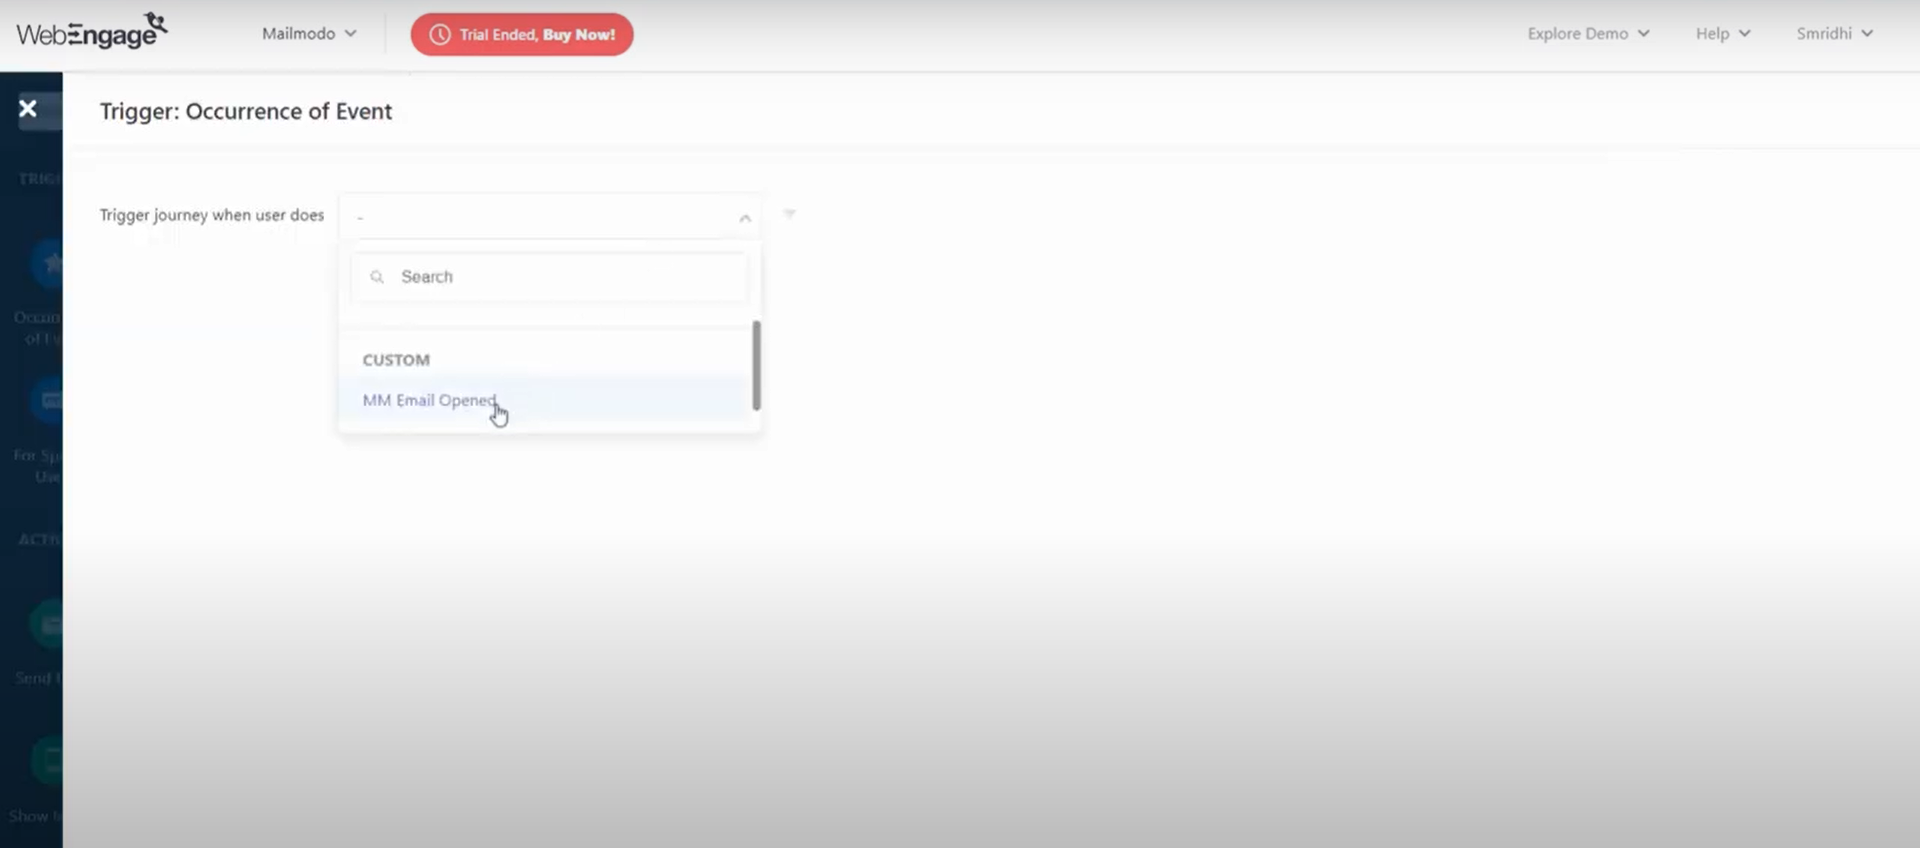
Step 1: In WebEngage go to Journeys → + → Create new journey.
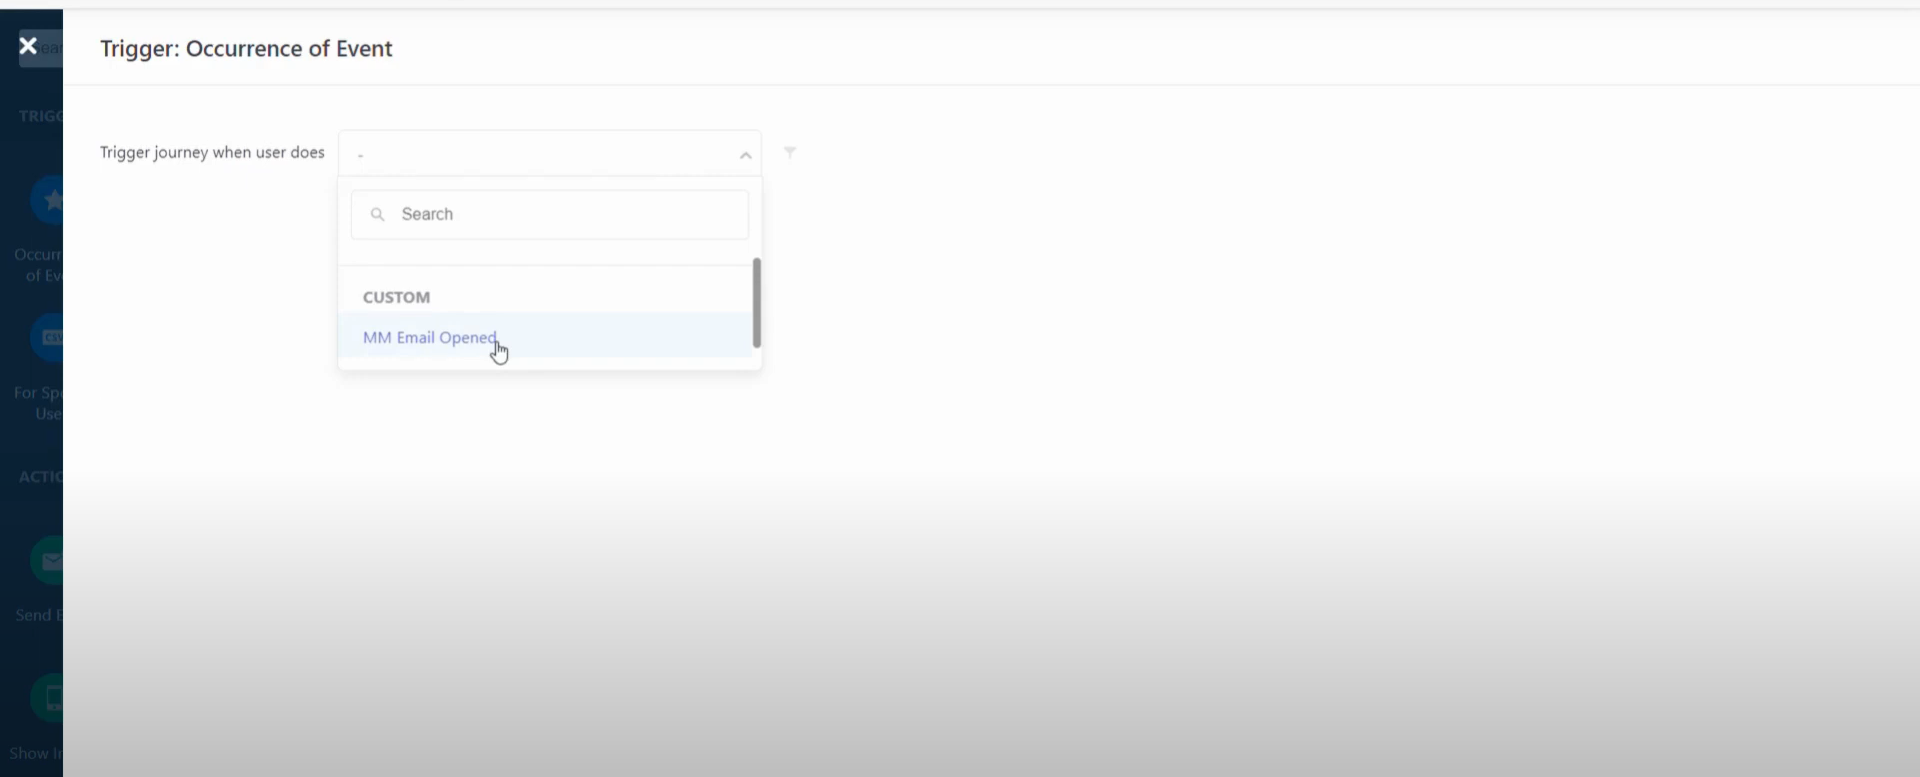
Step 2: In the Journey builder, drag and drop Occurrence of Event and select your event of choice.
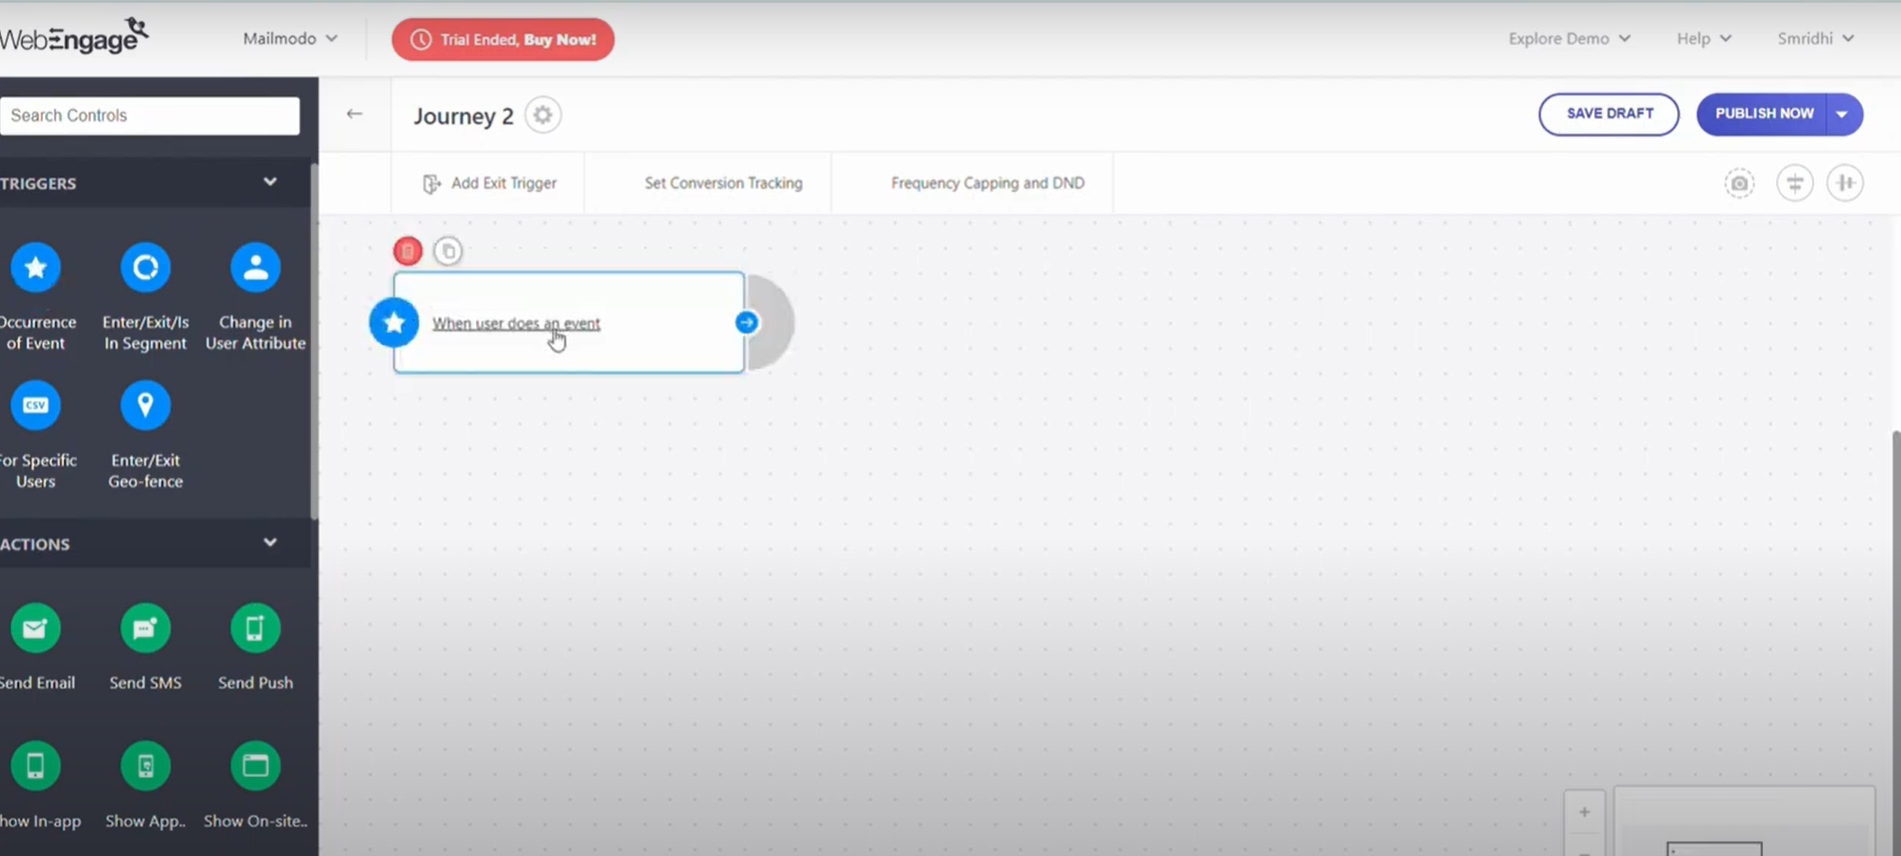
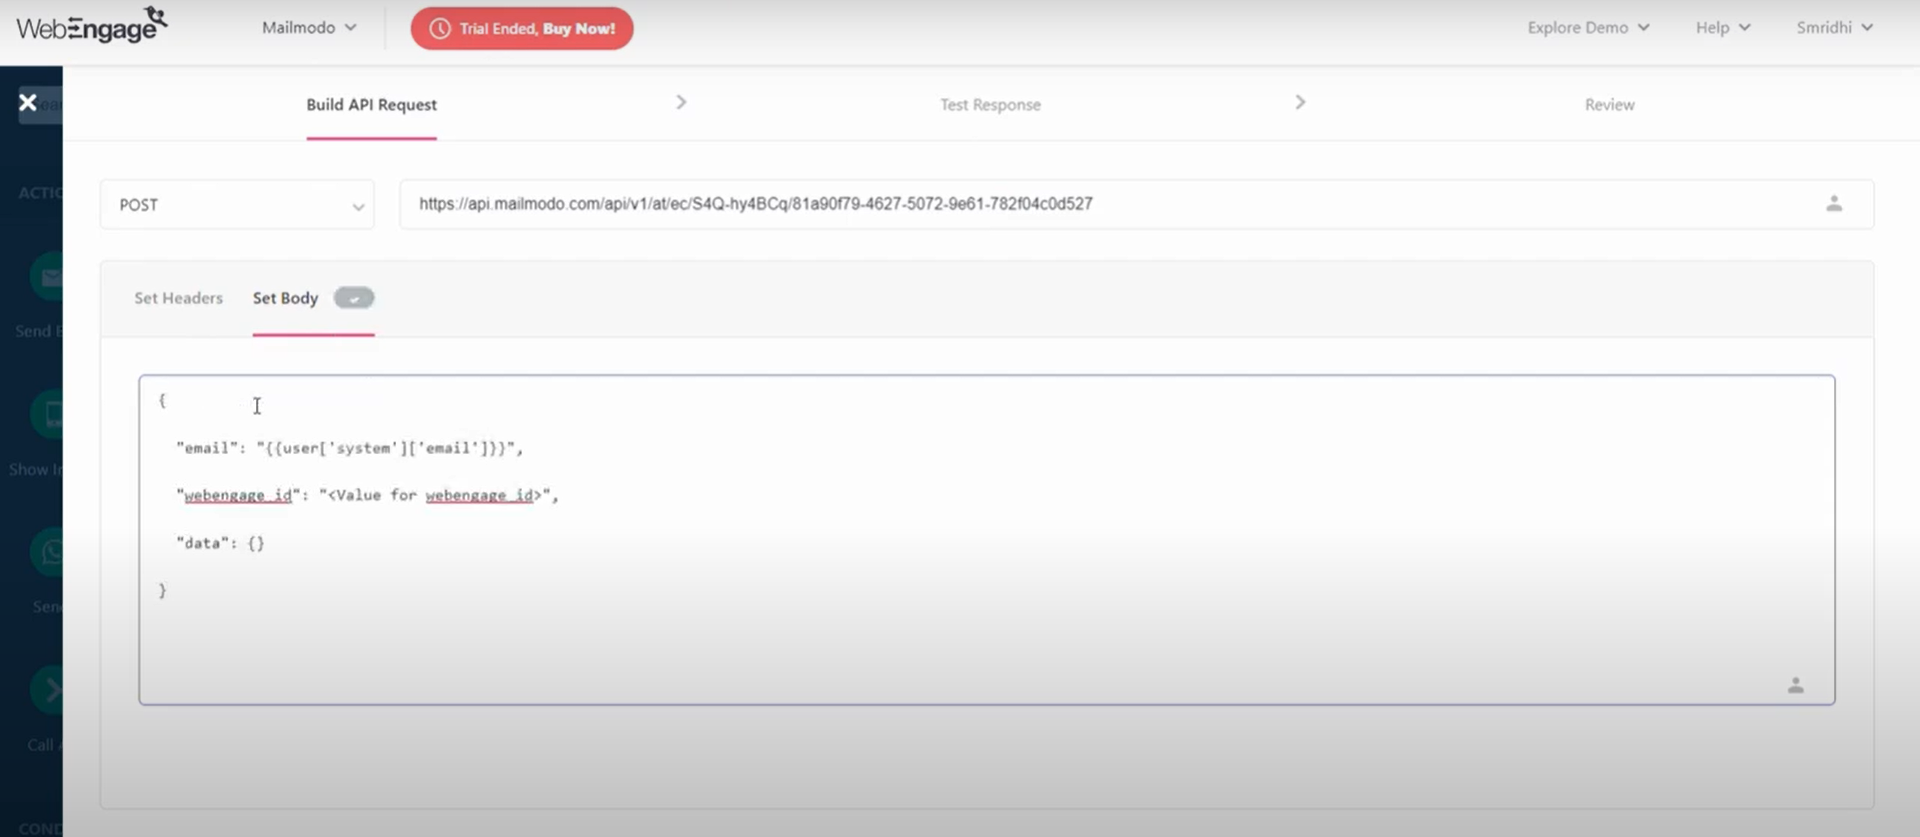
Step 3: Add your next event as Call API. Add a connector to this from the event, to call the action whenever the event is triggered.

Step 4: Build your API Request, Select POST and paste your Webhook URL for the trigger campaign from Mailmodo. Set your body as picked from Mailmodo.
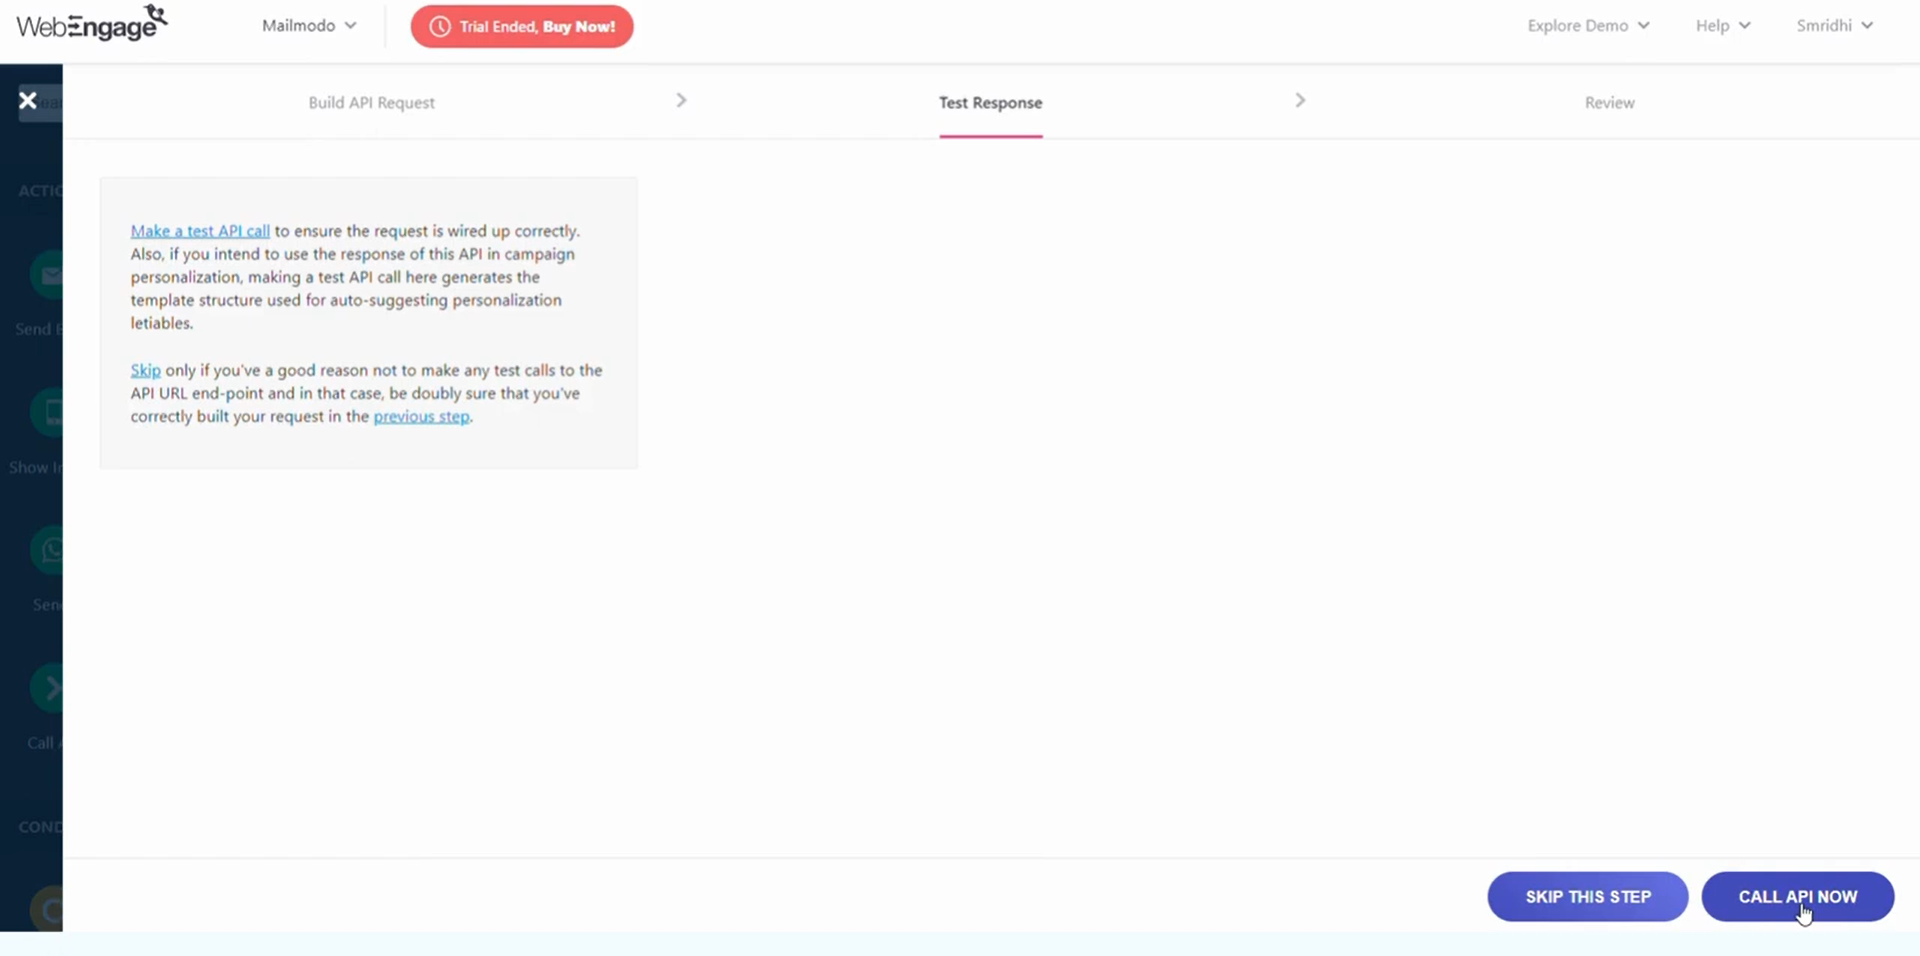
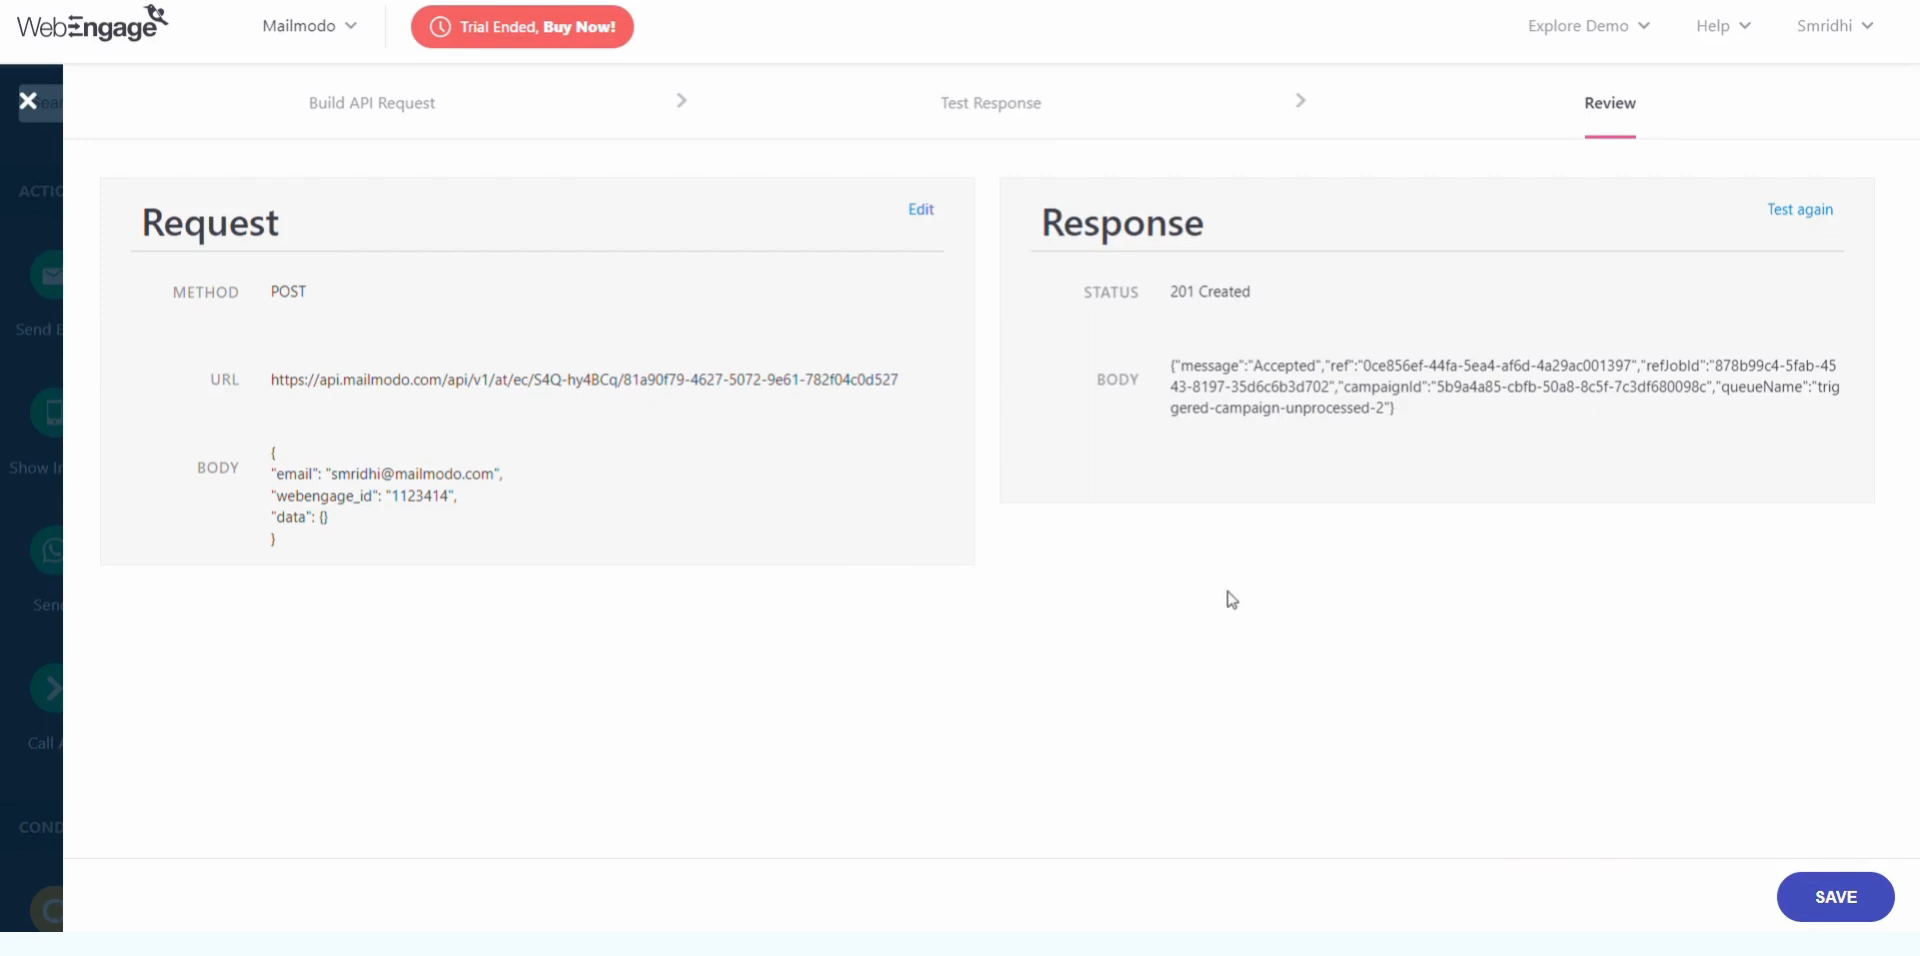
Step 5: Test your response, Review and Save.
Step 6: Publish your Journey.

Step 7: Through postman call your Event API .
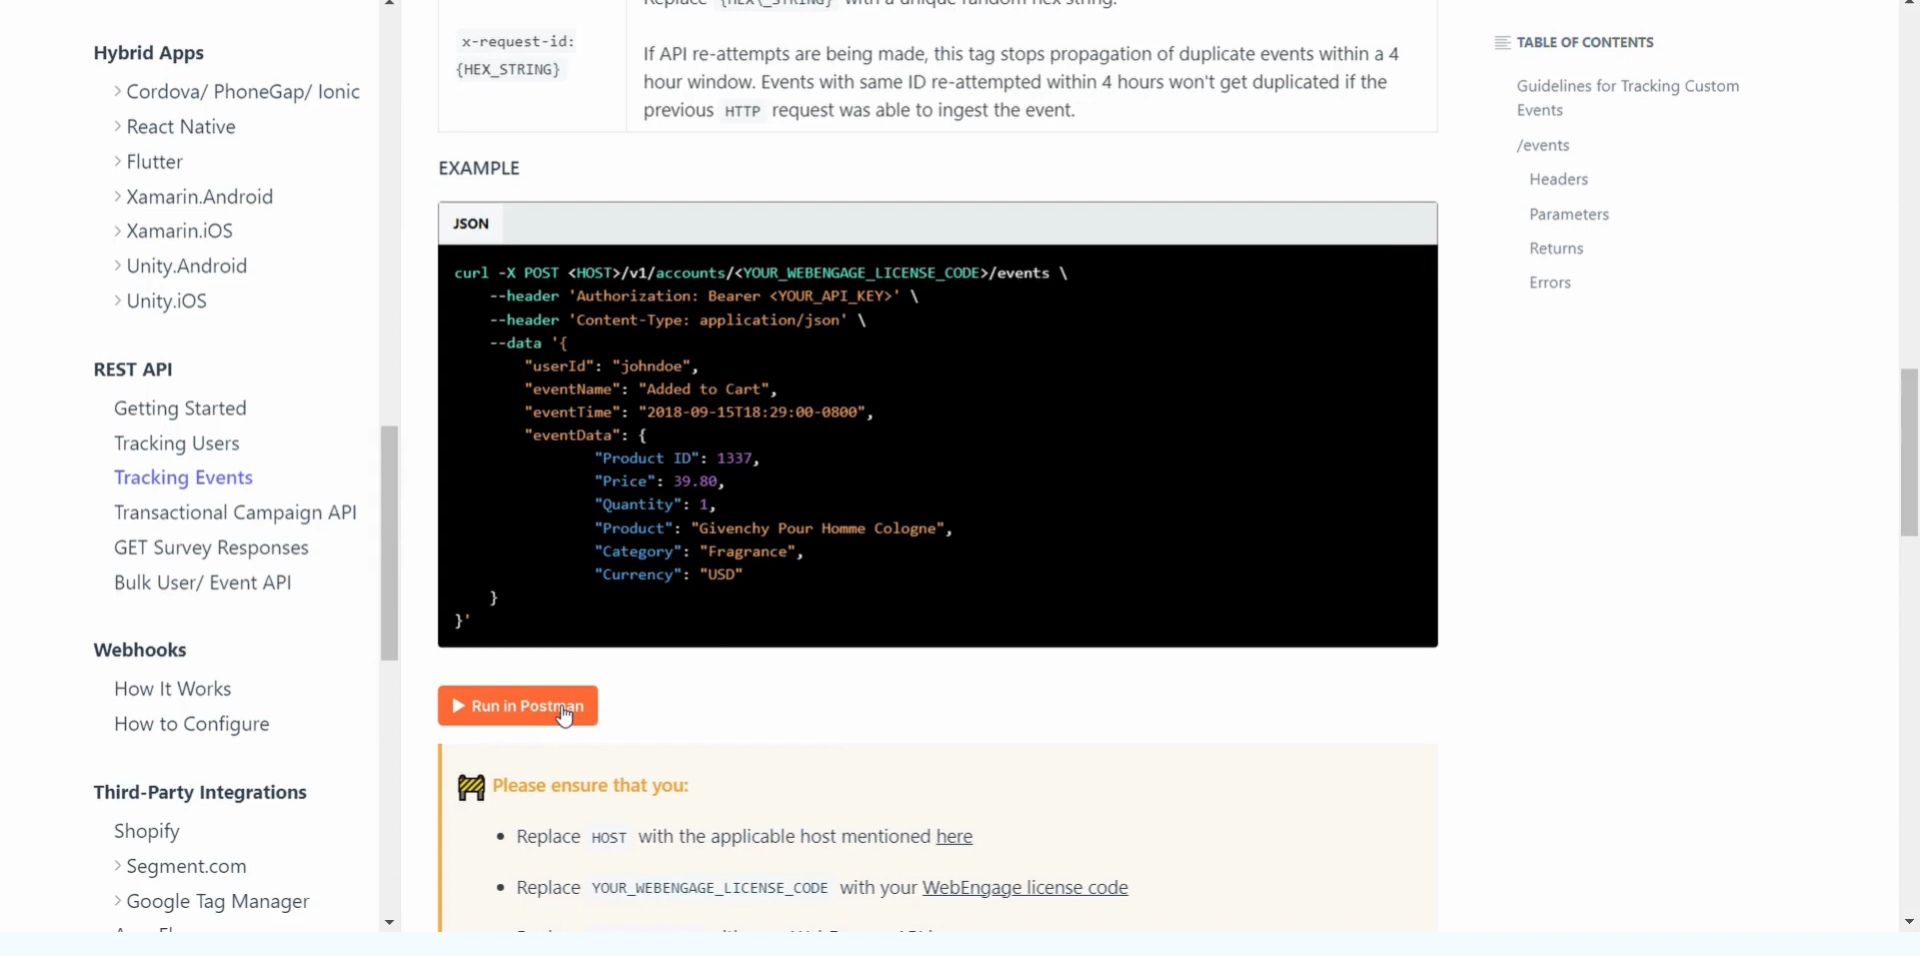
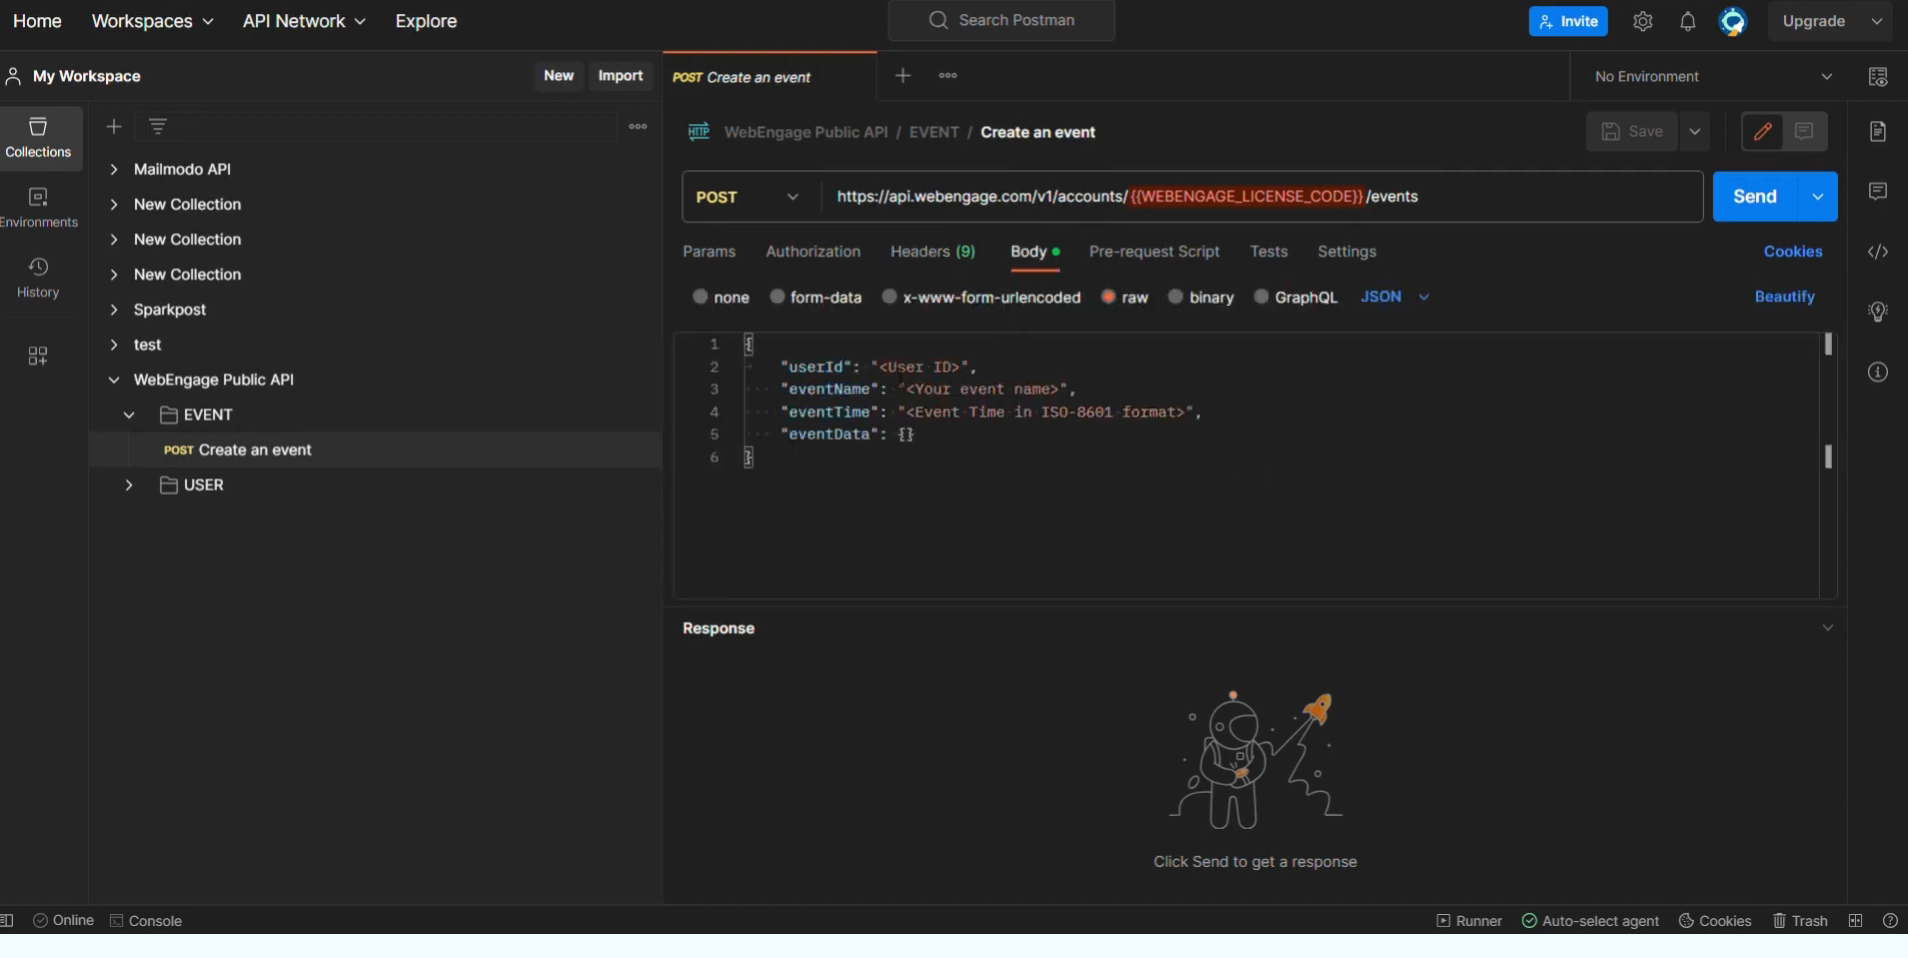
Sample Event curl
curl -X POST <HOST>/v1/accounts/<YOUR_WEBENGAGE_LICENSE_CODE>/events \
    --header 'Authorization: Bearer <YOUR_API_KEY>' \
    --header 'Content-Type: application/json' \
    --data '{
        "userId": "johndoe",
        "eventName": "MM Email Opened",
        "eventTime": "2018-09-15T18:29:00-0800",
        "eventData": {
                "email_subject": "First shirt on us!",
"campaign_id": "123",
                "campaign_name": "New Customer Discount"
    }
}'
Step 8: Once you hit the API, your Journey will be triggered.
As an alternative, you can set the journey trigger to whatever you want like segment membership, date occurrence, etc.
Step 9: Once your campaign is sent, go to your Users Dashboard in Journey. Select the user from whom the event has been triggered.
Frequently Asked Questions
I have integrated the WebEngage but I still don't see Mailmodo's campaign activity data in WebEngage?
If you are not seeing Mailmodo's campaign activity syncing back to WebEngage, than it can be because of the following reasons:
- For the triggered campaign, you are not sending
webengage_idor sending incorrectwebengage_idin the JSON payload - WebEngage API key or APP ID has been changed or deleted. In this case, you will have to reconfigure the integration in Mailmodo
Please note: Mailmodo doesn't sync bulk campaign activity data to WebEngage. Only triggered campaign data is sync to WebEngage.
Why do I see a mismatch between campaign activity data in Mailmodo and WebEngage?
If you are not seeing mismatch in the campaign activity data (most likely click rates) between Mailmodo and WebEngage, then it can be because of the following reasons:
- You have AMP elements in your form to which recipient has made submission. In this scenario, you will more clicks in Mailmodo dashboard compared to WebEngage dashboard.
- This is because Mailmodo includes AMP submission in click metric but don't send the click event to WebEngage for the same (instead we sent submission event for the same).
- API call to the WebEngage failed due to unforeseen reason.
Does Mailmodo update email subscription status in WebEnagage for the contacts who unsubscribed from email?
Whenever recipient unsubscribes from a Mailmodo email campaign triggered from WebEngage, we will update the emailOptIn (Set to False) property for the contacts in real time. This value will be updated both when contacts have unsubscribed from all email types or some email types.
Please note if user resubscribed again using unsubscribe link in email campaign, then we won't be updating the emailOptIn to True. It will continue to remain the same as it was earlier.
Use the search bar in our Help Center to find quick guides and walkthroughs. If you have any queries, then reach out to us via the chat icon on the bottom right corner of your screen while using Mailmodo. Or reach out to us at Mailmodo Support and share your thoughts at Mailmodo Product Feedback.