

Trigger Journeys in Mailmodo through Influencerbit
Last updated July 4, 2025
In this article, we will see how to create journeys in Mailmodo triggered by events recorded in Influencerbit.
Use Cases
A journey can be triggered for the following use cases
- When an Instagram username is recorded in Influencerbit, an email will be sent to the influencer, nudging them to mention your brand in an Instagram post. Be sure to include relevant CTA's and incentives in your email.
- Every time your brand is mentioned in an Instagram post, an email will be sent to the influencer thanking them for their post. You can also reward them with discount codes and gift coupons.
Prerequisites
- You need a custom sender email address to create a journey in Mailmodo. The sender email should be added (and verified) to your Mailmodo account. If you want to send AMP emails, the sender address should be whitelisted .
- You need to create and configure your Influencerbit account .
Use case Specific Requirements
- Your Instagram account should be connected with your Influencerbit account
- You should be collecting Instagram usernames in Influencerbit (either manually or with integrations)
Note
- If you want to send unique coupon codes/gift cards to influencers, you would need to contact Influencerbit for custom integration.
- If you want to implement both the use cases, you would have to create two separate journeys with their respective campaigns.
Overview
In this article, we will cover
1. Creating a template in Mailmodo
2. Creating a Journey in Mailmodo
3. Mailmodo API key
4. Integrating Mailmodo and Influencerbit
Creating a Template in Mailmodo
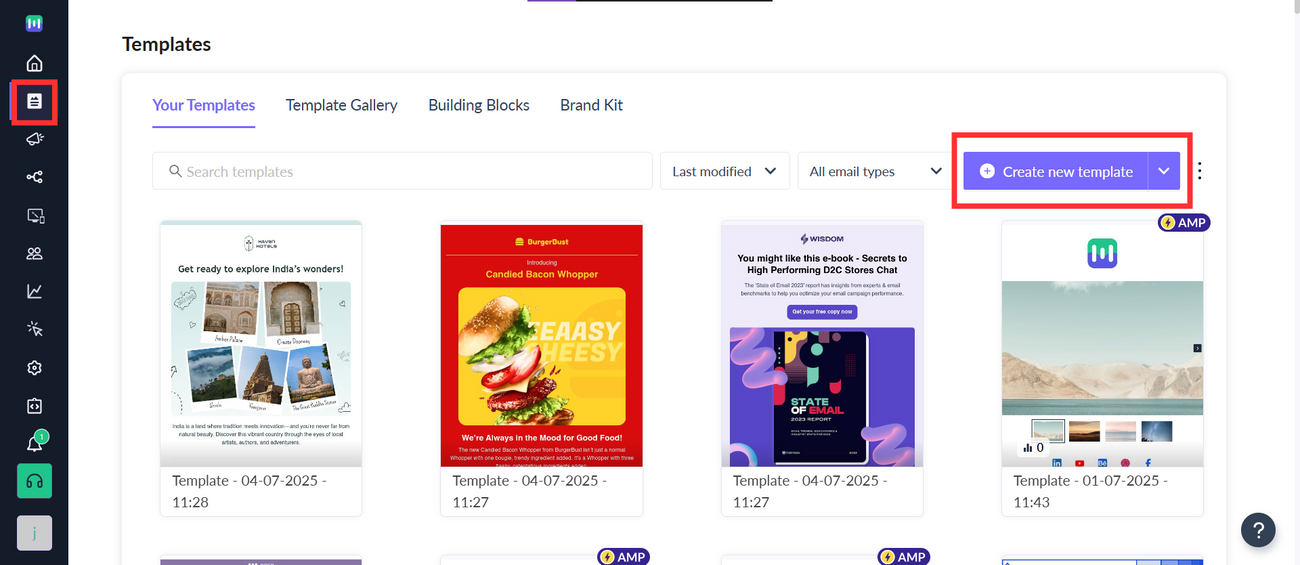
Step 1: Go to templates from the vertical menu on the left side. Click on create new template.
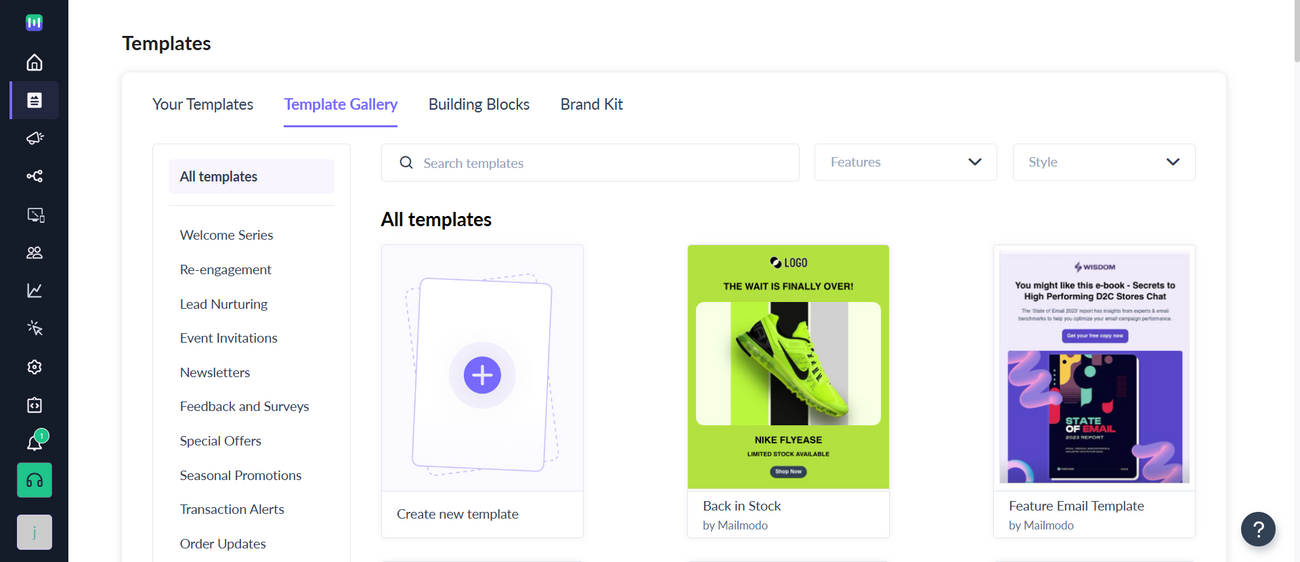
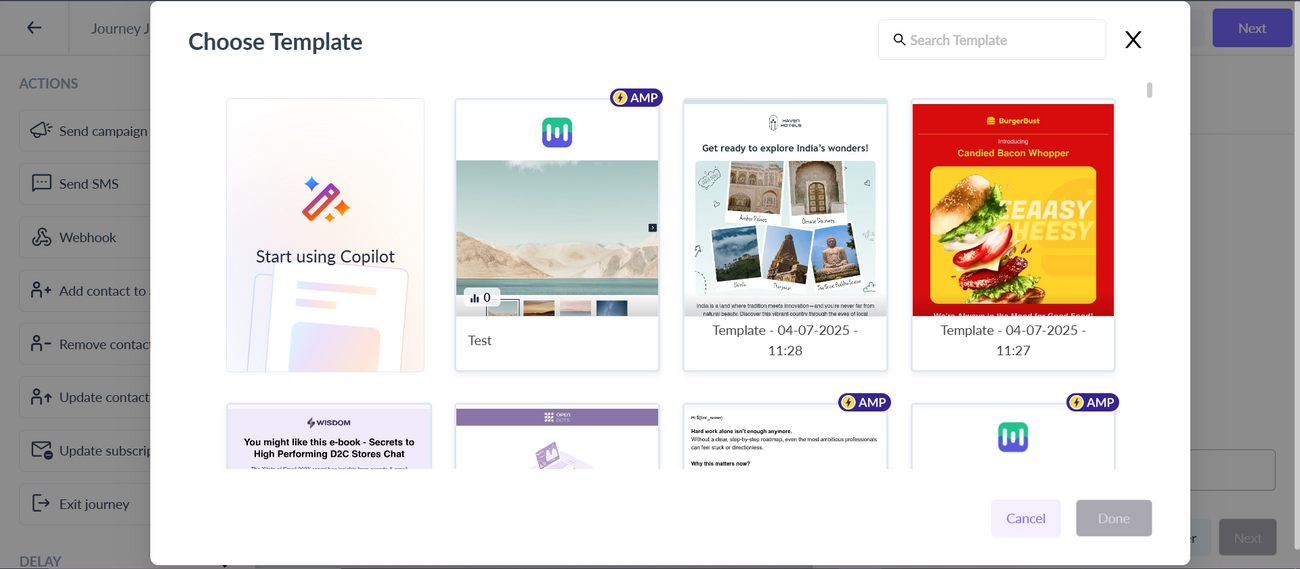
Step 2: Either select a blank template or a pre made template.
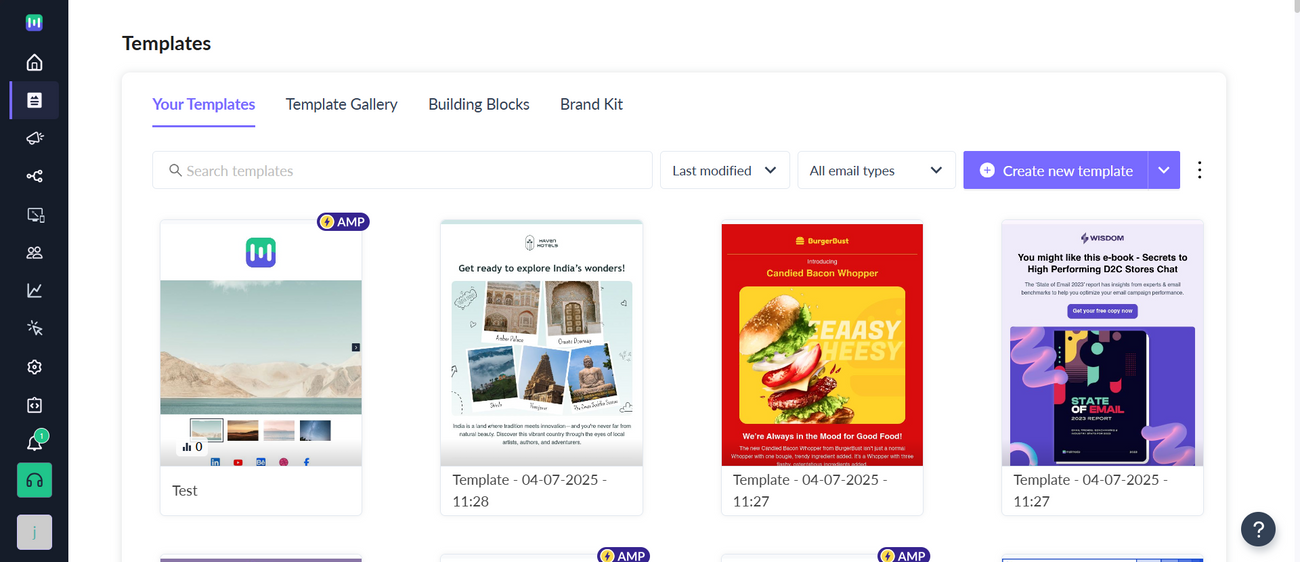
Step 3: Use the editor to edit the template. Save and rename the template upon completion. After saving, click on the back arrow.

You will be redirected to the template library. The saved template should be visible here.
Creating a Journey in Mailmodo
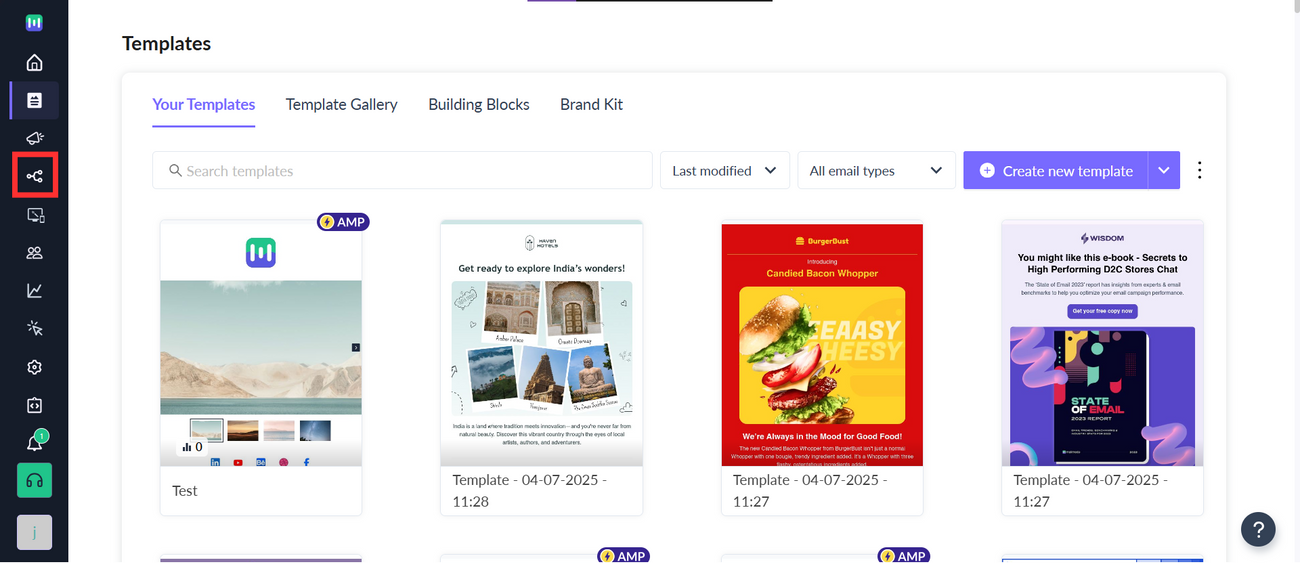
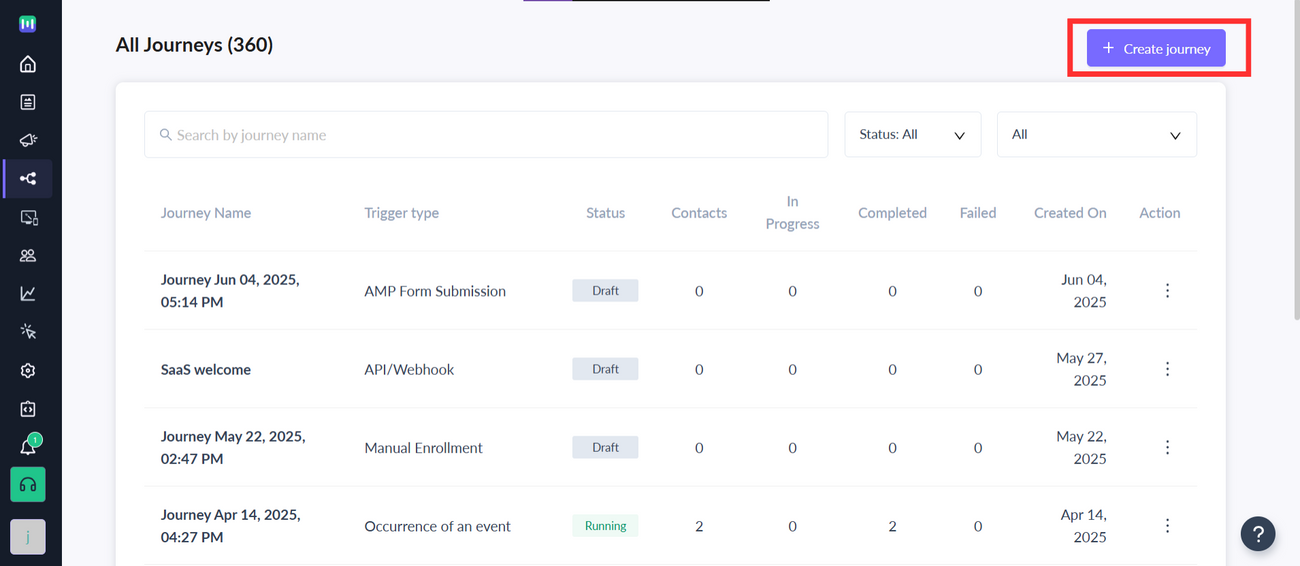
Step 1: Go to Journey from the vertical menu on the left.
Step 2: Click on Create Journey and select Start from Scratch.
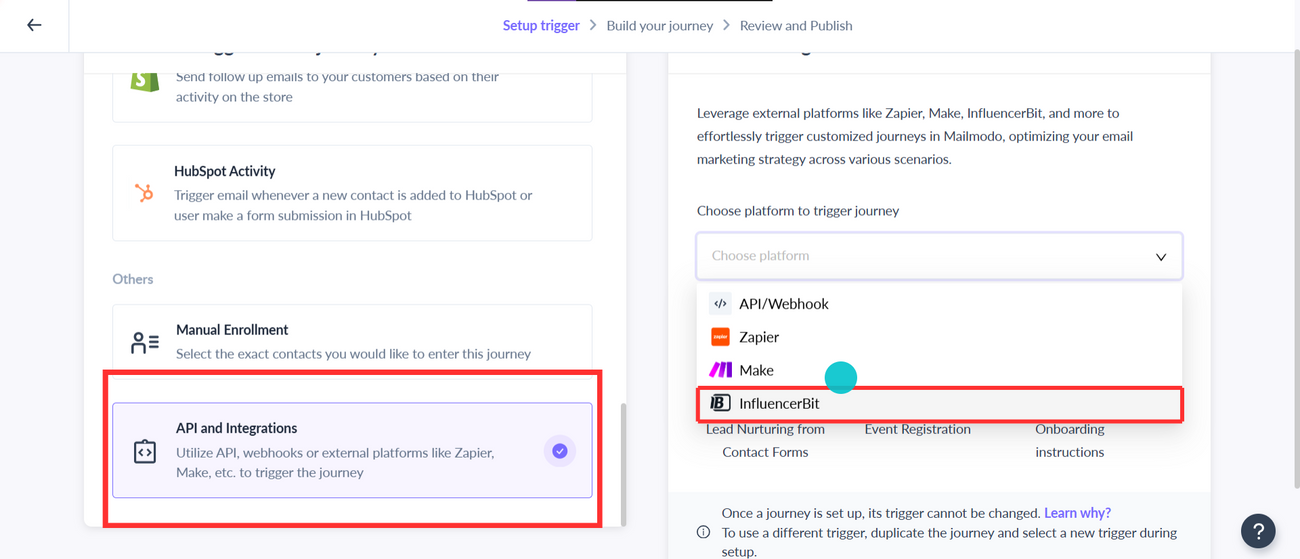
Step 3: Select API and Integrations under Others as a trigger. Select InfluencerBit as the platform and click on configure trigger.
Drag and drop Send Campaign to the journey builder area. Connect the respective blocks by connecting the ports.
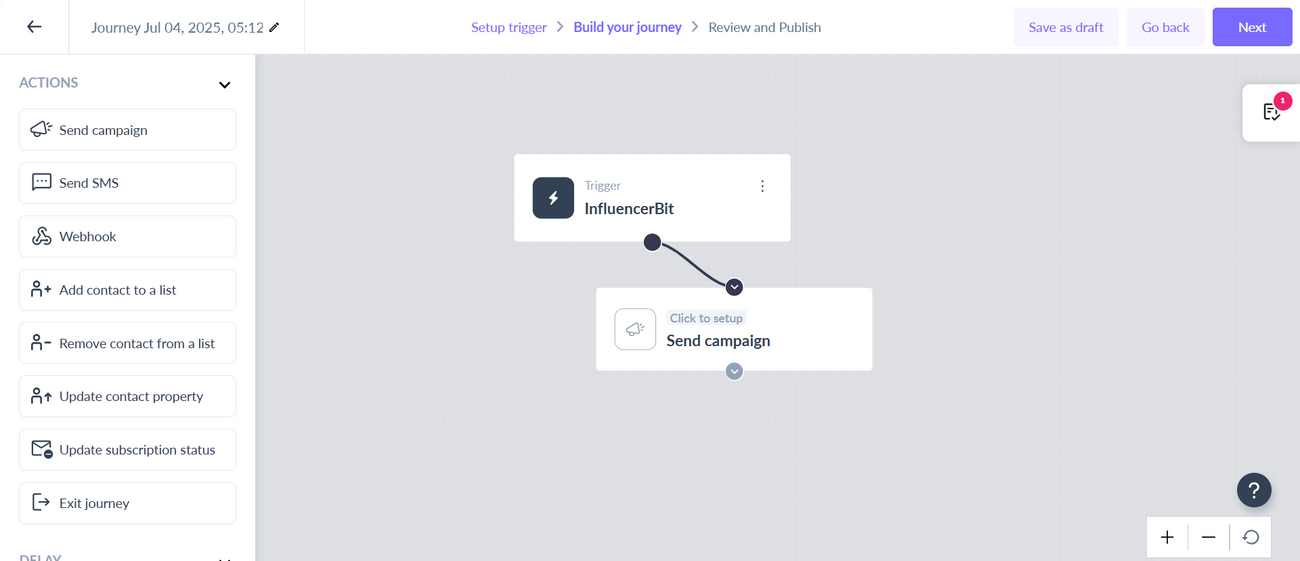
Step 4: Click on the send campaign block. Configure campaign panel will open on the right. Choose the template you saved before.
Step 5: Add other fields to configure the campaign and click on Next.

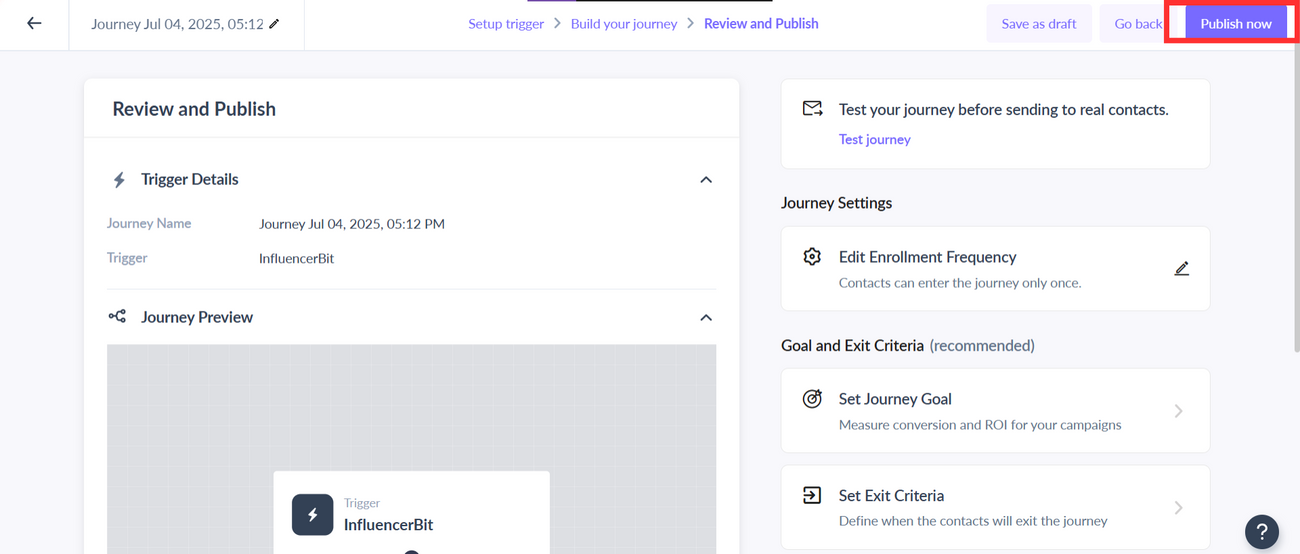
Step 6: Publish the journey.
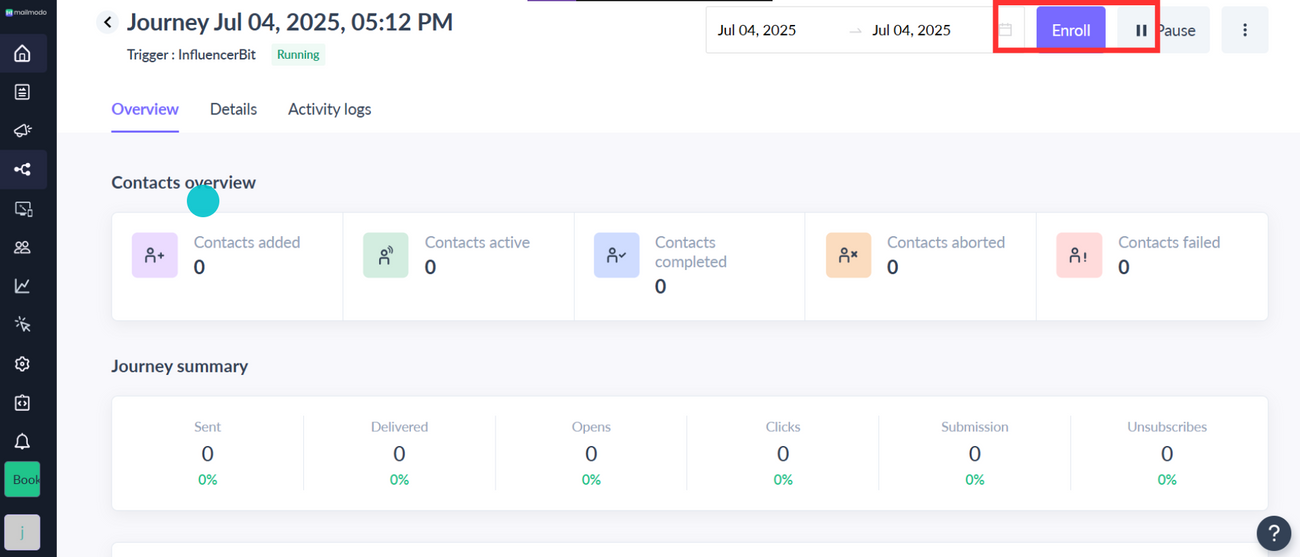
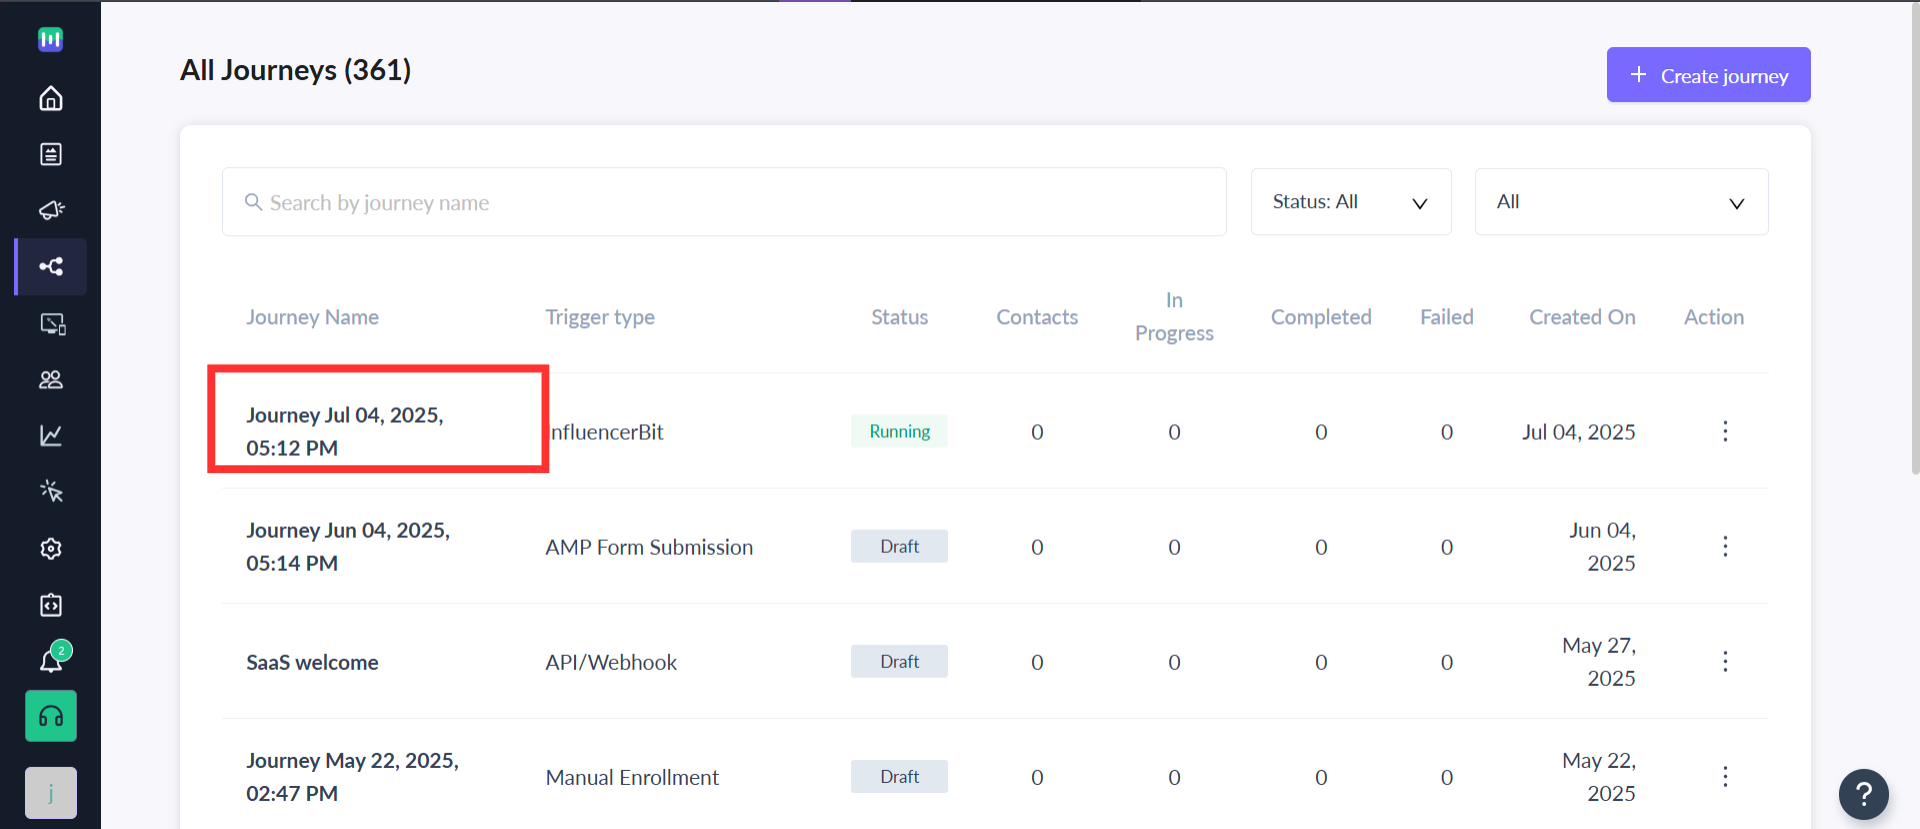
Step 7: The journey would be visible in your dashboard. Make sure the journey status is Running. Click on Add Contacts.

Step 8: A dialogue box will open. Click on Add through API.
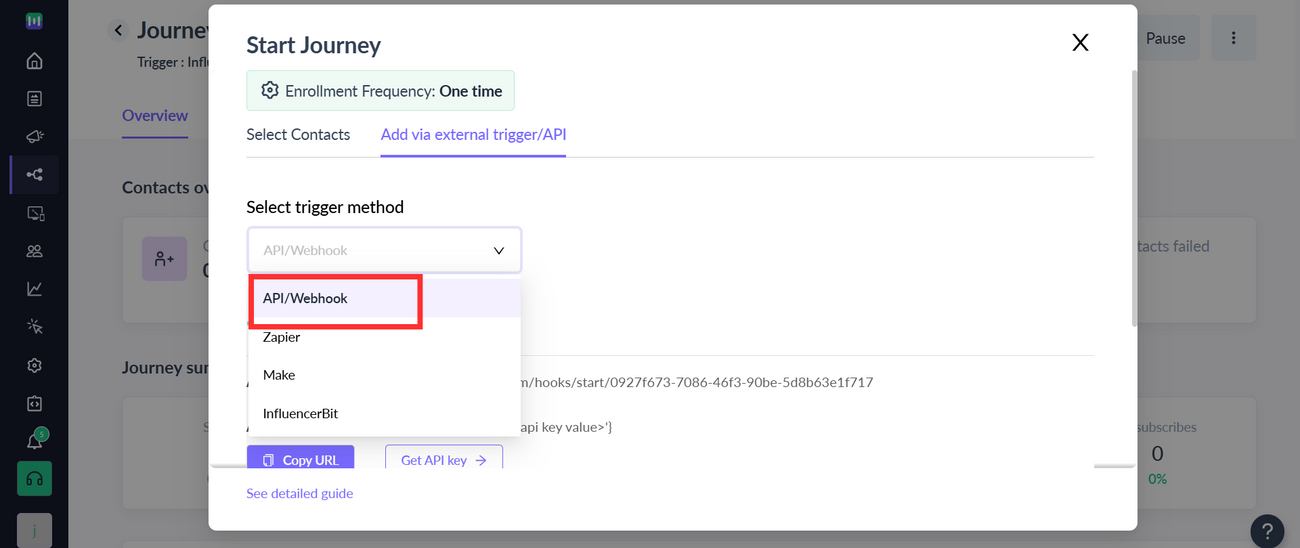
You would be able to see Start API. For more details refer to this guide.
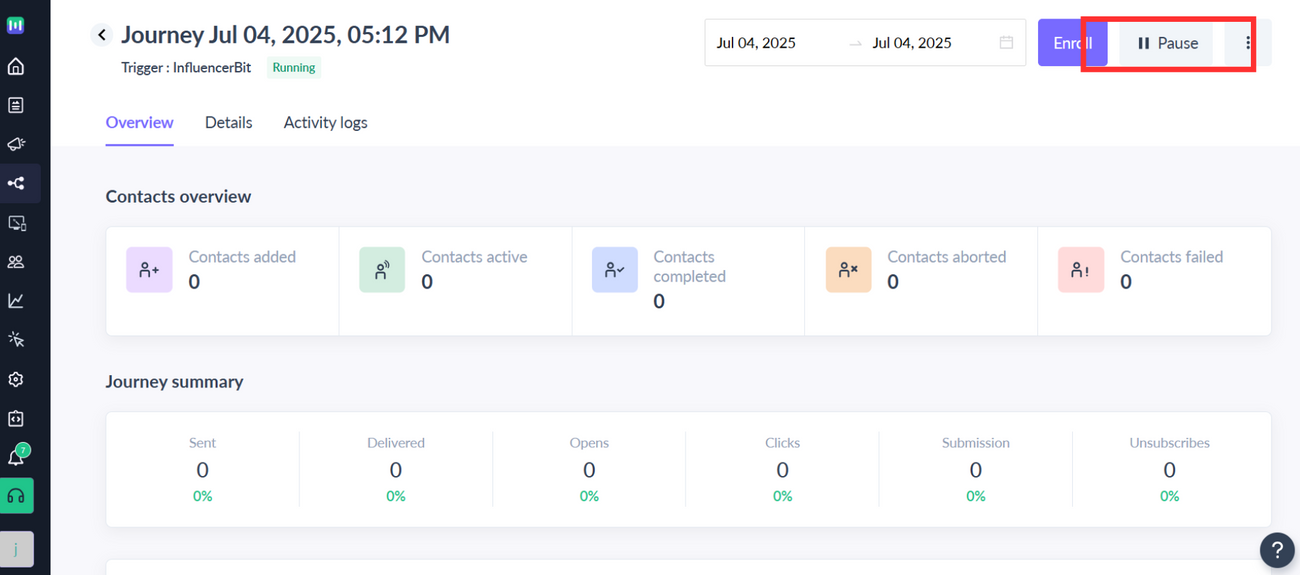
To pause the journey you can use the pause button. If you pause the journey, no new contacts will be enrolled.
For Start API, the endpoint would look like this: https://api.mailmodo.com/hooks/start/<journey id> (this will be used to trigger the journey every time a user-defined action occurs)
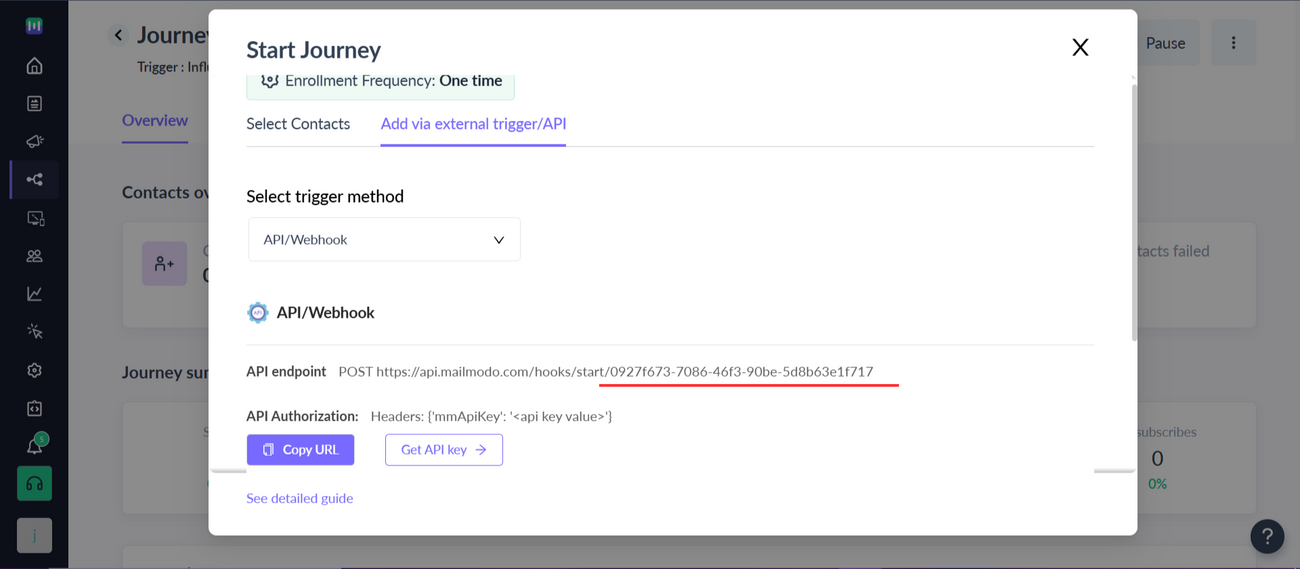
Copy the journey ID. We will use this ID in Influencerbit.
Your journey is now configured.
Mailmodo API key
We would also need an API key while integrating Mailmodo and Inflluencerbit. Here is how you can access it.
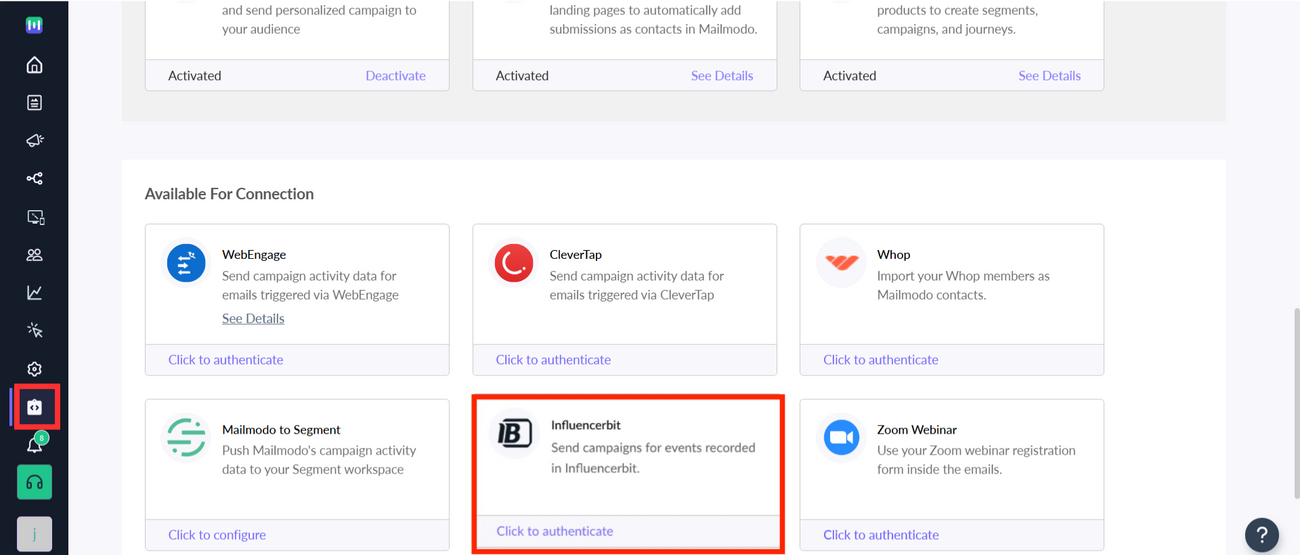
Go to Integrations from the vertical menu (on the left)->Locate Influencerbit from the list of platforms->Click to authenticate->A dialogue box will open, Copy the API key.
To access the key in the future, go to Integrations->Locate Influnecerbit in Connected Platforms->See Details
Now, we have to integrate Mailmodo with Influencerbit.
Integrating Mailmodo and Influencerbit
Step 1: Click on Integrations on the Influencerbit dashboard.
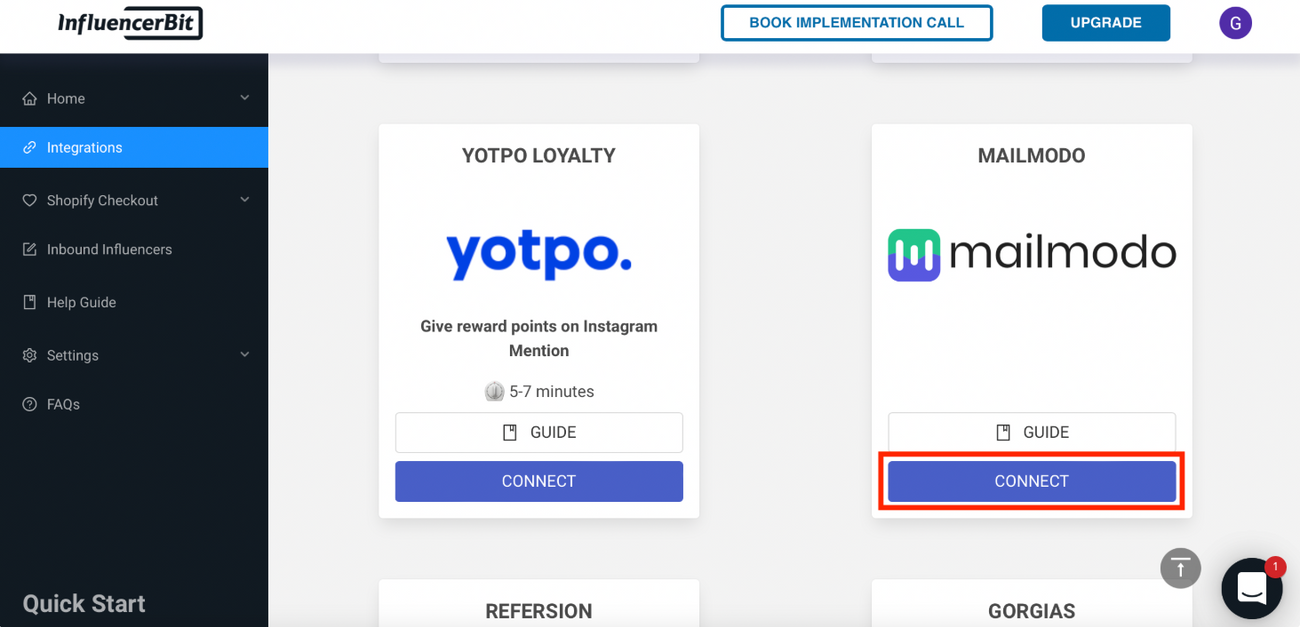
Step 2: Select Mailmodo from the list of platforms. Click on Connect.
Step 3: A dialogue box will open. Paste the API key copied from Mailmodo . Give a suitable List Name.
Paste the Journey ID for the use case you want to implement. If you want to implement both the use cases, you need to create two different journeys (with their respective campaigns).

Keep the Campaign URL field blank. This is used for sending unique discount codes to each user. If you want to use this feature, you can contact Influencerbit for custom integration.
Step 4: Make sure your Mailmodo journey status is Running.
Every time a new Instagram username is recorded (or your brand gets a mention on Instagram), the respective journey will be triggered and an email will be sent to the influencer.
To test new username journey, go to home->People/Influencers->Import->Manual Entry->Add IG Username and Email. An email would be sent to the added influencer.
You have successfully created a trigger journey!