

Wait for time period as a delay in the journey
Last updated May 6, 2024
The "Wait for Time Period" block temporarily halts contacts at a specific point in their journey, ensuring that the timing of each message or update aligns appropriately.
Key steps -
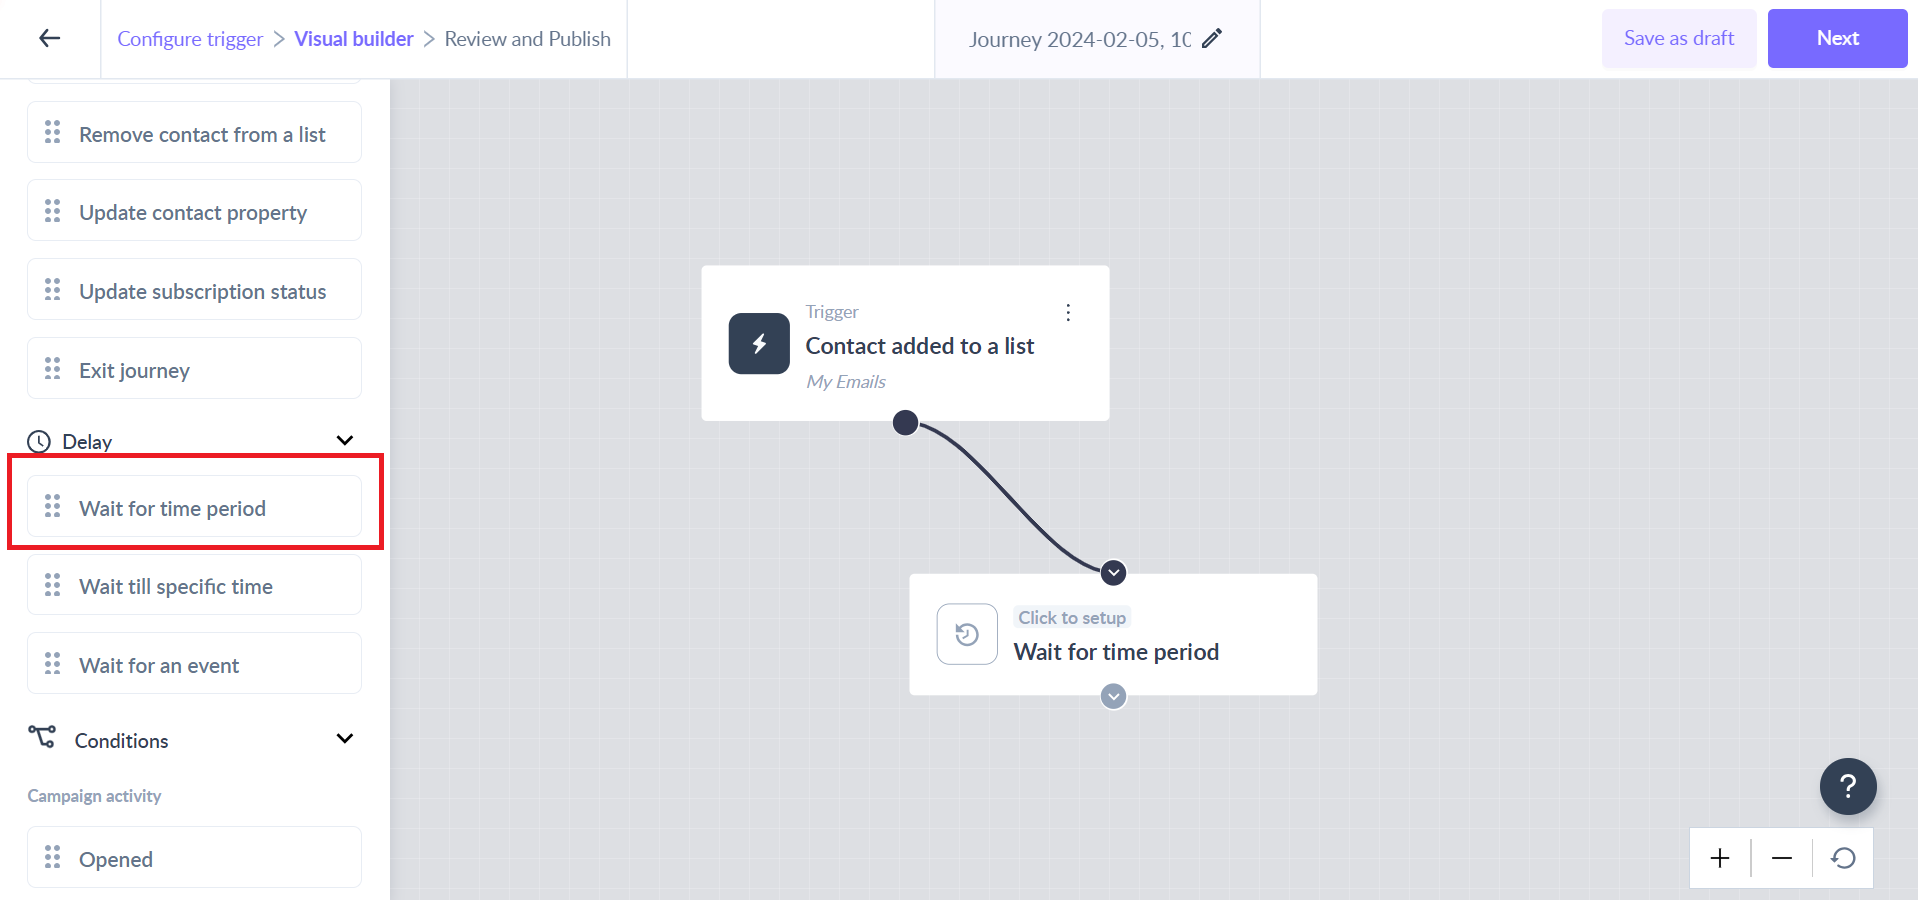
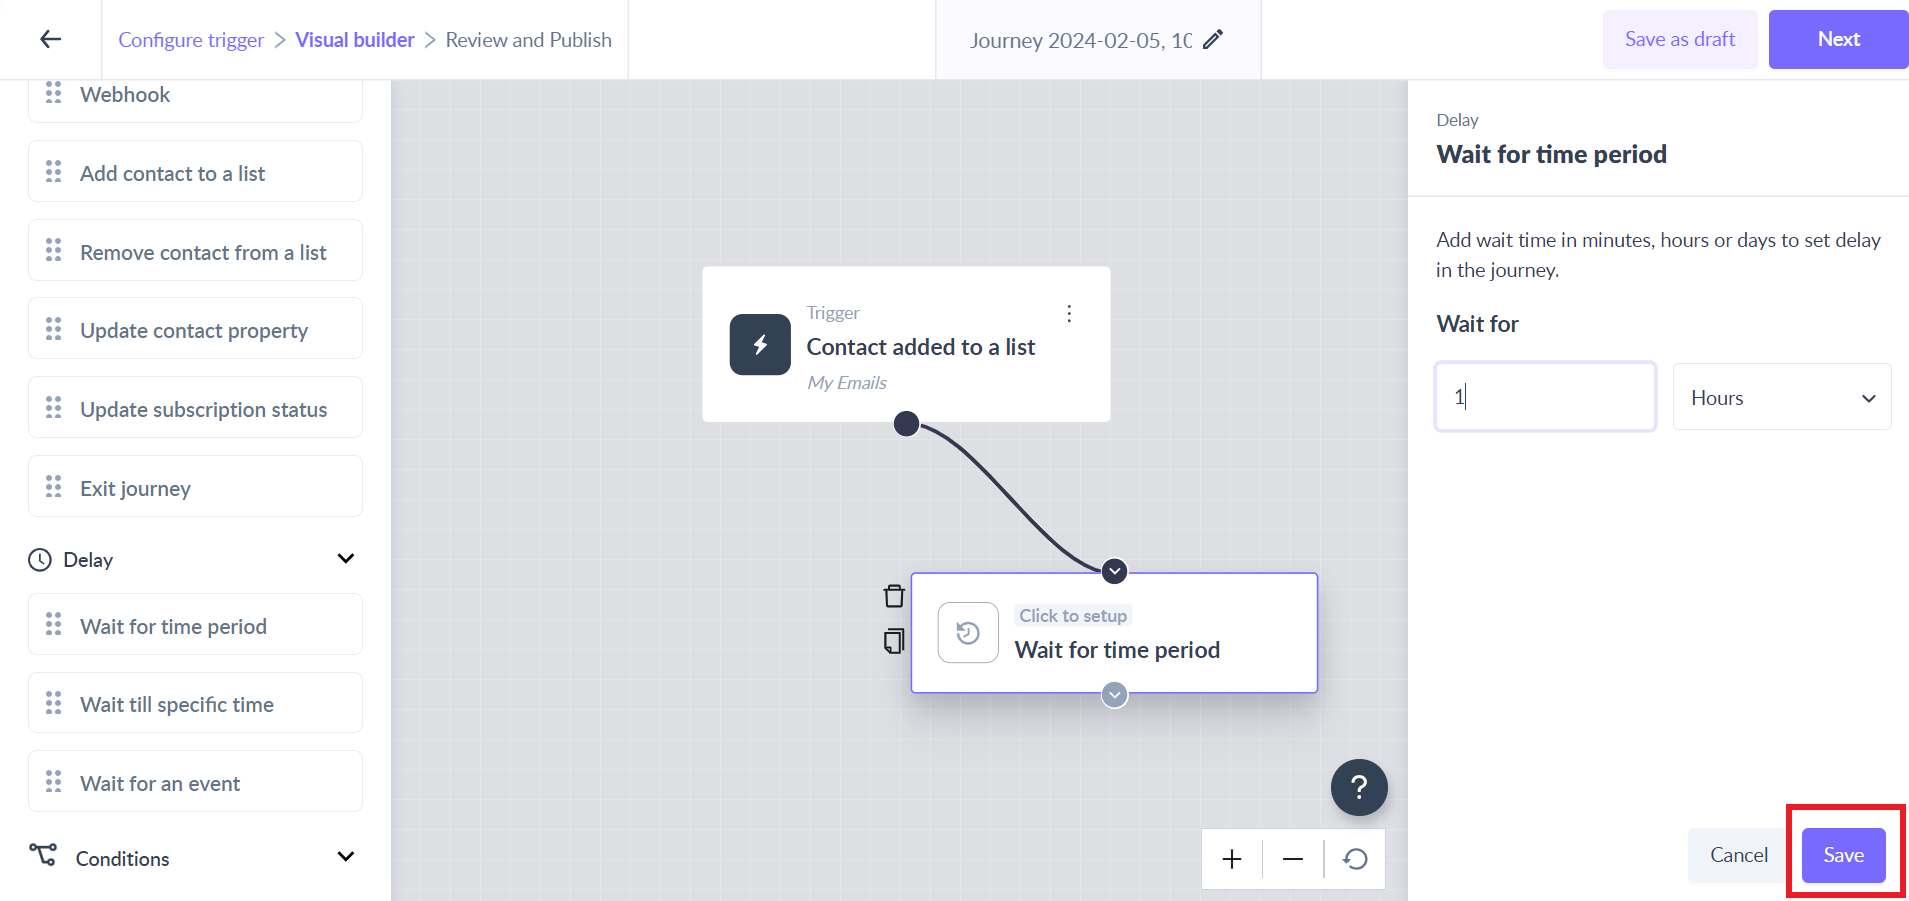
Step 1: Drag and drop the ‘Wait for time period’ card from the left panel.
Step 2: Connect it to the relevant card in the journey.
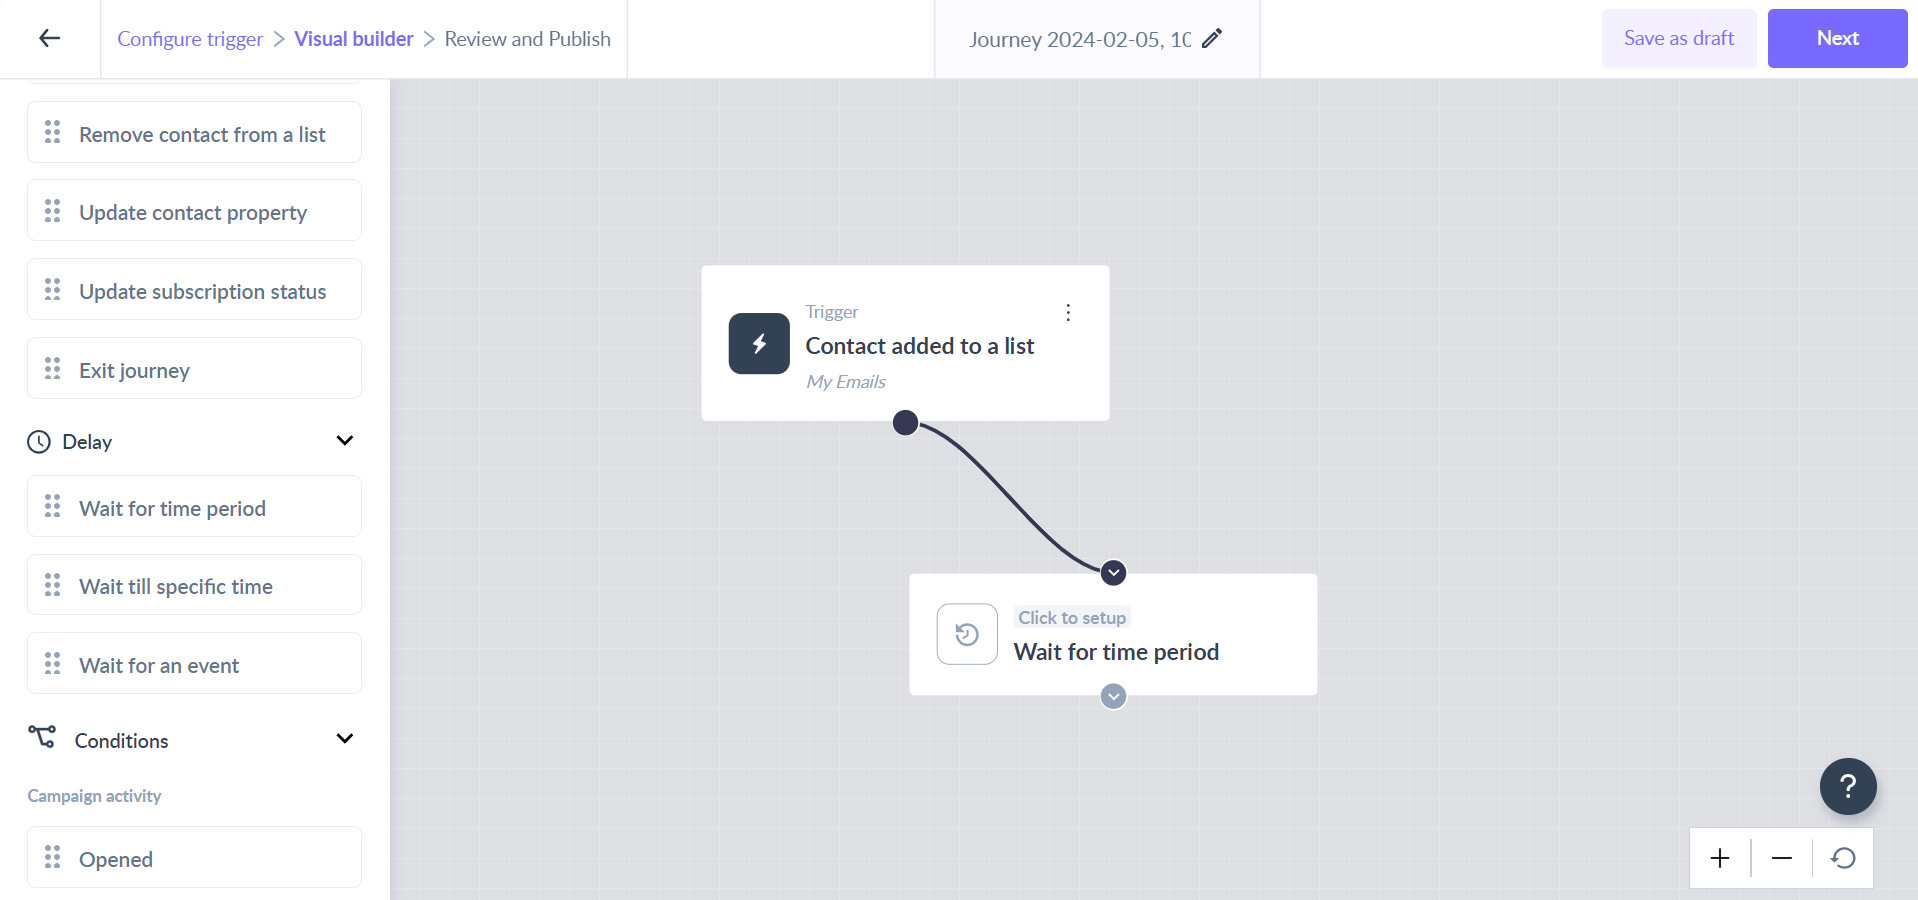
Step 3: Click on the ‘Wait for time period’ card to open the right panel.
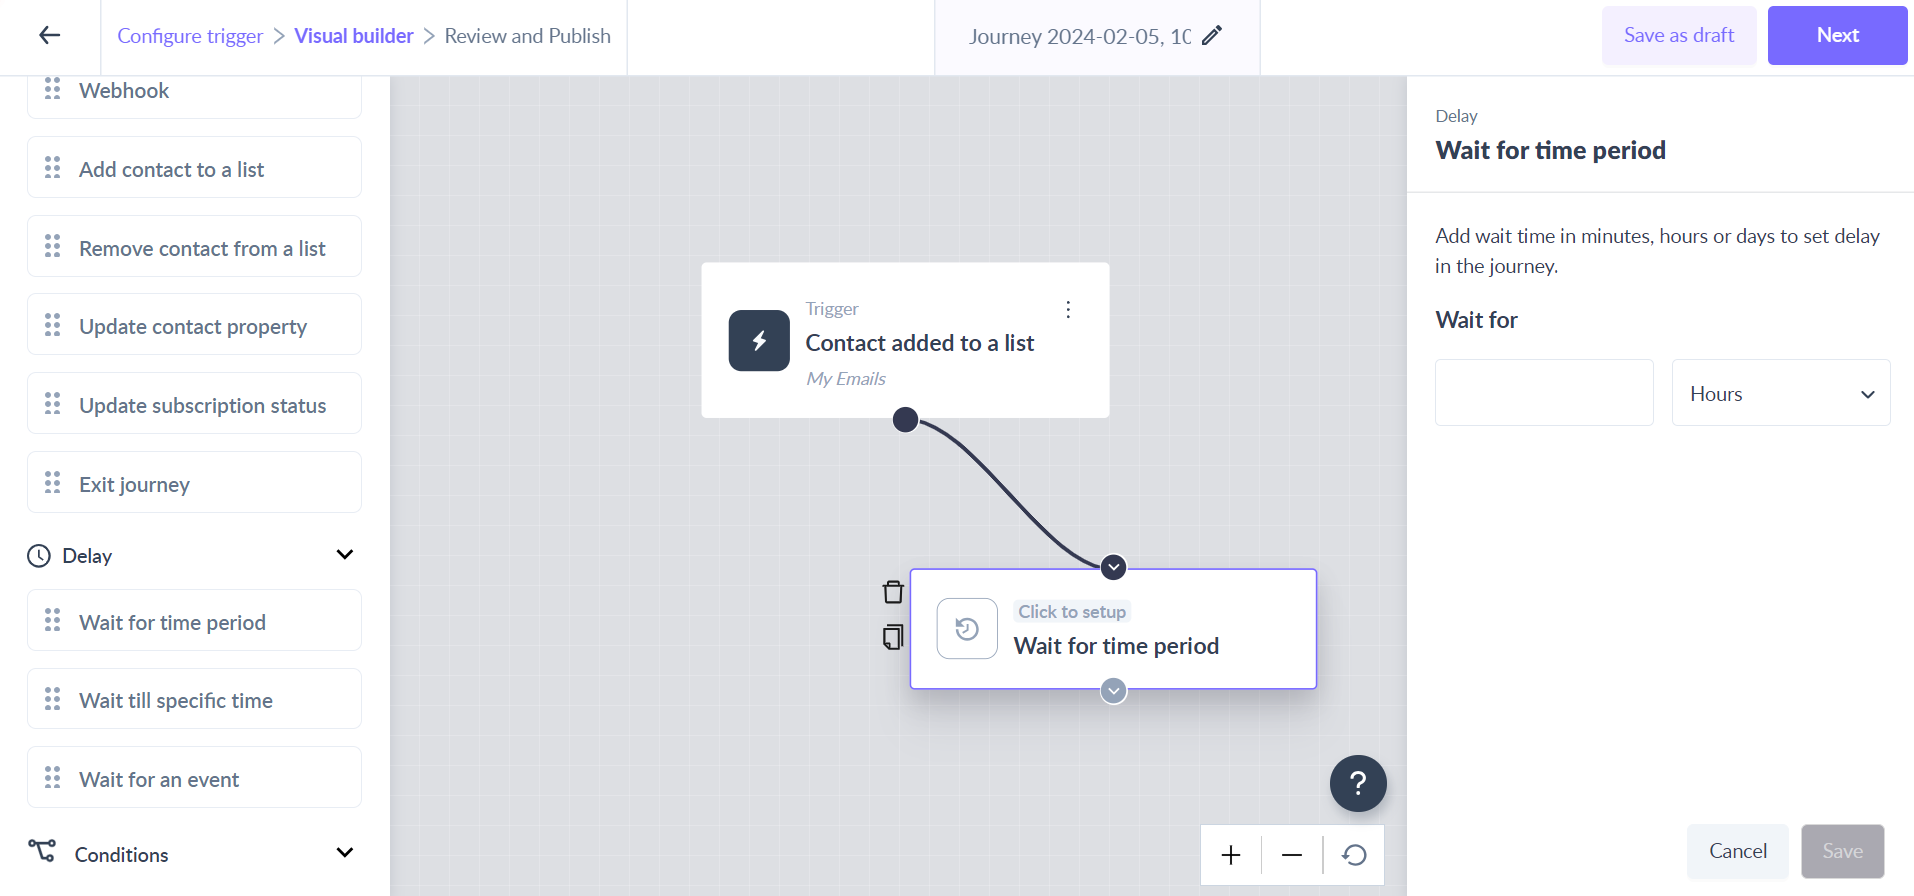
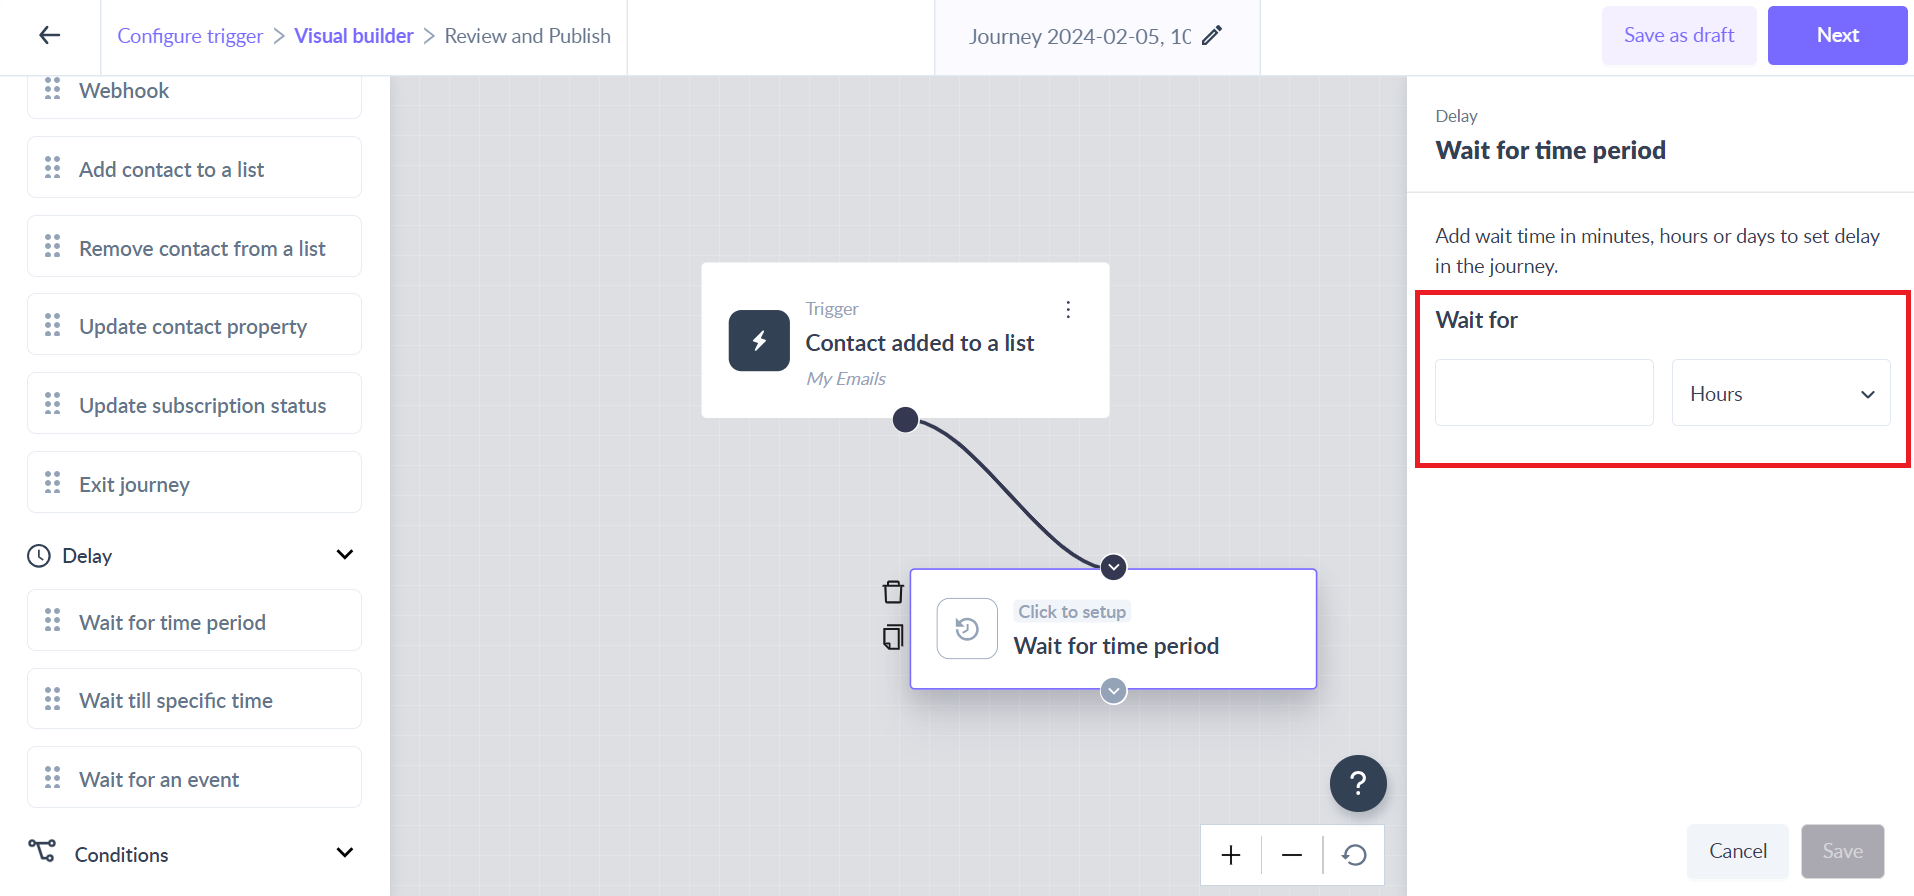
Step 4: Select the delay variable (minutes/hours/days) and add a numerical value in the input field.
This would mean, that whenever the contact reaches the ‘wait for time period’ step in the journey, the journey would exactly wait for the added time period and then move to the next step.
Please note that the time delay cannot be less than 1 minute and more than 30 days
Step 5: Click on the Save button to complete the configuration.
If you have any queries, then reach out to us at Mailmodo Support or share your thoughts at Mailmodo Product Feedback.