

Create an onboarding flow using journeys
Last updated July 31, 2024
Once users register for your application, introducing them to its features commences! Demonstrate how they can benefit from your application, enhancing user activation and retention rates. Well-crafted onboarding email initiatives prove to be advantageous for all parties involved.
This guide outlines the steps to create a journey triggered by a segment, ensuring sustained interest, continual learning, and ongoing progress for users.
Requirements
Before delving into the creation of this journey, let's undertake some preliminary tasks.
- Create email templates containing the onboarding steps along with personalization parameters using our Mailmodo editor.
- Determine a specific goal that you want to achieve from this journey.
- Strategize the number of messages and the content you intend to craft to encourage individuals to reach that goal.
Creating the journey
You can use Mailmodo's prebuilt journey - Welcome series that contains all the campaigns and delay blocks pre-set to make the process of journey creation easier.
Go to the journeys module from the left navigation and click the "Create journey" button.
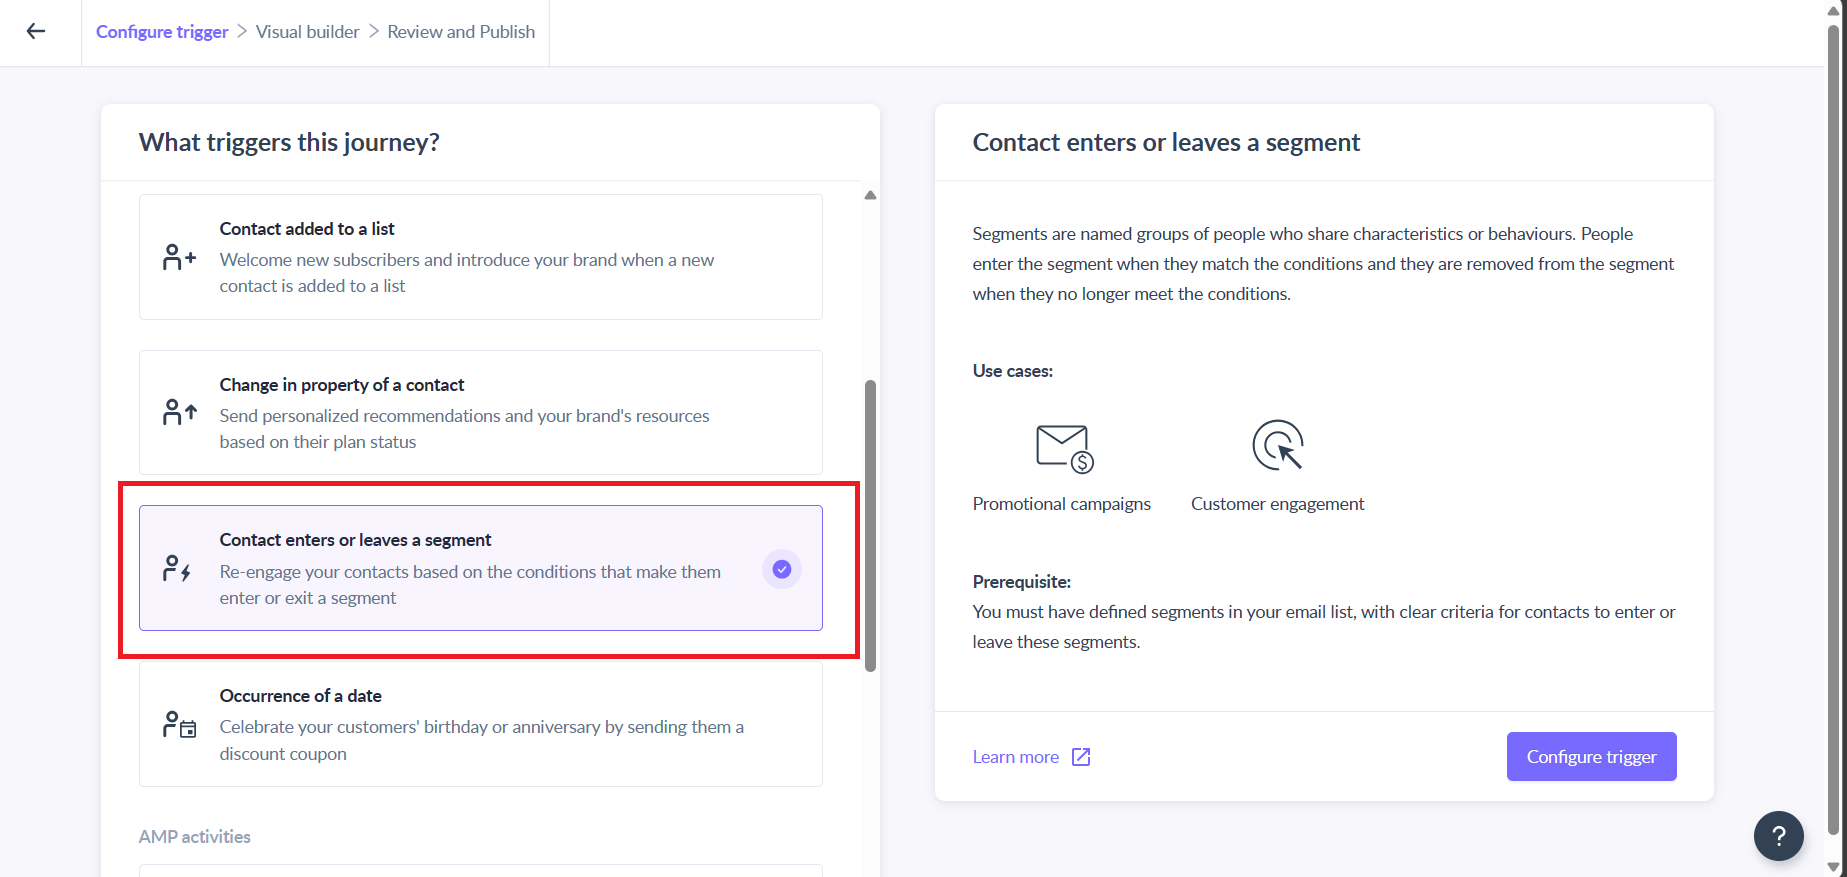
What triggers the journey
The trigger determines who will enter the journey. Create a segment called "Signed up" to add contacts when they sign up for your website or newsletter.
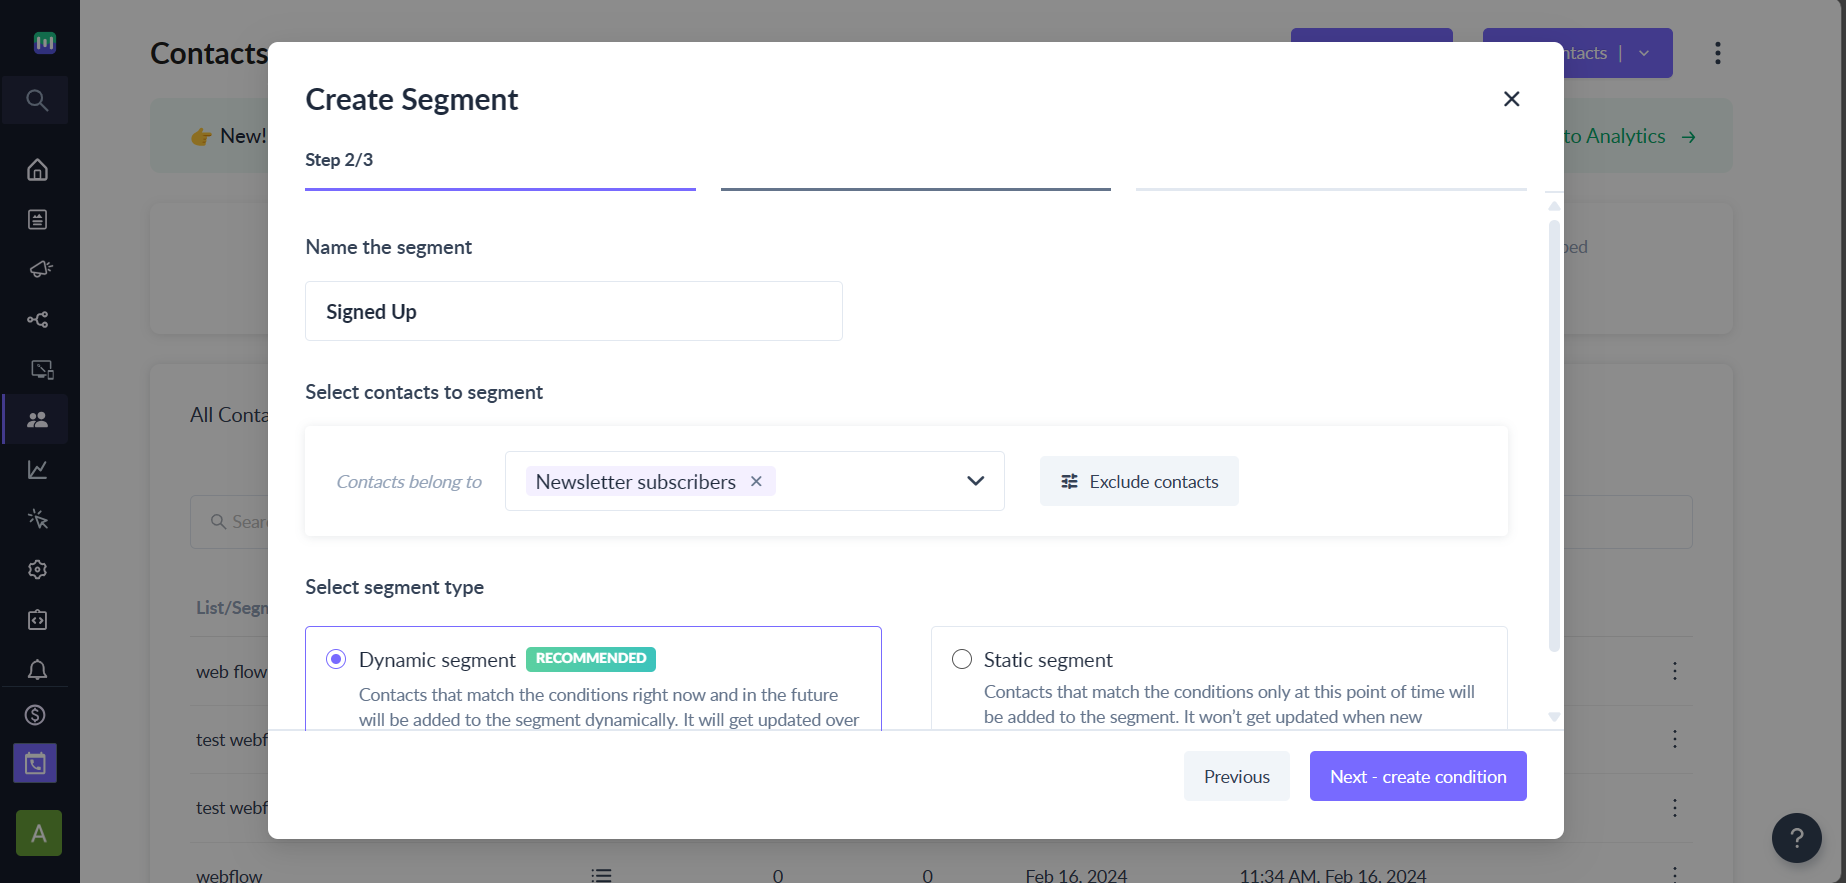
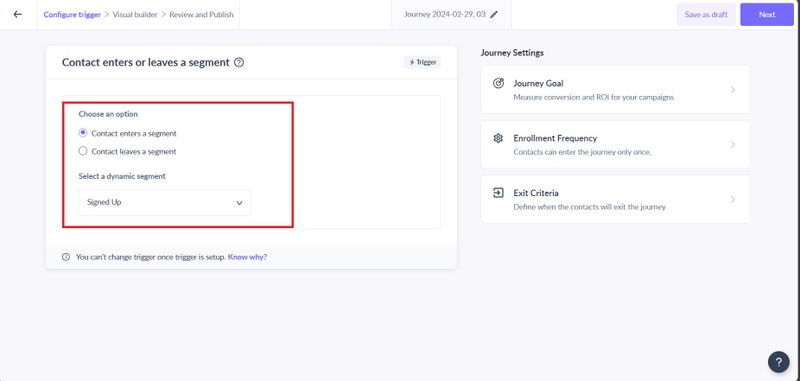
Select "Contact enters/leaves a segment" as the trigger and choose "Contact enters the segment" - "Signed up".
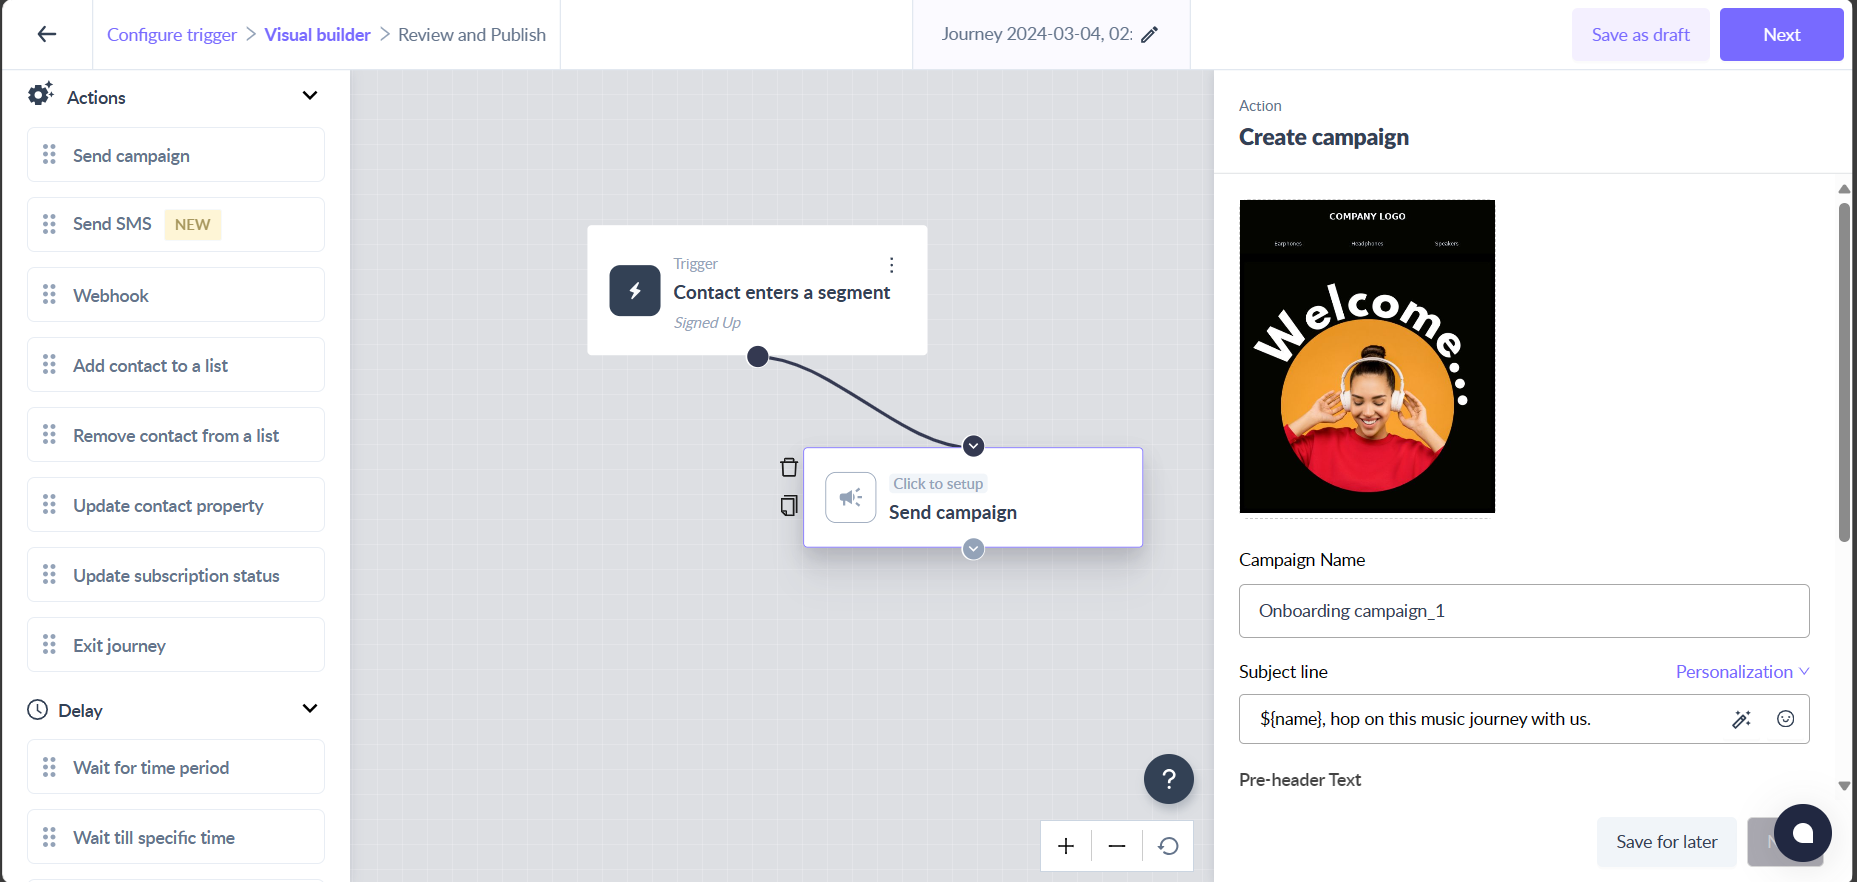
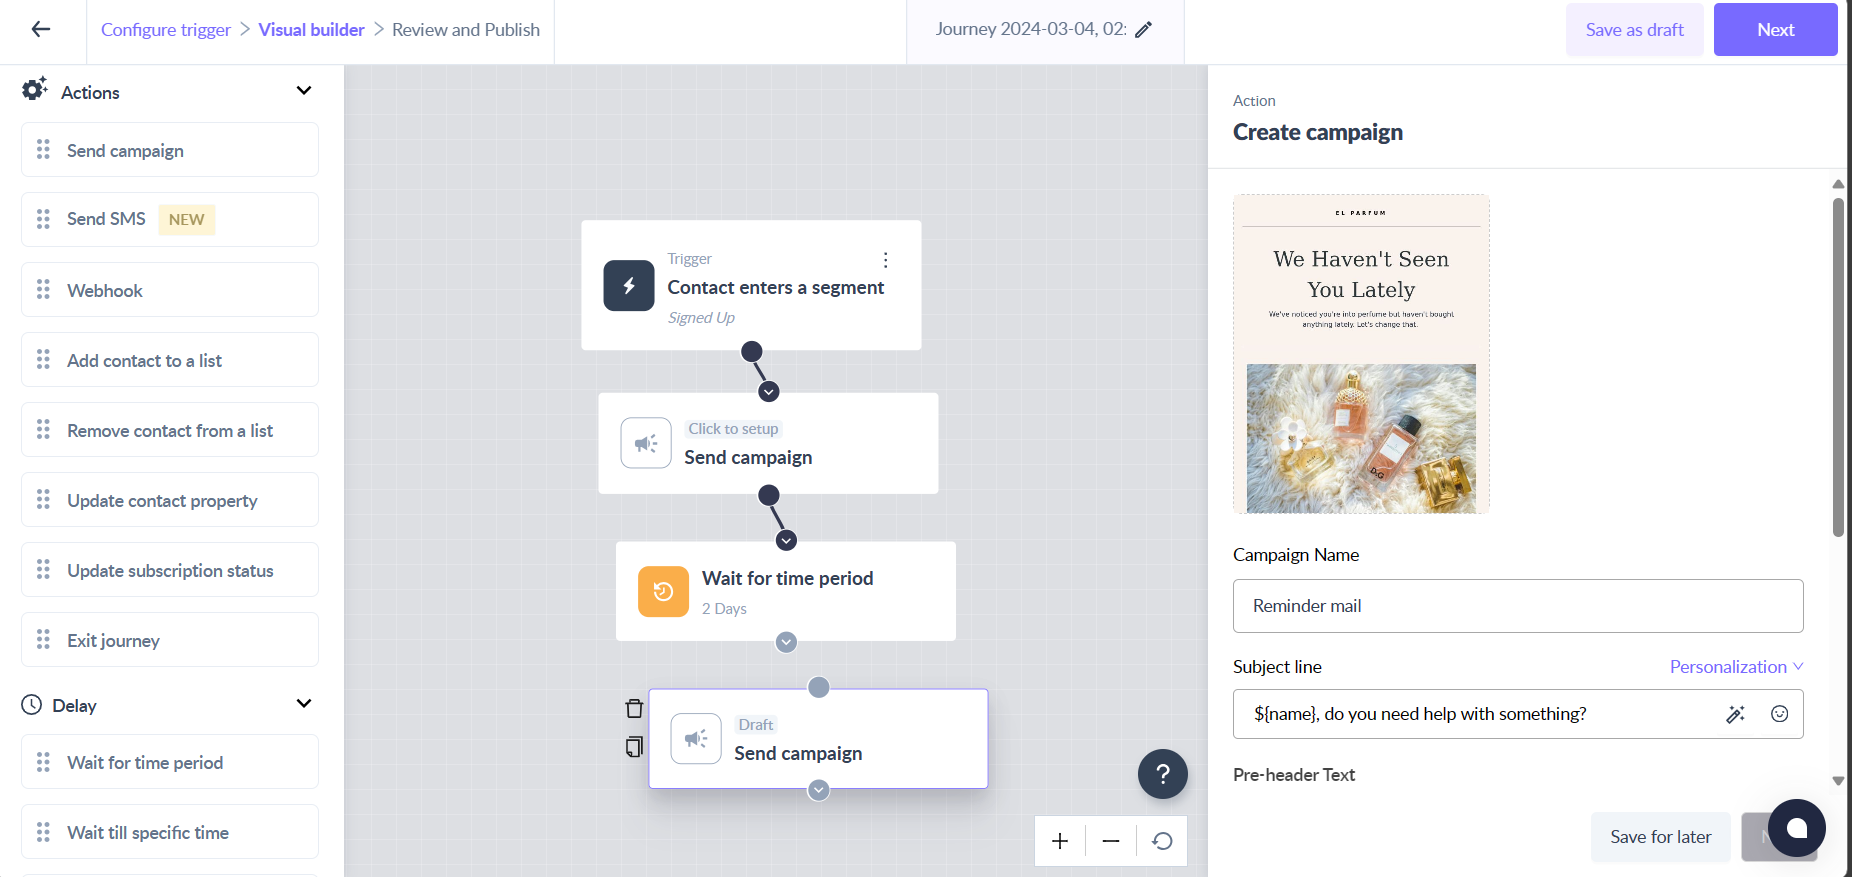
Add Campaign block to the journey
Drag the "Send Campaign" block onto the journey builder and fill in the details required in the block. Give the campaign a name and select the appropriate template.
Write an engaging and compelling subject line for your email along with personalization parameters such as ${first_name} Alternatively, select subject lines from successful previous campaigns.
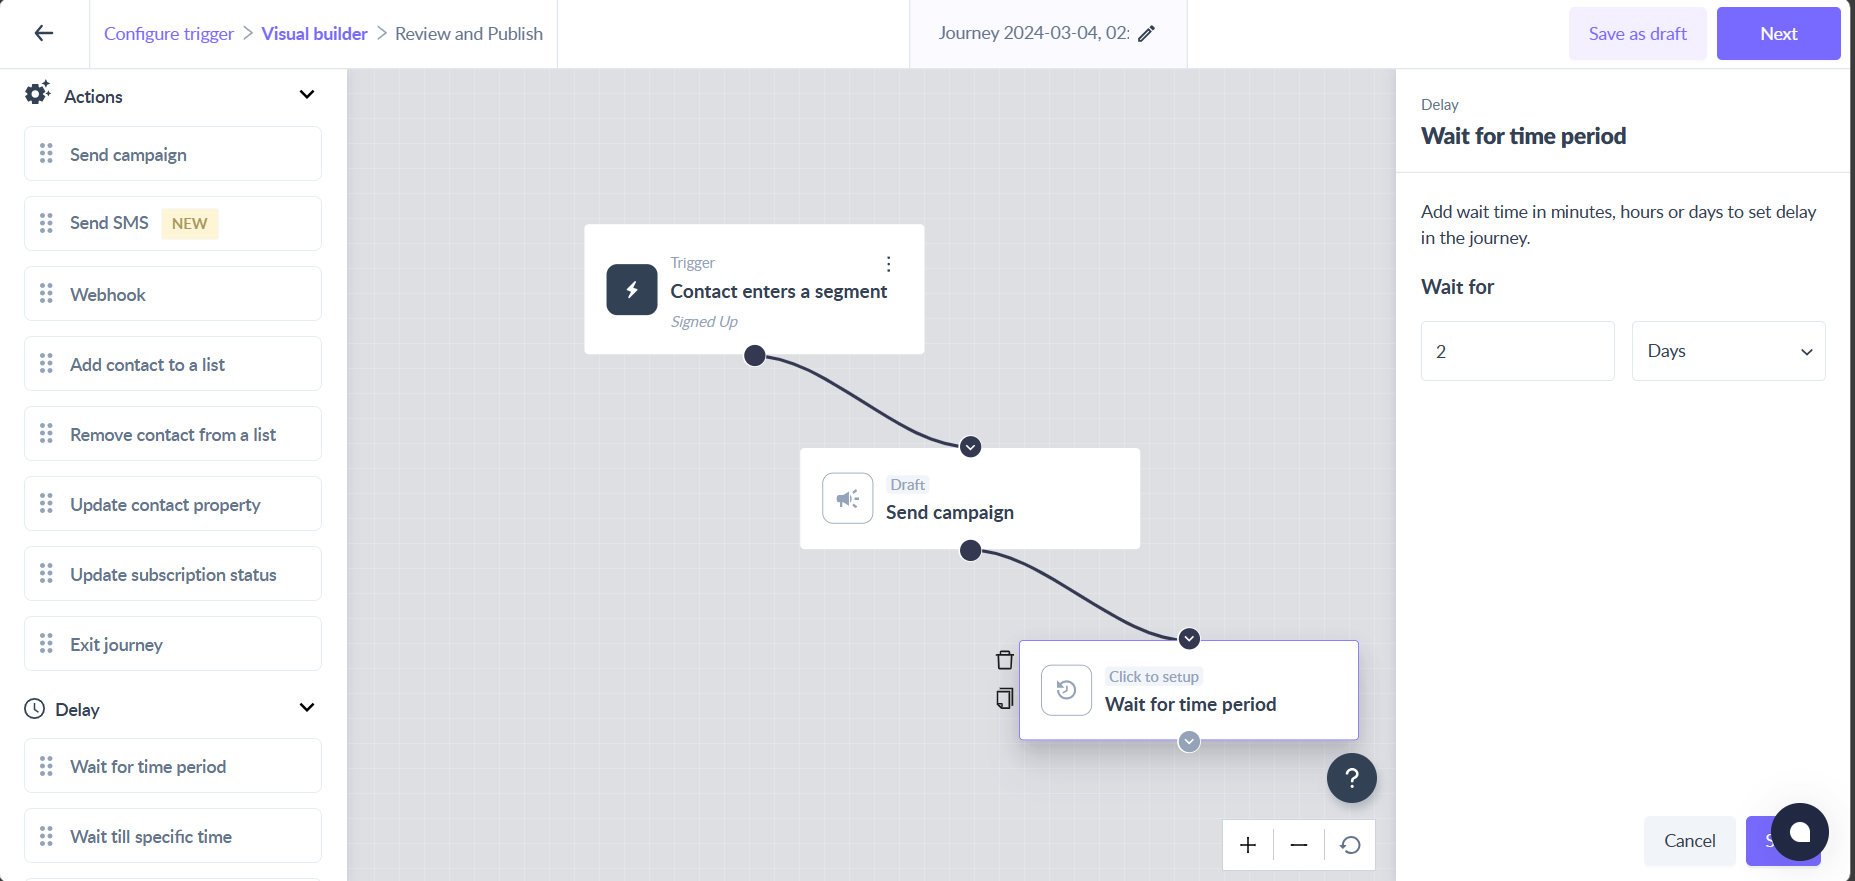
Add a delay block
Drag the "Wait for time period" block onto the journey builder and enter the desired time delay in it. Make sure you add a considerable amount of delay to give the user some time to read through your resources and explore your products.
Send another email campaign
You can add another send campaign block and send an email as a reminder to complete the onboarding steps.
Continue this flow
Send more email campaigns that talk about your product and how it benefits your customers after appropriate time intervals.
Reviewing and publishing the journey
You can test the journey before publishing it to make sure all the actions in the journey are working as per your expectations. You can learn more about testing a journey, here .
Once you have tested the journey, you can go ahead and publish it.
Viola! Now you have created a onboarding journey.
If you face any problem then reach out to us at Mailmodo Support or share your thoughts at Mailmodo Product Feedback .