

How to Create a Shopify Product Recommendation Campaign
Last updated July 3, 2025
Overview
This guide provides a comprehensive overview of the Product Recommendation campaign, a powerful strategy for driving sales and enhancing customer engagement by offering personalized product recommendations. By implementing this, you can improve the shopping experience for your customers and increase revenue for your store.
If you haven’t yet integrated your Shopify account with Mailmodo and set up email flow, learn how to integrate Shopify with Mailmodo here .
How is a Product Recommendation Email Campaign Helpful for Your Store?
The Product Recommendation Email Campaign offers several benefits for your store:
- Personalization: Tailor product recommendations based on each customer's preferences, increasing the likelihood of a purchase.
- Increased Sales: Drive upsells, cross-sells, and repeat purchases by showcasing relevant products.
- Customer Engagement: Keep customers engaged with your store by providing valuable and personalized content.
- Improved User Experience: Enhance the shopping experience by making it easier for customers to discover products they may be interested in.
Creating a product recommendation campaign from scratch:
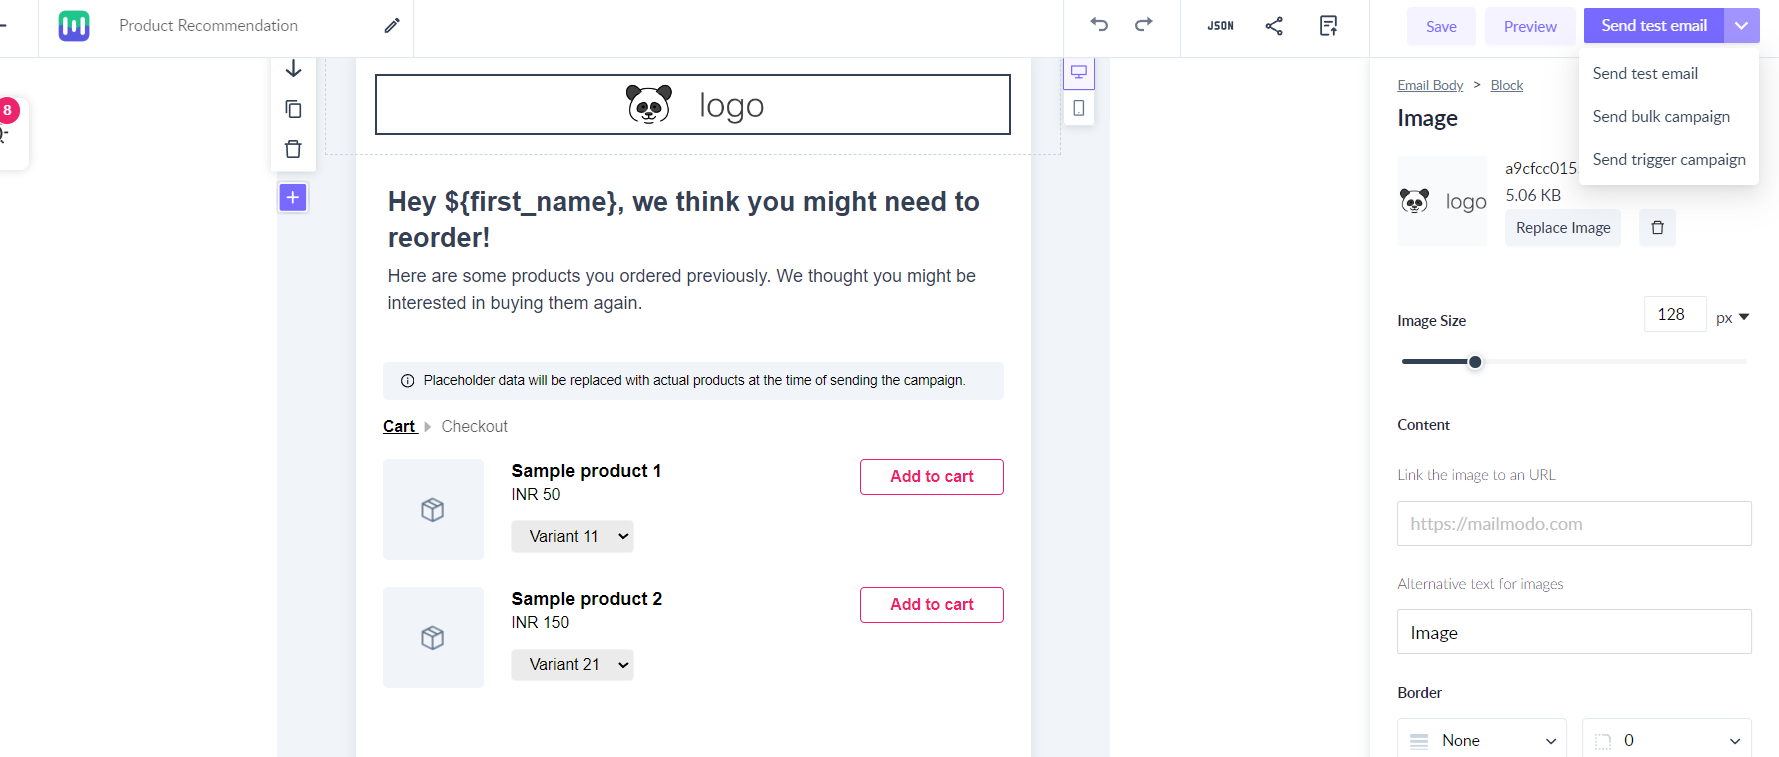
Step 1: Add “Product catalog” widget in any of your existing template with selection of the products that you like to promote to your customers.
Product promotion emails are designed to inspire customers to make additional purchases by suggesting products they are interested in. To encourage repeat purchases, it's advisable to feature your best-selling items in these emails. You can establish an entire email flow specifically dedicated to cross-selling products.
Step 2: Once template is created and saved. Click on down arrow in the top right corner next to "Send test email" and click on the “Send Bulk Campaign” button.
Step 3: Create the header by adding your Campaign Name, Subject line, and Pre-header Text. You can also personalise the subject line, by clicking on the ‘Personalisation’ option.
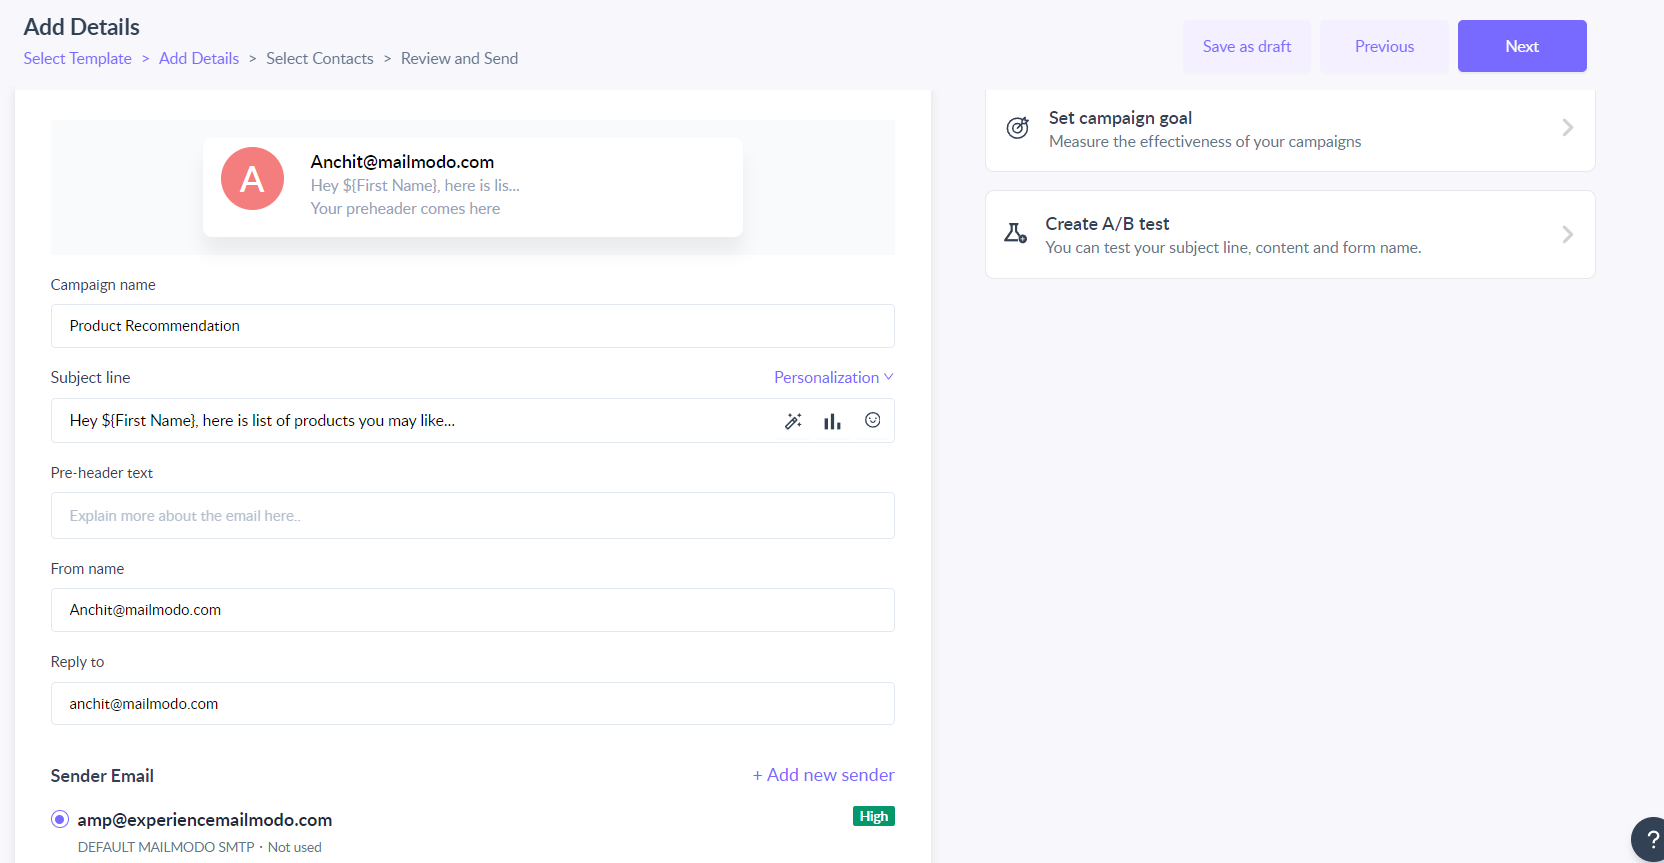
Preview the header in the right-side inbox preview. Enter the sender address and reply address. Click Next.
You can save it to draft by clicking on the "Save as Draft" button available from the "Add details" step. All the details entered in the campaign will be saved and can be edited at any given time and by any of your team members.
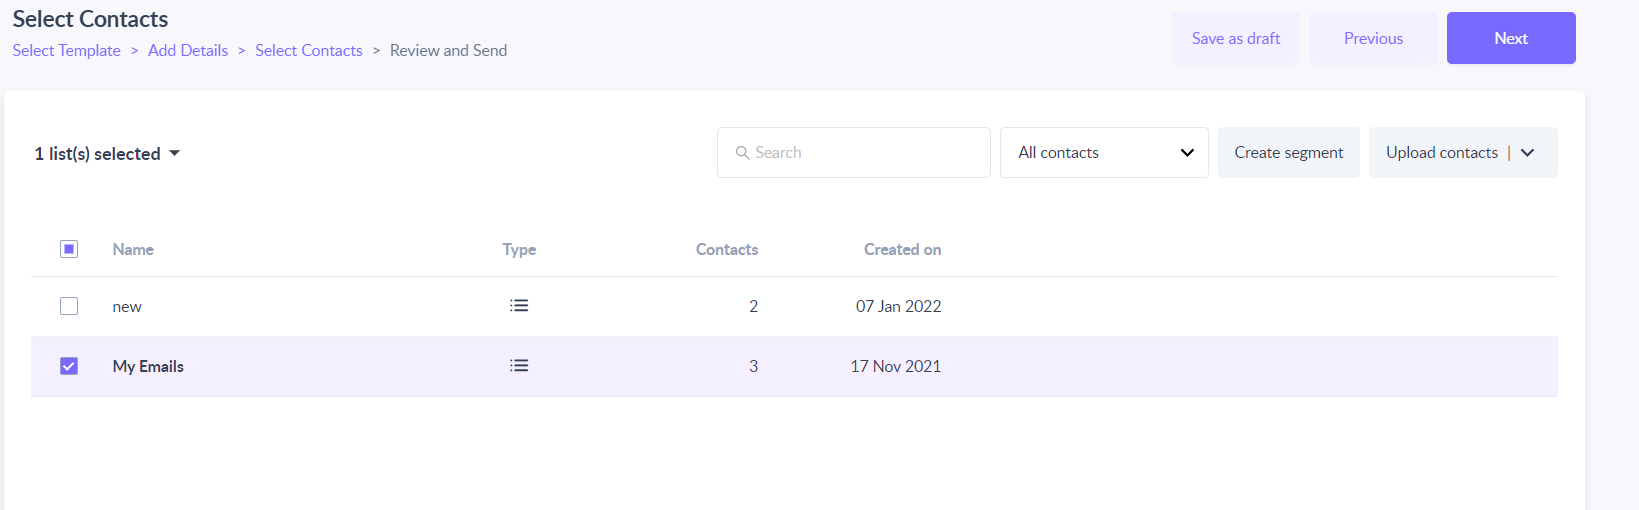
Step 5: To send campaigns to your customers, you can select this premade dynamic segment - Shopify contacts. This segment will consist of all the customers who place orders on your shopify store.
Step 6: Click on the ‘Next’ button.
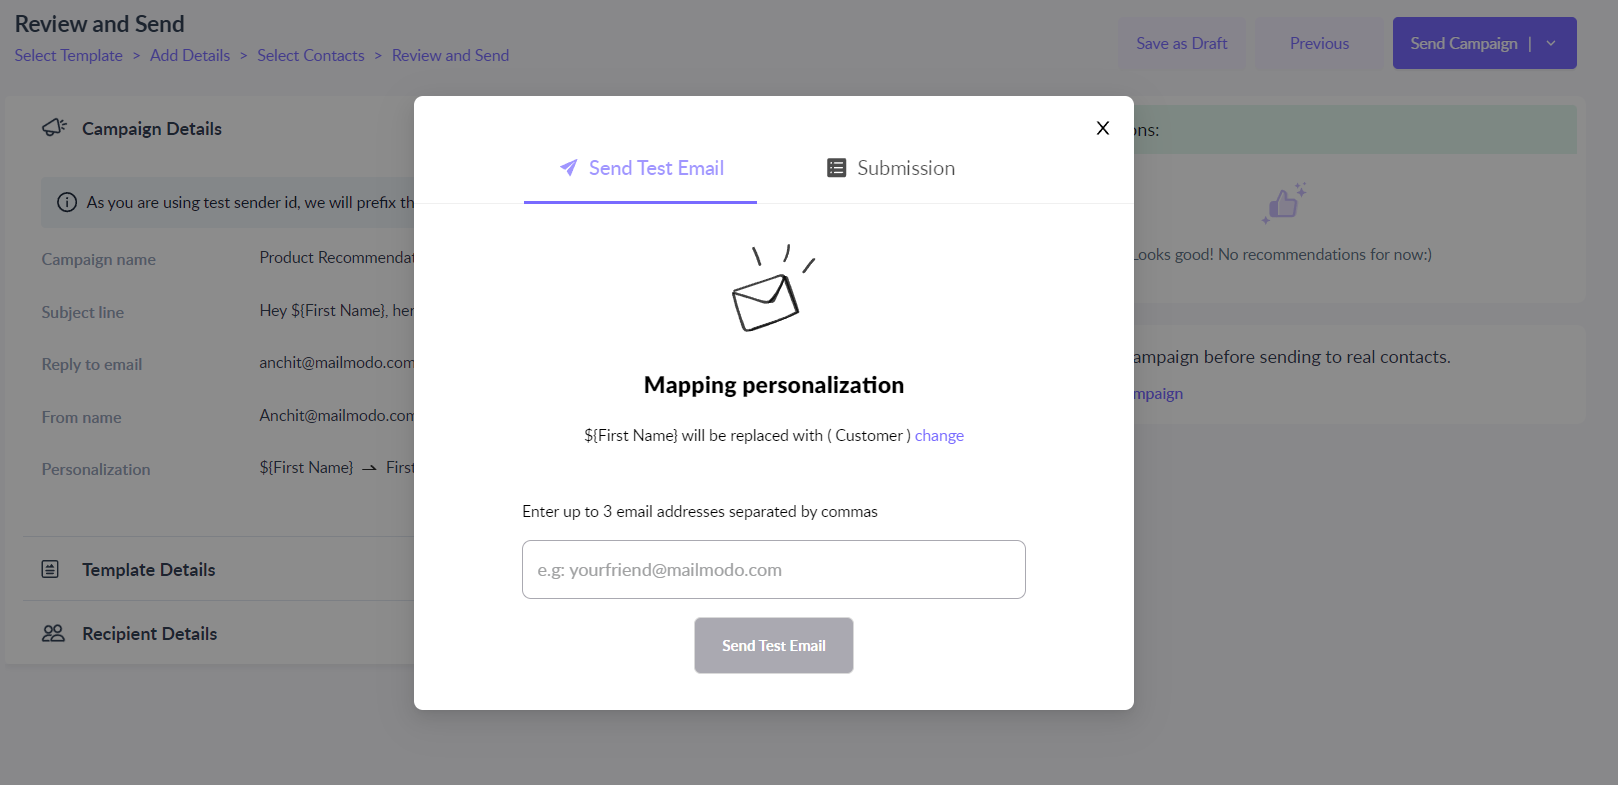
If you have used any personalisation parameters in your template or subject line, a dialogue box will appear. Fill in the relevant fields to map the personalization.
Step 7: A preview of your email appears. You have the option to send a test campaign. This allows you to check how your campaign appears in an inbox.
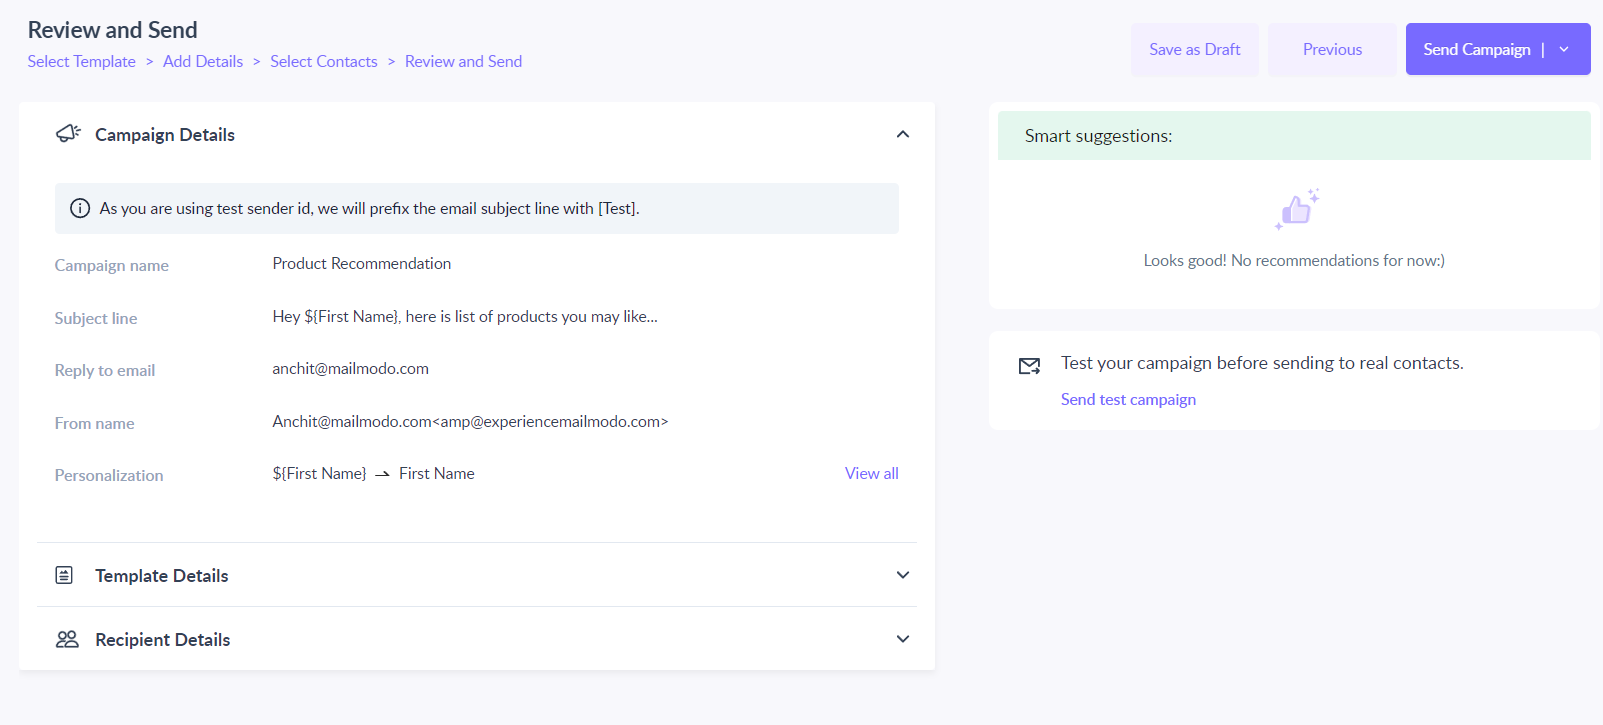
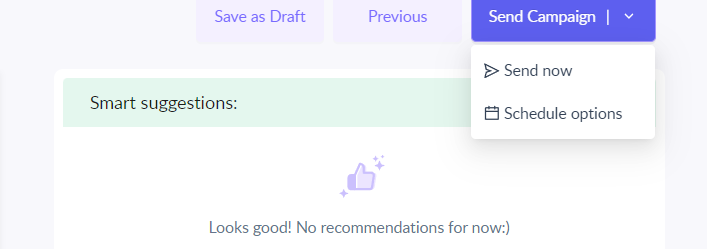
Step 8: Once satisfied with your campaign set-up, click on Schedule or Send.
If you have any query then reach out to us at Mailmodo Support or share your thoughts at Mailmodo Product Feedback .