

Trigger Campaigns through Customer.io in Mailmodo
Last updated June 30, 2025
In this article we will see how to send transactional campaigns in Mailmodo from your Customer.io account.
How to create a transactional campaign in Mailmodo?
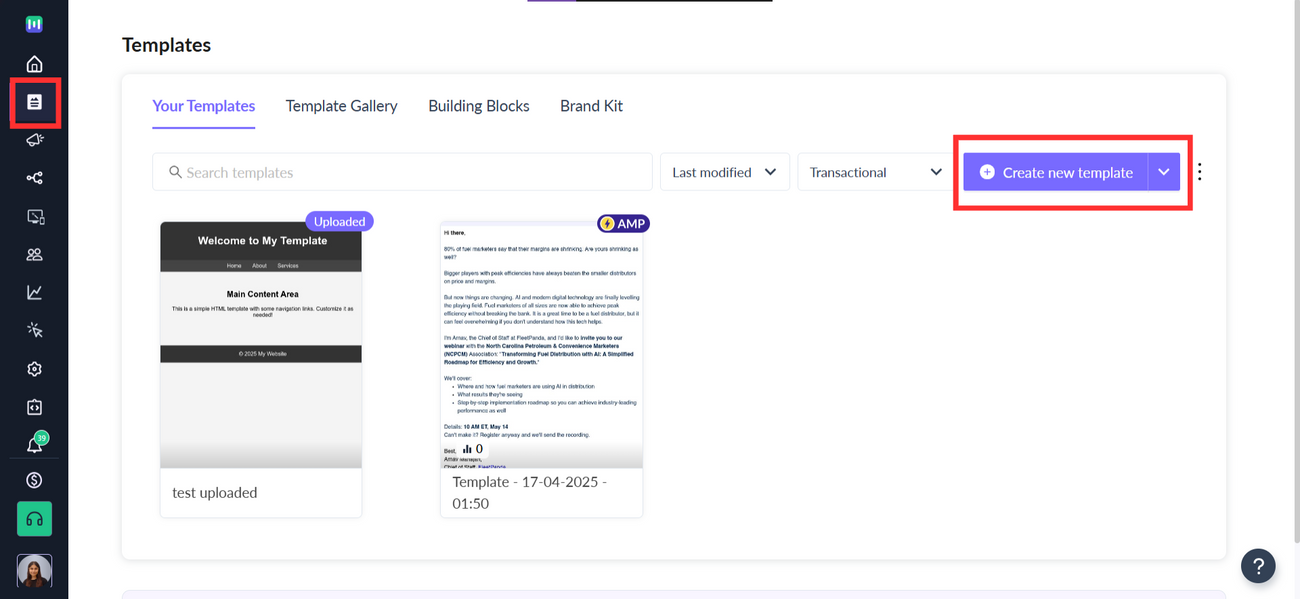
Step 1: Go to templates from the vertical menu on the left side. Click on create new template.
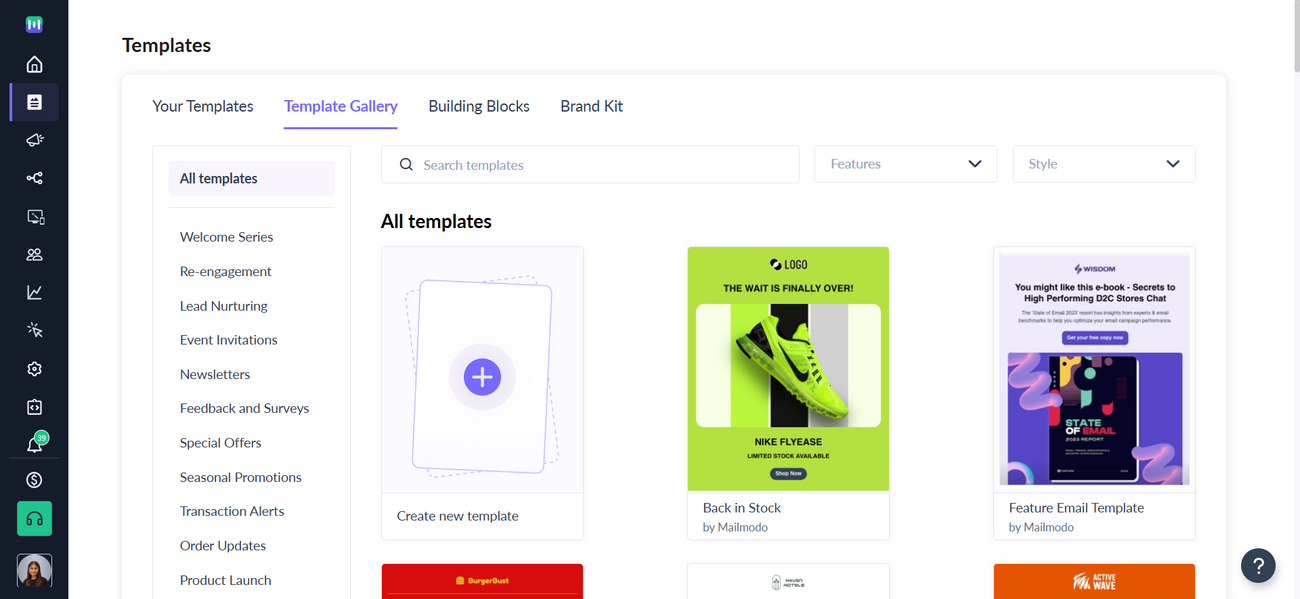
Step 2: Either select a blank template or a pre-existing template.
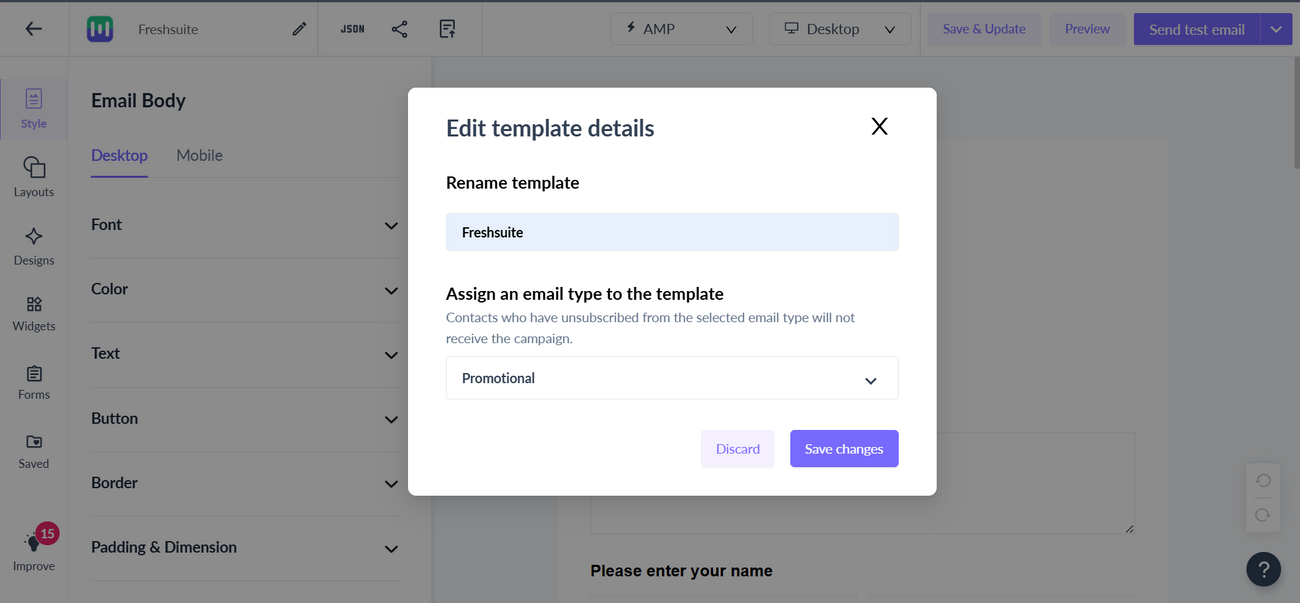
Step 3: Use the editor to edit the template. Save and rename the template upon completion. After saving, click on back arrow.

Step 4: Click on save and exit.

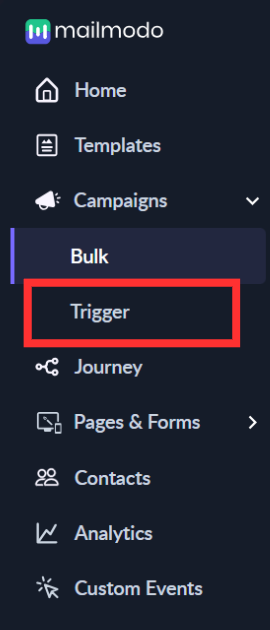
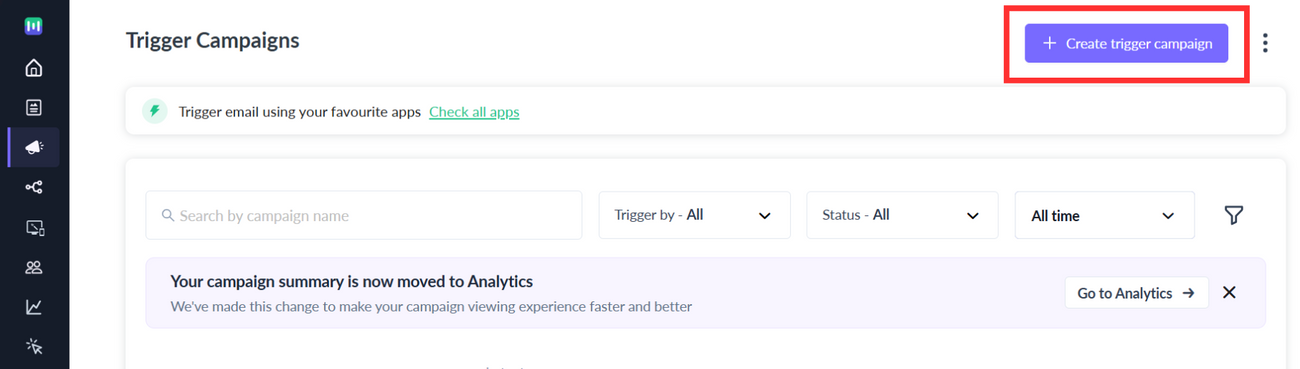
Step 5: You will be redirected to the home page. Click on Trigger under Campaigns from the vertical menu on the left. Next, click on Create trigger campaign.
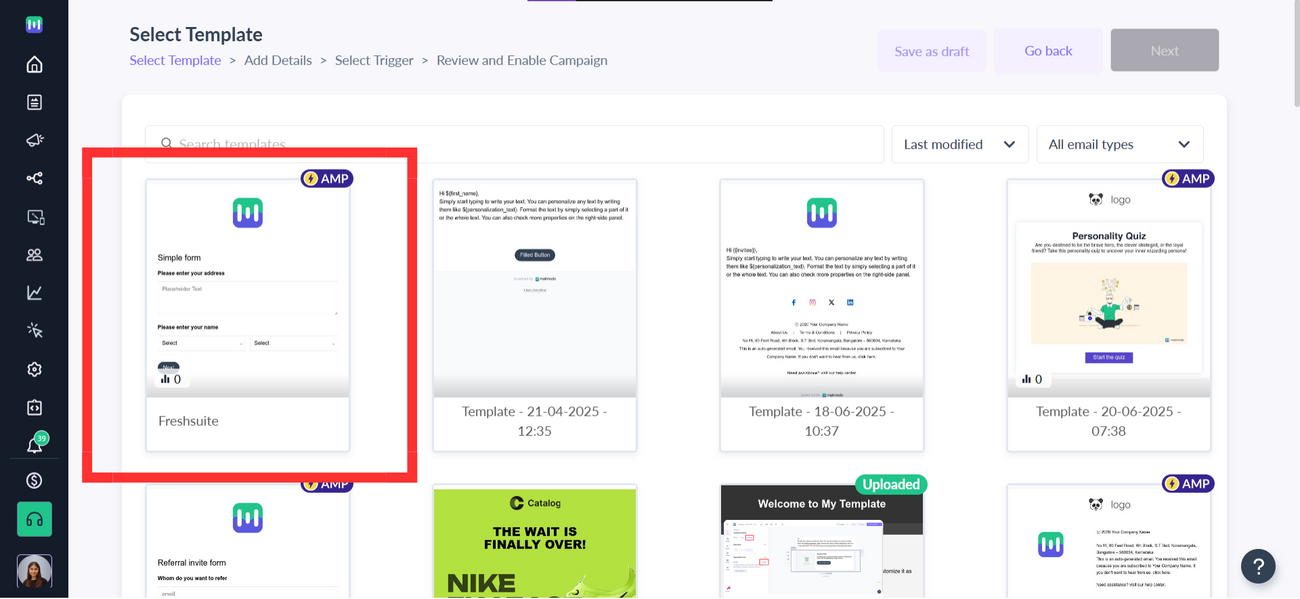
Step 6: Select the template you saved before. Click on next.
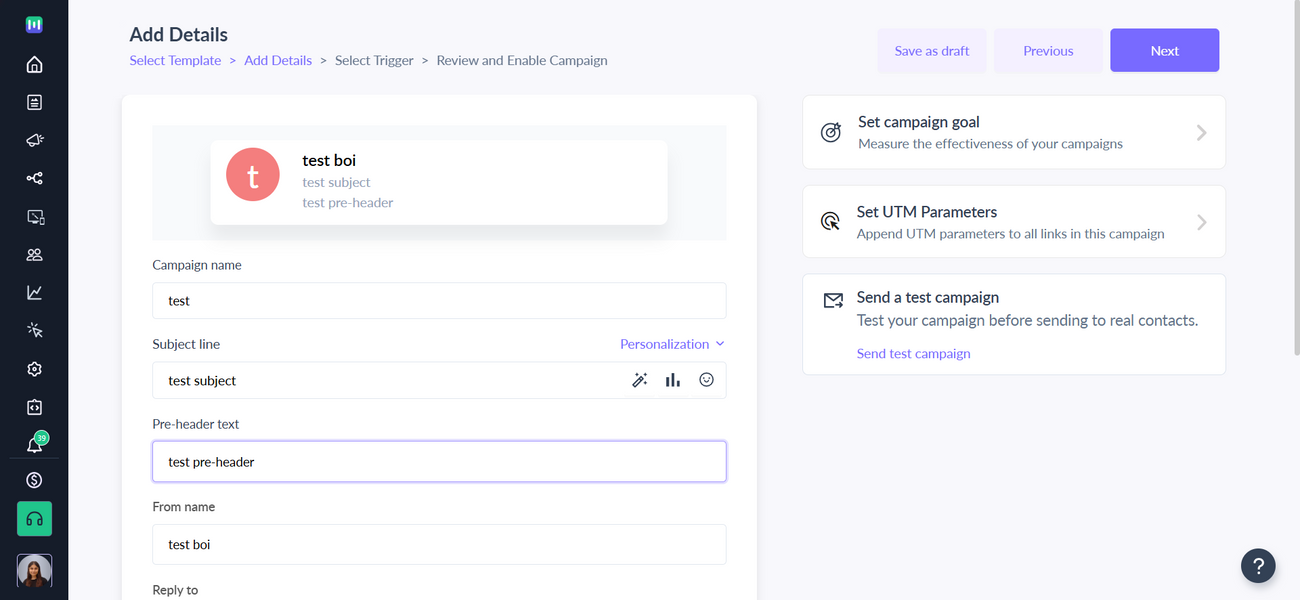
Step 7: Add Subject Line, Pre-header text, From name and Reply to email. Click on next.
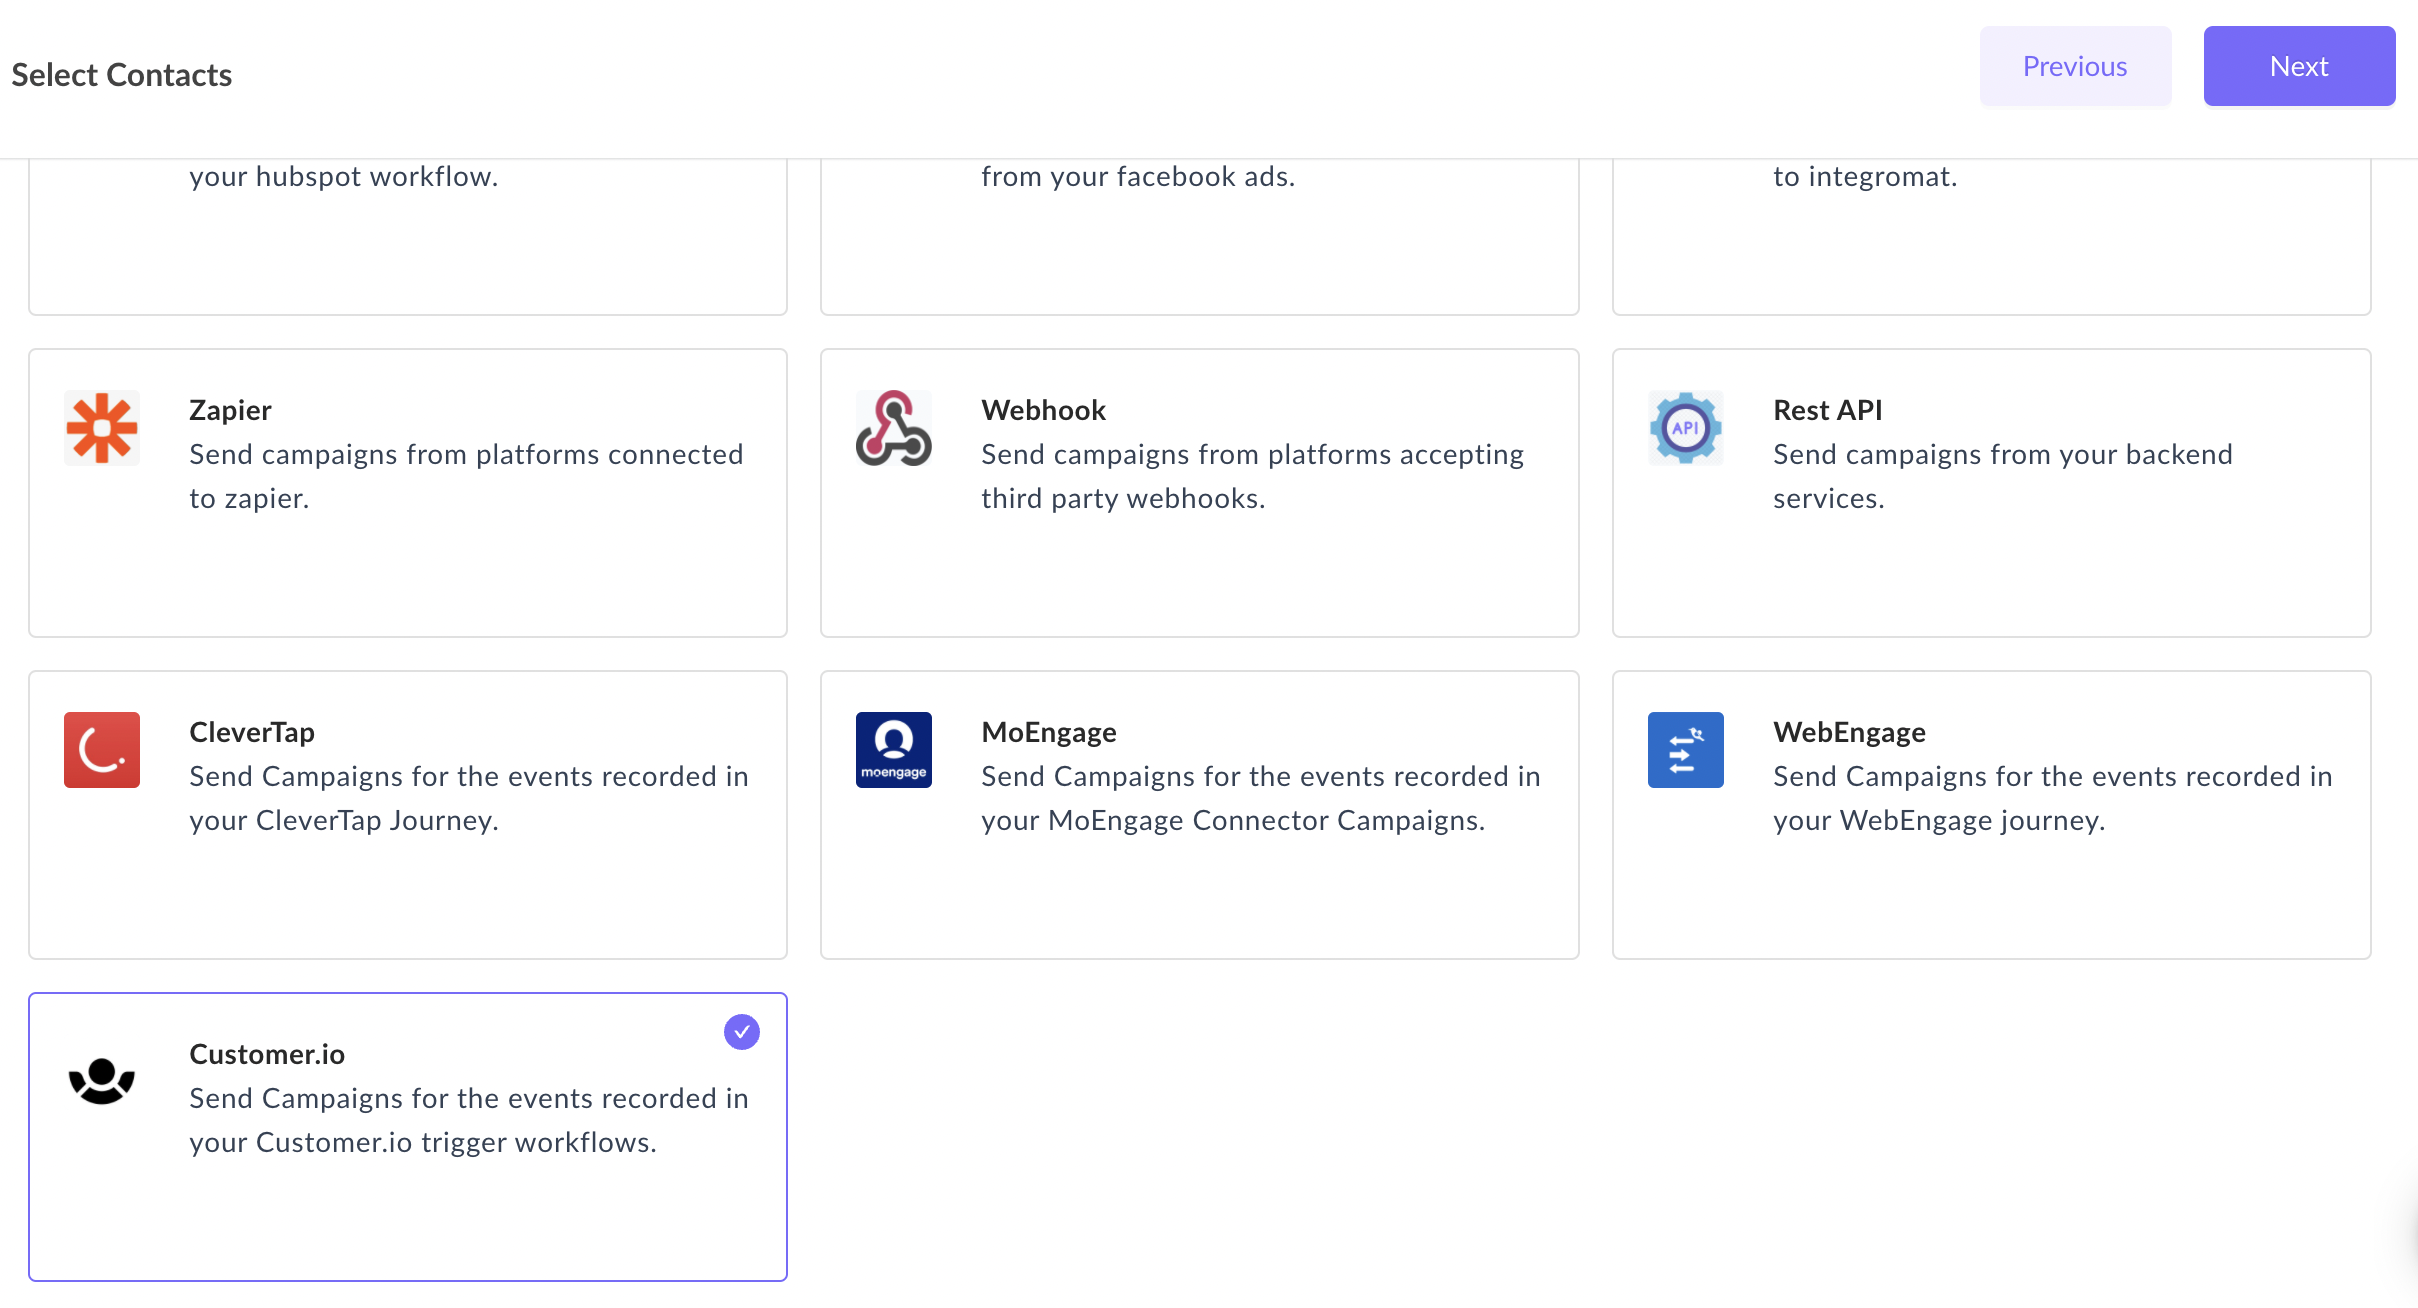
Step 8: You will be redirected to trigger on events. Select Customer.io from the list of platforms. Click on next.
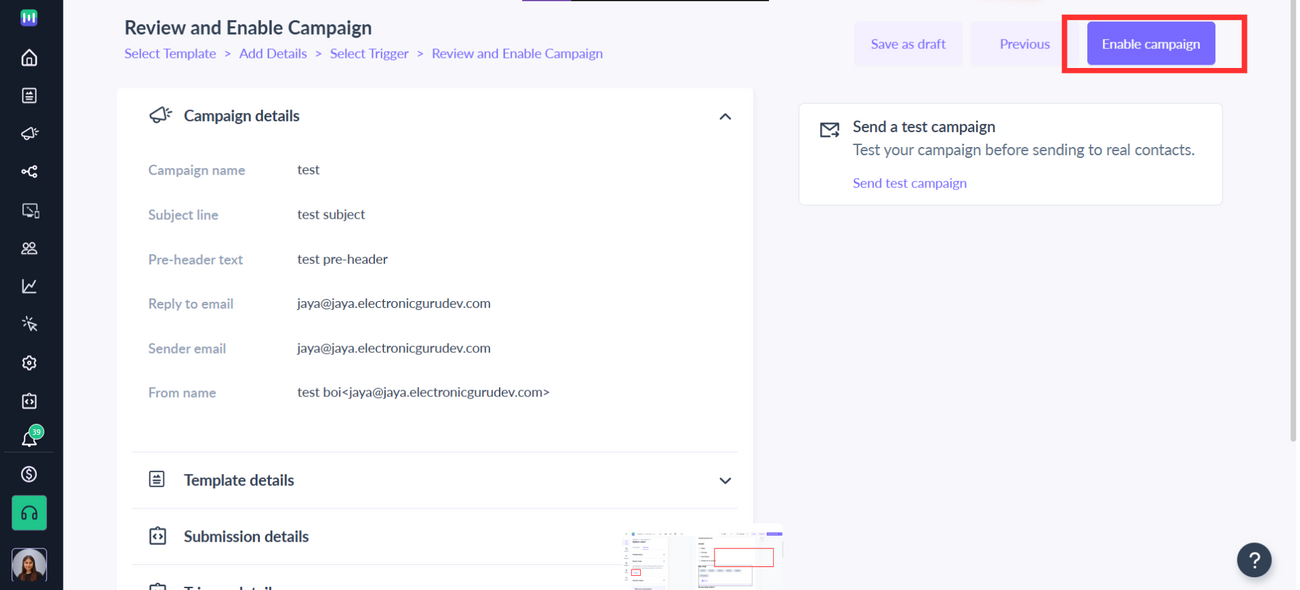
Step 9: Review and test your campaign. To test, click on send test campaign->enter email ID->send test email.
Once tested and reviewed, click on enable campaign.
Step 10: You will be redirected to Campaign page. Select show setup steps -> Click on Copy URL button. We will use this webhook url in the Customer.io setup.
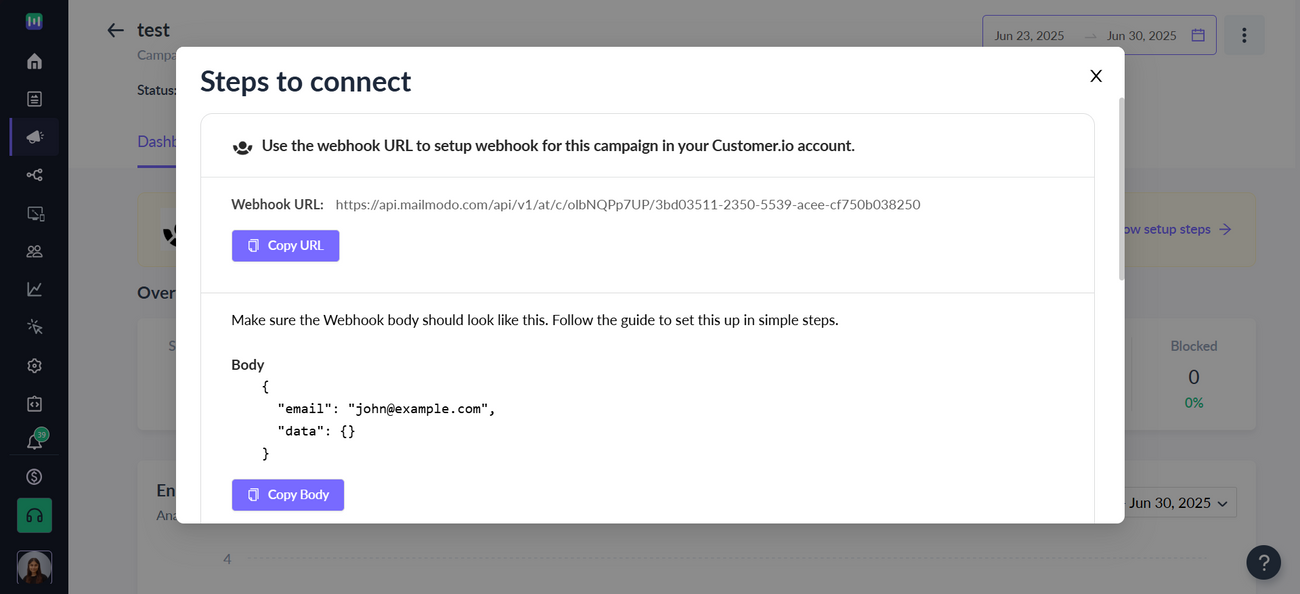
To access this page in future, go to trigger in the vertical menu (left side)->select the campaign-> setup steps
Customer.io setup
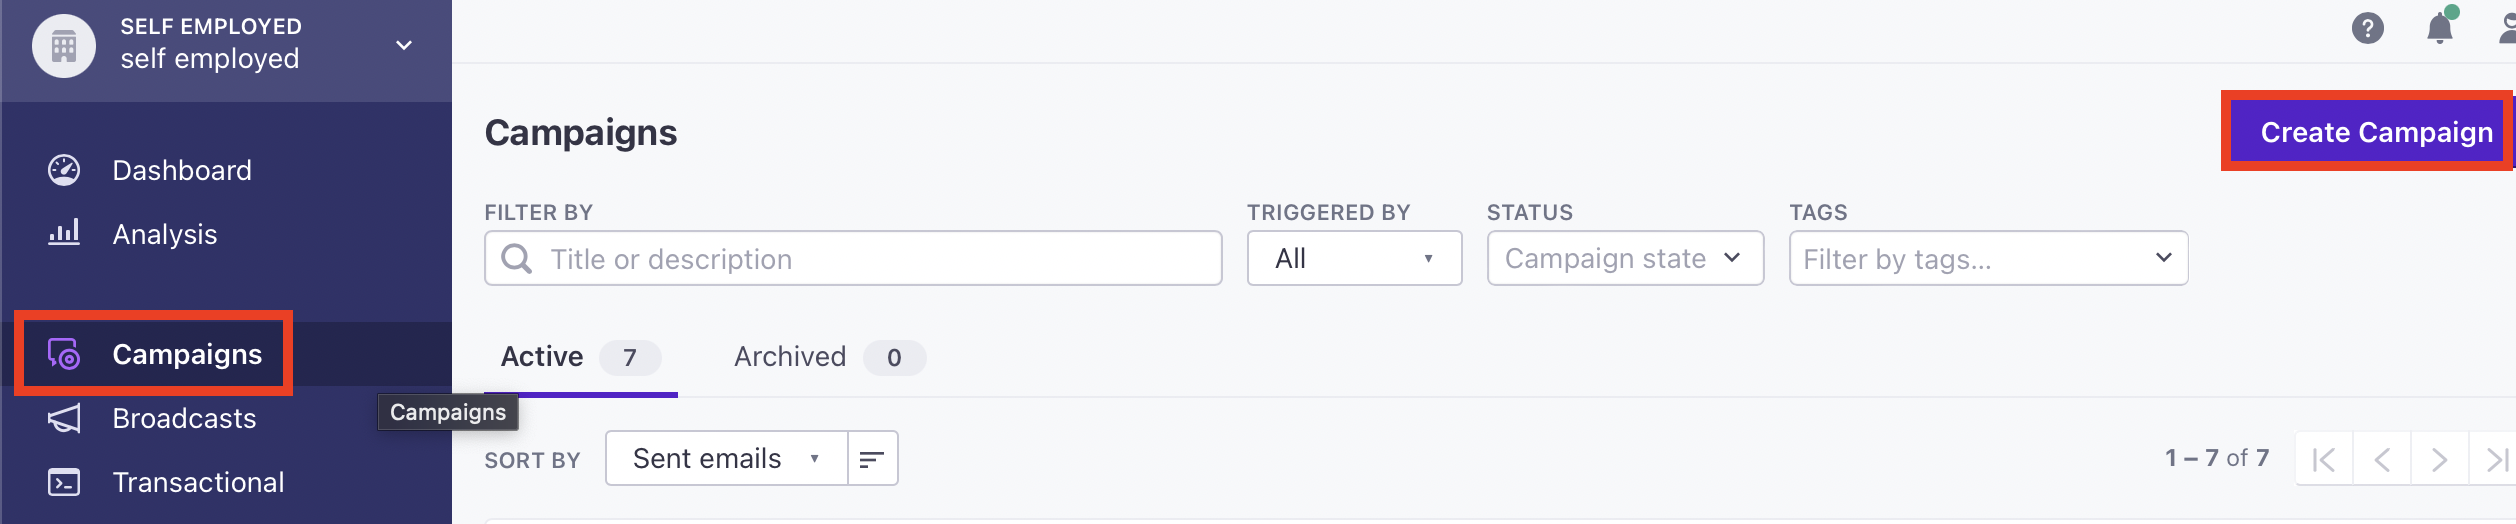
Step 1: In your customer.io dashboard, go to Campaigns->Create Campaign.
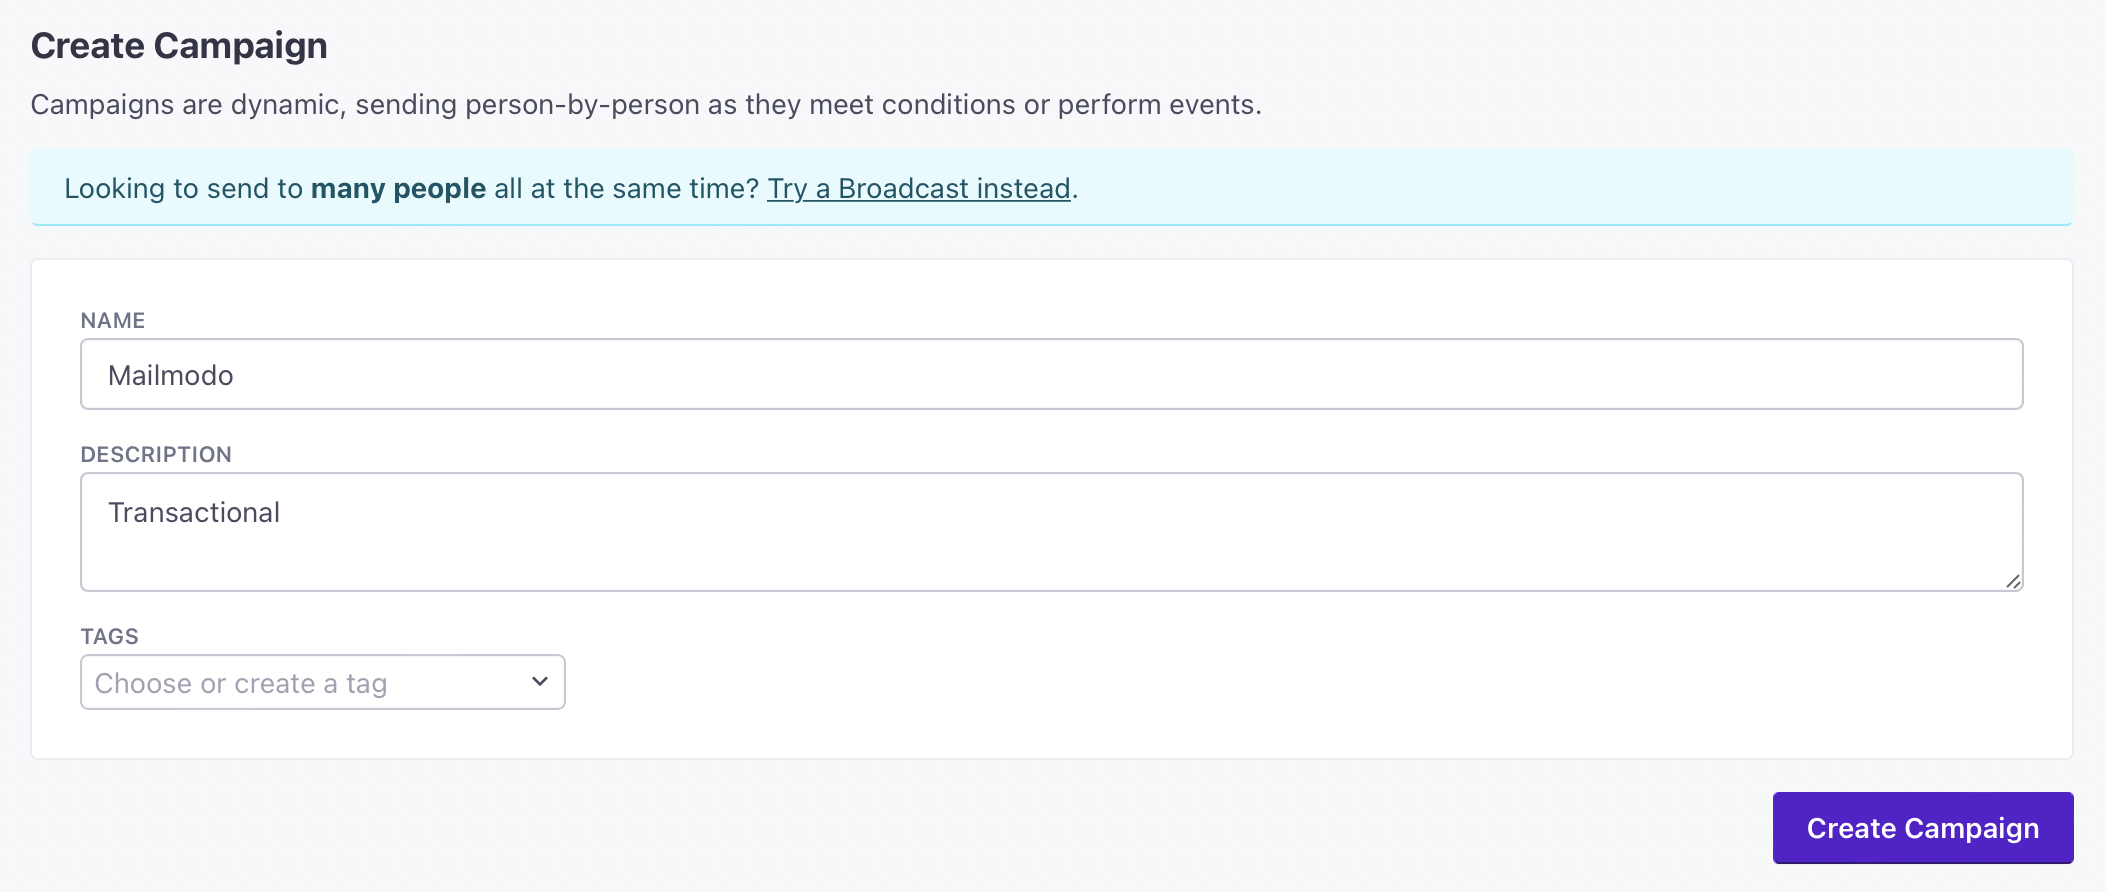
Name your campaign, add suitable description and tags.
Step 2: Configure trigger conditions.

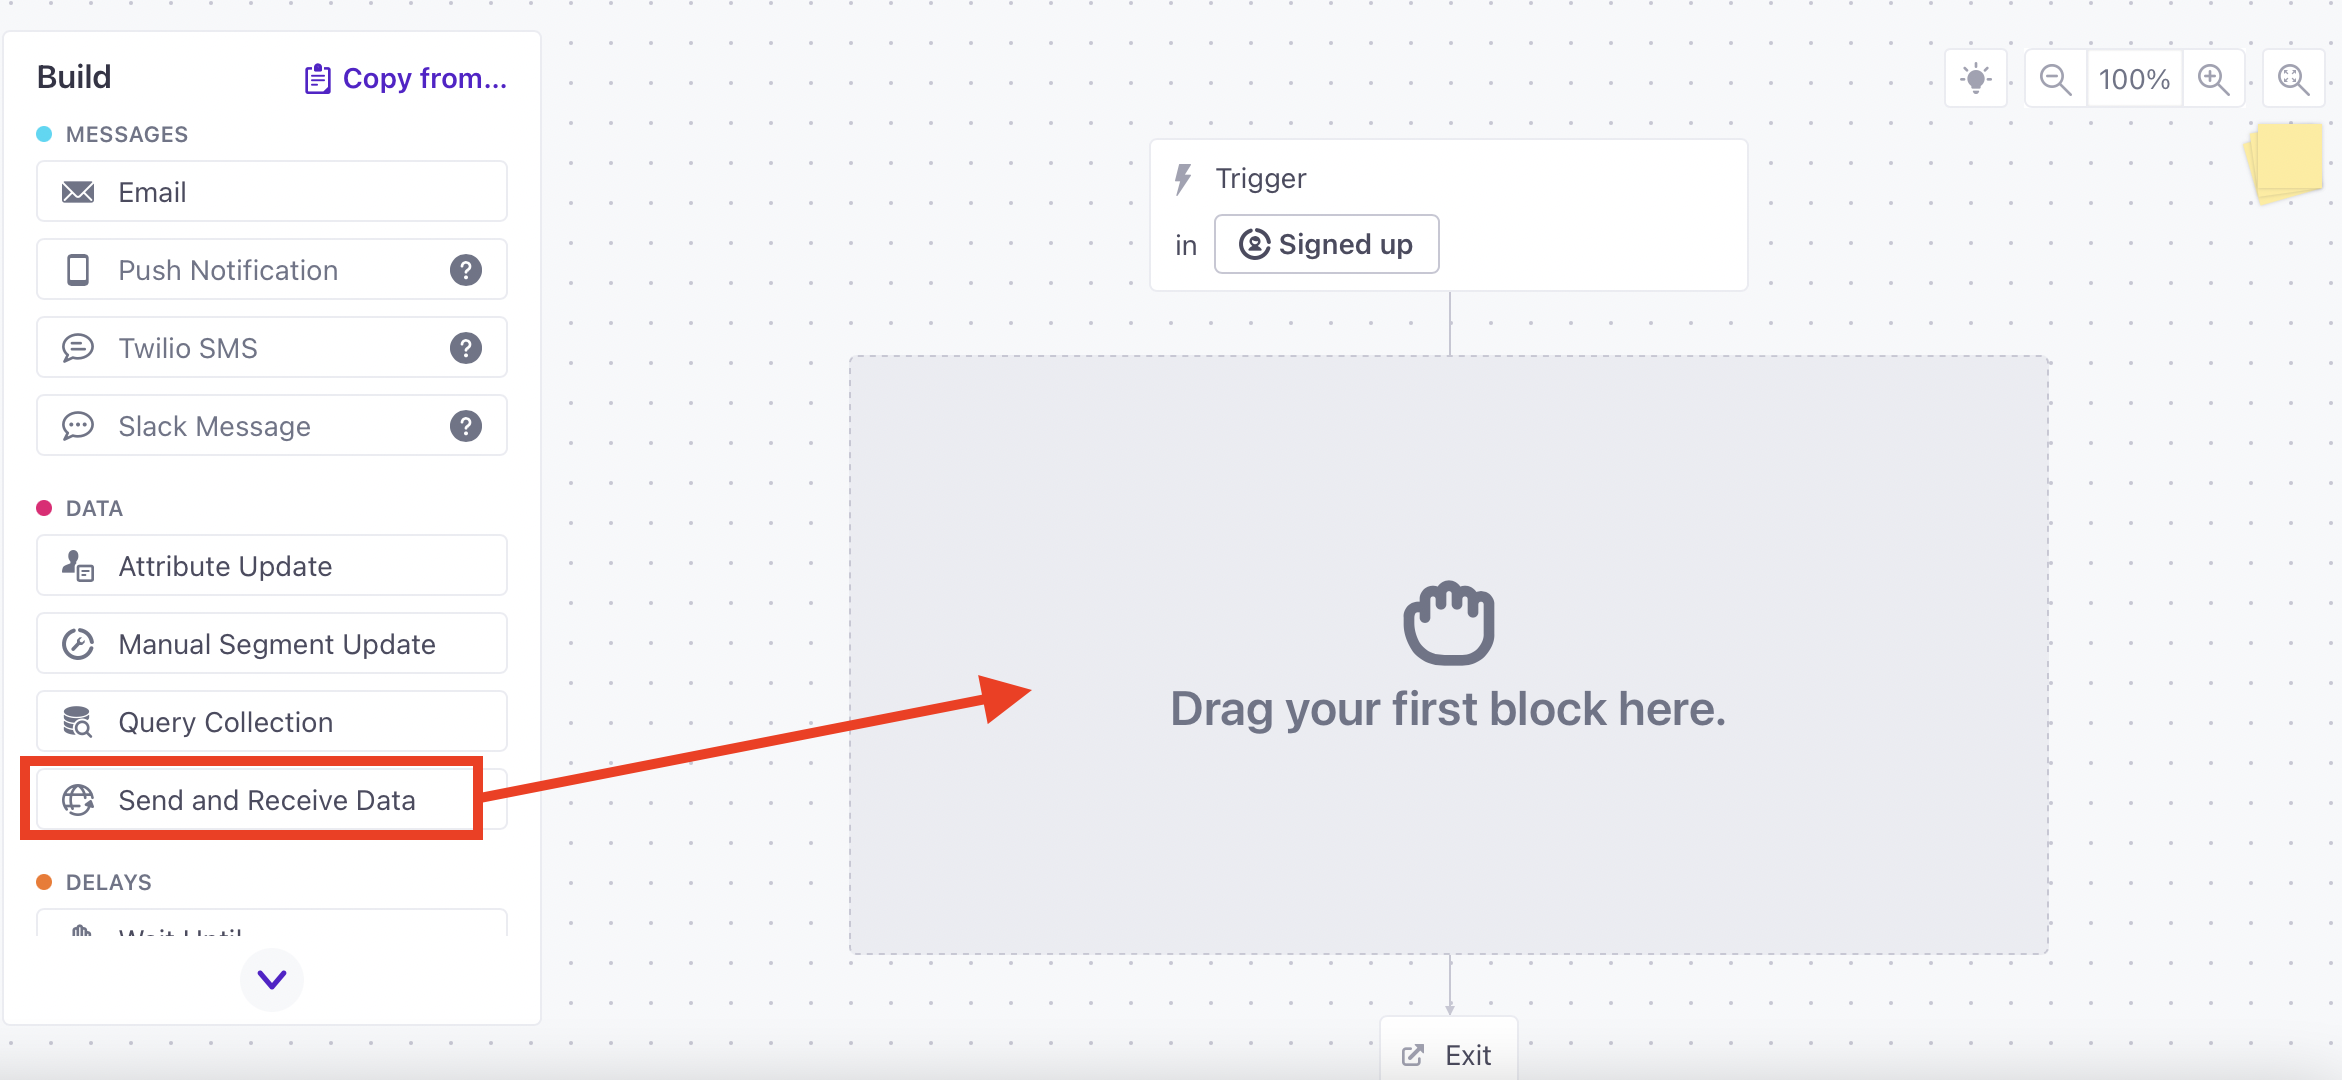
Step 3: Drag and Drop "Send and Receive Data" to the Workflow.
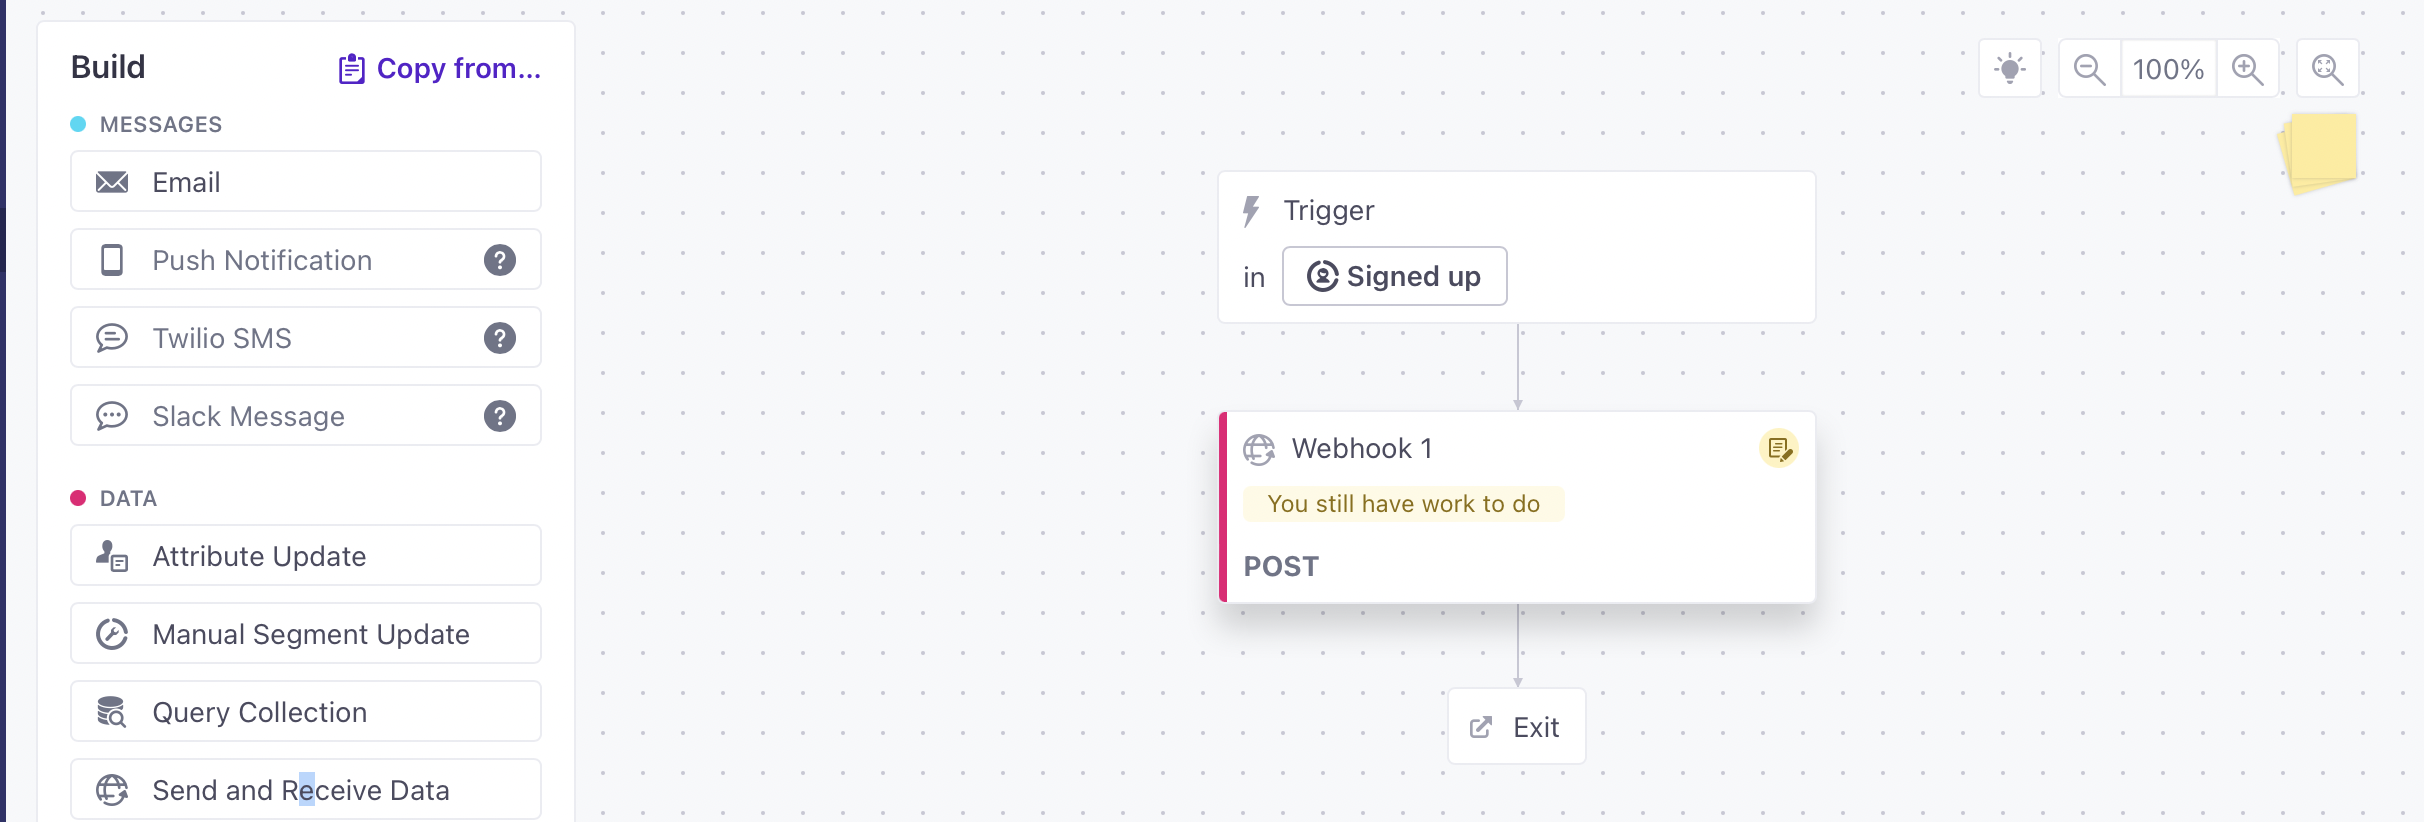
A webhook will be added. Click on the webhook to configure it.
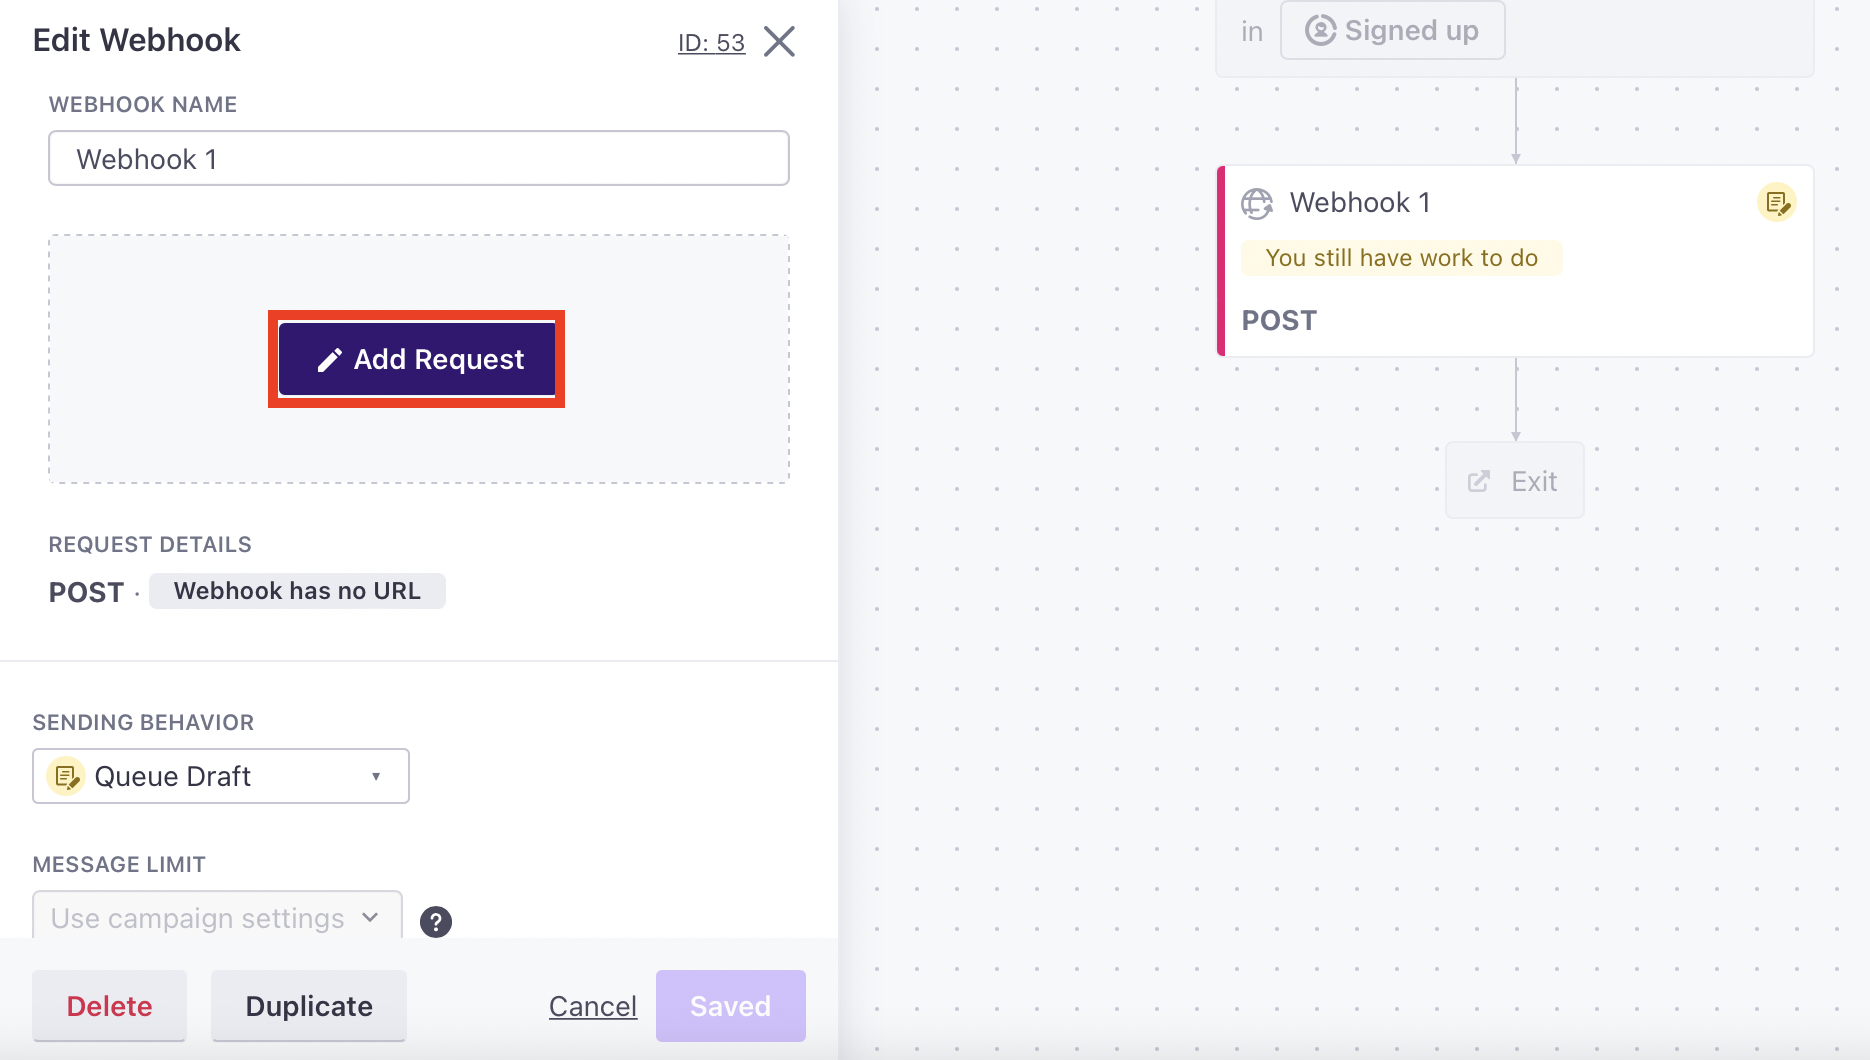
Click on Add Request.
Step 4: Paste the URL copied from Mailmodo's Trigger Info section. Select Request type as POST.

Copy and paste the following code snippet in the body :
{ "email": "", "data": {} }Map the respective parameters as shown below.
NOTE: You need to search for a contact in the Sample Data section (before mapping). The person should already be added in your contact list.
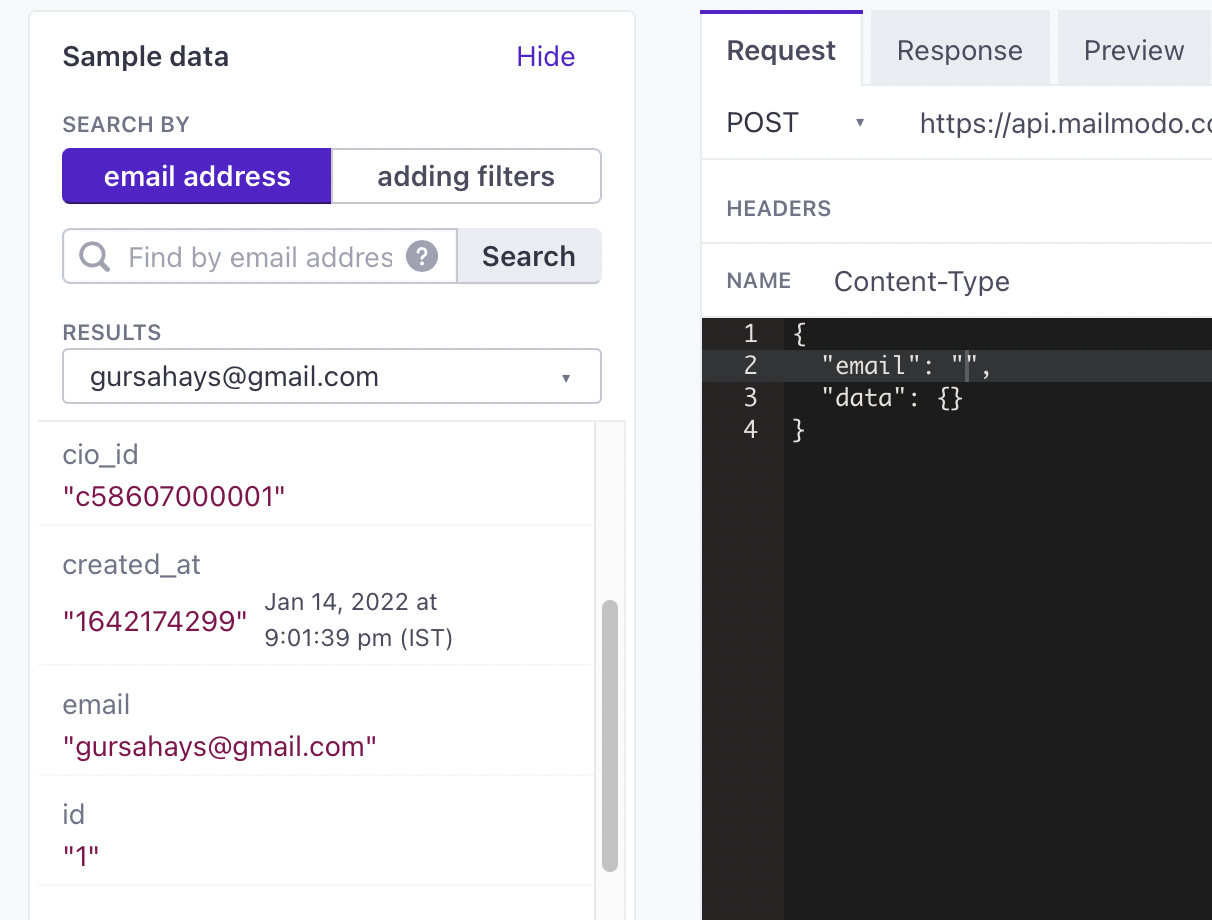
Place the cursor in between the double quotes, map the respective parameters by clicking on Add in the sample data section.
Step 5: Make sure there are no errors. Test your webhook.

Upon successful testing, click on Done. After your workflow is configured, click on Next.
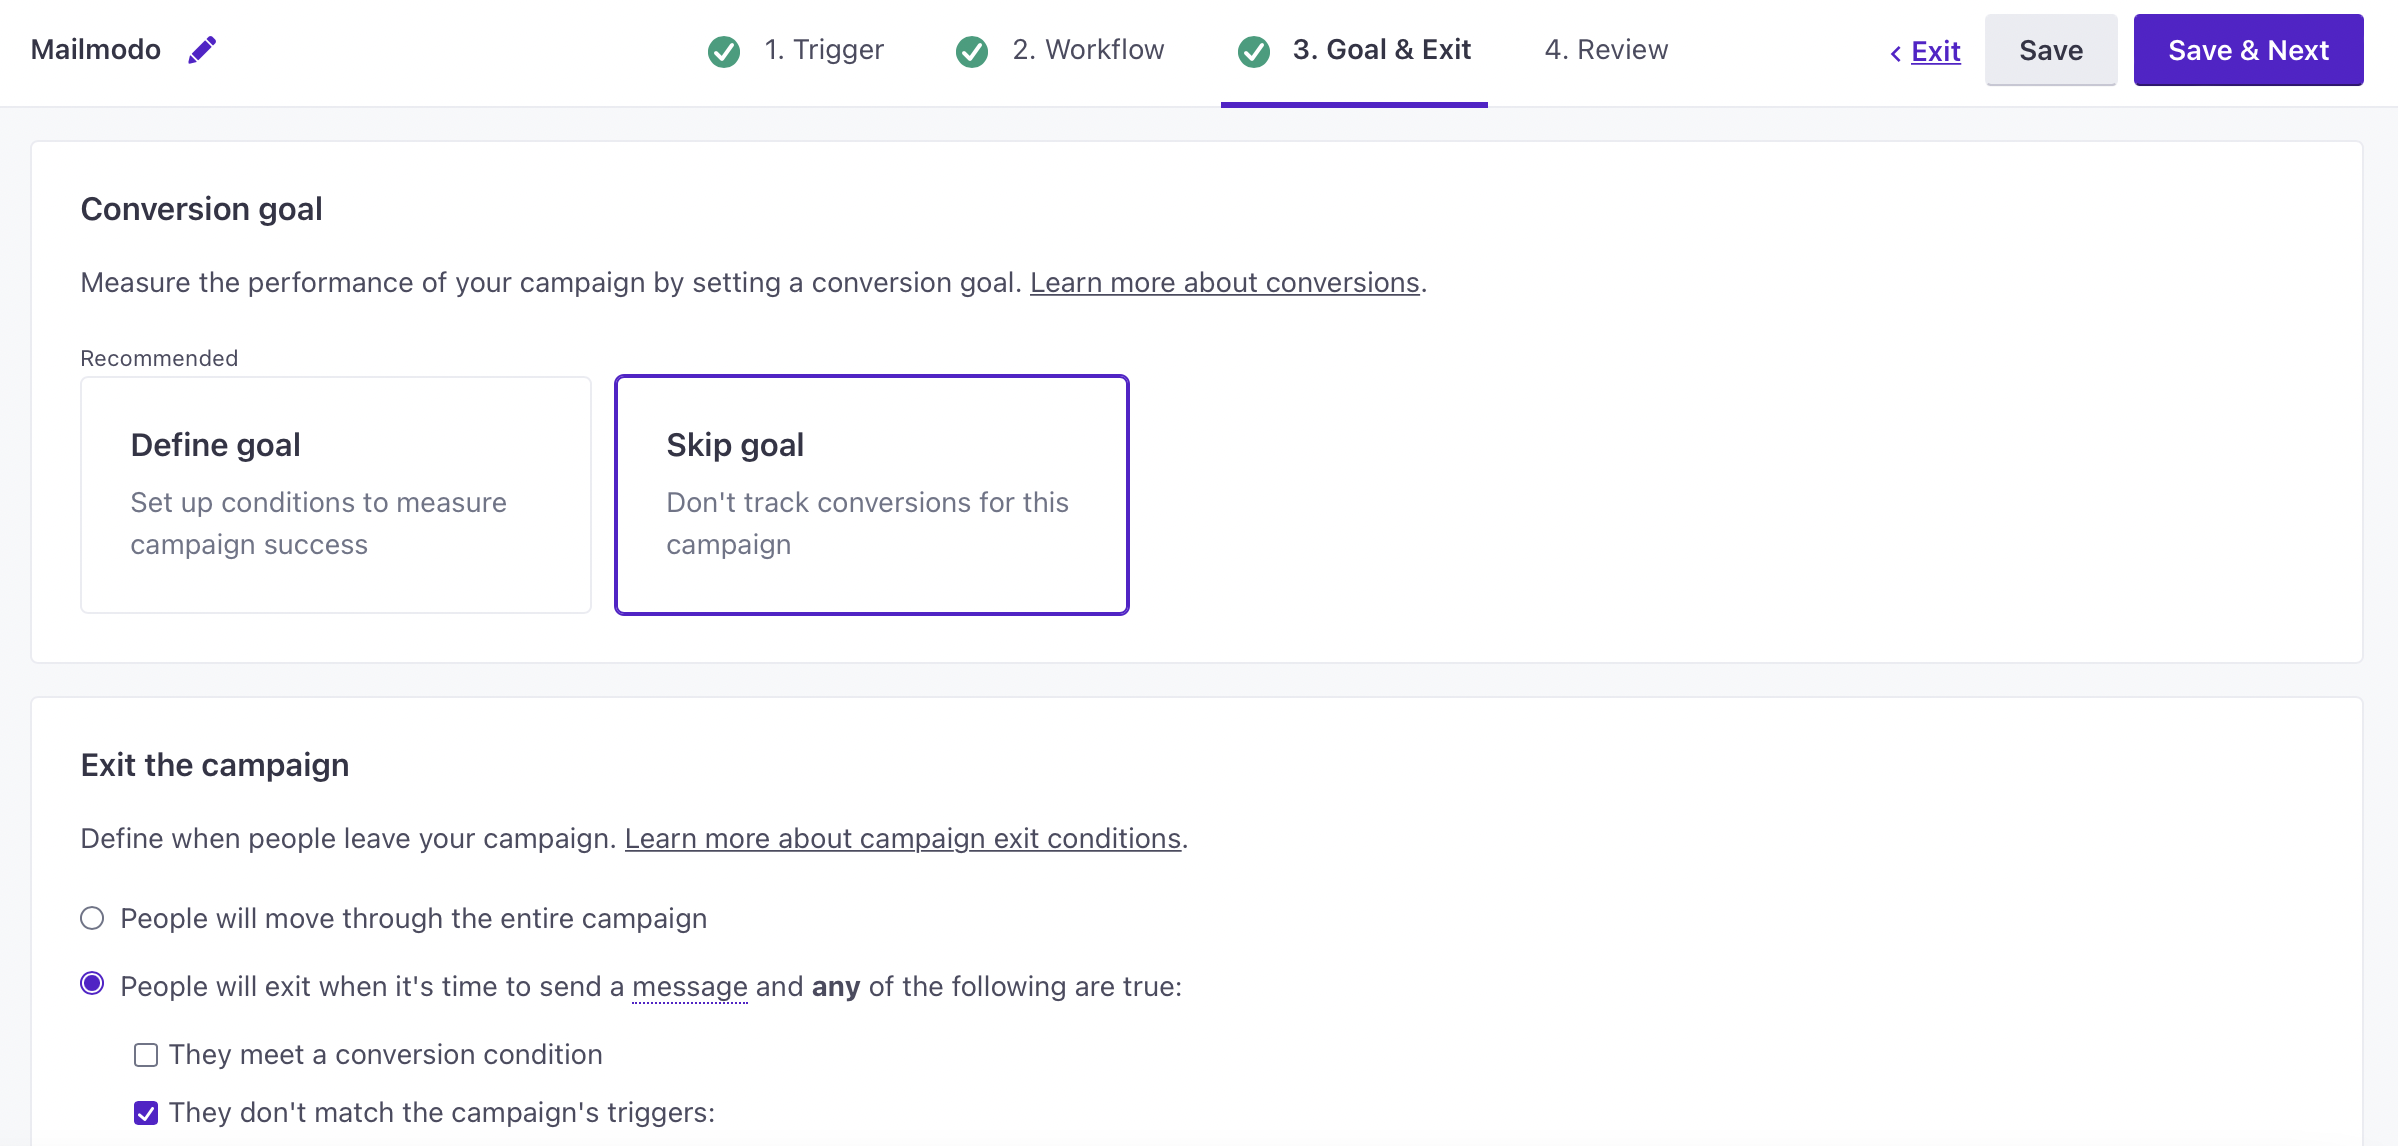
Step 6: Set conversion goals and exit campaign conditions.
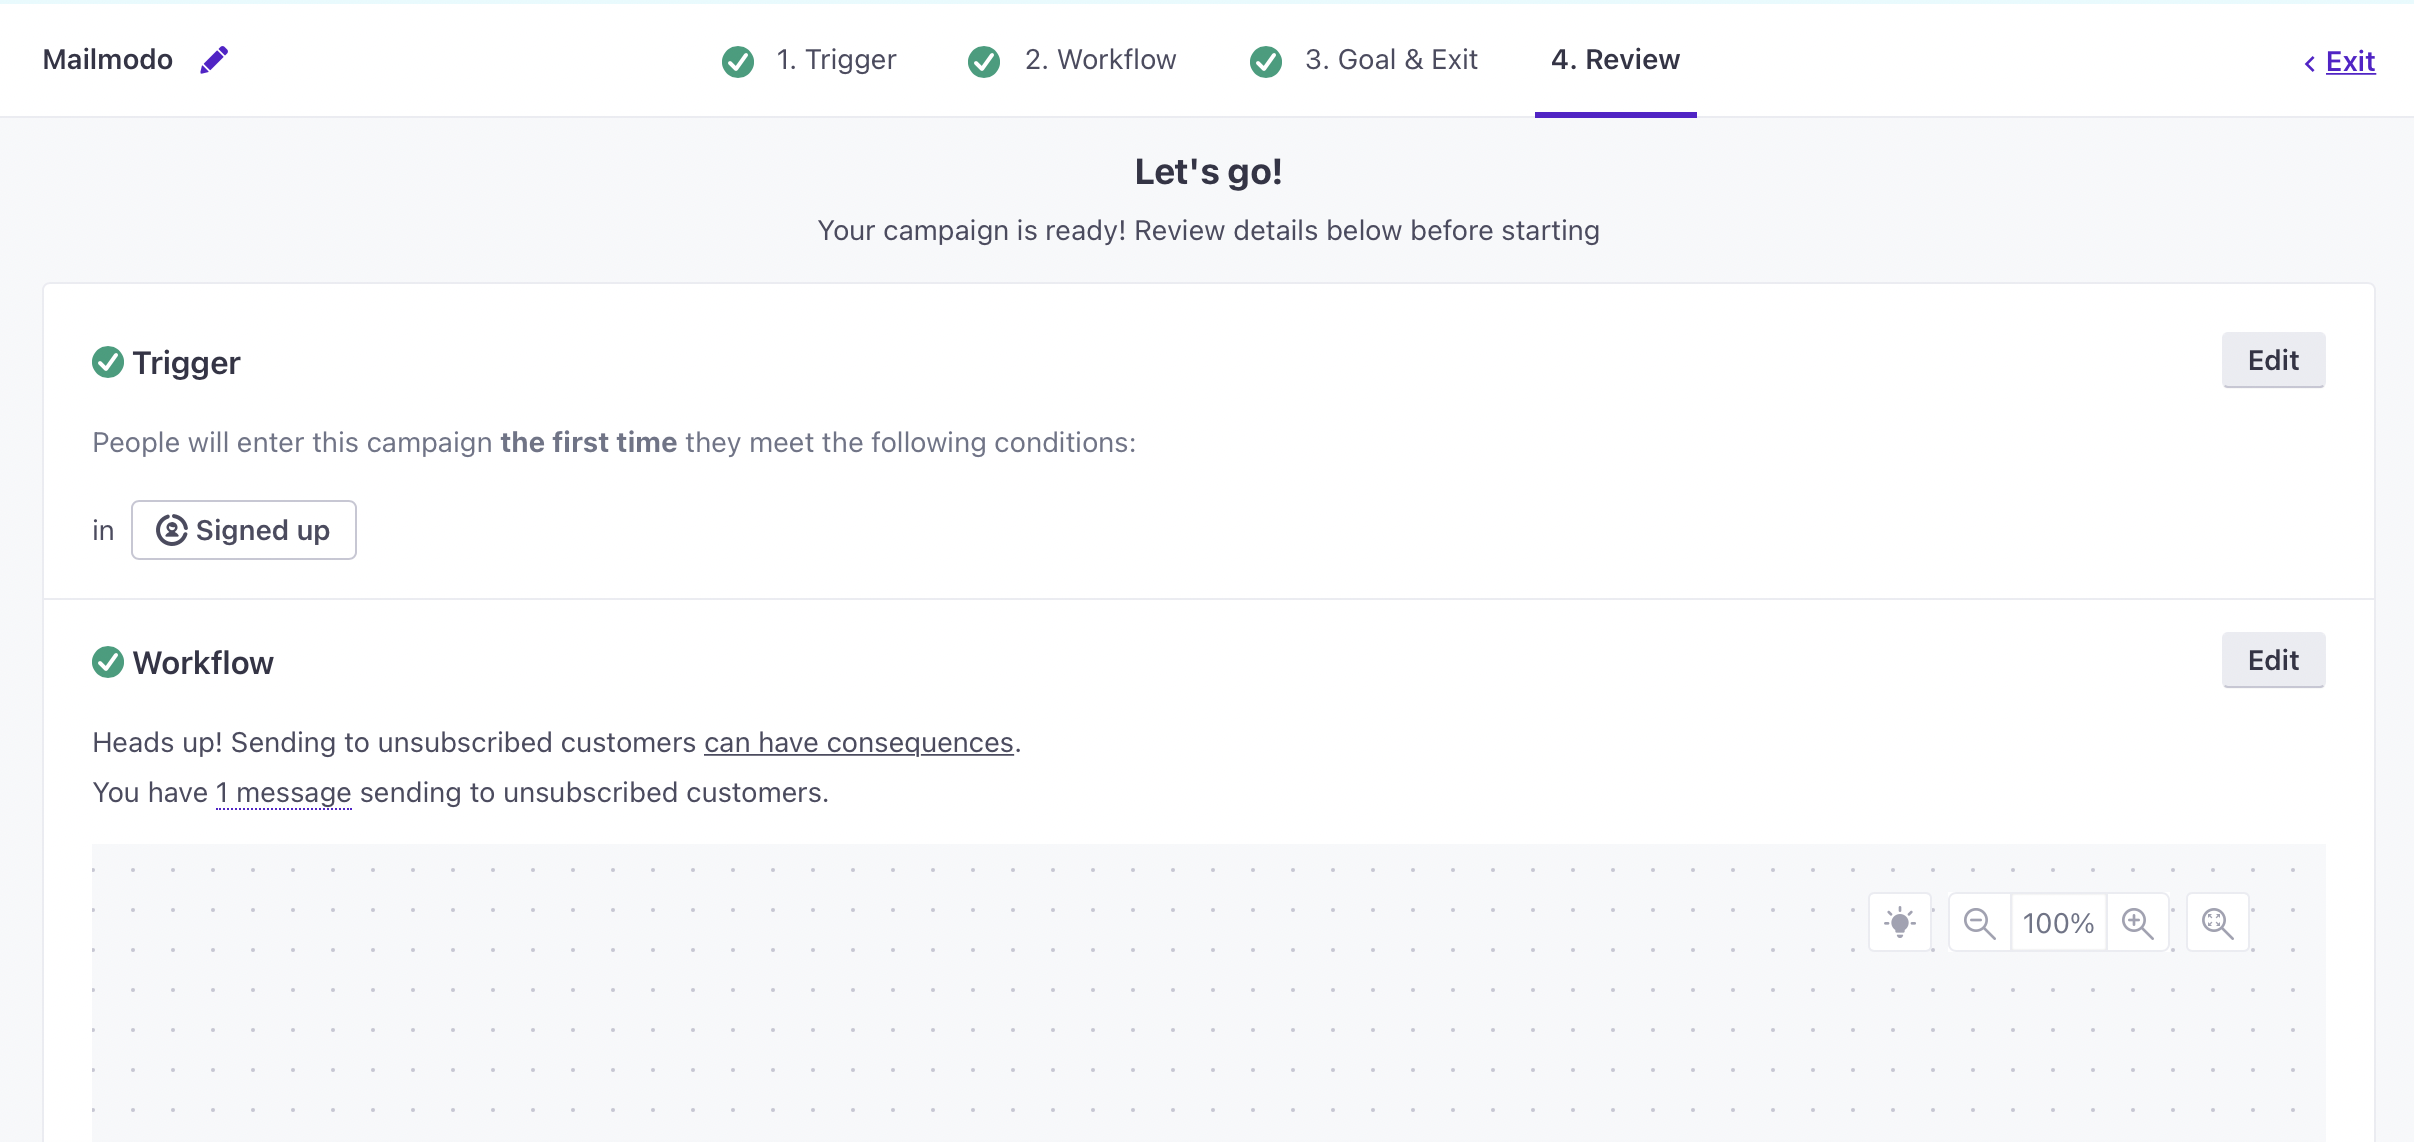
Step 7: Review your campaign before setting it live.
You have successfully created a trigger campaign!