How to trigger emails in Mailmodo through HubSpot
Last updated April 18, 2024
This article gives you an insight into how you can trigger emails in Mailmodo via HubSpot.
Prerequisites:
1. To do the aforementioned functions, you need to first integrate HubSpot with Mailmodo. Follow steps mentioned in this guide for the same.
2. You need to have HubSpot Operations Hub Professional or Enterprise subscription to use Webhooks with HubSpot workflows.
If you don't have the above-mentioned HubSpot plans, you can connect HubSpot and Mailmodo via Zapier. Click here to learn more.
Step-by-step process to send emails from Mailmodo triggered by events recorded in HubSpot
How to create a transactional campaign in Mailmodo?
Let's demonstrate this by setting up a Welcome Email campaign in Mailmodo that will be triggered whenever a new lead is registered in your HubSpot database.
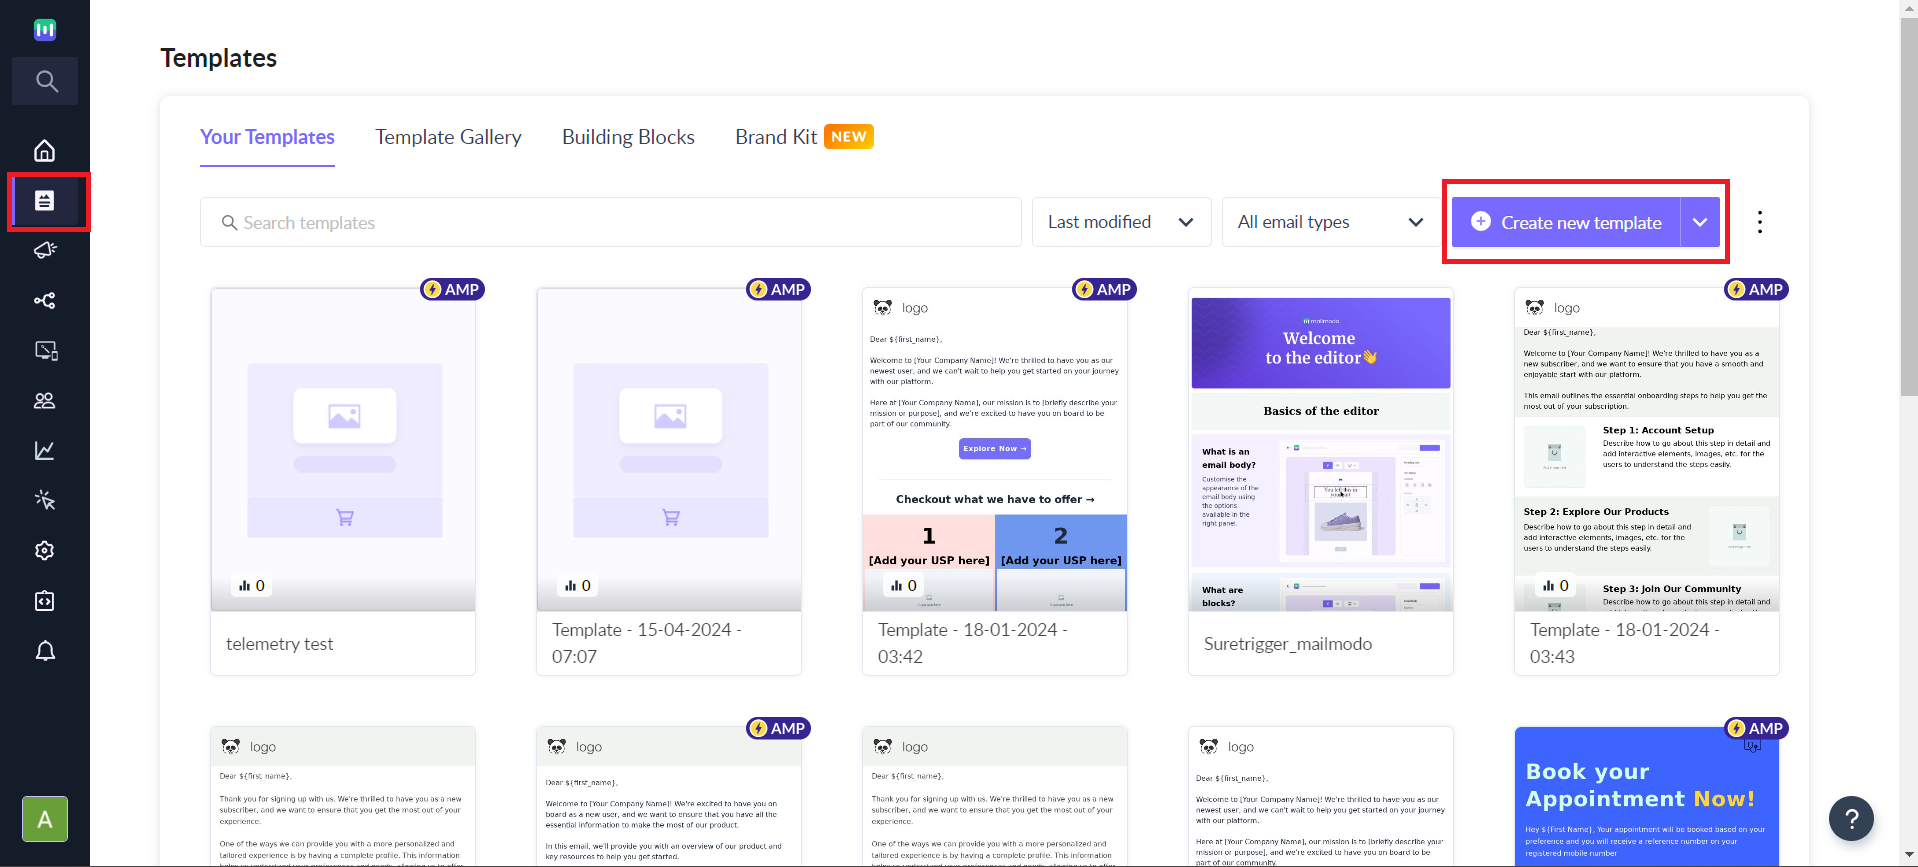
Step 1: Go to templates from the vertical menu on the left side. Click on create new template.
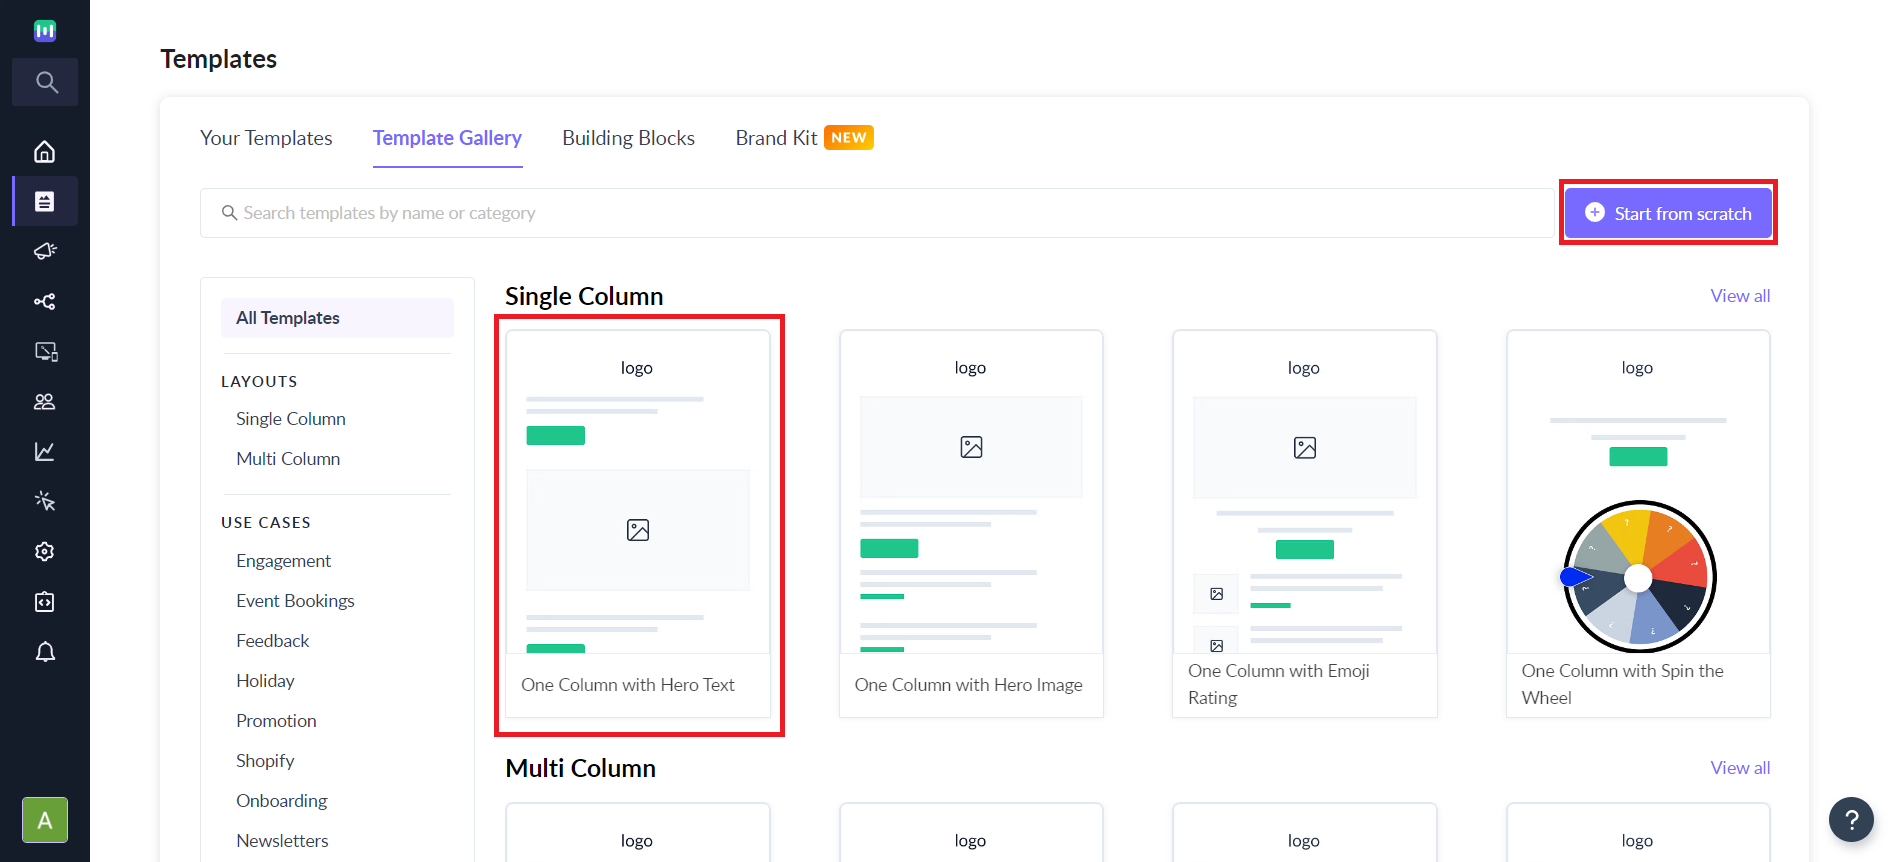
Step 2: You can either select Start from scratch or a pre-existing template based on layout or use case .
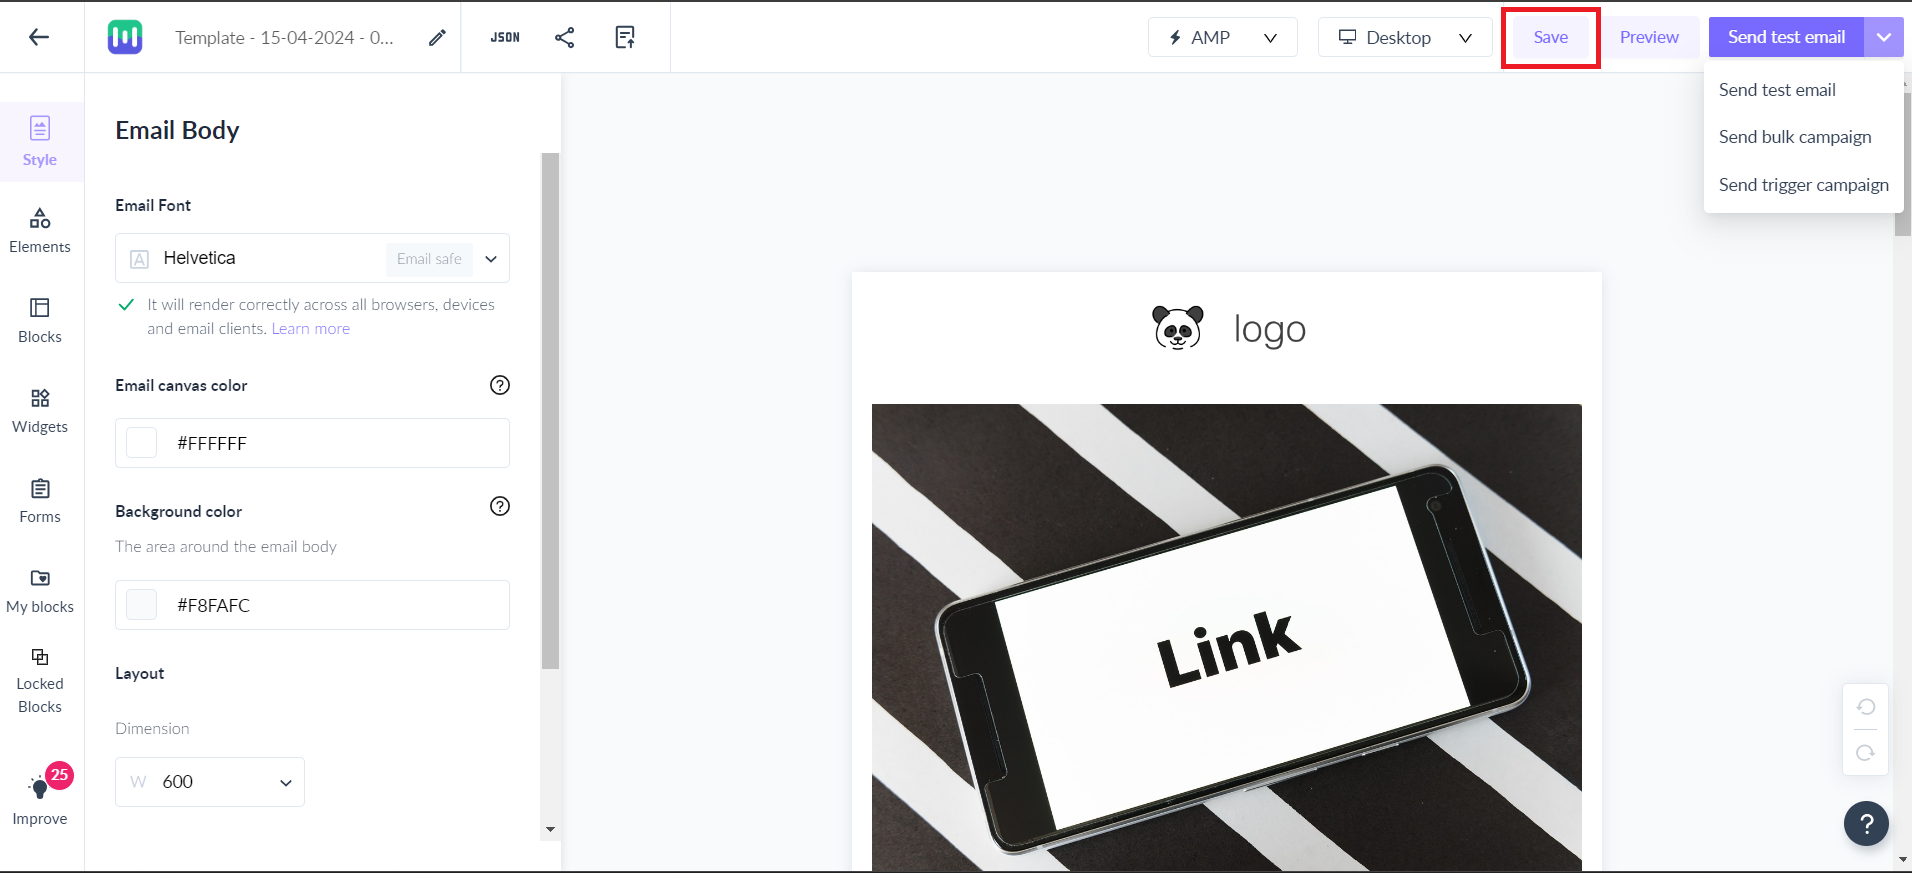
Step 3: Use the editor to edit the template. Save the template upon completion.
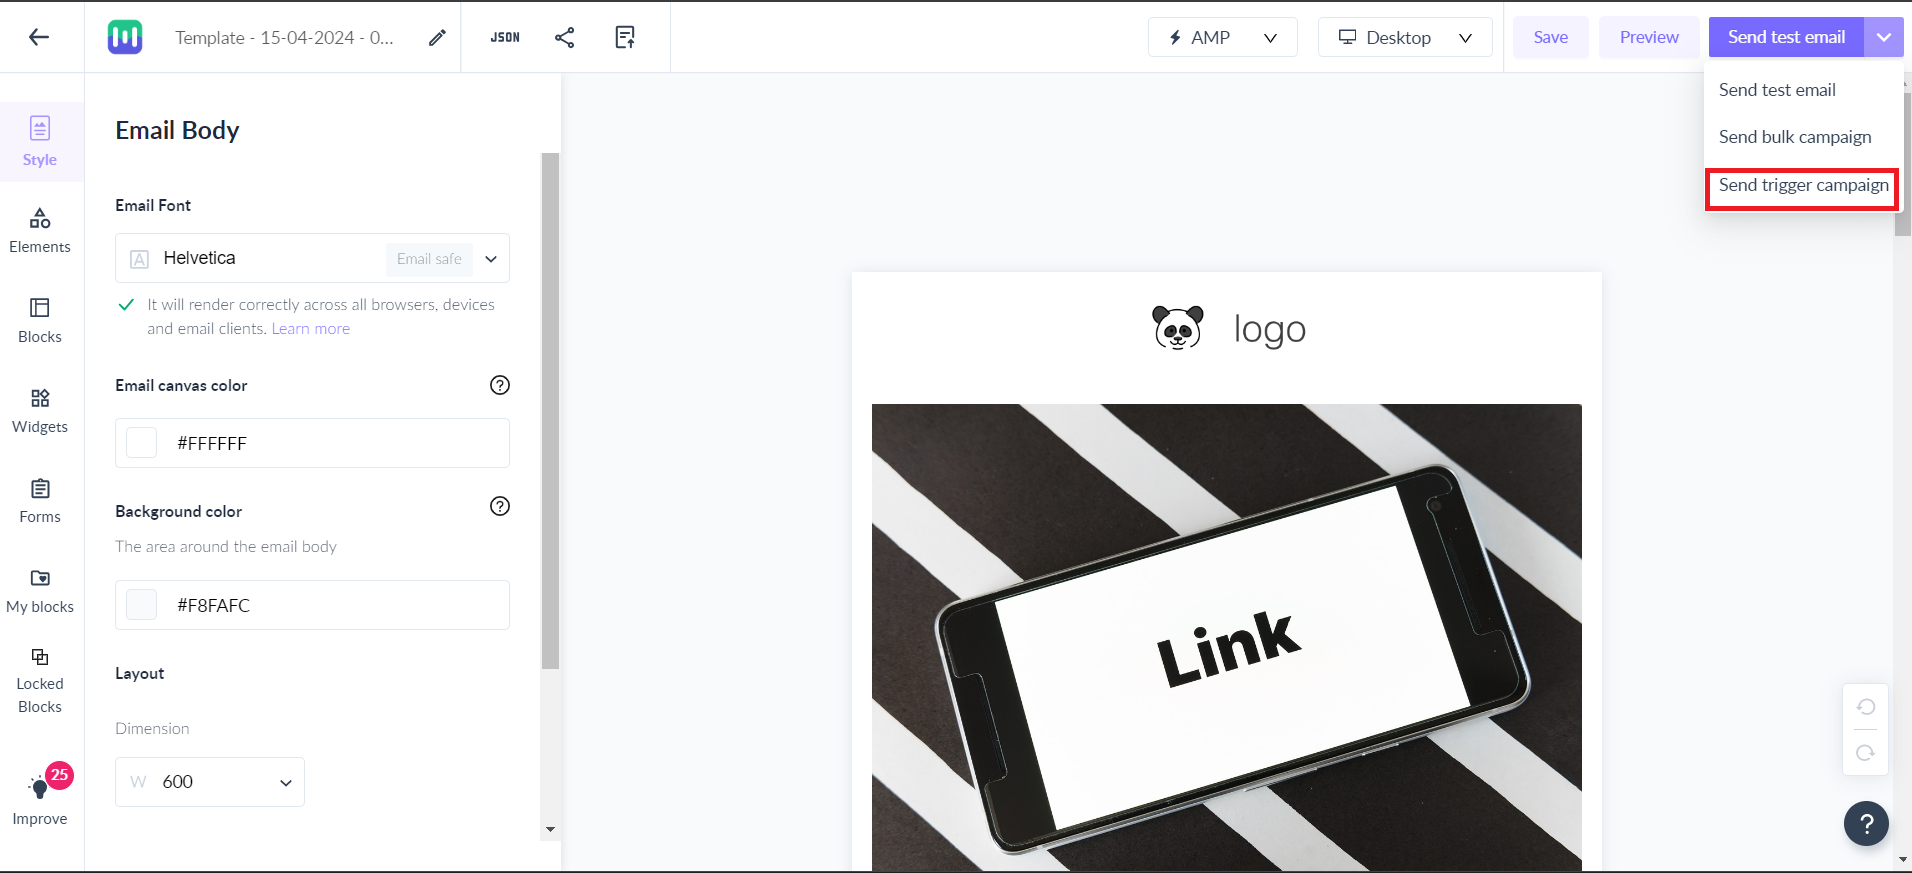
Step 4: Click on Send trigger campaign.
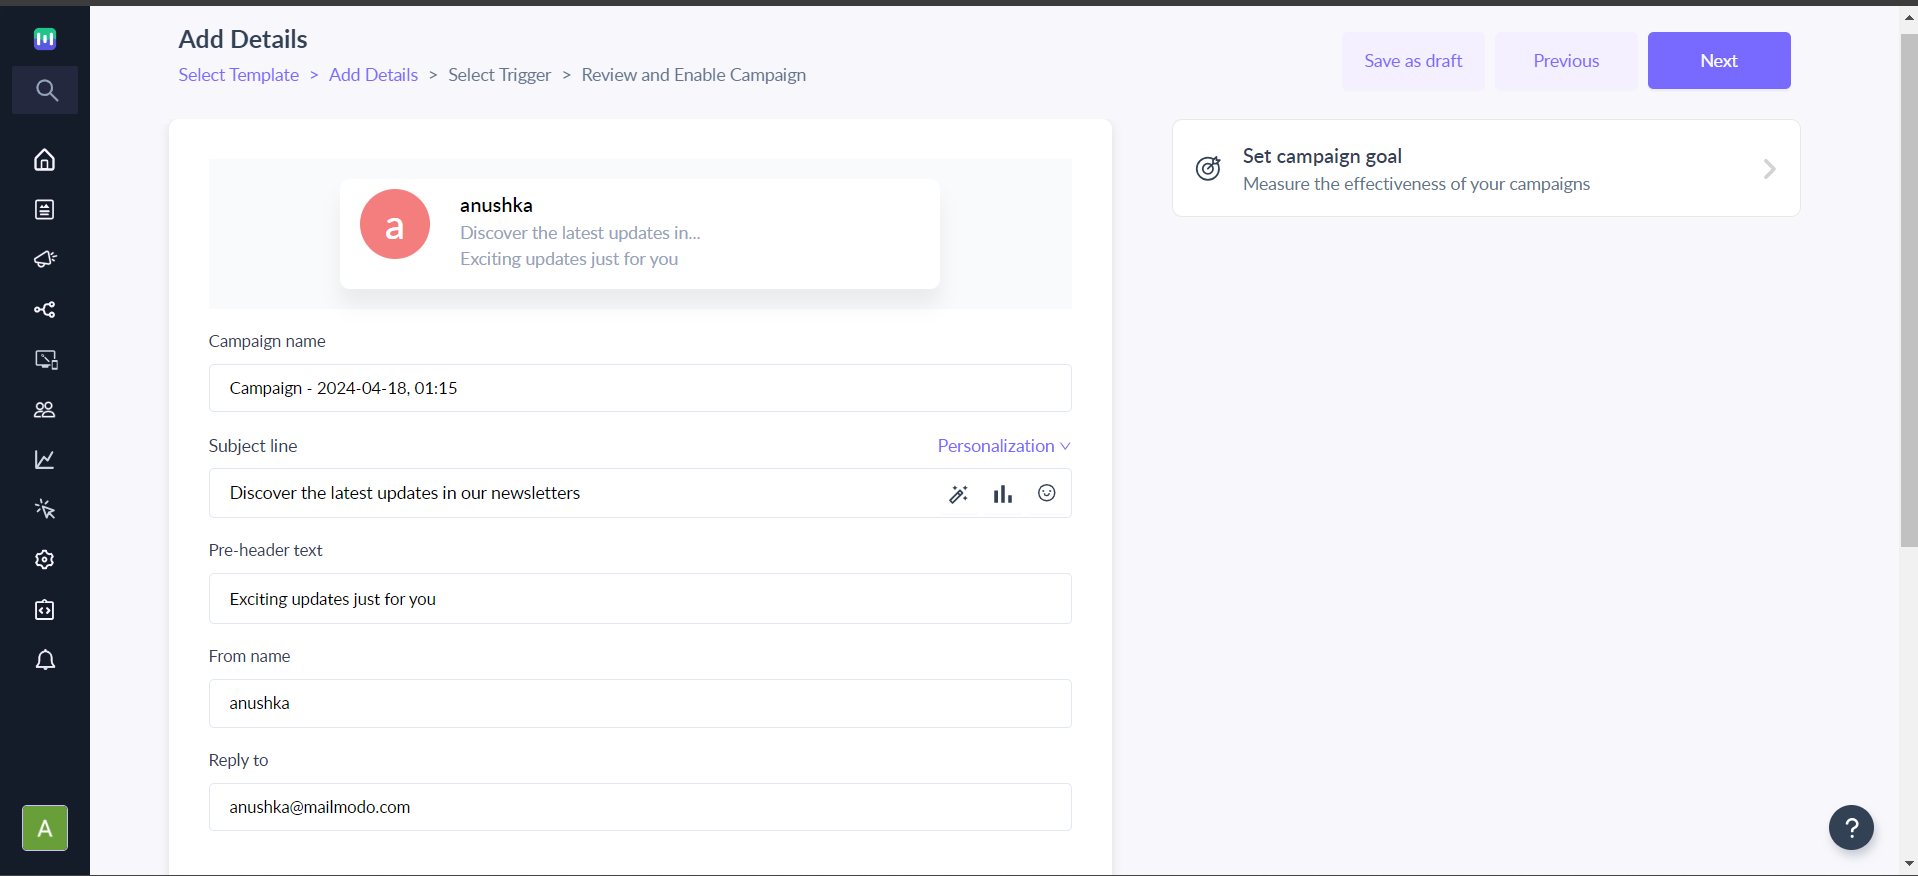
Step 5: You will be redirected to the 'Add details' for trigger campaign.
Another way would be to exit the template after saving it. Clicking on Trigger under 'Campaigns' from the vertical menu on the left. Next, click on Create Trigger Campaign. Select the template you created and click on Next.
Step 6: Add Subject Line, Pre-header text, From name and Reply to email. Select 'Sender Email'. Click on Next.
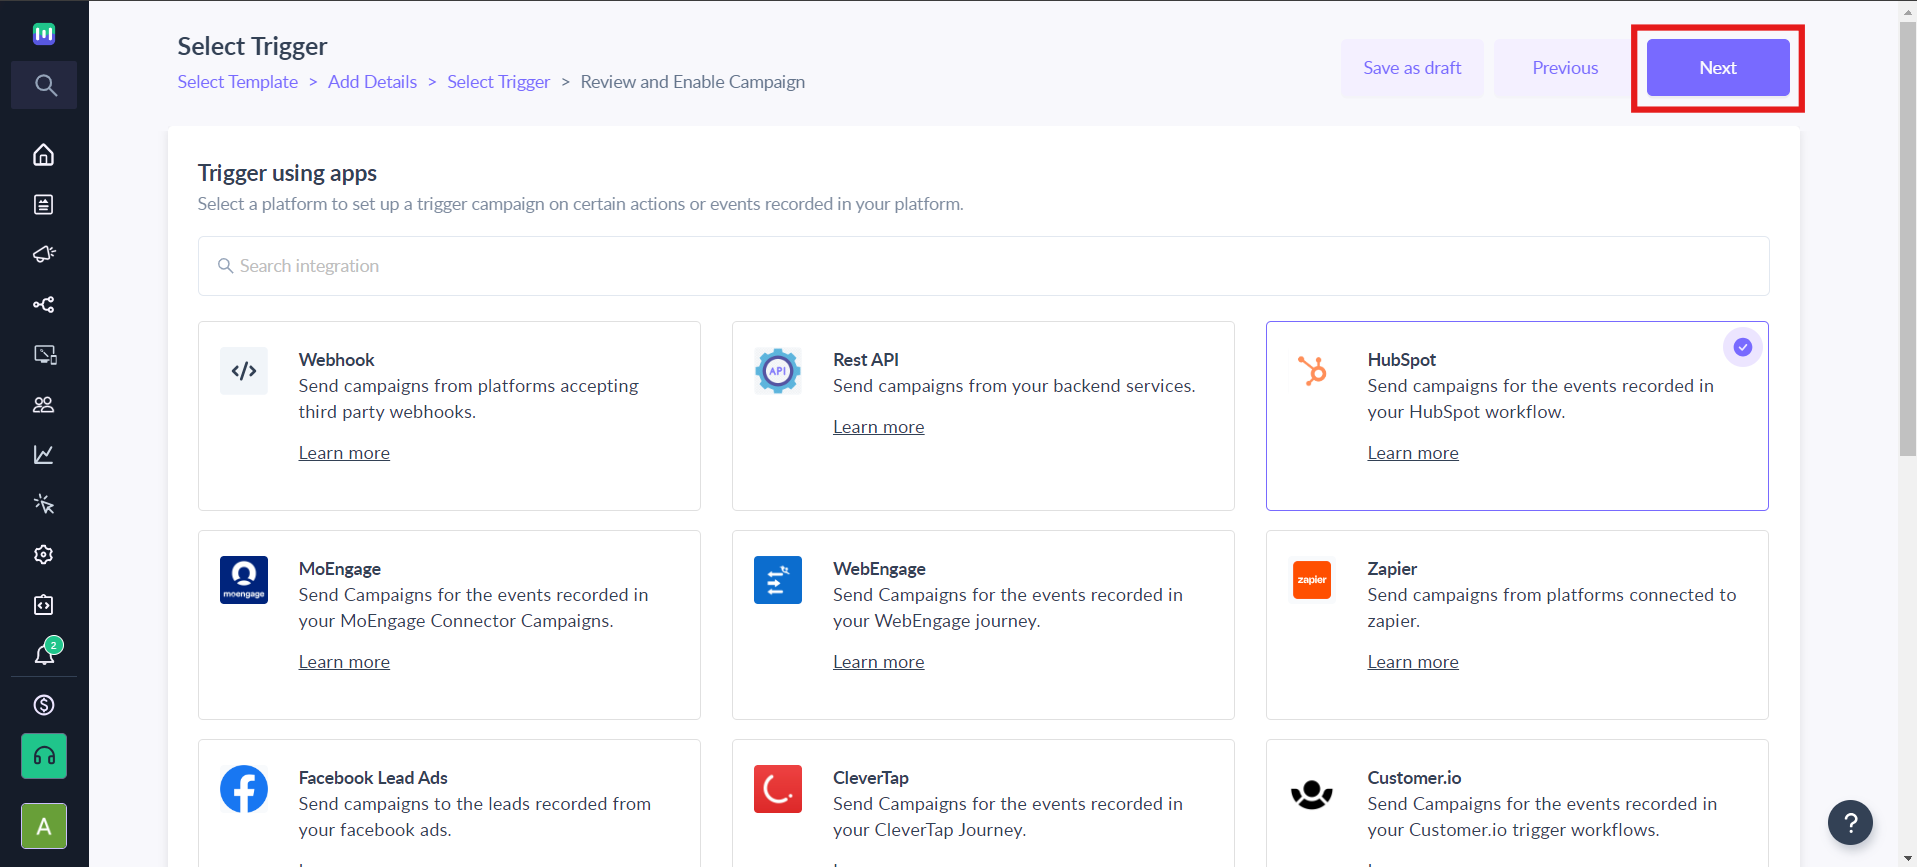
Step 7: You will be redirected to 'Select trigger'. Select HubSpot from the list of platforms. Click on Next.
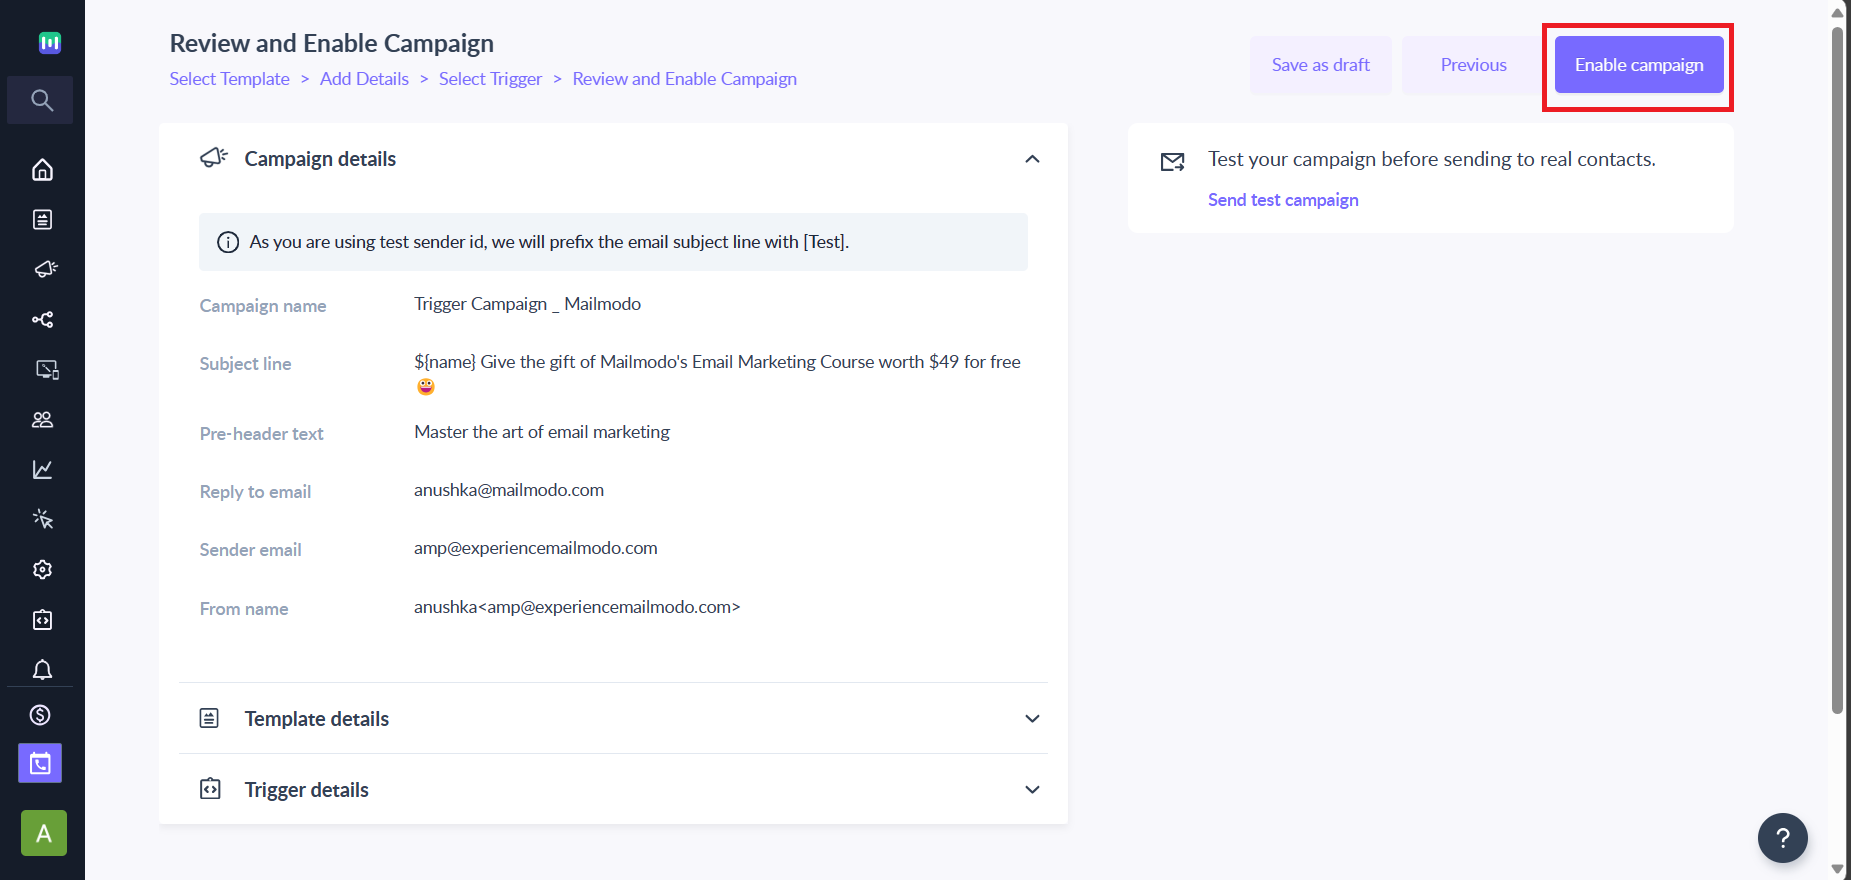
Step 8: Review and test your campaign.
To test, click on send test campaign -> enter email ID -> send test email.
Once tested and reviewed, click on Enable campaign.
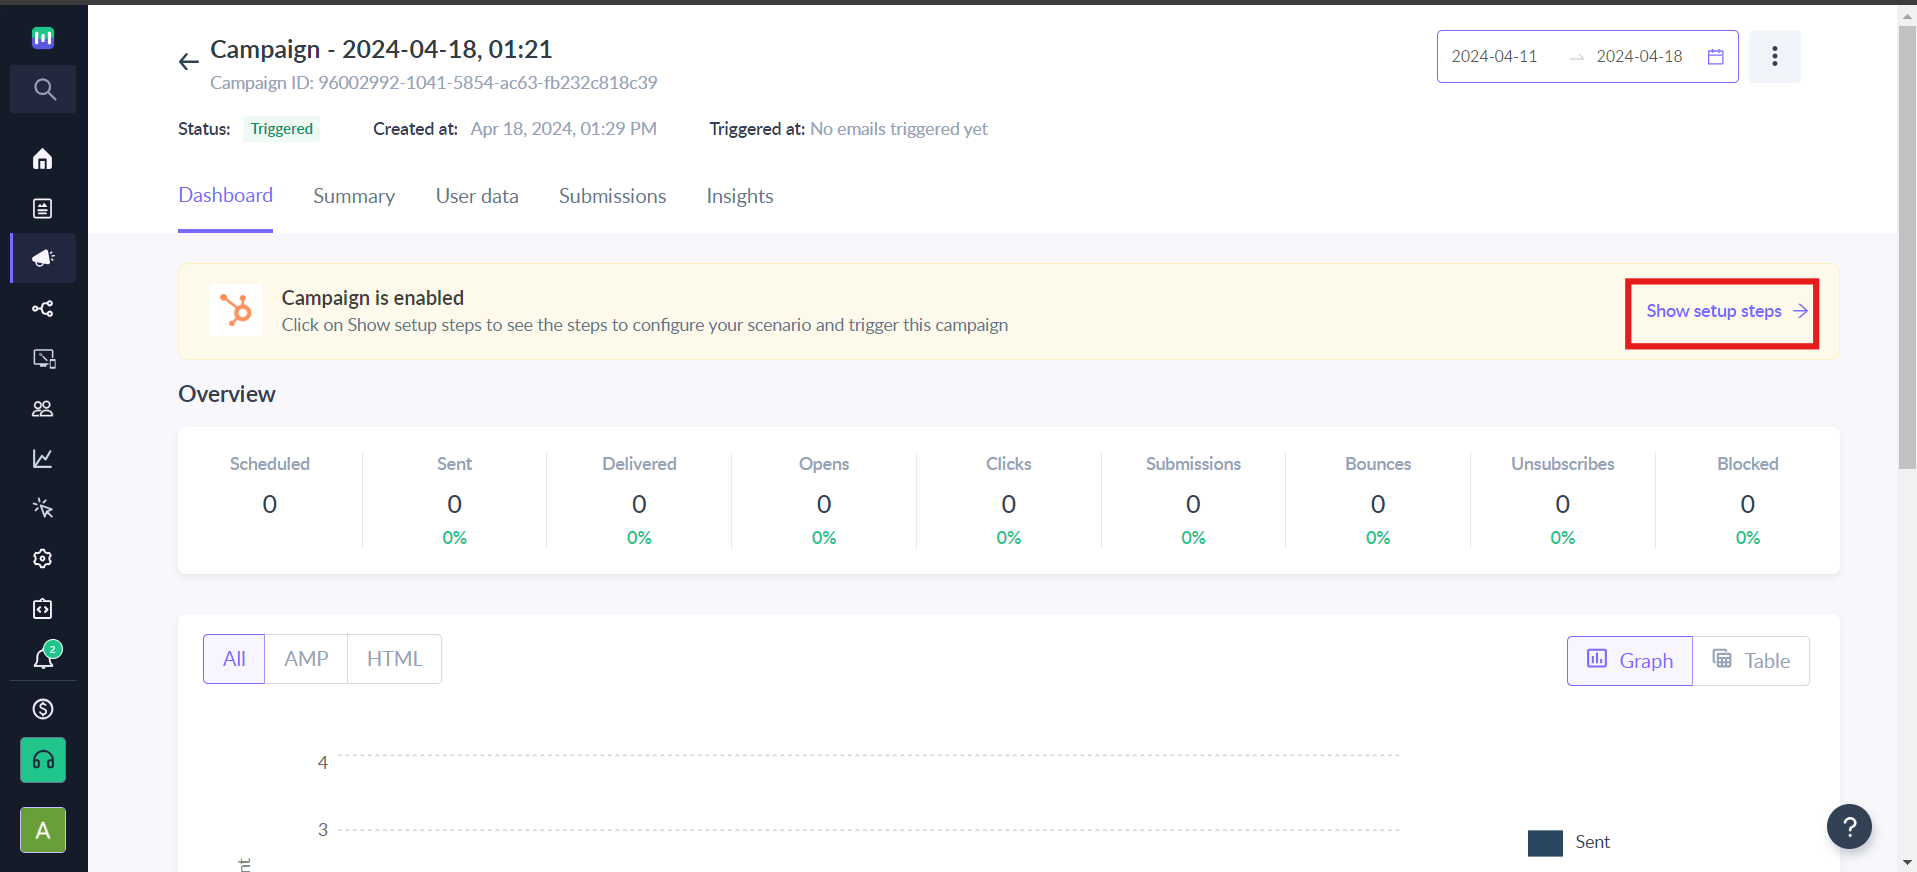
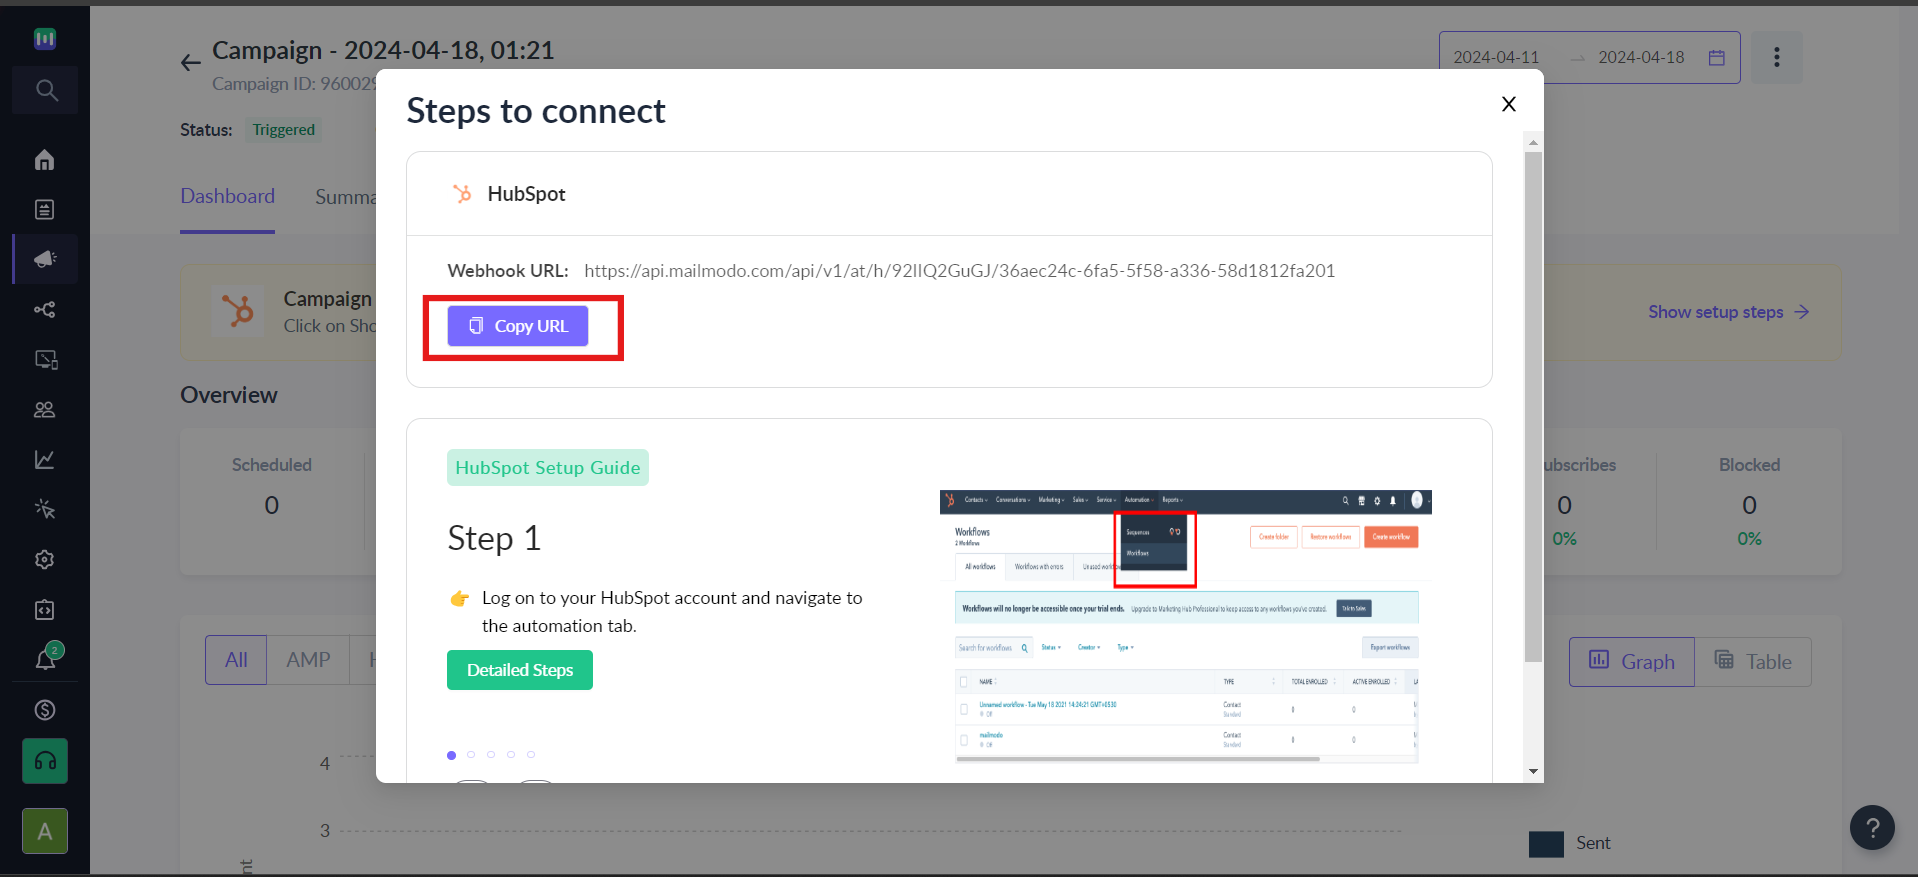
Step 9: Click on Show setup steps to configure your scenario and trigger your campaign.
Step 10: Click on Copy URL to continue with the configuration.
HubSpot setup
Step 1: In your HubSpot account, navigate to Automation -> Workflows.
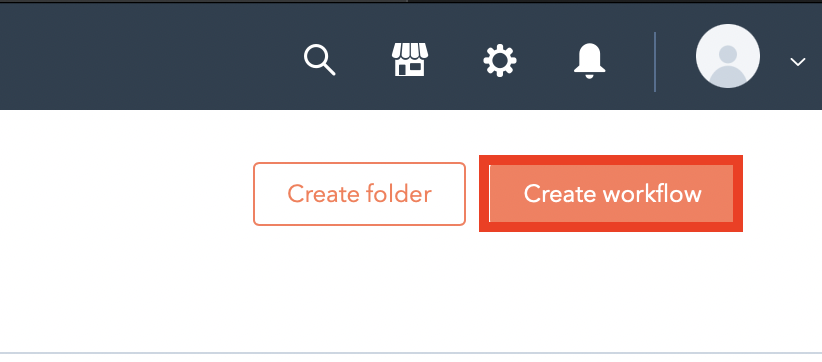
Step 2: Click on Create Workflow.
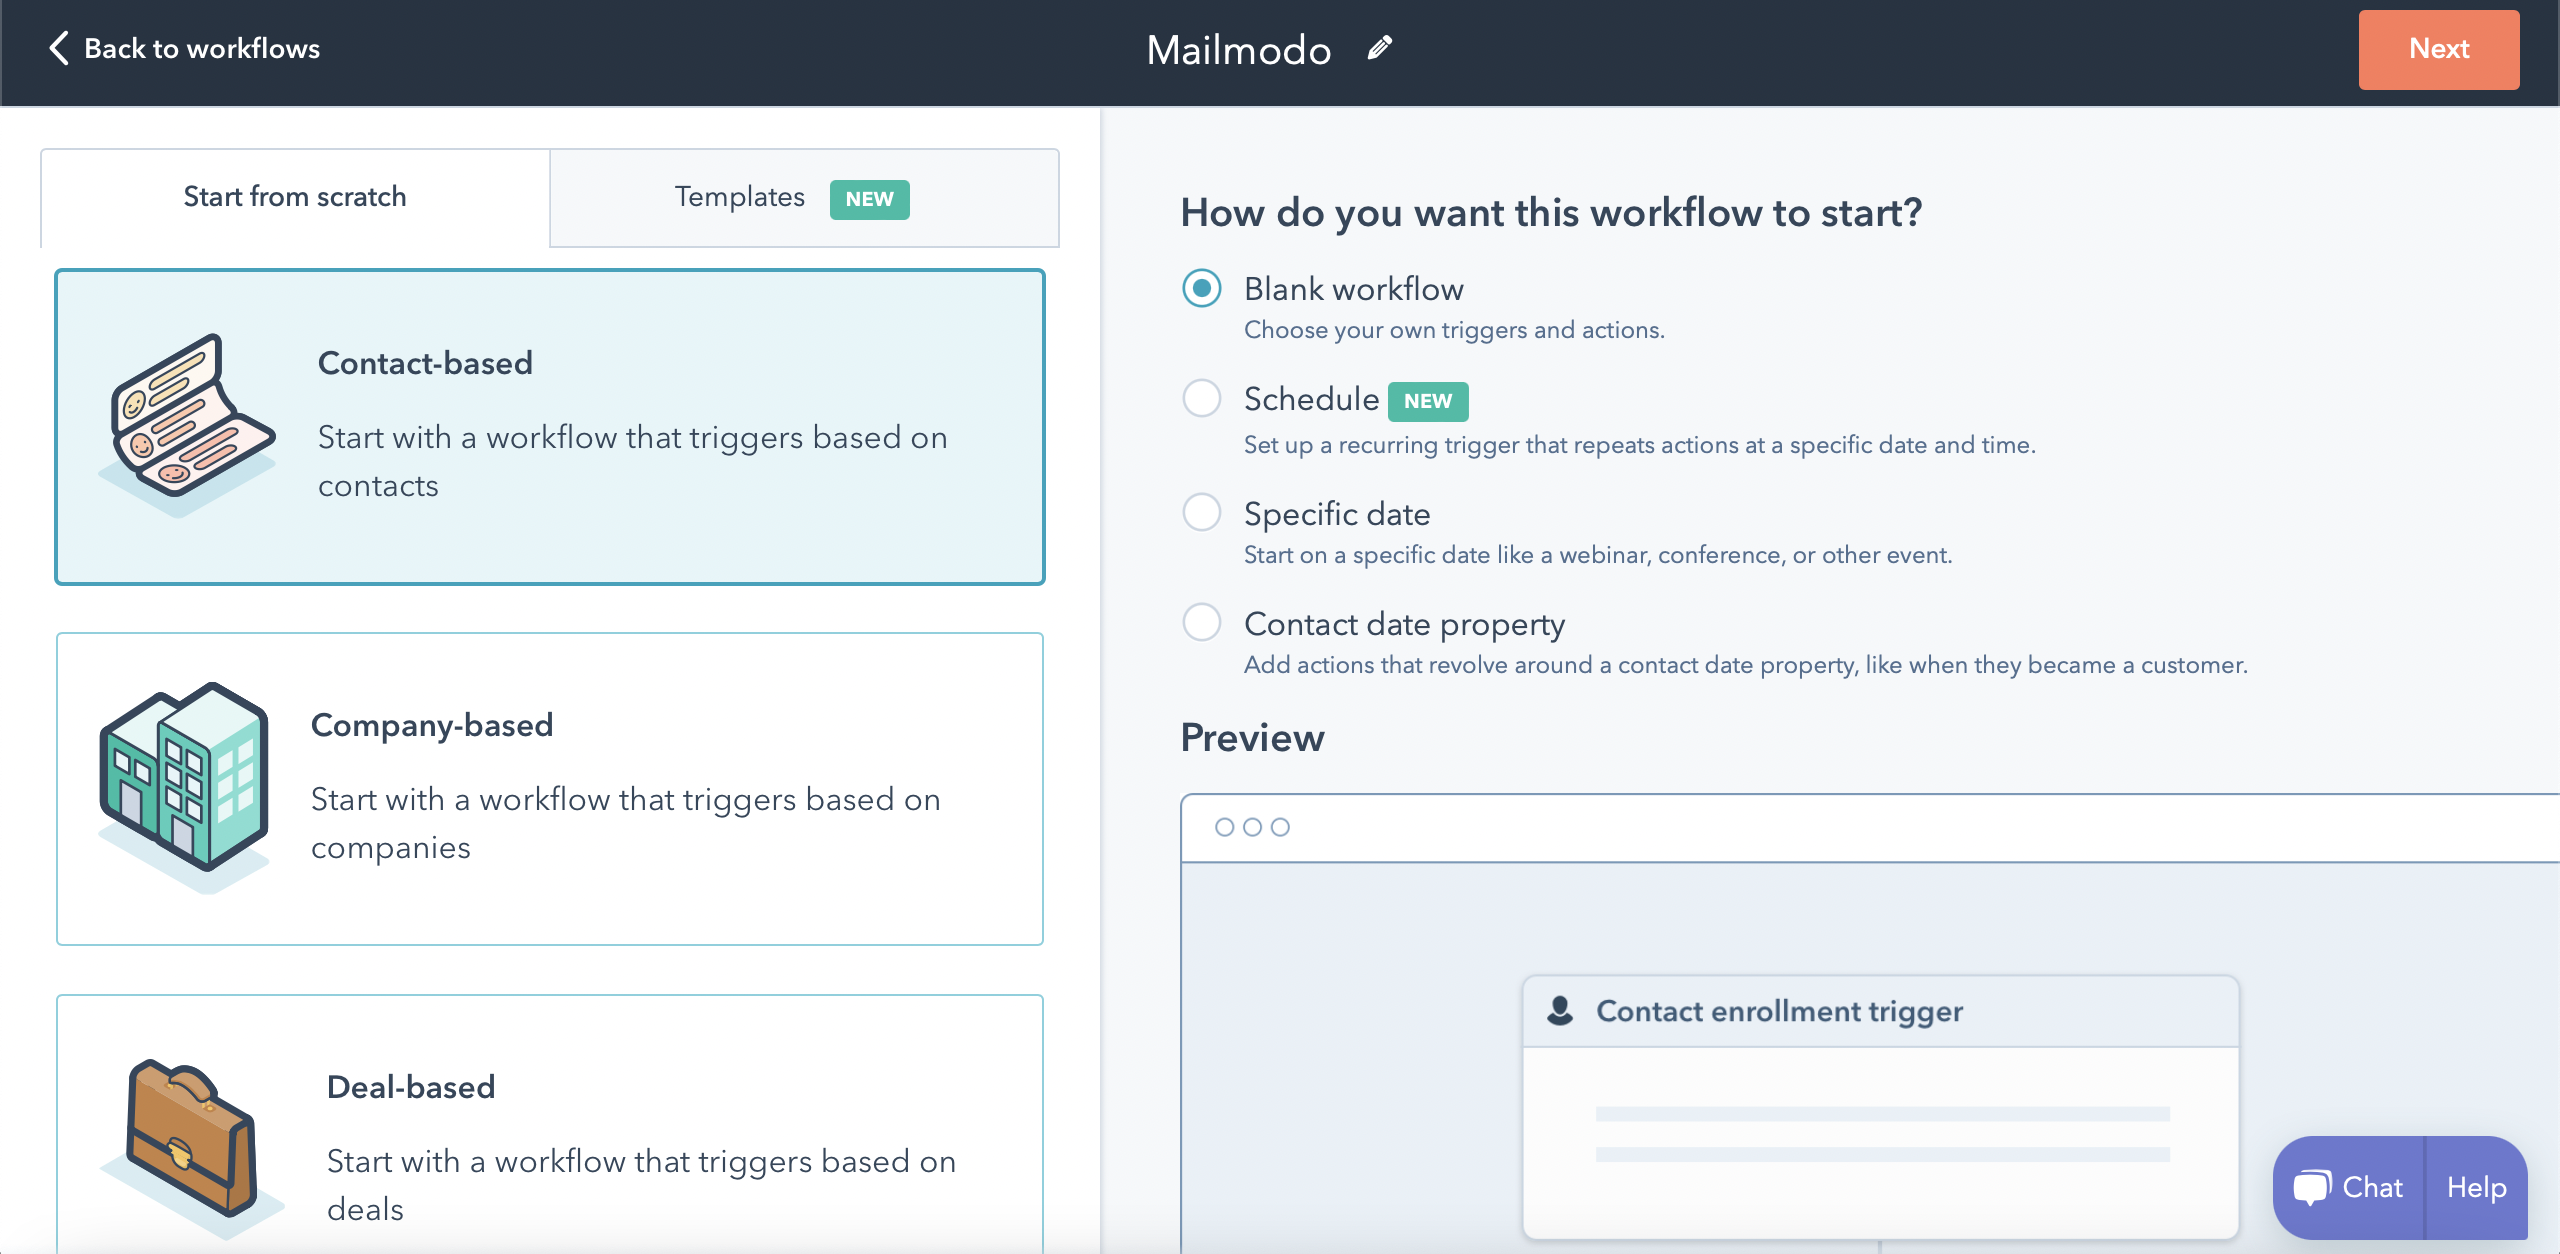
Step 3: Name your workflow. Configure how would you like the workflow to start.
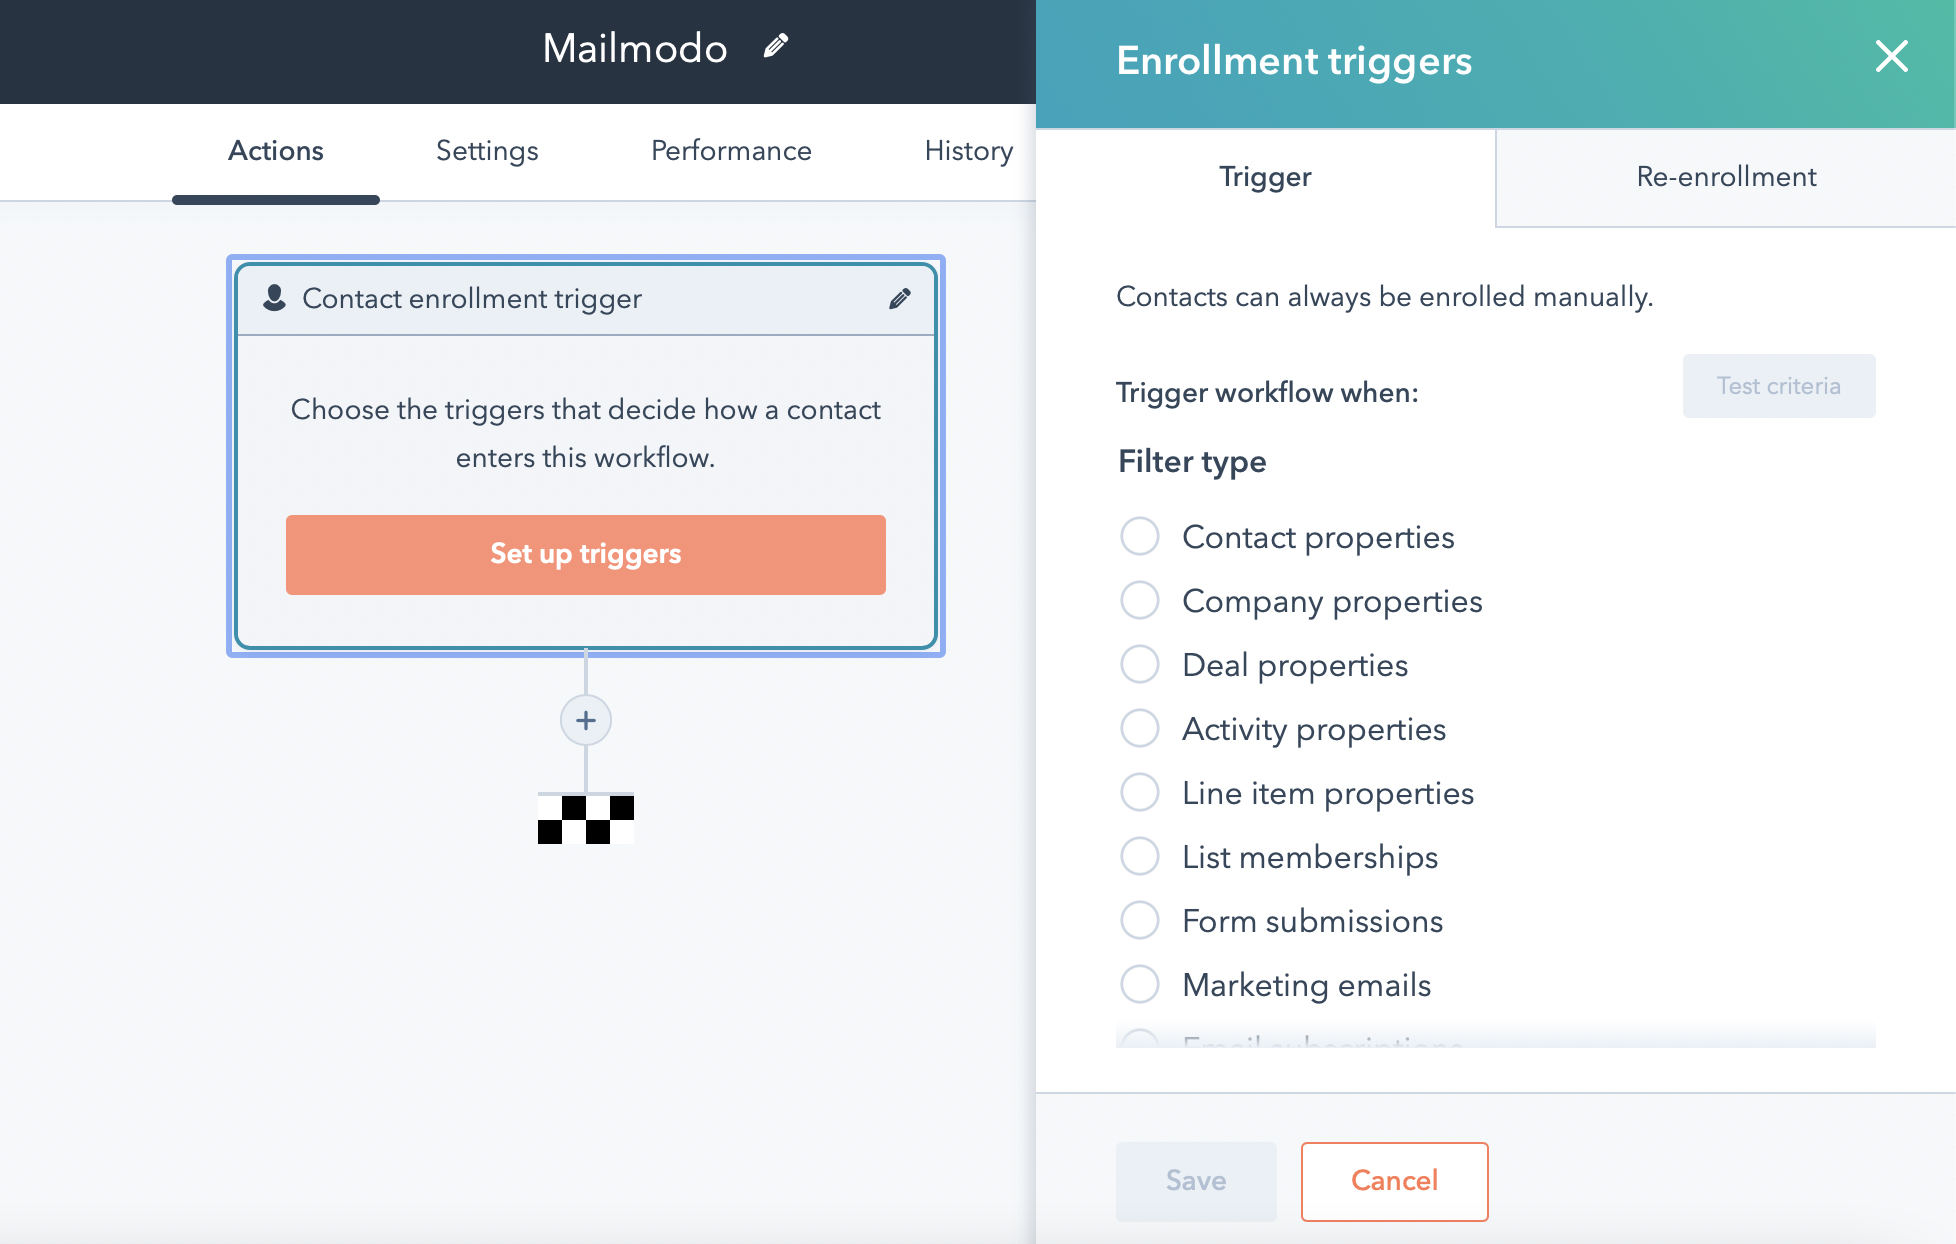
Step 4: Setup trigger events.
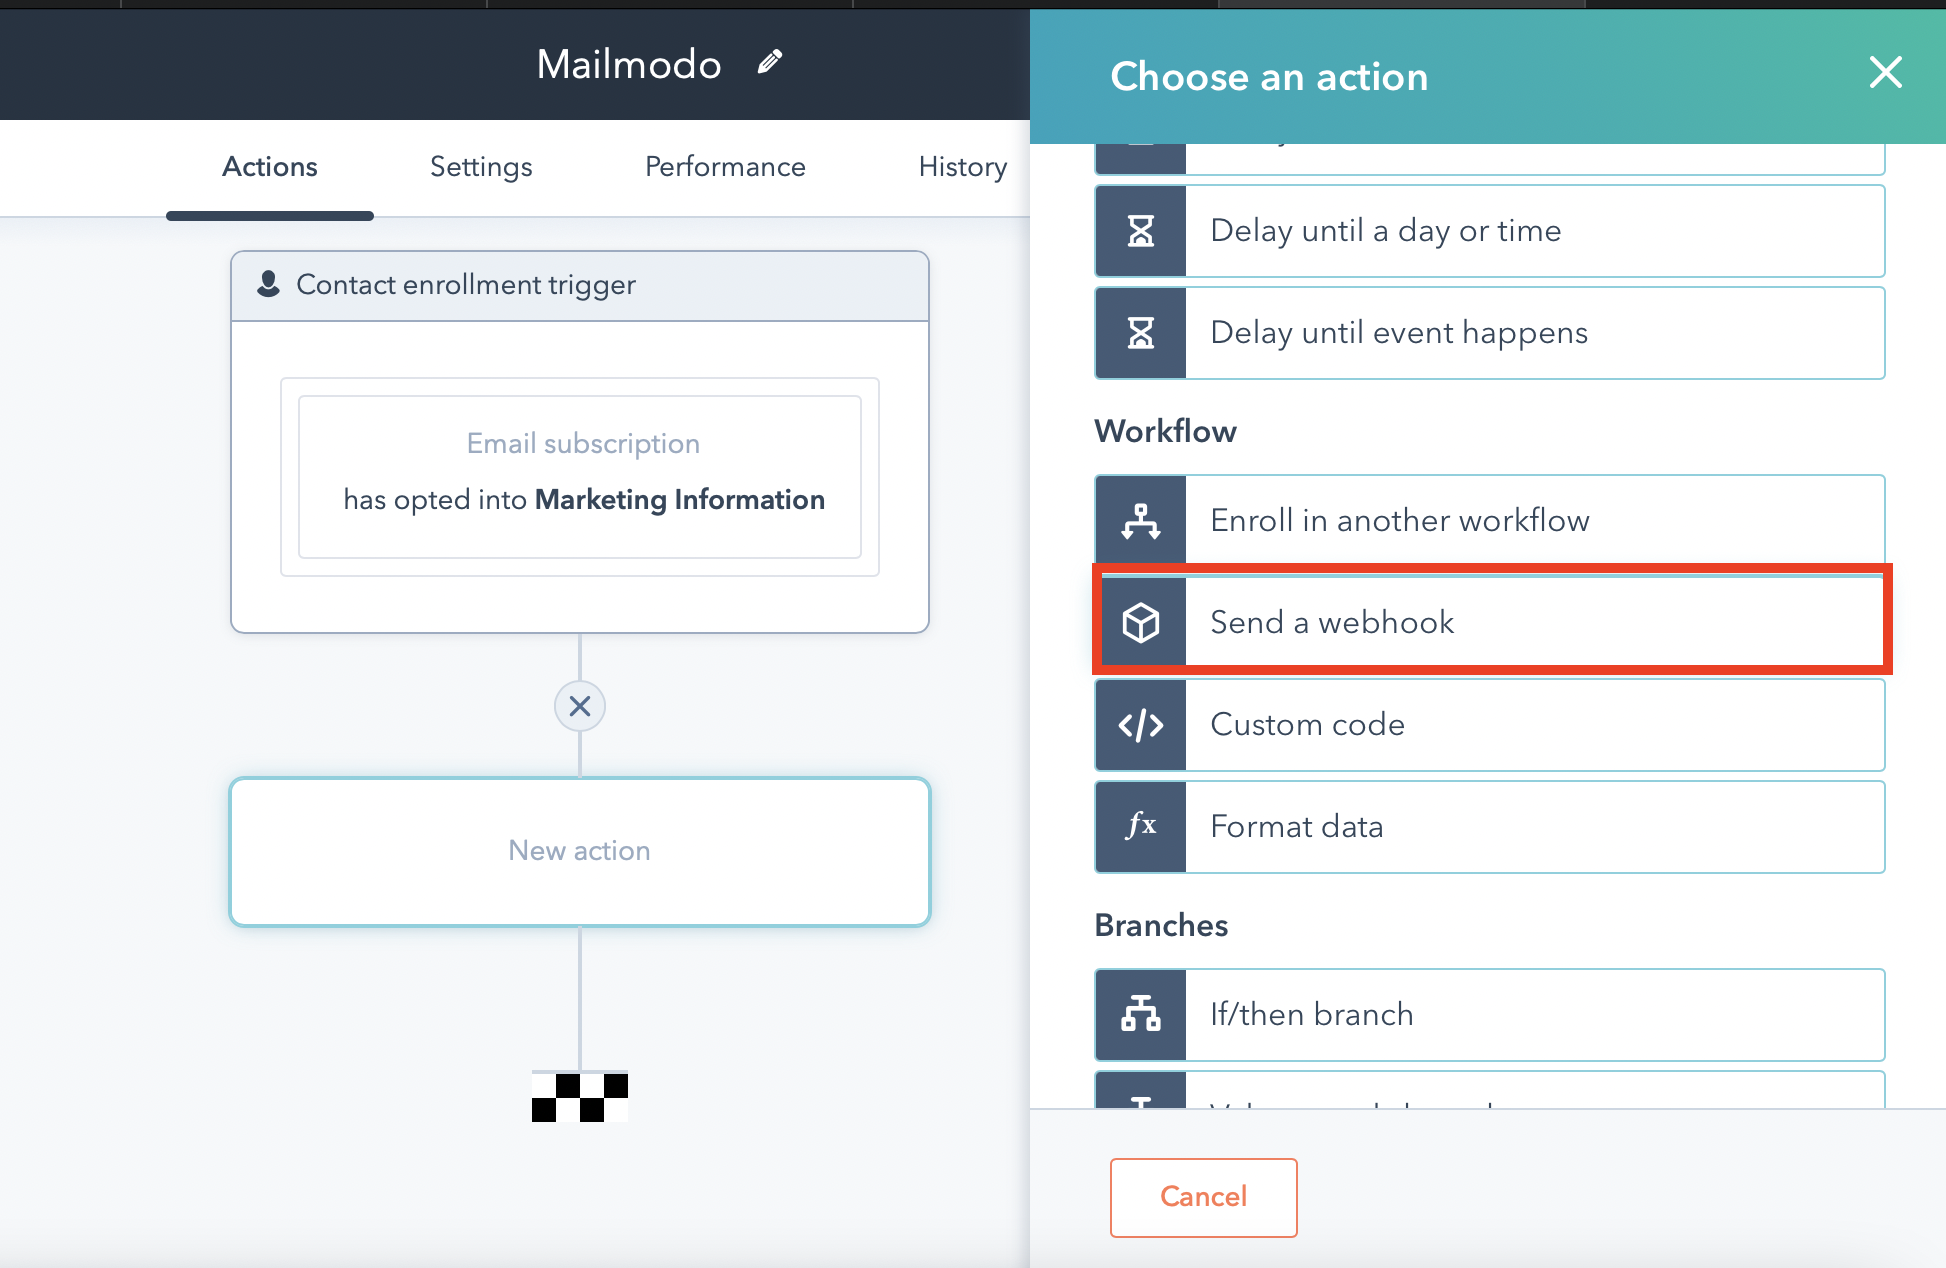
Step 5: Click on the plus + icon to add an action. Under workflow, select Send a webhook.
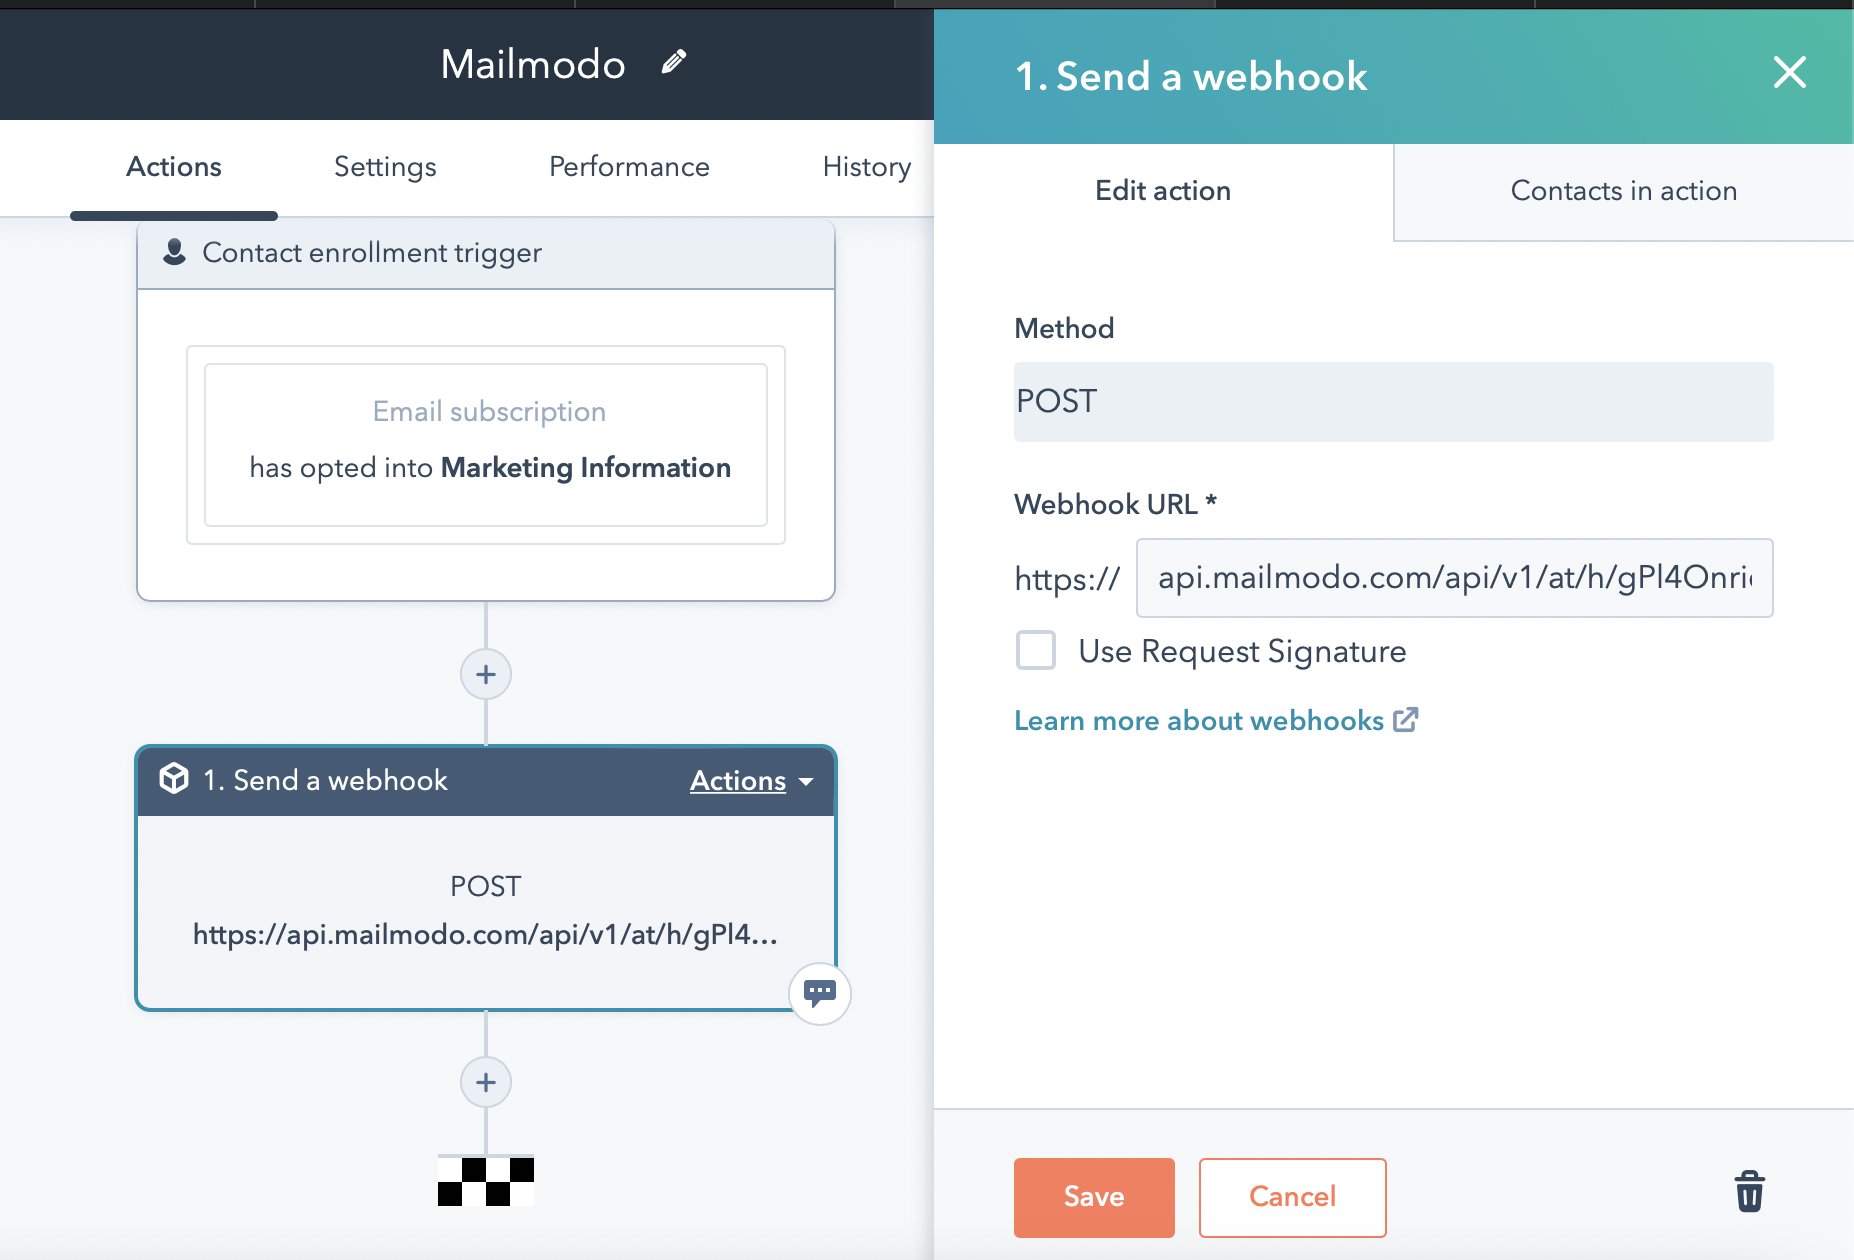
Step 6: A webhook will be added. Default method would be POST. Paste the Webhook URL copied from Mailmodo's Trigger info section.
After configuring the webhook, click on Save.
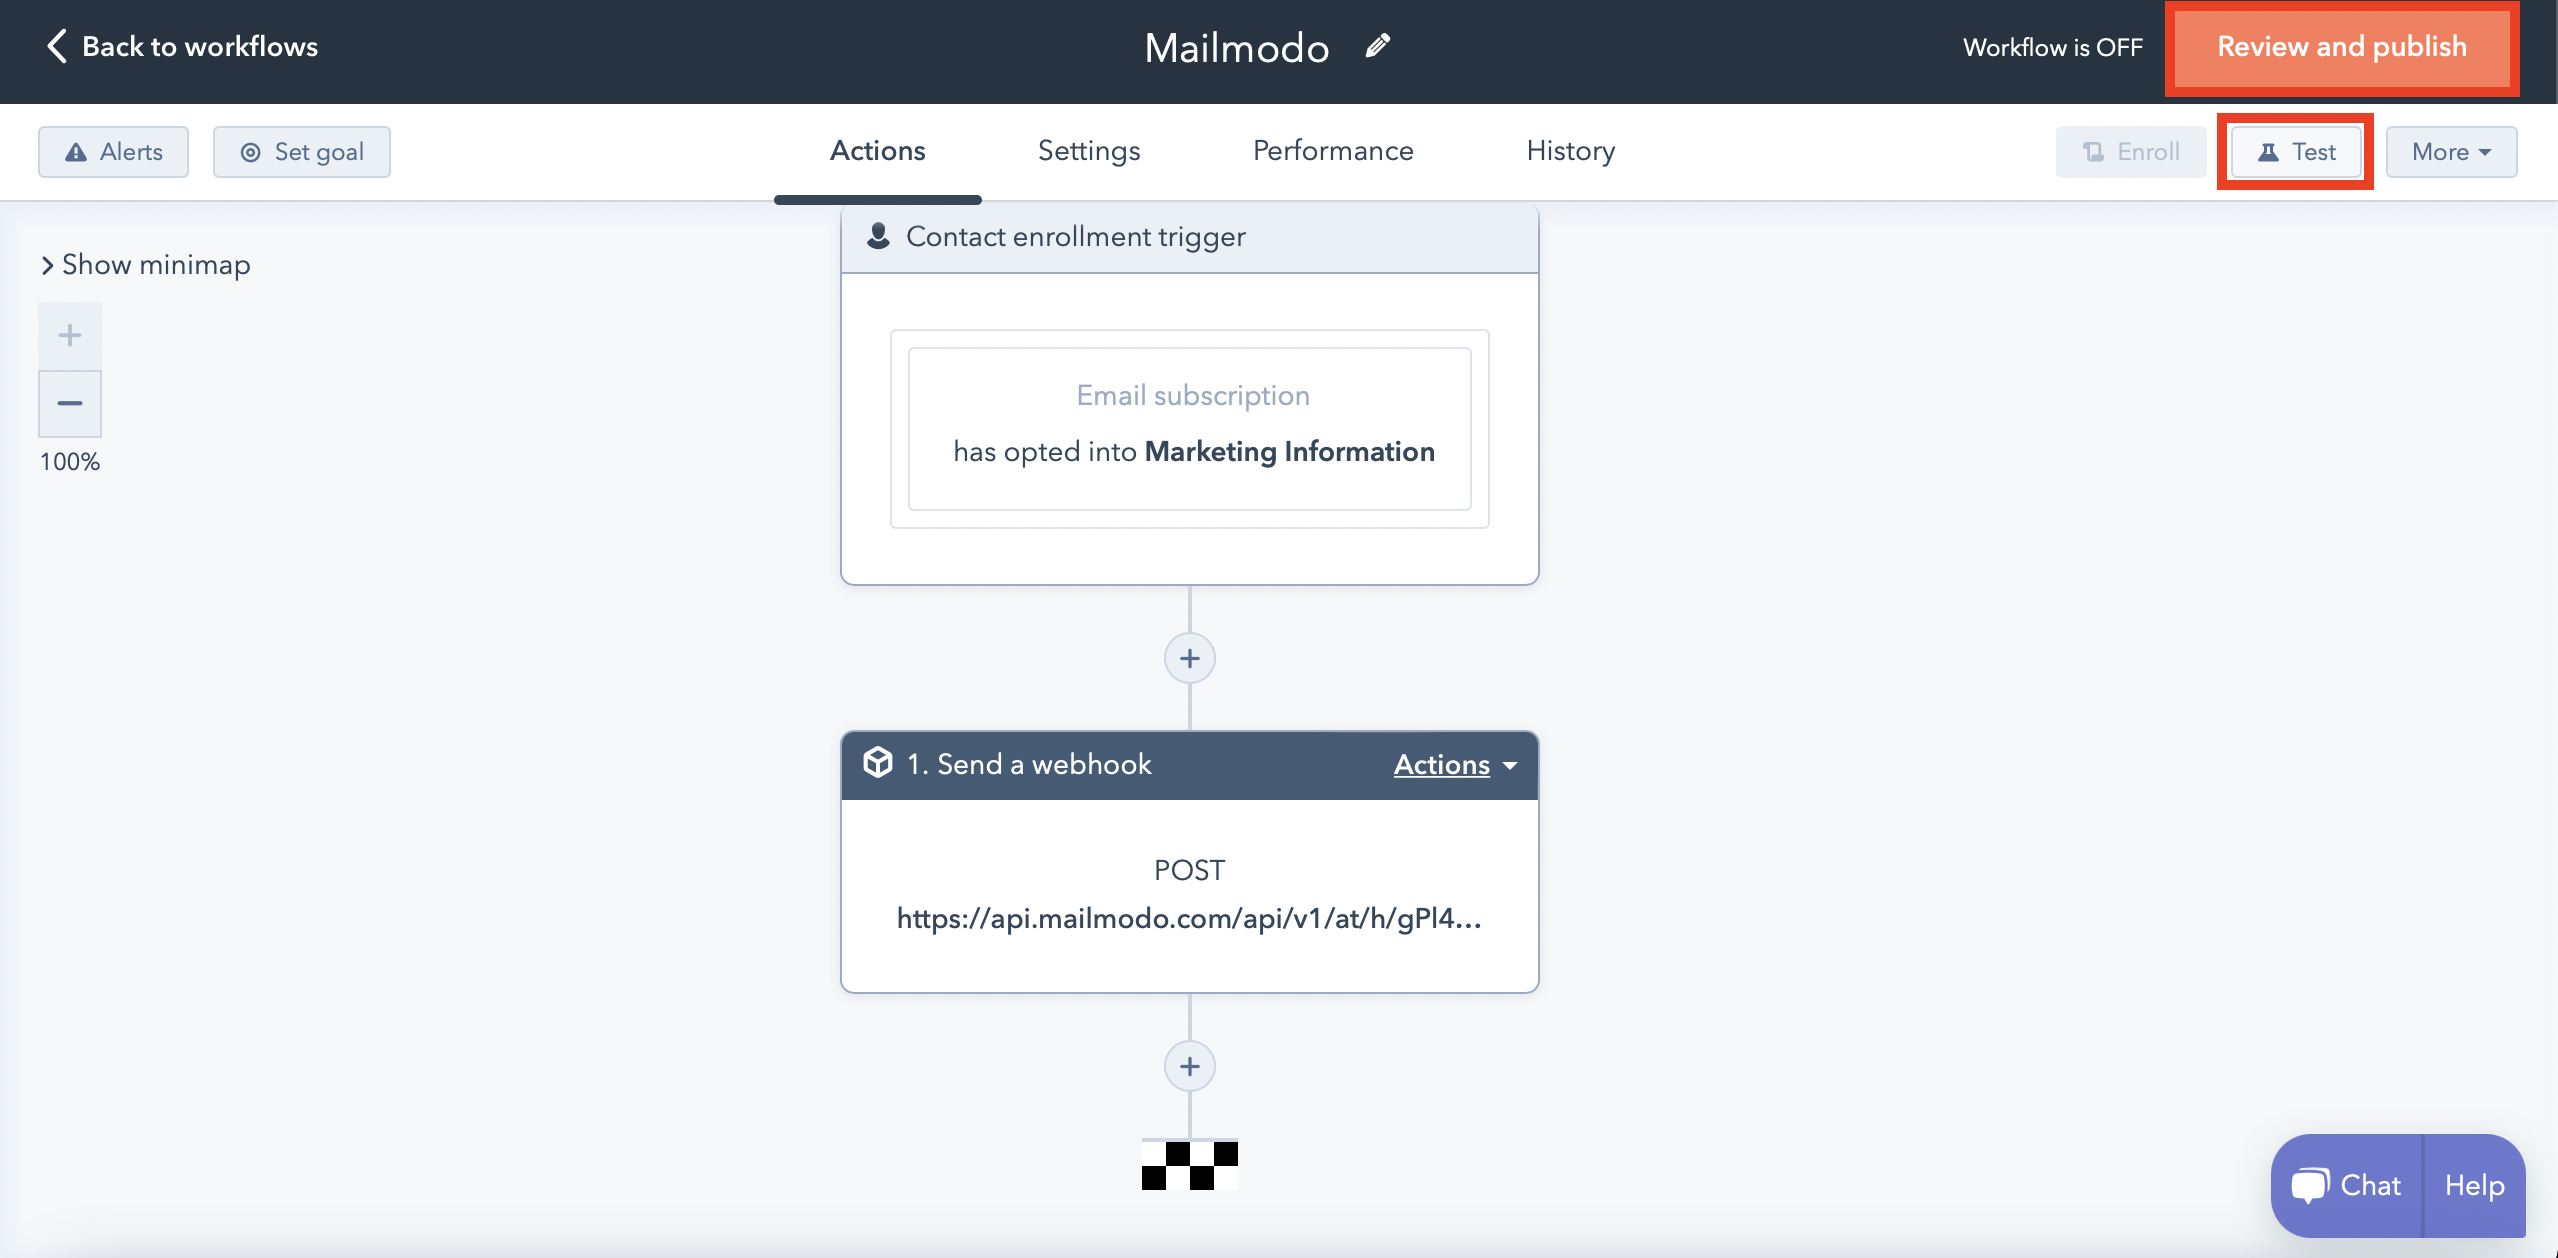
Step 7: Test your workflow. After successful testing, click on Review and Publish.
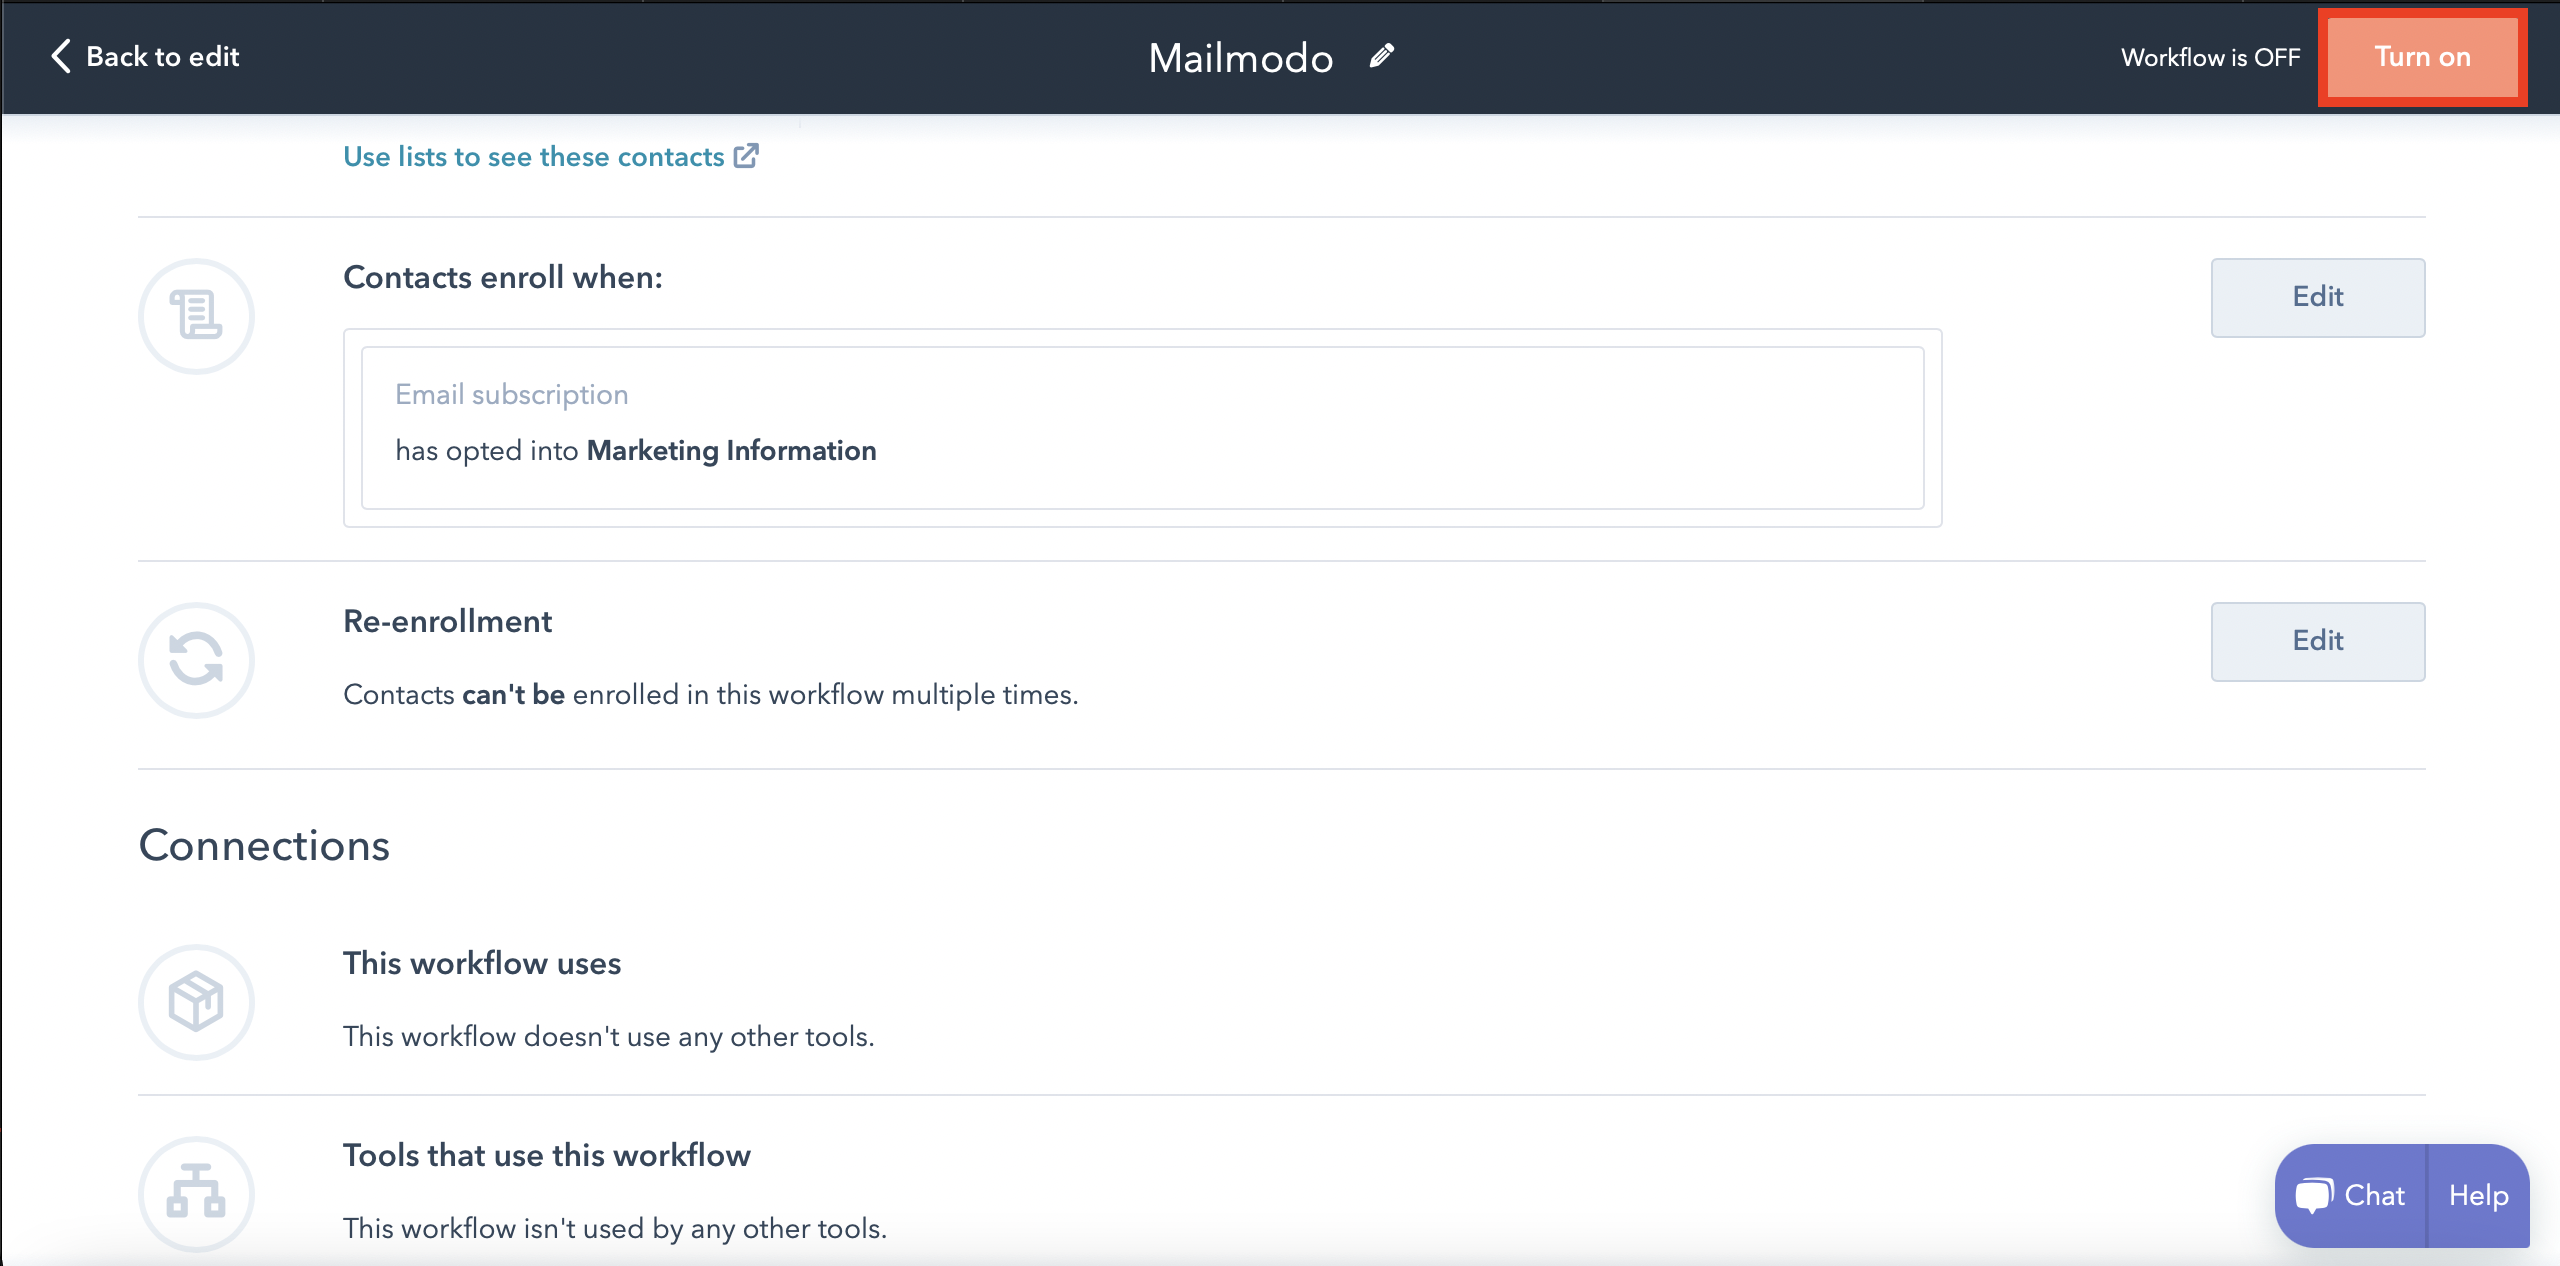
After reviewing, turn your workflow ON.
You can read more about using Webhooks with HubSpot workflows here .
You have successfully created a trigger campaign!
If you have any query then reach out to us at Mailmodo Support or share your thoughts at Mailmodo Product Feedback .


