

Trigger mails via API
Last updated April 10, 2024
This article documents the structure of API requests to be used to trigger mails in Mailmodo.
Mailmodo APIs are completely RESTful and all our responses are returned in JSON.
Using APIs with Mailmodo can help you to
- Integrate third-party apps and tools,
- Trigger automated campaigns from third-party apps,
- Set trigger endpoints for Journey emails.
API Gateway URL:
The Mailmodo API Gateway URL is https://api.mailmodo.com/ You need to include this before each API endpoint to make API calls. See the API documentation for more details.
API endpoint:https://api.mailmodo.com/api/v1/triggerCampaign/<campaignid>This URL can be obtained from the 'Campaigns'->'Trigger' tab.
Go to Trigger -> Select the campaign from the list -> Setup steps
Note: Campaign Id can be provided in the URL path or in the payload with ‘campaignId’ key
API Authorization:
Mailmodo APIs are completely RESTful. All Mailmodo APIs are authorized via an API key.
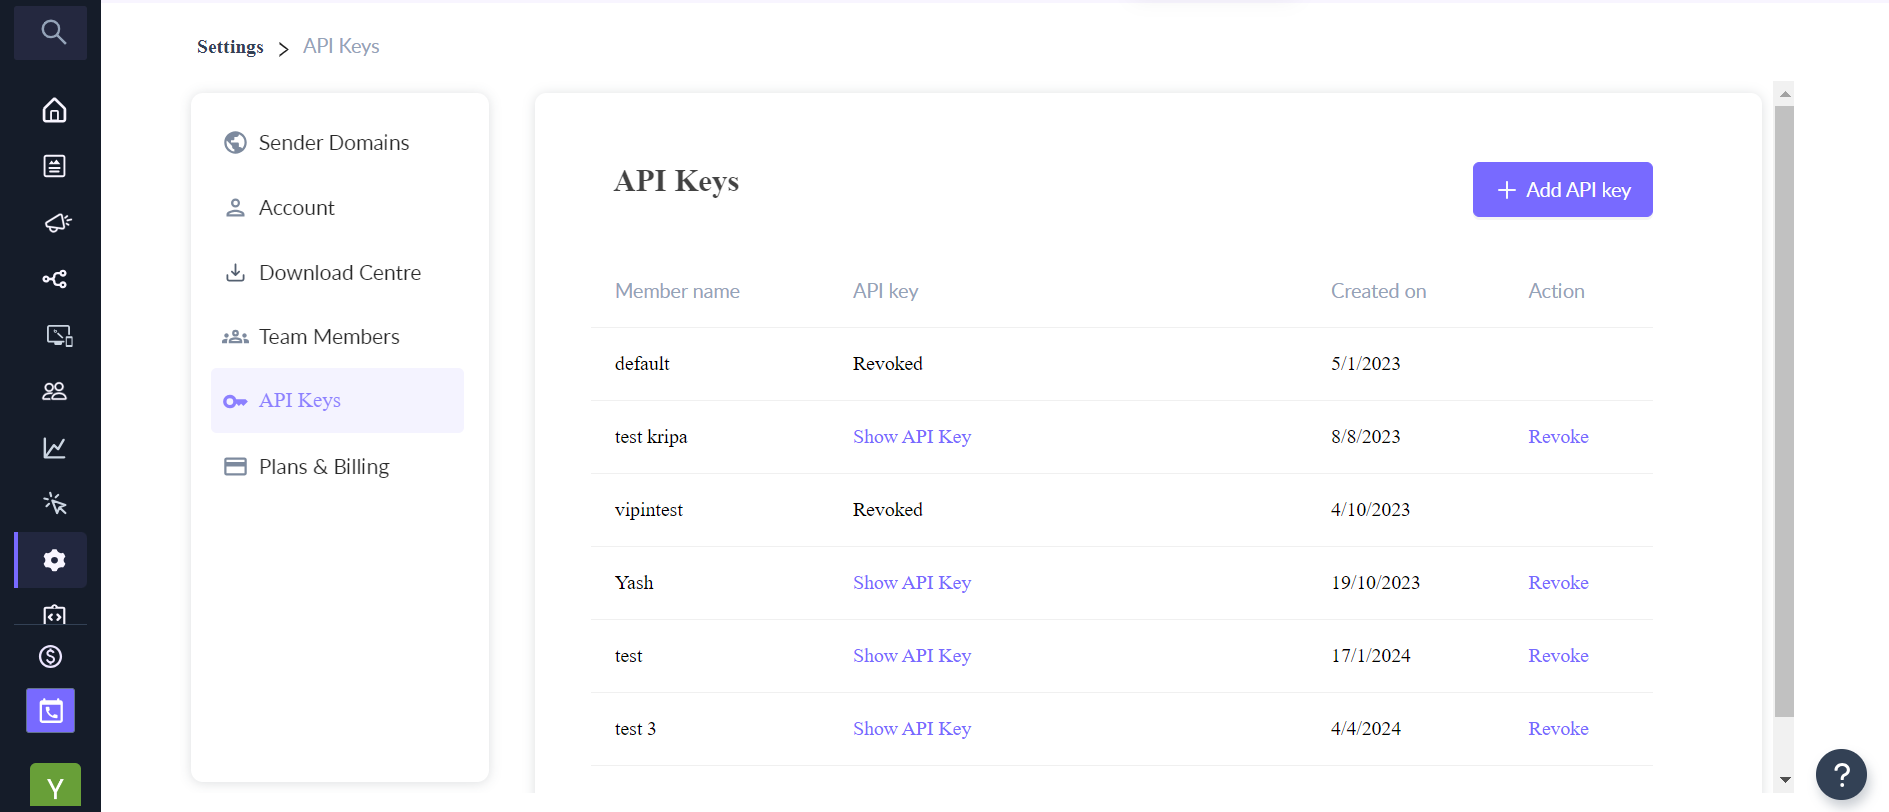
Generate API Key:
- Login to your Mailmodo account with appropriate credentials.
- Navigate to Settings → API Keys → Show API Key to view the default API key. (You may also create a new API Key by clicking on the 'Add new API Key' button)
Request:
Header
'mmApiKey': '<api key value>'
'Content-Type': 'application/json'
Body
Parameters:
subject | - Optional. If not provided, the original subject set in the campaign will be used |
email | - Required field - email address of the recipient |
data | - Optional pwersonalization fields in key-value pairs. ex-
"First Name": "Daniel" |
Response
Parameters:
success | true/false |
message | "Email scheduled successfully"/"No campaign Found for the campaignId in Trigger URL, Please check apiKey or campaignId" |
ref | <reference id> |
Sample Requests
POST requests can be generated in multiple ways.
Here are sample cURL and axios request.
Sample CURL
curl--requestPOST \

  --urlhttps://api.mailmodo.com/api/v1/triggerCampaign/campaign-id \

  --header'Content-Type: application/json' \

  --header'mmApiKey: 3BP23E6-GND4HAJ-KZ05RJ3-HGS064T' \

  --data'{"email":"john@example.com", "subject": "string",

  "data":{"first_name":"string"},"addToList":"string"}'
CSS
Sample axios
var axios = require('axios');
var data = JSON.stringify(
{"subject":"Hi, this email is from api trigger",
"email":"john@example.com",
"data":{"firstName":"John"}});

var config = {
  method: 'post',
  url: 'https://api.mailmodo.com/api/v1/triggerCampaign/<campaign id>',
  headers: {
    'mmApiKey': '<api key>',
    'Content-Type': 'application/json'
  },
  data : data
};

axios(config)
.then(function (response) {
  console.log(JSON.stringify(response.data));
})
.catch(function (error) {
  console.log(error);
});
Personalisation parameters:
You need to make the required personalisations in the parameters before using these. These have to be passed in the 'data' in the form of a 'key-value' pair and are meant to assign values to personalisation used in the subject line/ body of the mail.
For eg. {"firstName" : "John"}
Important notes
- 'Subject' is optional, if not provided, the original subject set in the campaign will be used
- Campaign Id can be provided in the URL path or in the payload with the ‘campaignId’ key