How to segment contacts based on 'User Properties'
Last updated November 3, 2025

Segmenting contact lists allows you to divide your contacts into groups on the basis of specific, shared characteristics. This lets you create a target audience and makes sure your campaign reaches the right demographic.
Here is our definitive guide to audience segmentation.
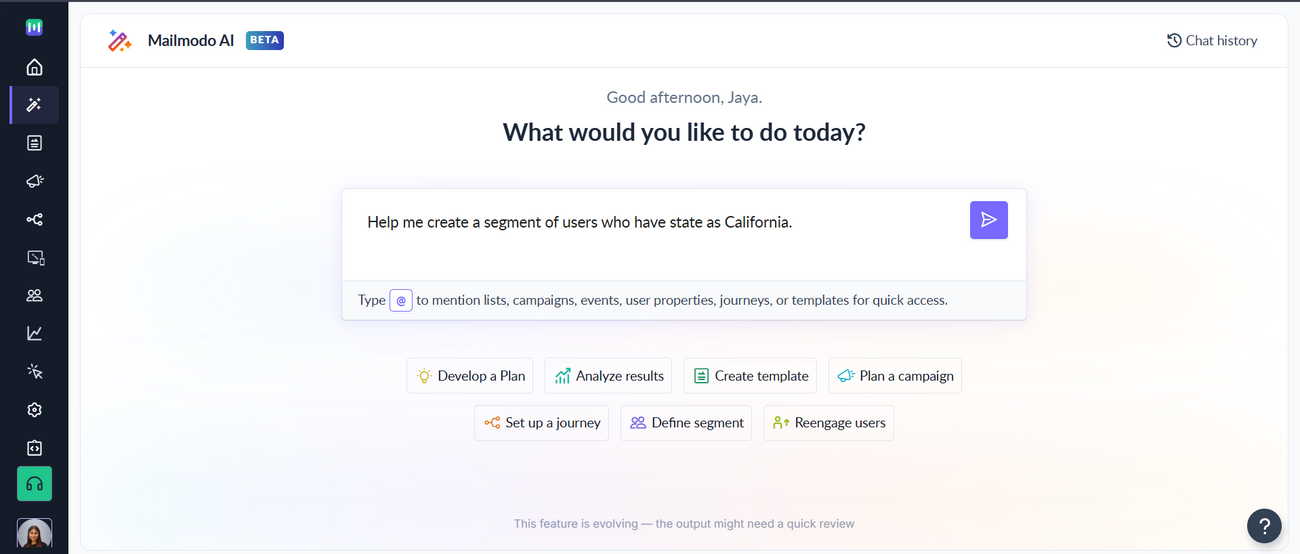
With Mailmodo AI✨, you can easily create segments based on your requirements, complex audience segments are now just a prompt away! Try it out today.
This article takes you through the process of segmenting your contact lists based on ‘User Properties’. These refer to the different properties or attributes that are recorded in your contact list. Please follow these steps if you wish to create a segment manually.
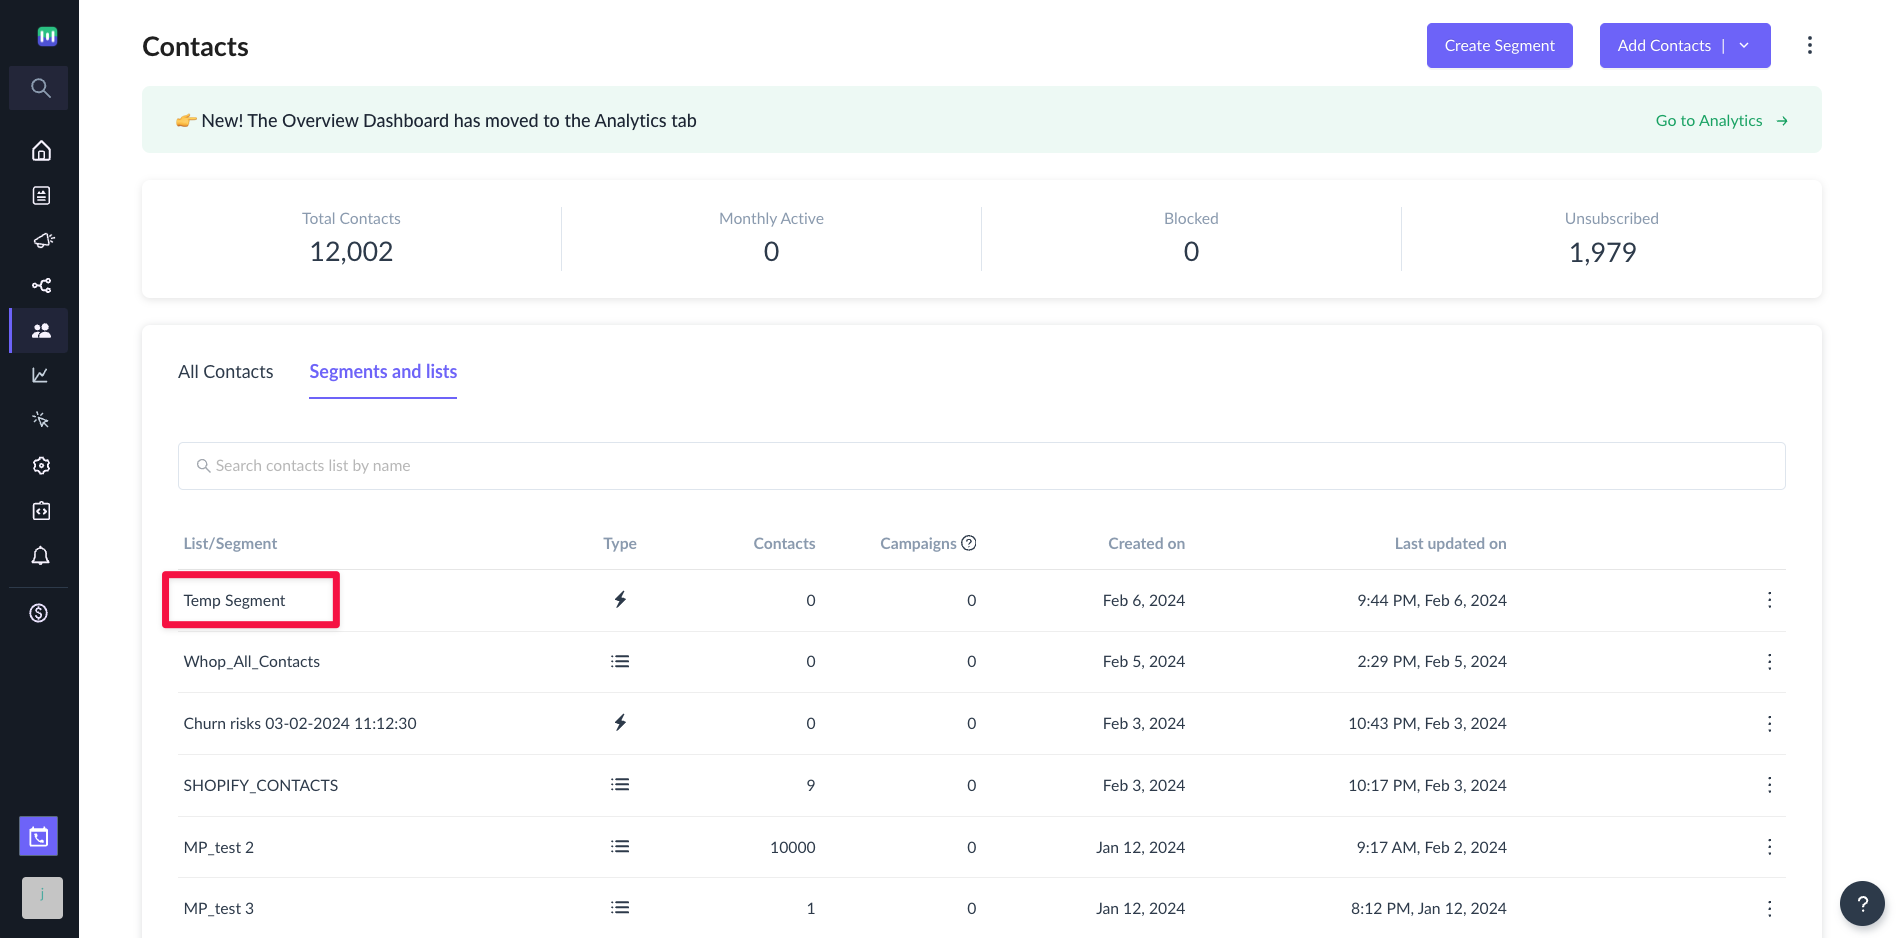
Step 1: Go to the Contacts Page.
Step 2: Click on Create Segment and click on Create with Builder if you want to create the segment manually.

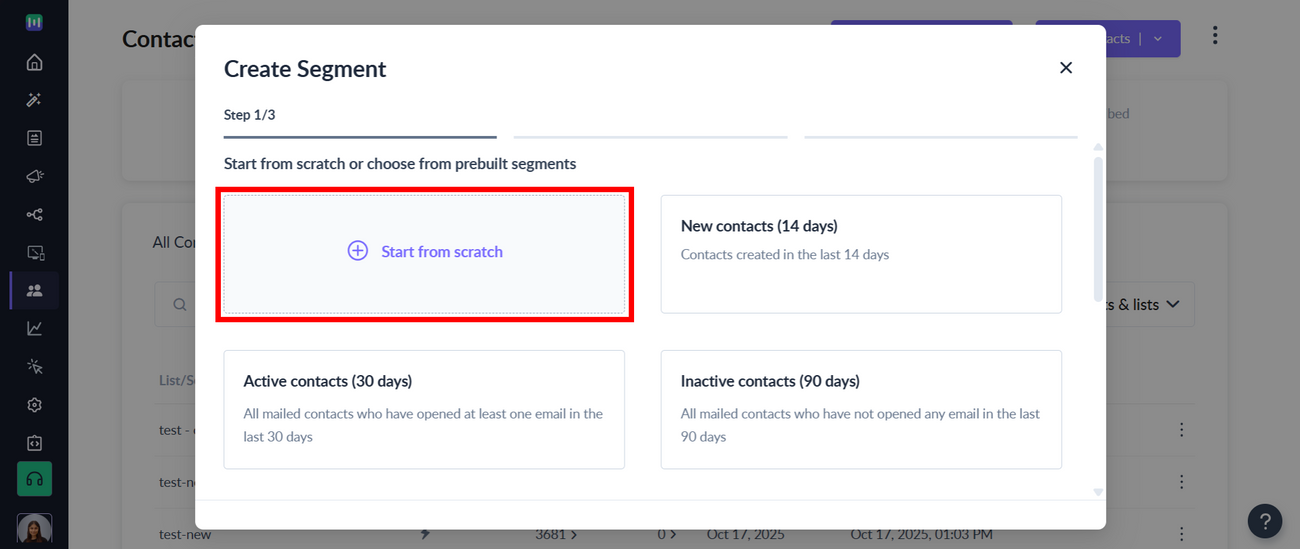
Step 3: You can start from scratch or choose from prebuilt segments. Let us create a segment from scratch, select Create from Scratch.
Step 4: Configure your segment based on your requirement.
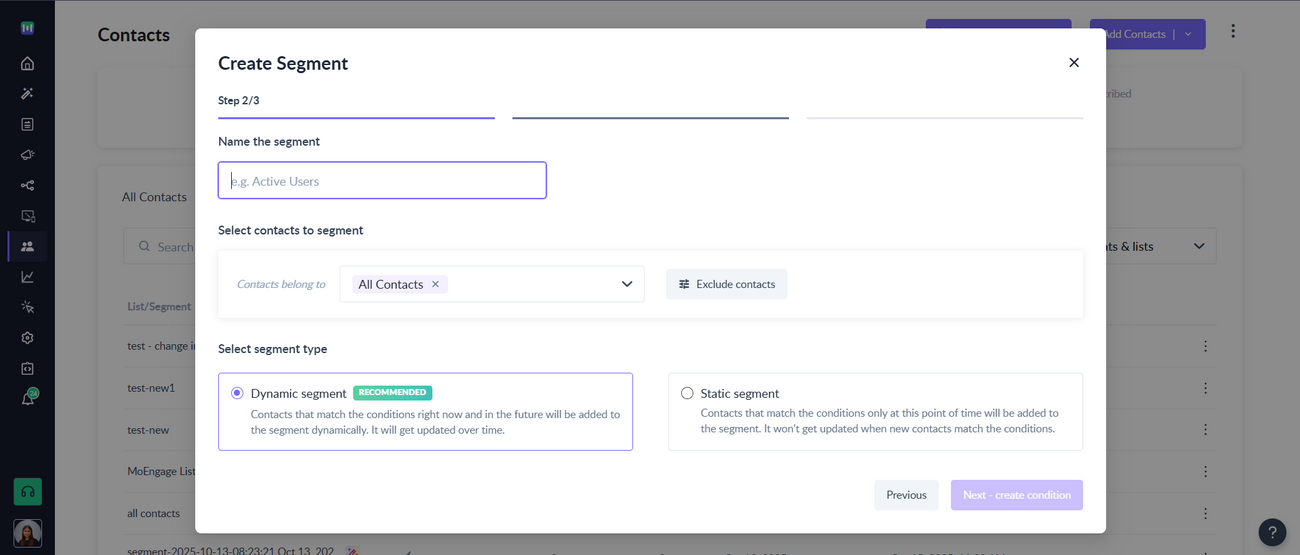
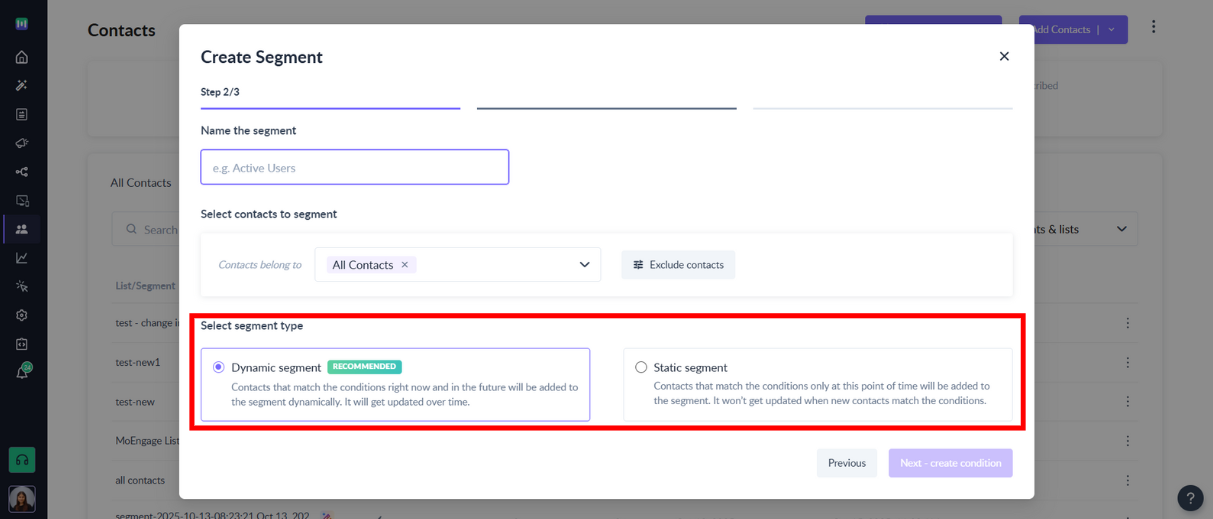
Step 5: Use field All Contacts or choose contacts of your choice to Segment from the Contacts belong to dropdown.

Step 6: Choose Dynamic or Static Segment as per your requirement in the Select segment type section.
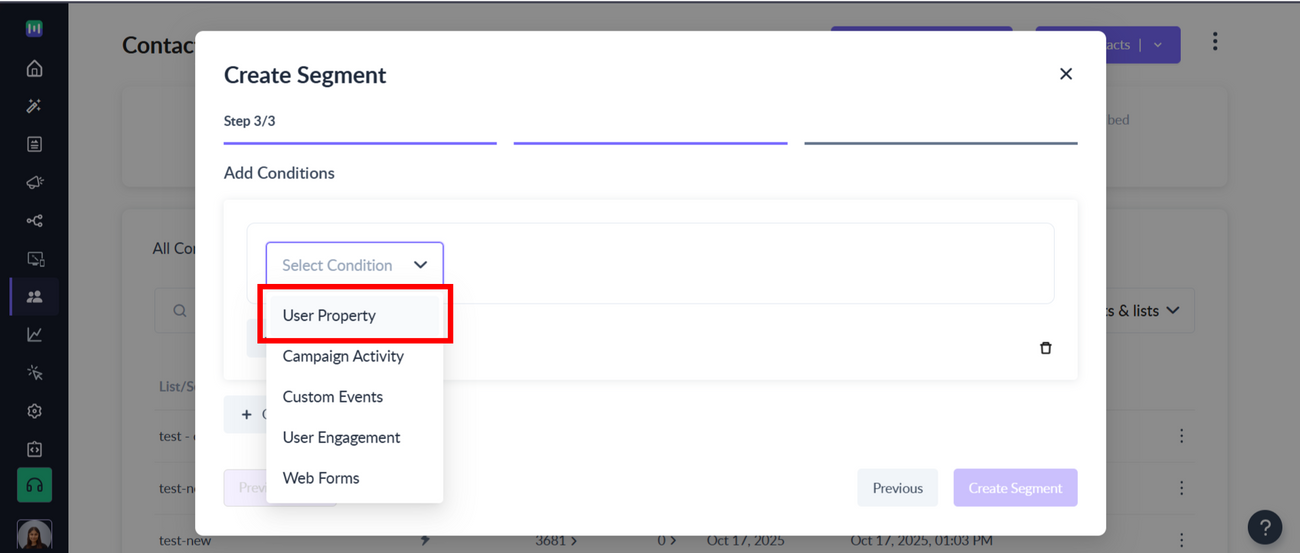
Step 7: Choose User Property in the Select Condition drop down inside the Add Conditions section.
Step 8: Choose the property on which you want to segment from the Select Property dropdown.
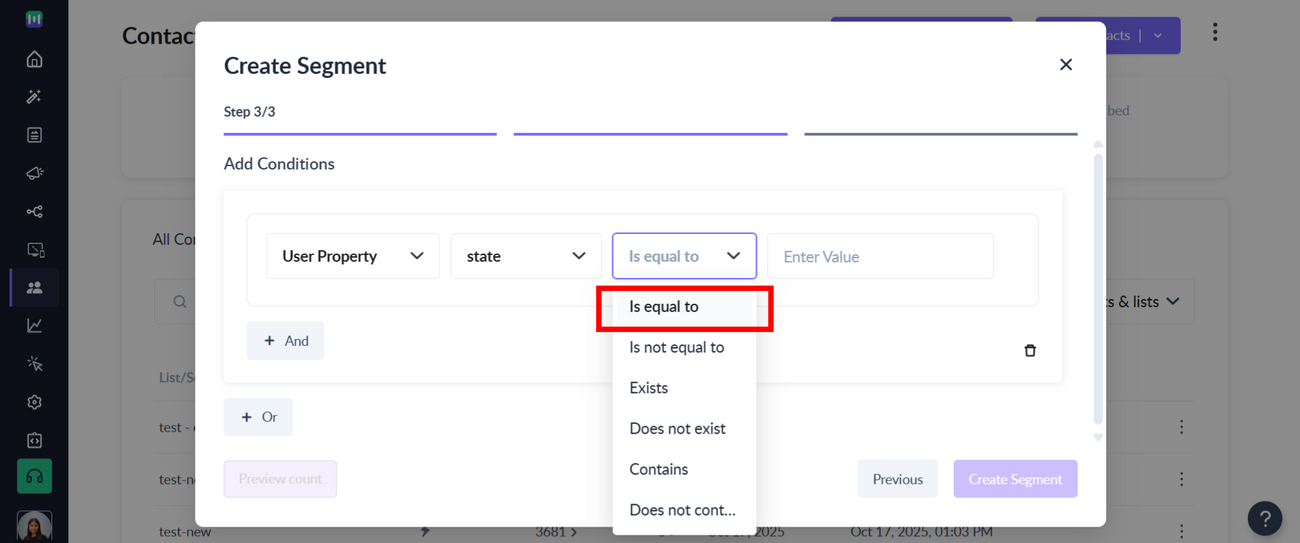
Step 9: In this tutorial we will be creating a segment of the users who have state set as California. You can set your condition based on your use-case.
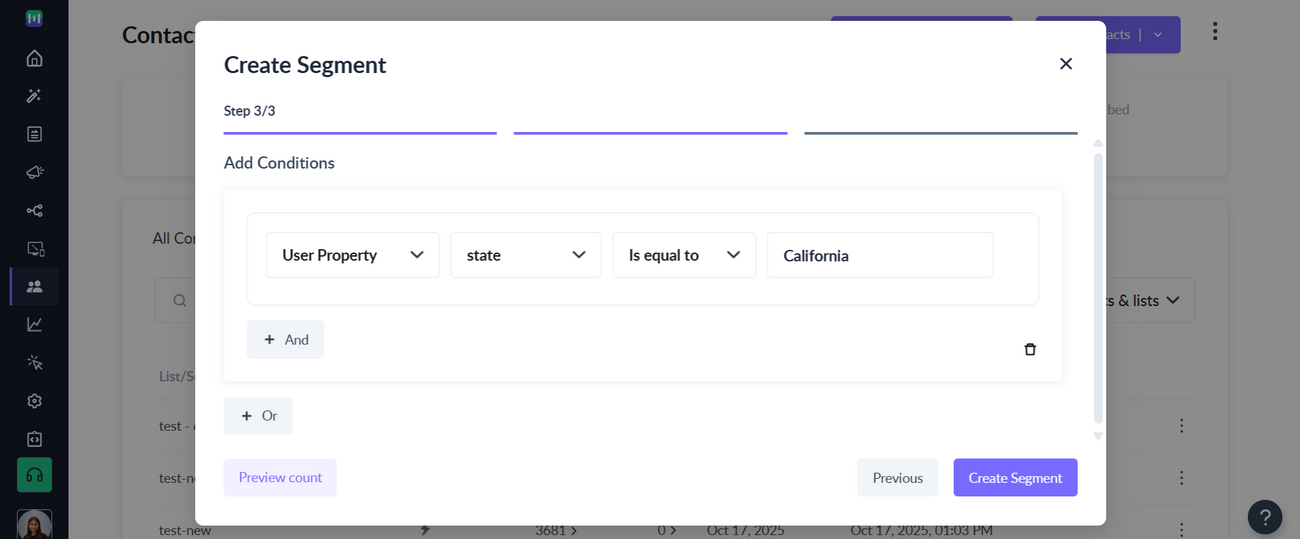
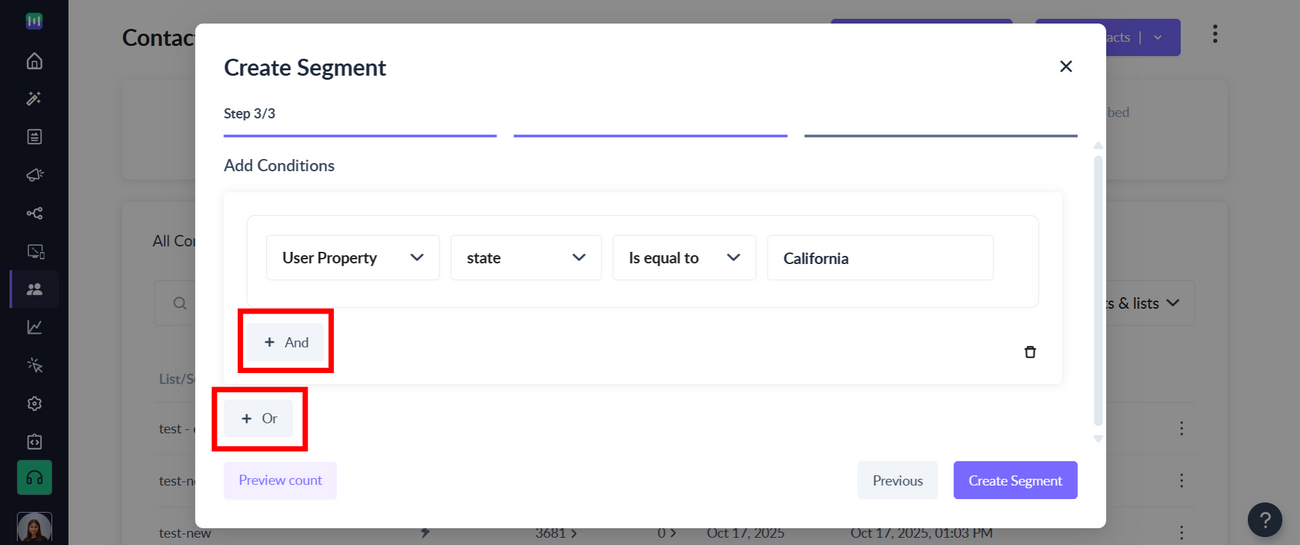
Step 10: Use +And +Or conditions to create your segment condition.
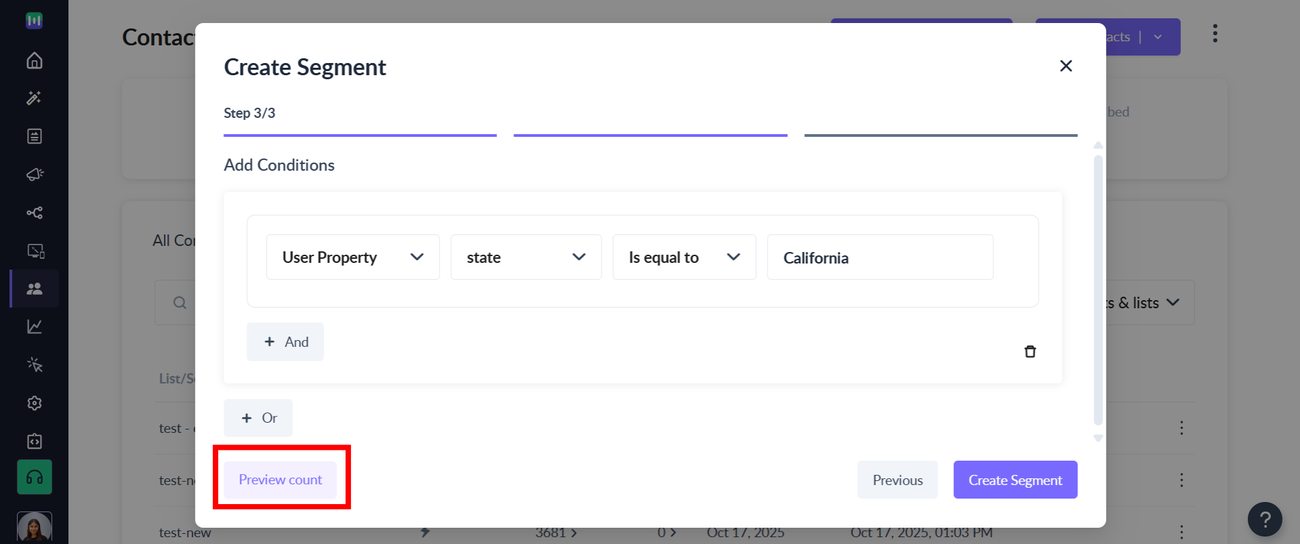
Step 12: You can preview the count of users who come under this segment by using the Previous count button.
Step 13: Click ‘Create Segment’. The segmented contact list will appear in your contacts.