

How to Create a Post-purchase Flow
Last updated July 25, 2025
Overview
In this document, you will learn how to create a post-purchase journey that will trigger after a customer has placed an order on your Shopify store. For this, make sure that your store is integrated with Mailmodo. If you haven’t yet integrated your Shopify account with Mailmodo and set up email flow, learn how to integrate Shopify with Mailmodo here .
This journey allows you to engage with your customers effectively and upsell products that will build loyalty and compel them to re-purchase.
What is a post-purchase journey?
This journey is a series of automated emails that are triggered after a customer completes a purchase on your Shopify store. These emails are designed to provide a seamless and personalized experience for the customer, reinforcing their decision to buy from your store again. Here are some common use cases for which this journey can be used:
- Requesting Reviews and Feedback
- Thank You and Follow-up
- Cross-selling and Upselling
- Loyalty and referral program
Here's how you can create this journey
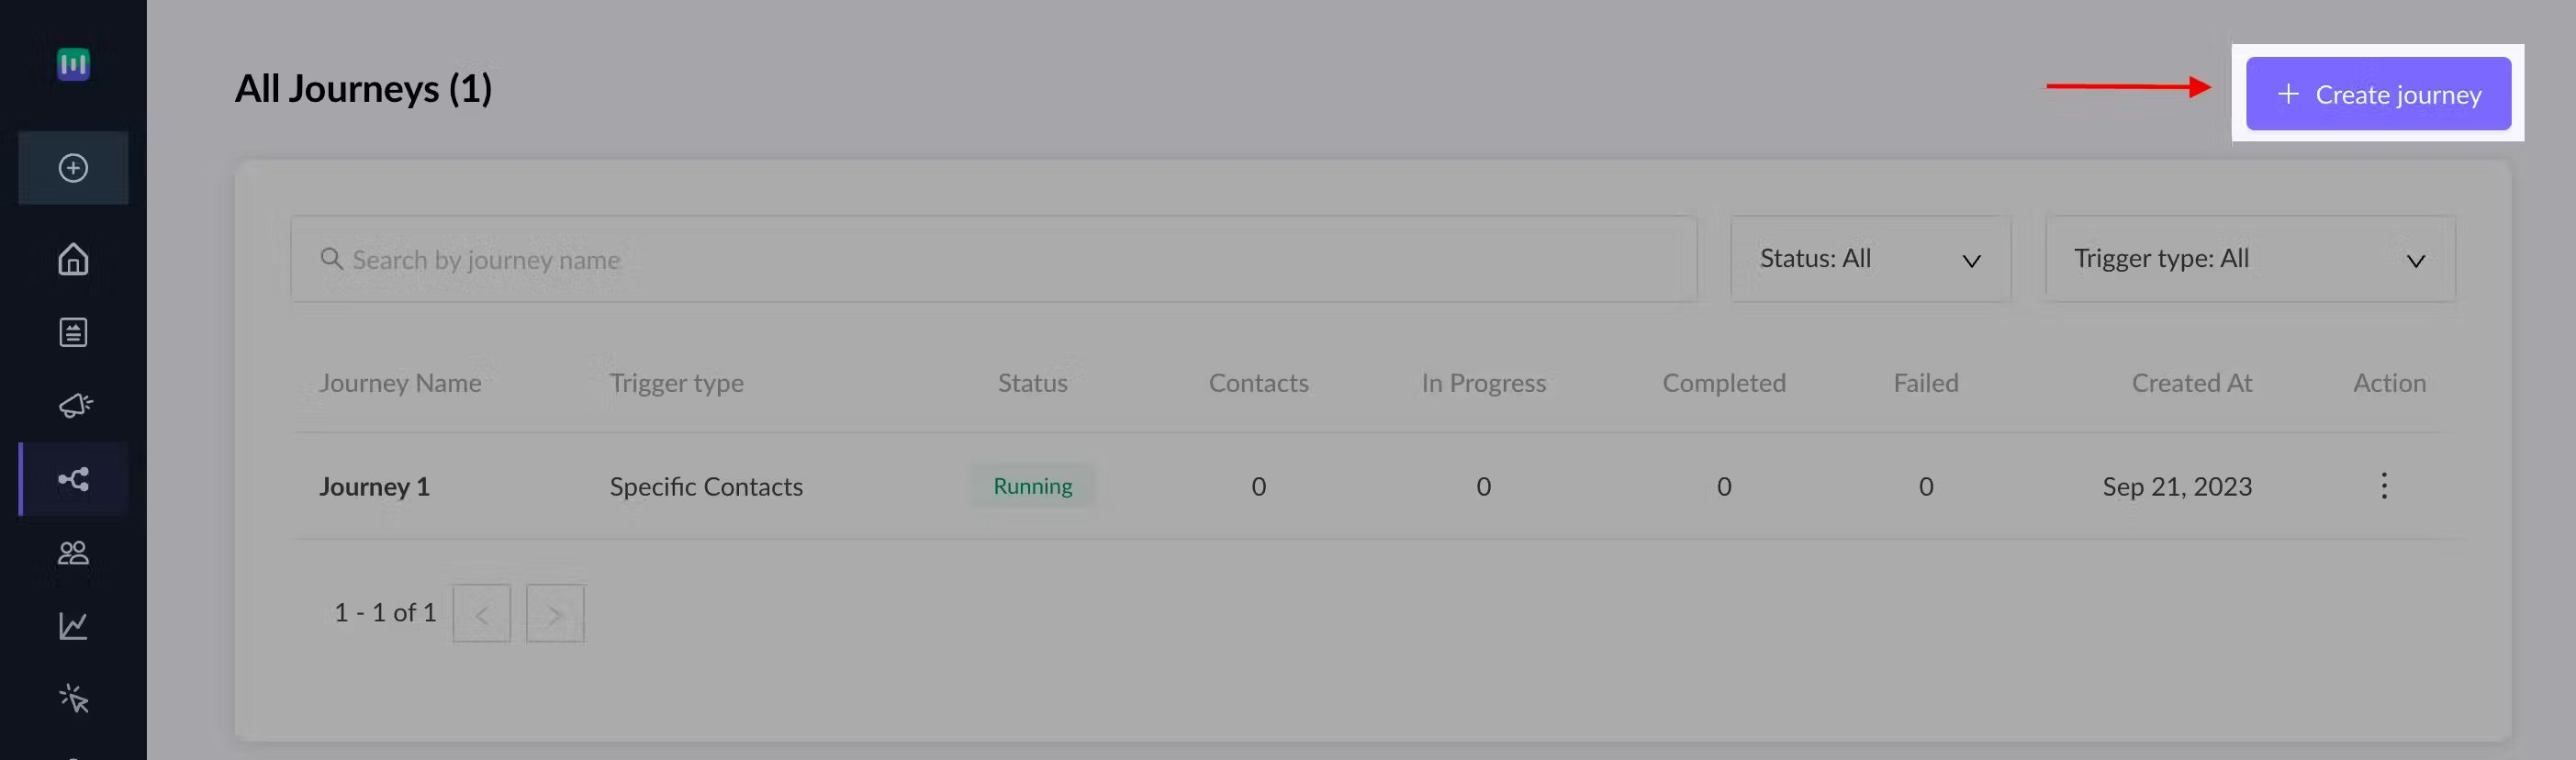
Step 1: Create a new journey from scratch.
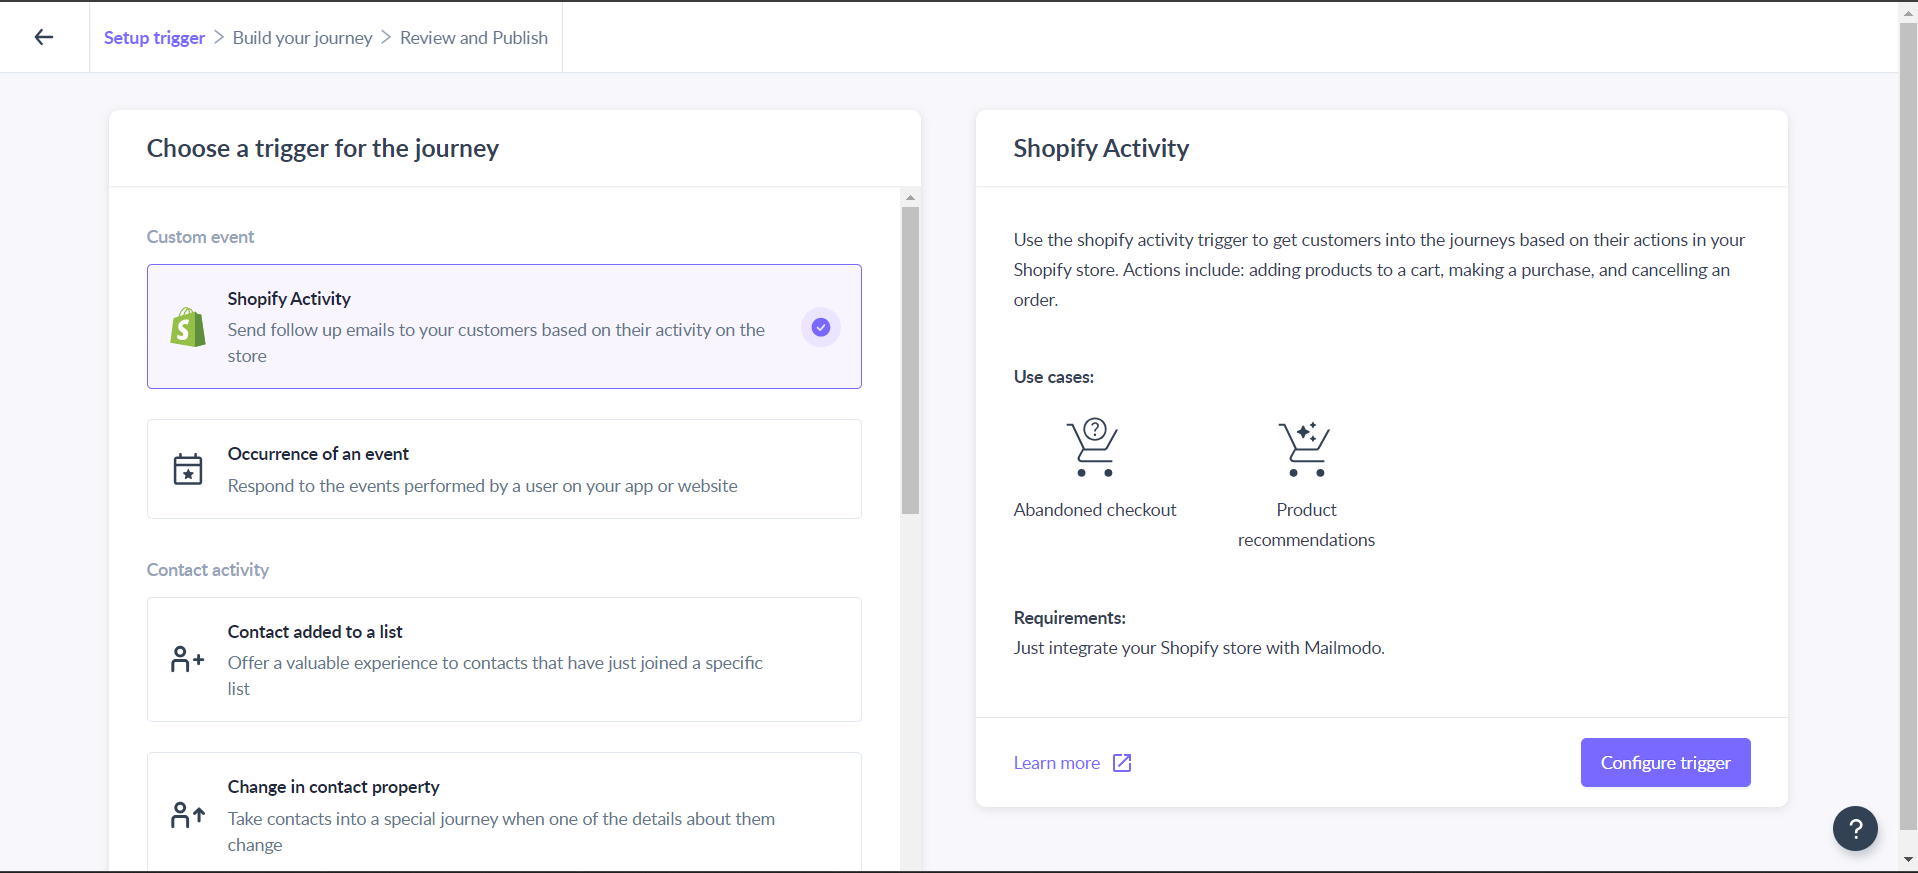
Step 2: Select “Shopify Activity” as the journey trigger from the options.
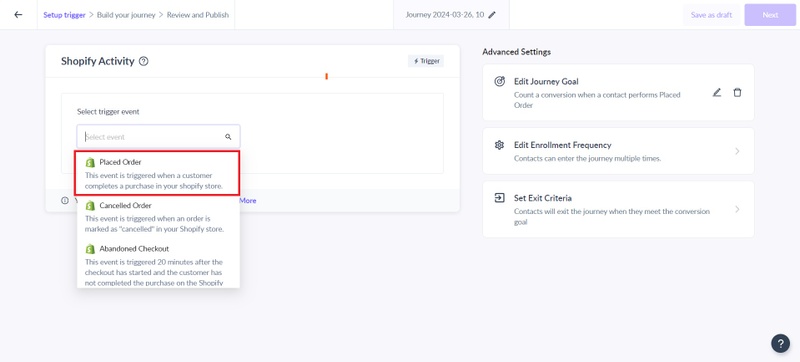
Step 3: Choose “Placed Order” as the trigger event from the dropdown and click on “Next”.
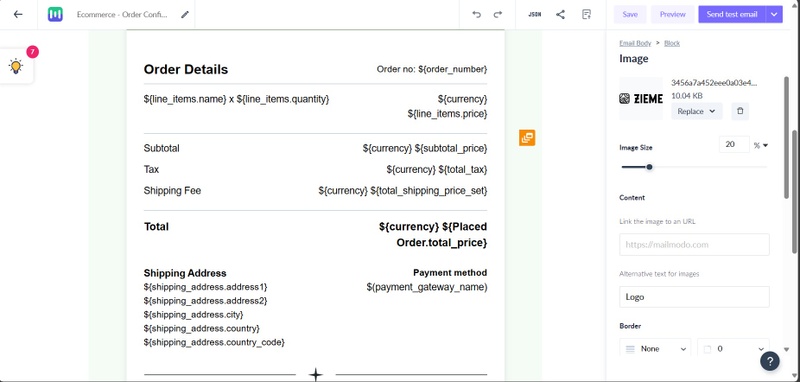
Step 4: Add Send campaign blocks with templates and appropriate messaging that will get the user to re-purchase the products from your store.
Remember to include personalization parameters that will help you to make these emails more personal and relevant.
You can send multiple emails after a delay of certain hours based on your use cases.
- The first email should be a transactional email that strictly conveys order-related information without any marketing content. Its sole purpose is to notify customers that their order has been received and should be sent to all customers who have placed an order.
- Add a Product review request email that motivates customers to share their opinions, whether on social media or directly in your store. You simply have to add a “Product Review” widget in your template. You can read more about this widget, here.
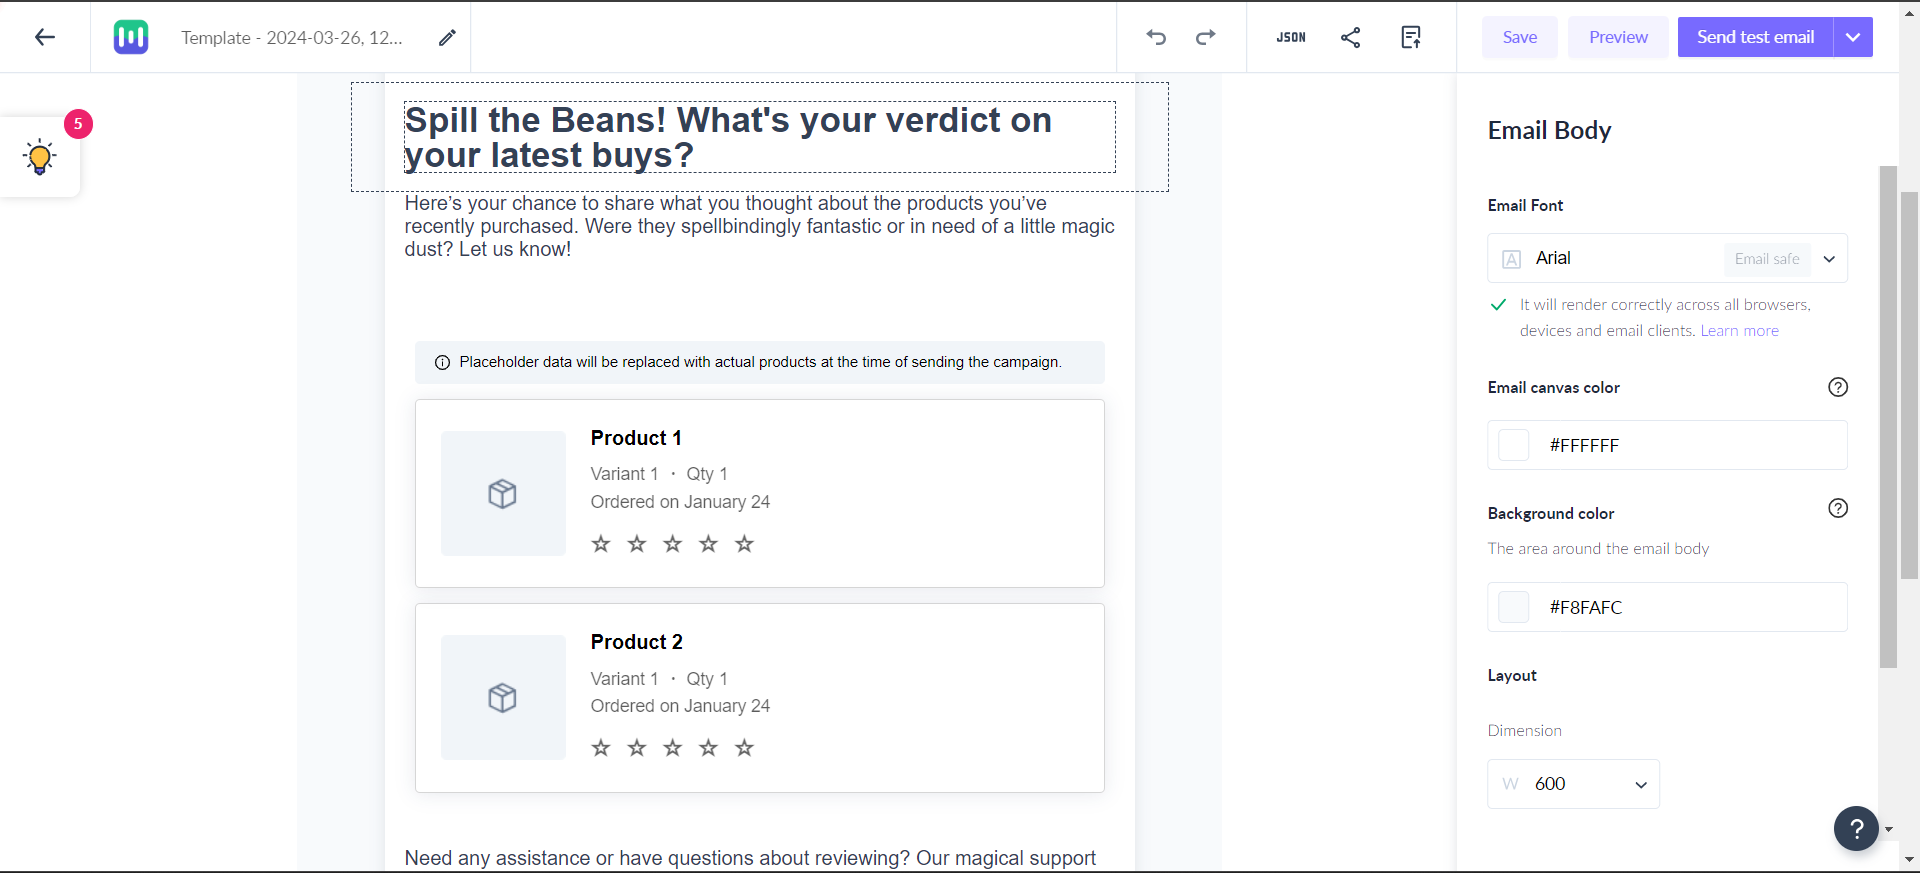
You can also add a “Submitted” block after sending a campaign with a product review widget to further split the journey based on reviews given by your customers.
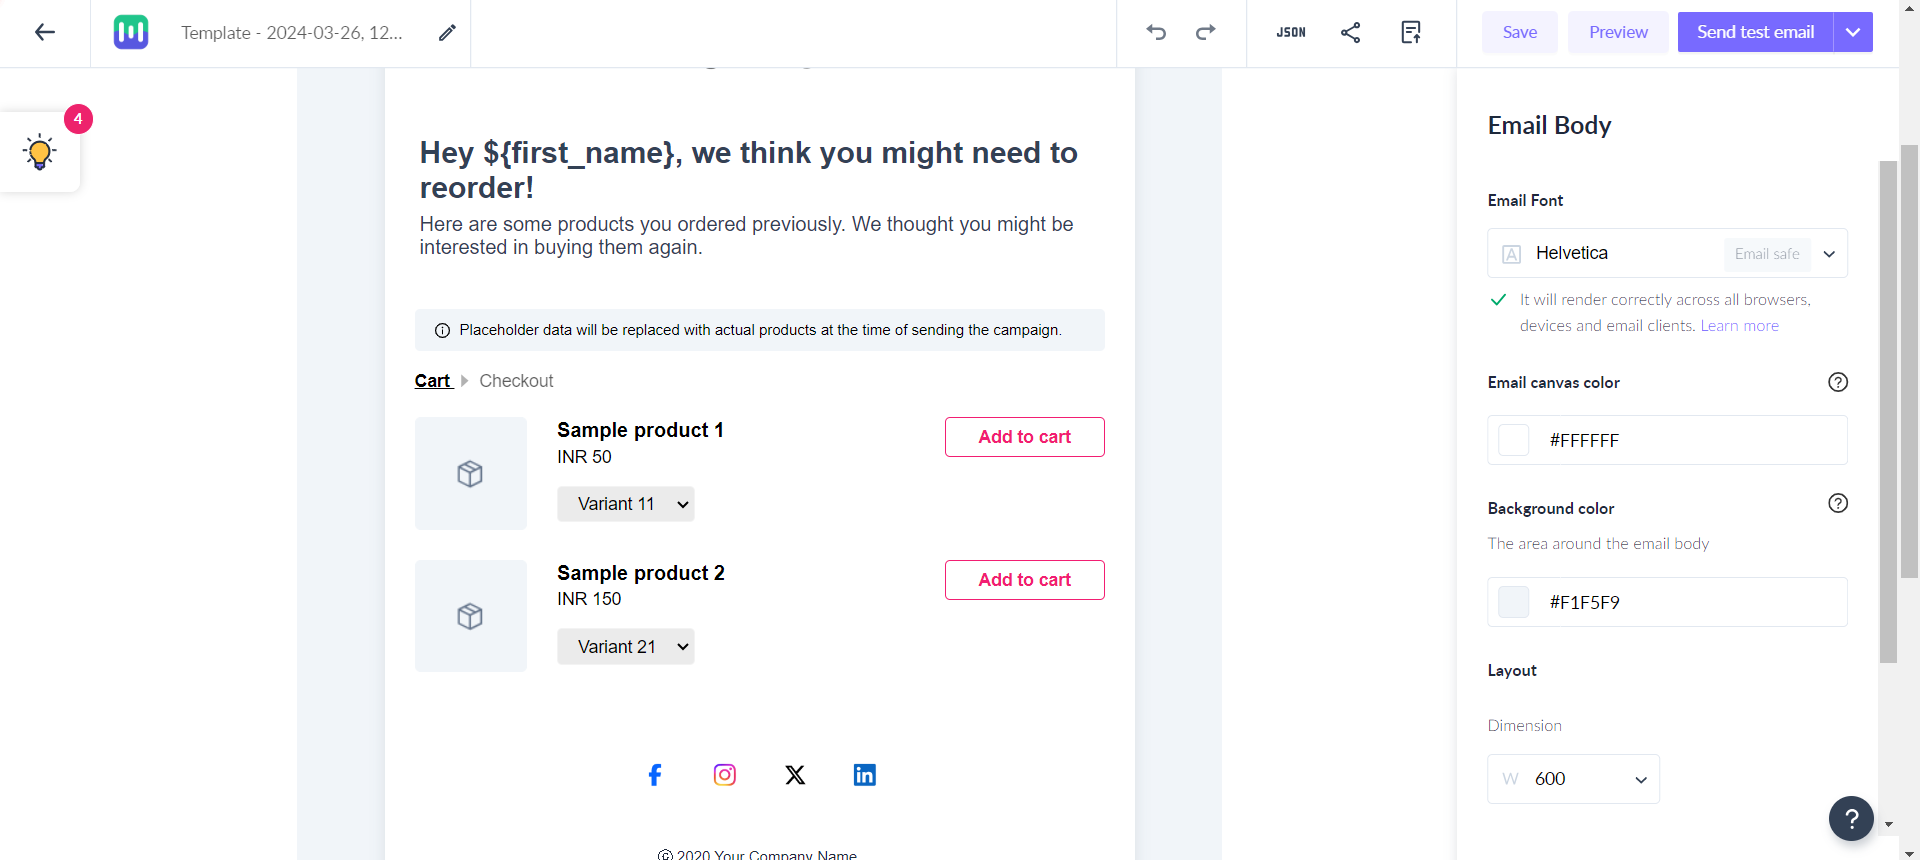
- Add a Product promotion email that is designed to inspire customers to make additional purchases by suggesting products they are interested in. To encourage repeat purchases, it's advisable to feature your best-selling items in these emails. You simply have to add a “Product recommendation” widget in your template. Your customers will be able to purchase the products directly from their email. You can read more about this widget, here.
Step 5: Introduce time delay blocks where appropriate. However, this is not recommended while creating a “Thank you” journey.
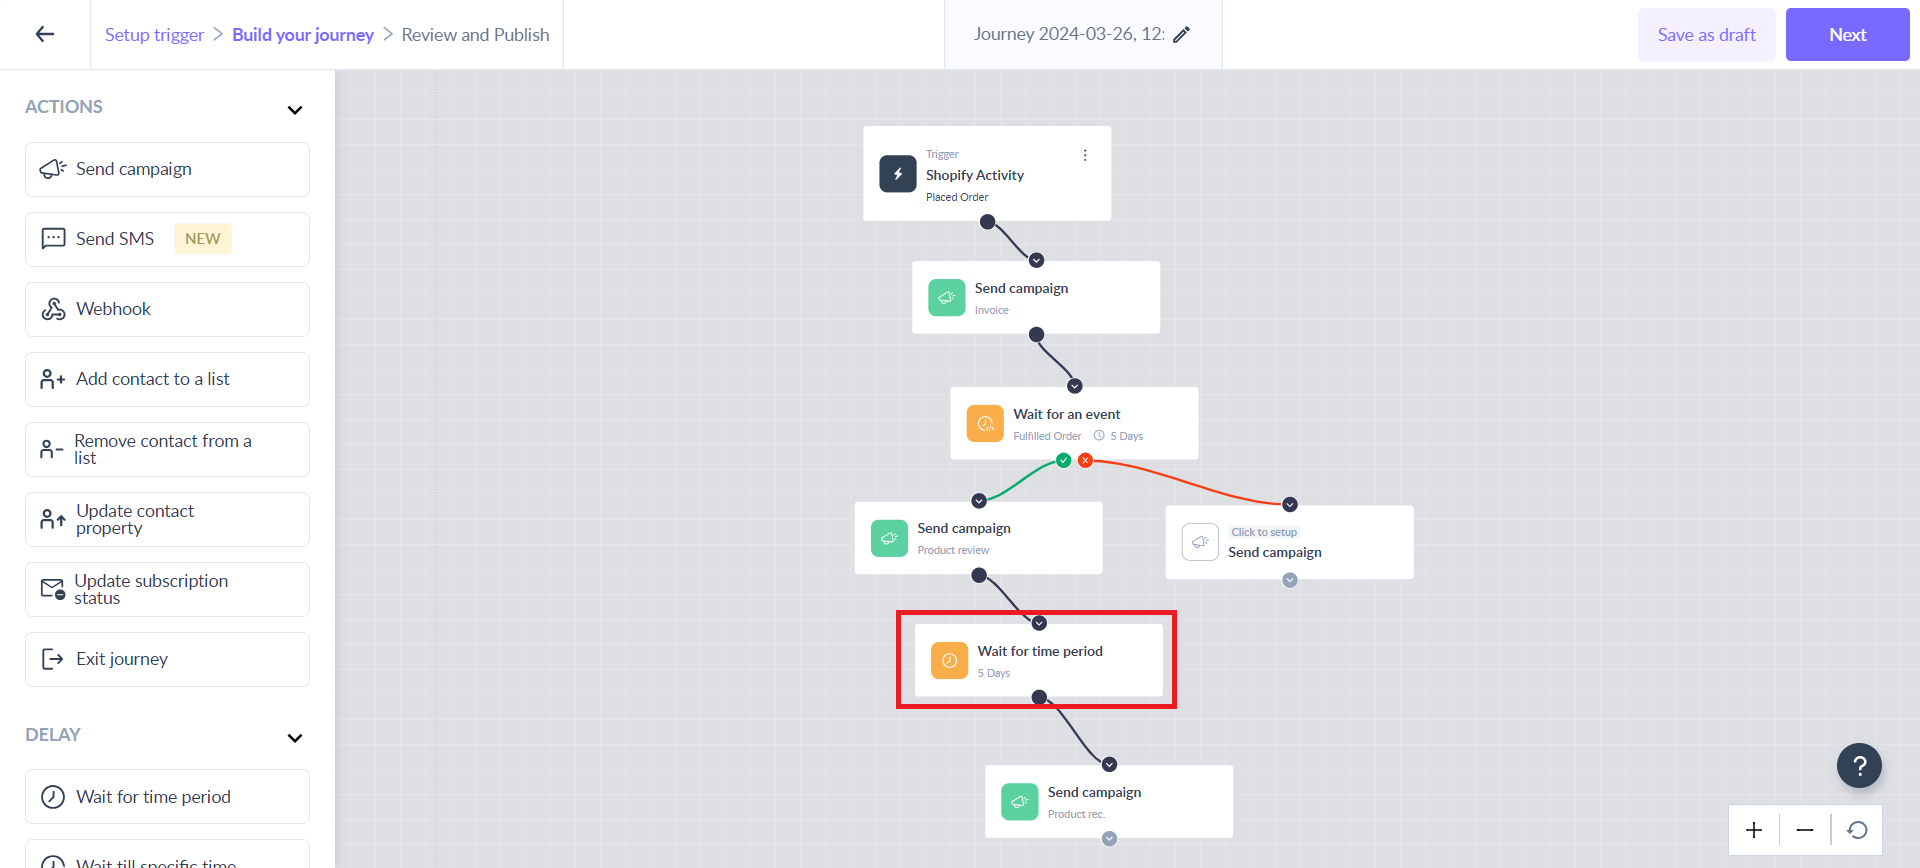
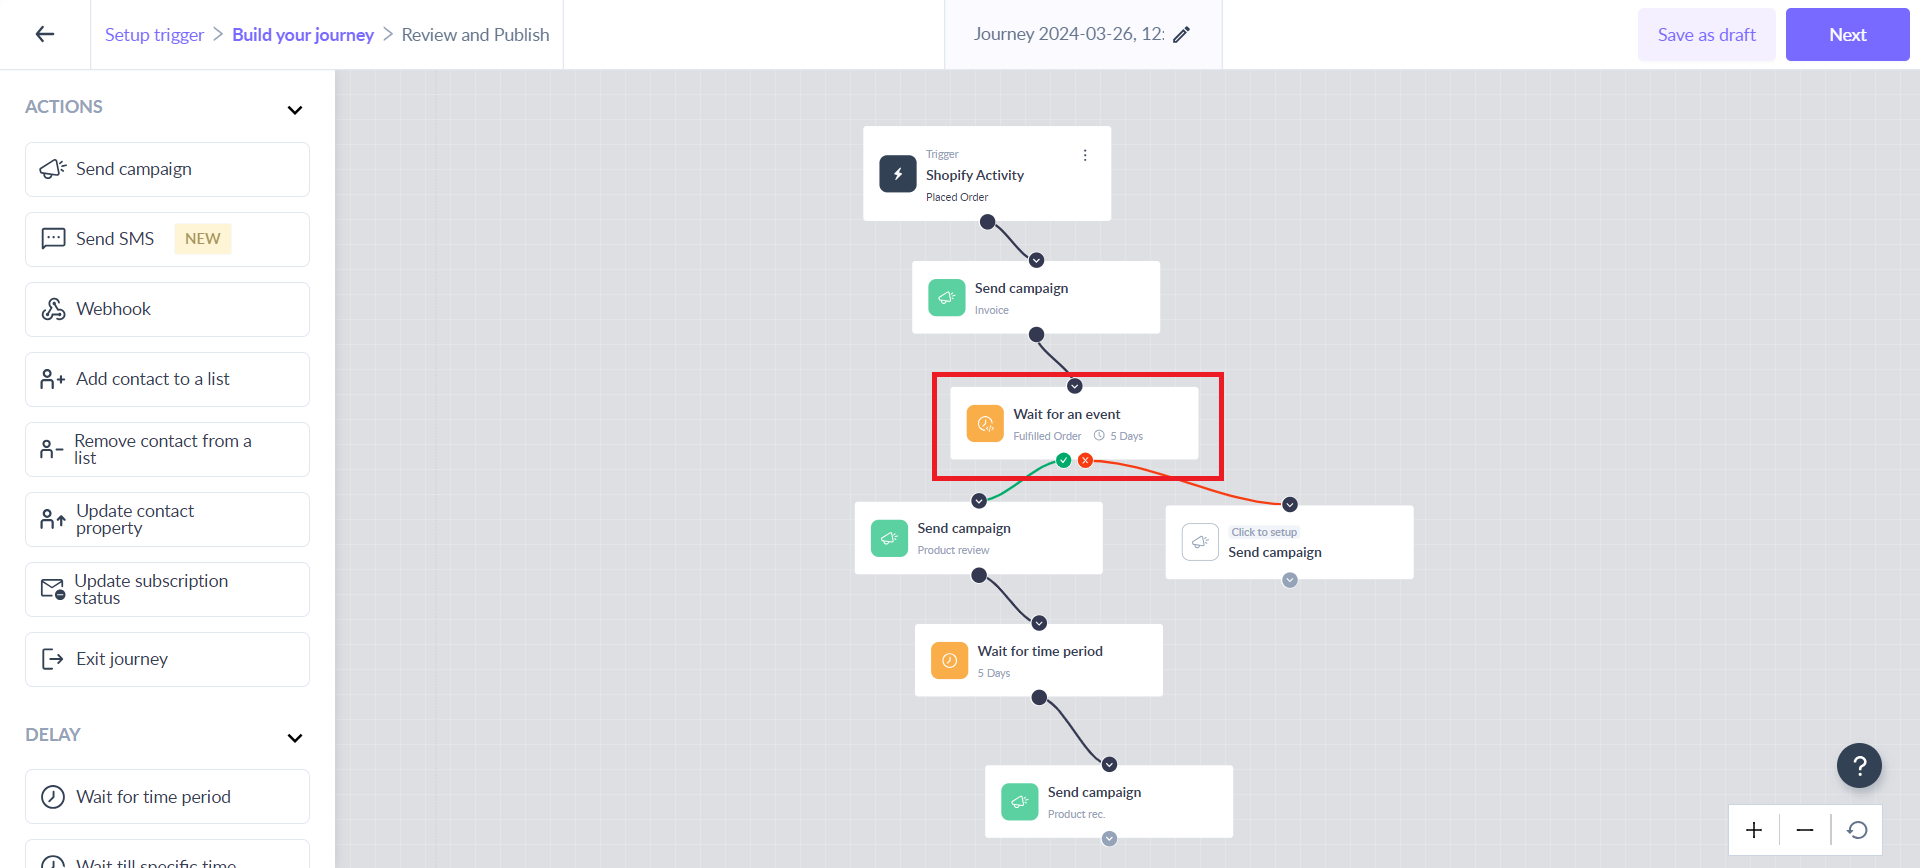
Step 6: You can include the “Wait for an event” block to split the journey based on other related events.
For example, you can use “Fulfilled order” as the event in this block and send the emails accordingly.
You can also split the journey using the “Shopify activity condition” block based on properties such as the total price of the order is greater than a certain value.
Step 7: Once you configure all the blocks, click on the “Next” button then 'Publish now'. Test your journey before publishing.
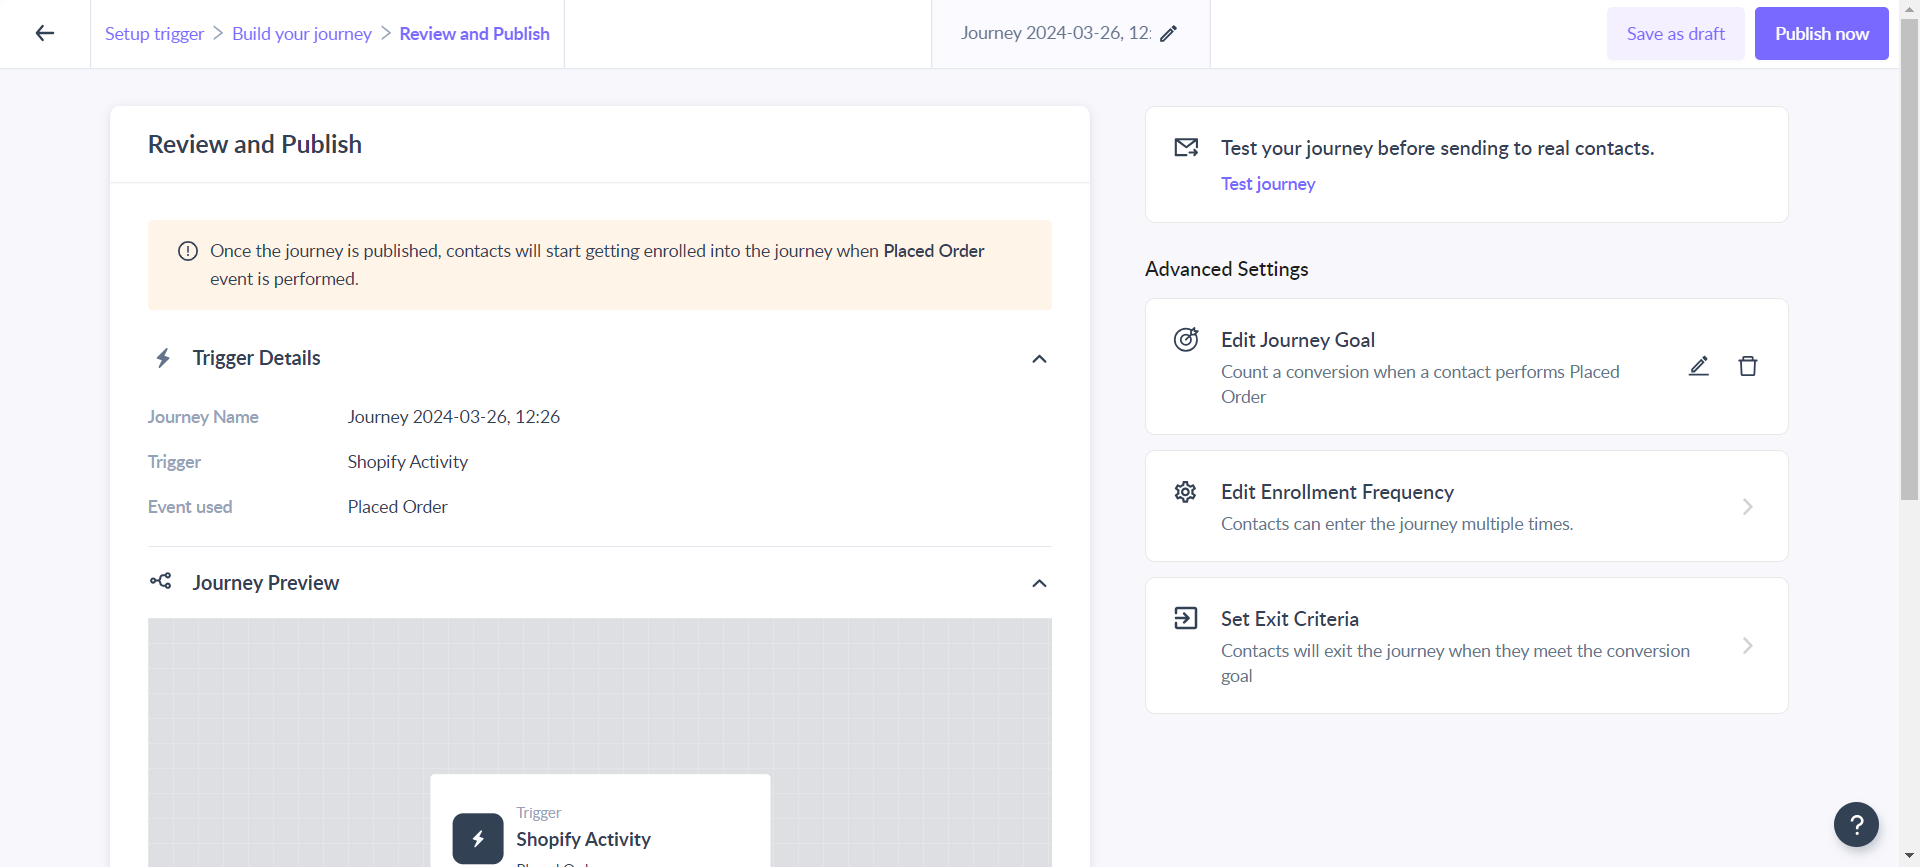
Whenever someone places an order in your store, they will be enrolled in the journey.
If you face any problem then reach out to us at Mailmodo Support or share your thoughts at Mailmodo Product Feedback .