

Trigger Campaigns through Webflow on Mailmodo
Last updated June 18, 2025
In this article, we will see how to configure transactional campaigns in Mailmodo, triggered by events recorded in the Webflow journey via Zapier.
Create a transactional campaign in Mailmodo ( guide )
Steps:
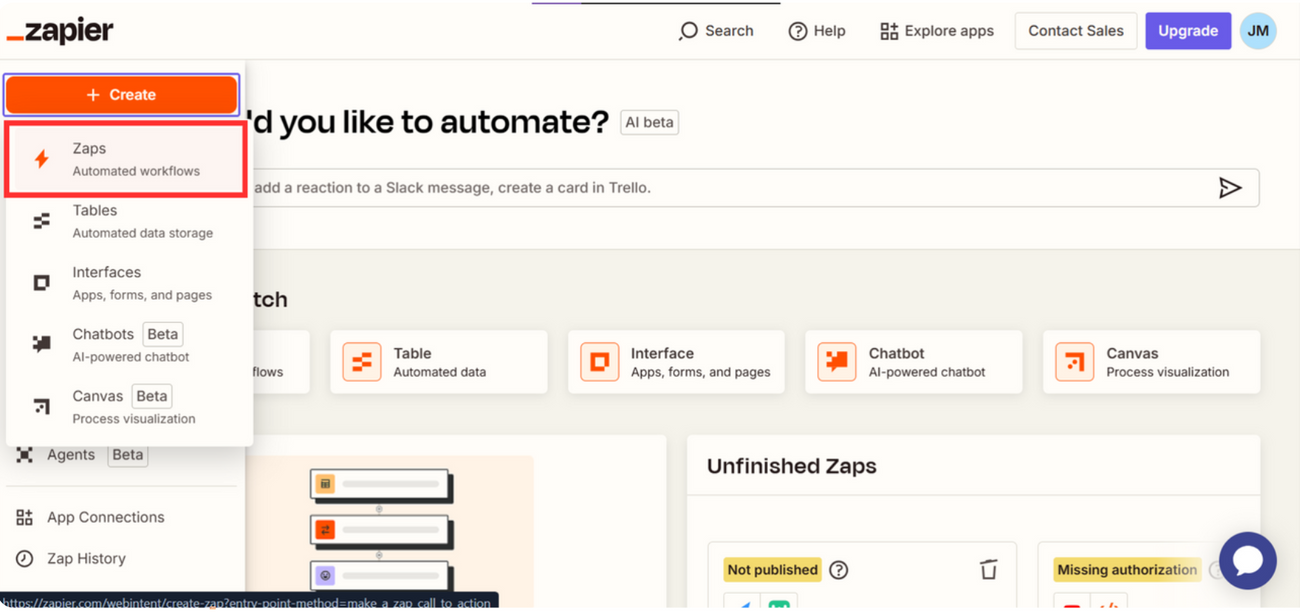
Step 1: Open your Zapier account and click on 'Create' then 'Zap'.
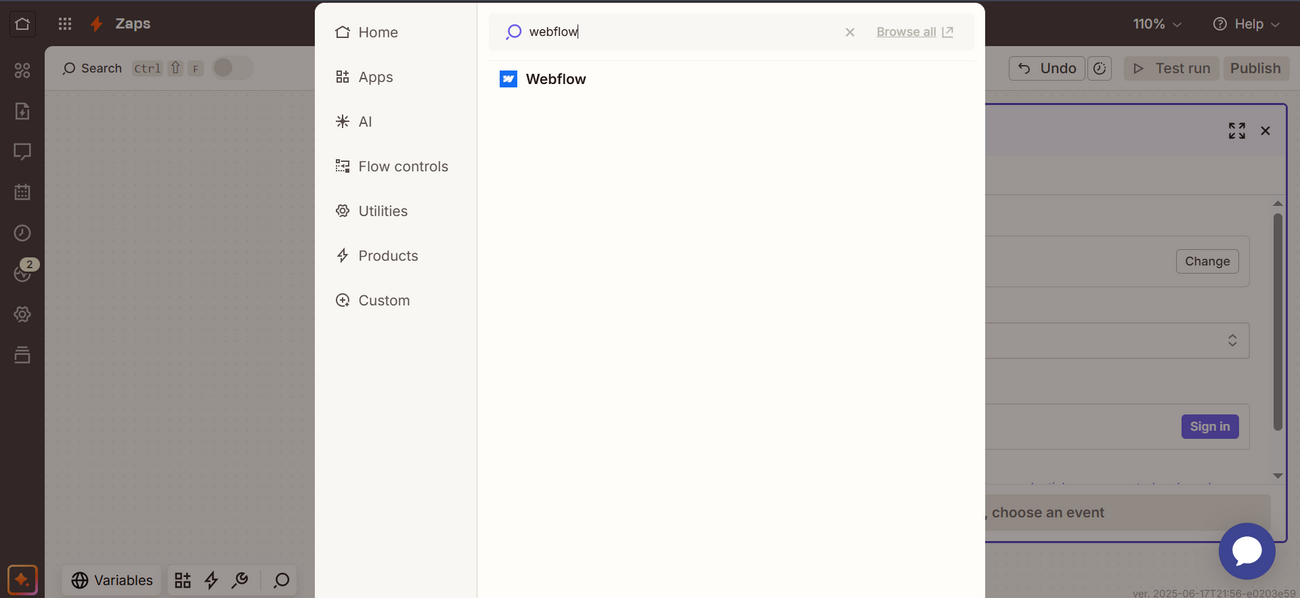
Step 2: Select Webflow as the Trigger of the Zap.
Step 3: Select your trigger event. Make sure the parameters are once submitted on your website before beginning the process. Select 'New Form Submission' as the trigger event.
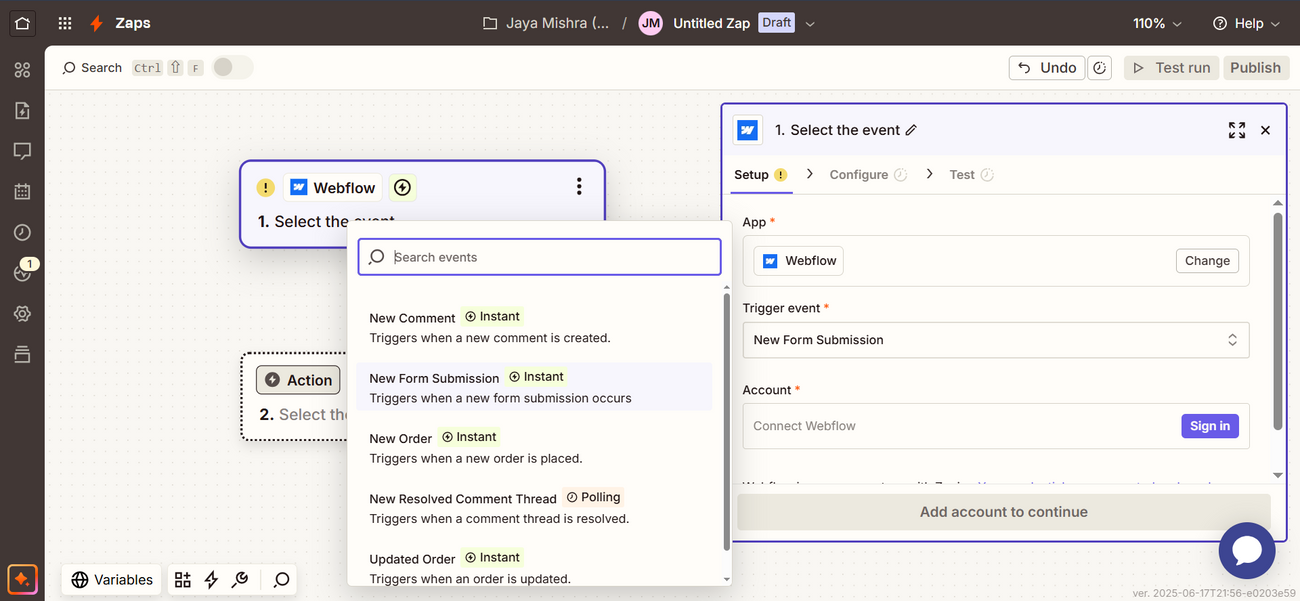
Step 4: Connect your Webflow account.

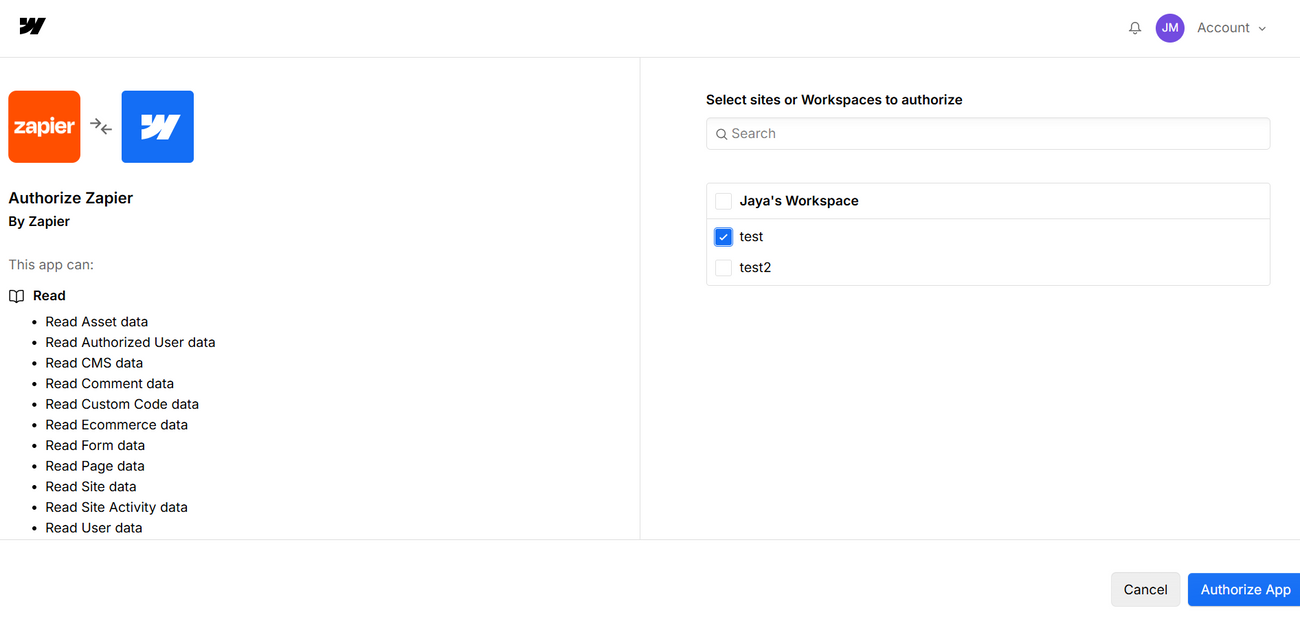
Step 5: Select the workspace you want to grant the permission for then click on 'Authorize App' button to grant access to your website. Then click on continue.
Step 6: Next, select your form, and click continue.

Step 7: Click test trigger, this will conduct a test and verify all details are correct.

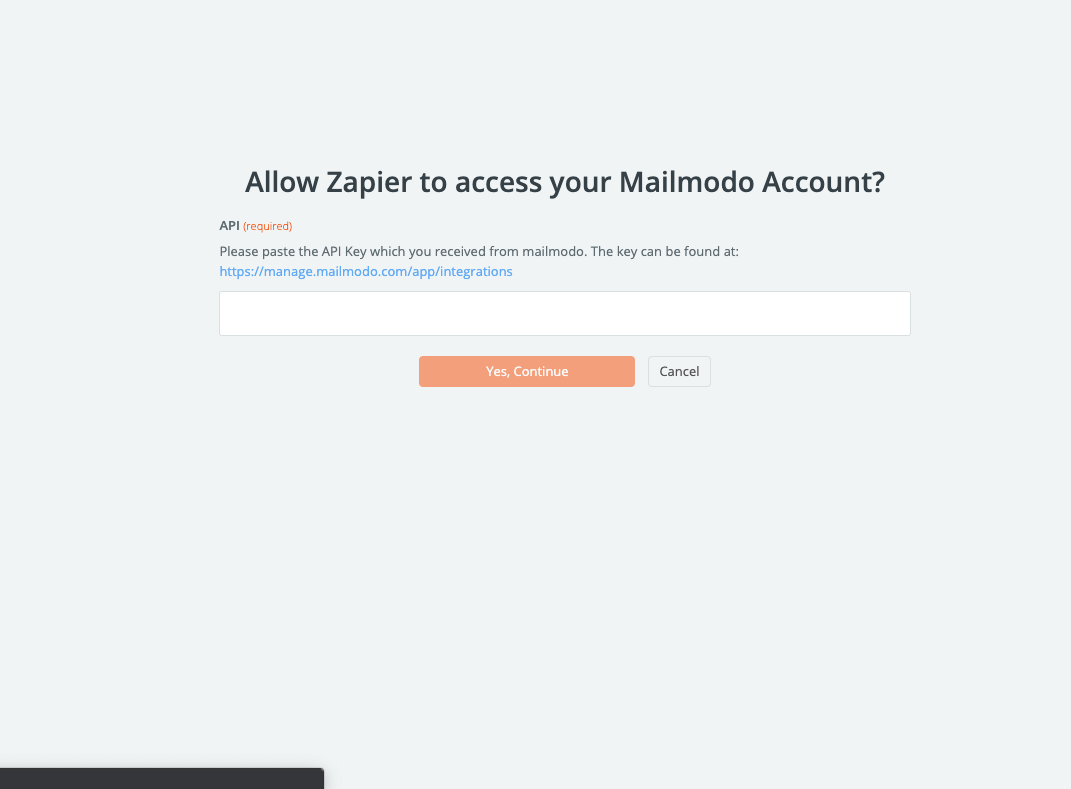
Step 8: Next, select Mailmodo. You will be asked to sign-in. Here, you need to paste the API key that you copied from Mailmodo.
You can access the API key anytime by going to the 'Integrations' tab in Mailmodo, and clicking on 'See details' under Zapier.
- Paste the API key in the box. Then click on 'Yes, Continue'.

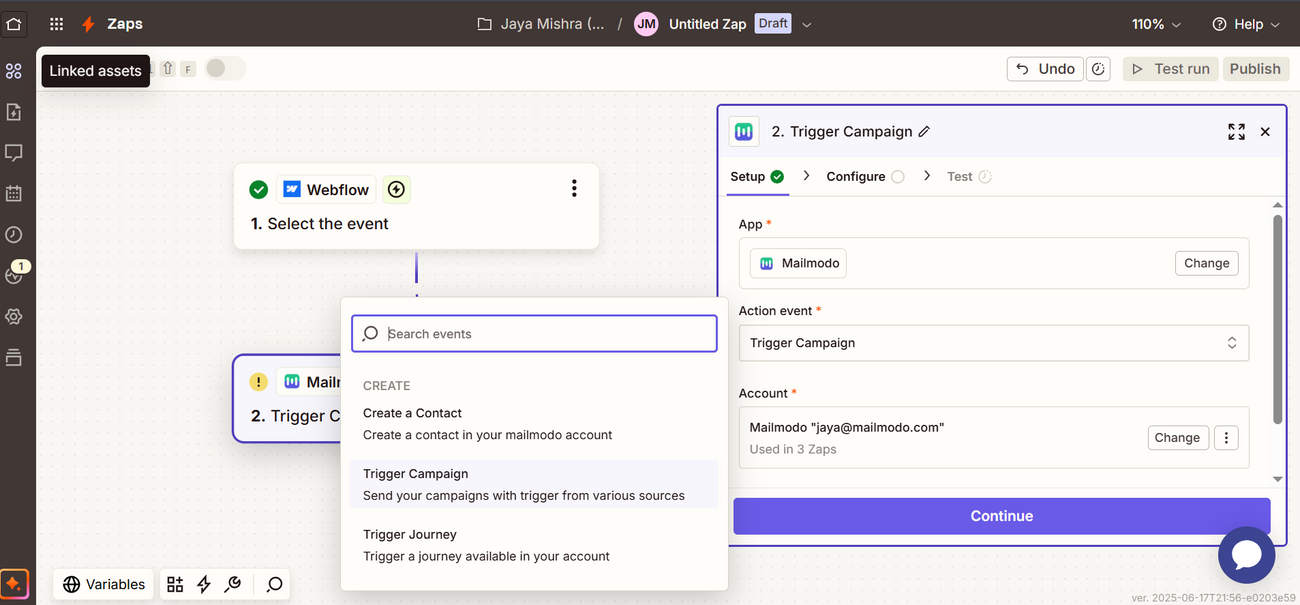
Step 9: Select trigger campaign and connect your Mailmodo account.
Step 10: Next, select the campaign you want to trigger. Email-> Email id of your form, and the list to append details. Make sure that the email field on your website is filled at least once before. Once the fields are filled the continue button will get enabled.

Step 11: Test and Continue and Click on 'Publish' on the top right corner.