

How to configure Adapative Campaign for Warmup
Last updated January 9, 2026
This document describes how to configure and launch an email warmup campaign for a newly added domain in Mailmodo, including selecting contacts, choosing a template, setting subject lines, assigning sender IDs, and scheduling the campaign.
Step 1: Log in and Access the Warmup Prompt
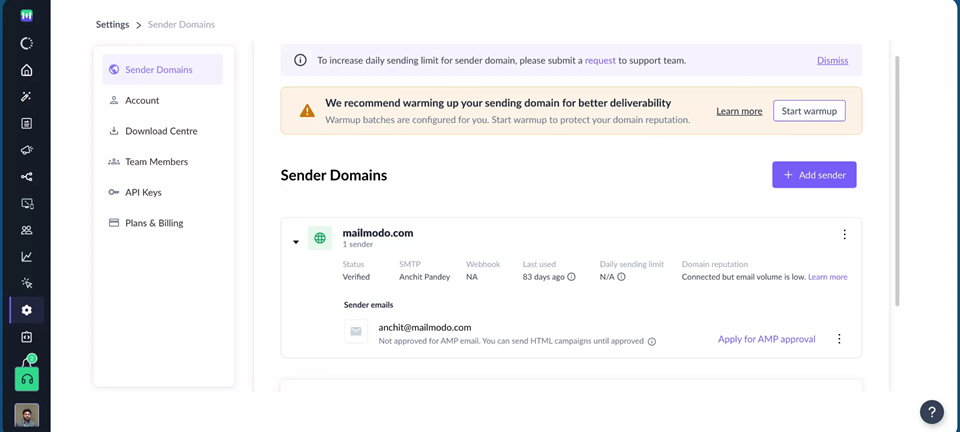
Log in to your Mailmodo account and go to the Settings>Sender Domain section
If you have added a new (fresh) domain, Mailmodo will automatically prompt you to create a warmup campaign through a banner in the interface.
Click Start Warmup on this banner to begin configuring your warmup campaign.
Step 2: Choose the Contact List for Warmup
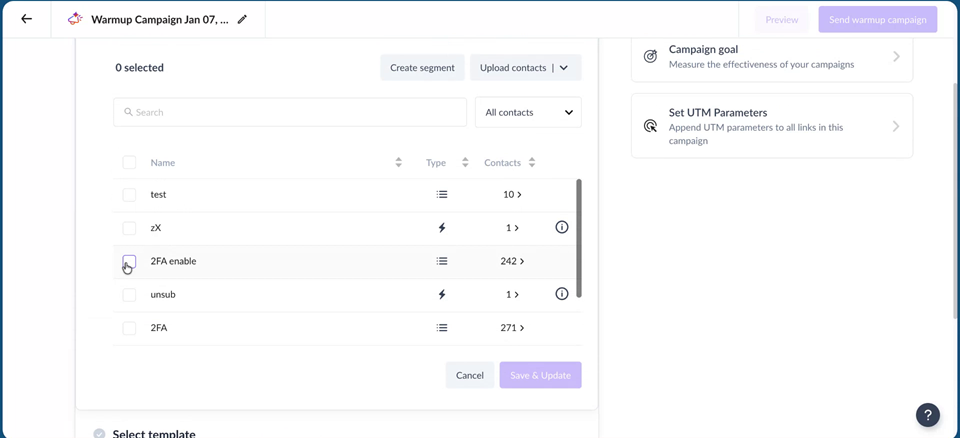
On the warmup configuration screen, the system will ask you to select your contact list.
From the available lists, select the list that represents your total base of contacts to be used for the warmup.
After choosing the list, click Save and Update to confirm your selection.
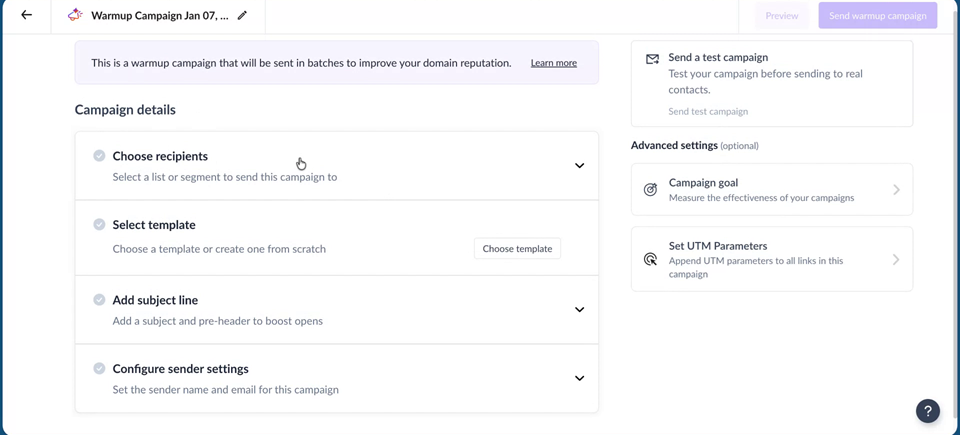
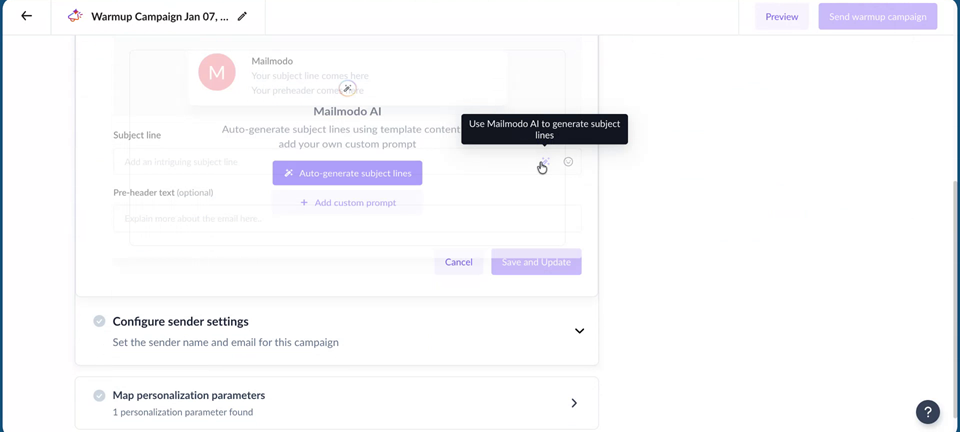
Step 3: Select or Create the Email Template
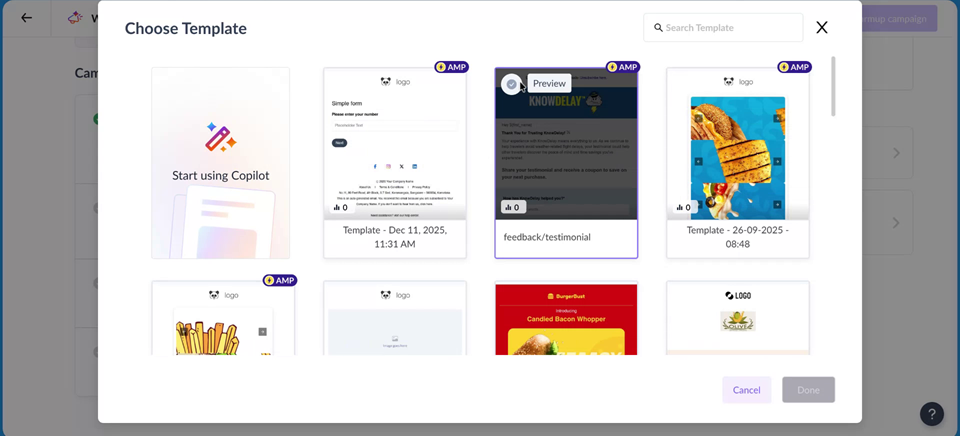
Next, you need to select the template that will be used for the warmup emails.
Choose an existing template from your library that you want to use for the warmup campaign. You can scroll through and select any suitable warmup template or create a template using Mailmodo AI.
If required, you can also use the built‑in AI features to assist with your content:
Use AI to auto‑generate appropriate subject lines for your warmup campaign.
The AI will suggest subject lines, which you can review and apply.
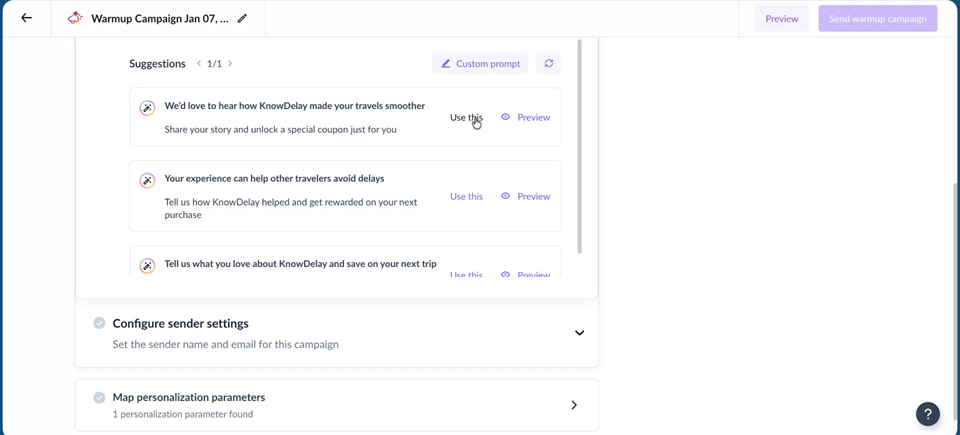
Once your template and subject line are finalized, click Save and Update to proceed.
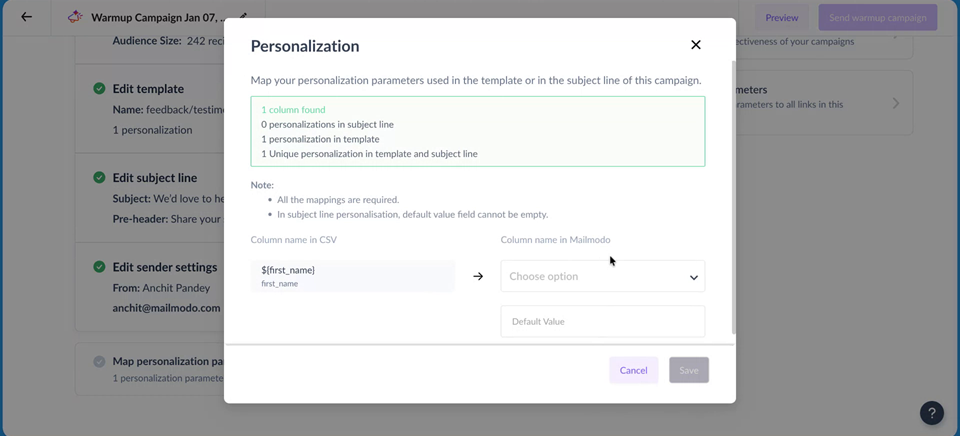
Step 4: Select Sender IDs and Personalization Values
On the next screen, select the sender IDs (from addresses) that have not yet been warmed up but are already added in your account.
You will see a list of available sender IDs here.
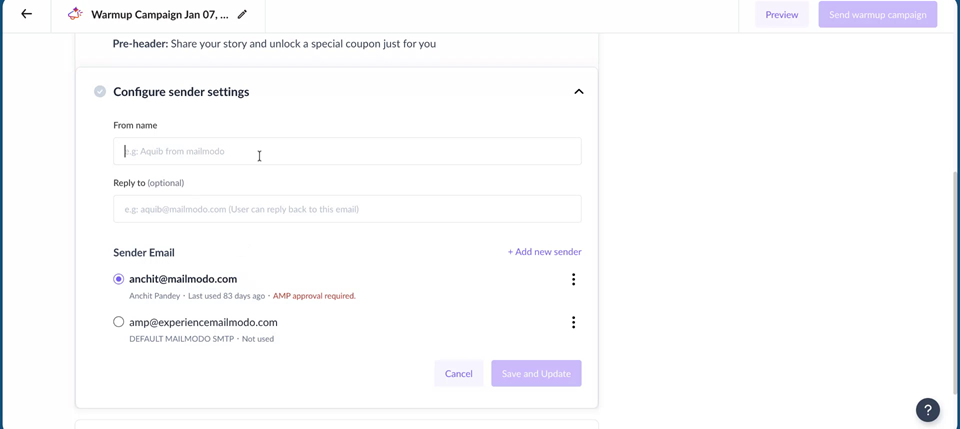
Choose the appropriate sender ID(s) to be used for this warmup campaign.
Make sure you select the sender that corresponds to your newly added domain.
If your template uses personalization parameters (for example, name, company, or other custom fields), you will need to set or confirm their values.
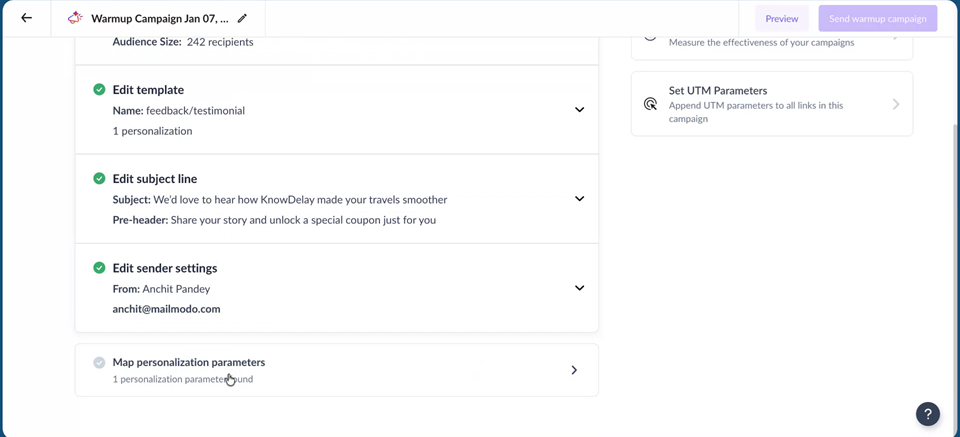
Select or configure the value for each personalization parameter as required.
Step 5: Send Test or Schedule the Warmup Campaign
After all selections are complete (contact list, template, subject line, sender IDs, and personalization values), you can proceed to sending options.
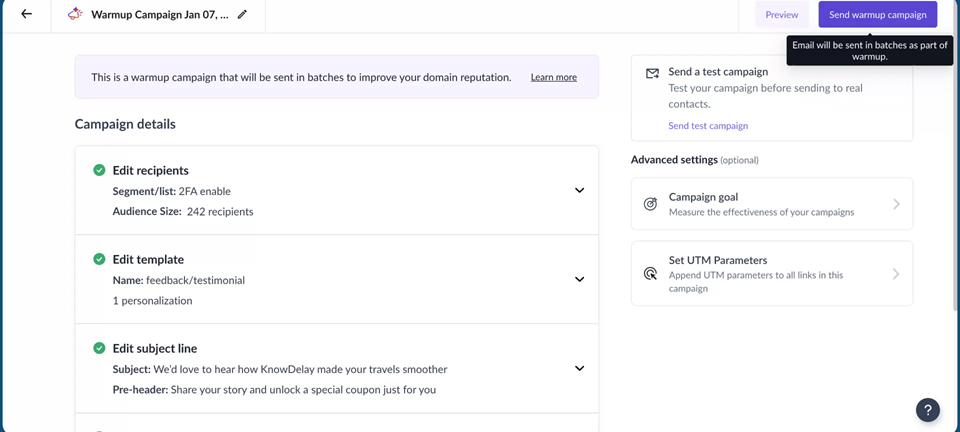
Optionally, click Send Test Campaign to send a test email to yourself and verify how the campaign appears.
Otherwise, schedule the warmup campaign. When you schedule it:
- If Mailmodo already has historical data for your contacts (for example, you are warming up a new domain in an existing account), the system will automatically use optimized send times for the selected recipients based on past engagement.
- If the account and domain are completely new (no prior data), the campaign will begin sending from next day at 10 AM from the day you configured it.
Step 6: Monitor the Warmup Campaign Dashboard
Once the campaign starts sending, the warmup dashboard for this campaign will be activated.
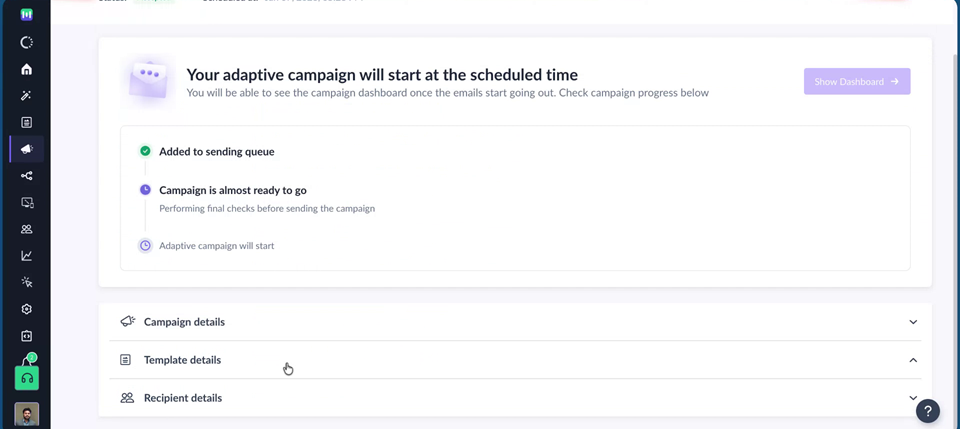
You will be able to view performance metrics and progress for your warmup activity on this dashboard as it runs.